
Hemming jeans at home while preserving the original hem is a fantastic DIY project that allows you to tailor your jeans for a perfect fit without compromising their original look. This technique is particularly useful if you want to adjust the length of your jeans while keeping the professional finish of the original hem, giving them a polished and factory-like appearance.
Hemming jeans with the original hem can be a bit challenging, especially for those who are new to sewing or alterations. This technique involves shortening your jeans while preserving the original hemline, which requires careful attention to detail to maintain the jeans’ natural look and avoid any visible changes.
Gather Materials
- Jeans: The pair you want to hem.
- Fabric Scissors: Sharp scissors are used to cut fabric.
- Measuring Tape: For accurate measurements.
- Tailor’s Chalk or Fabric Marker: To mark cutting and folding lines.
- Pins or Fabric Clips: To secure the fabric in place.
- Sewing Machine or Needle and Thread: For stitching the hem.
Prepare The Jeans
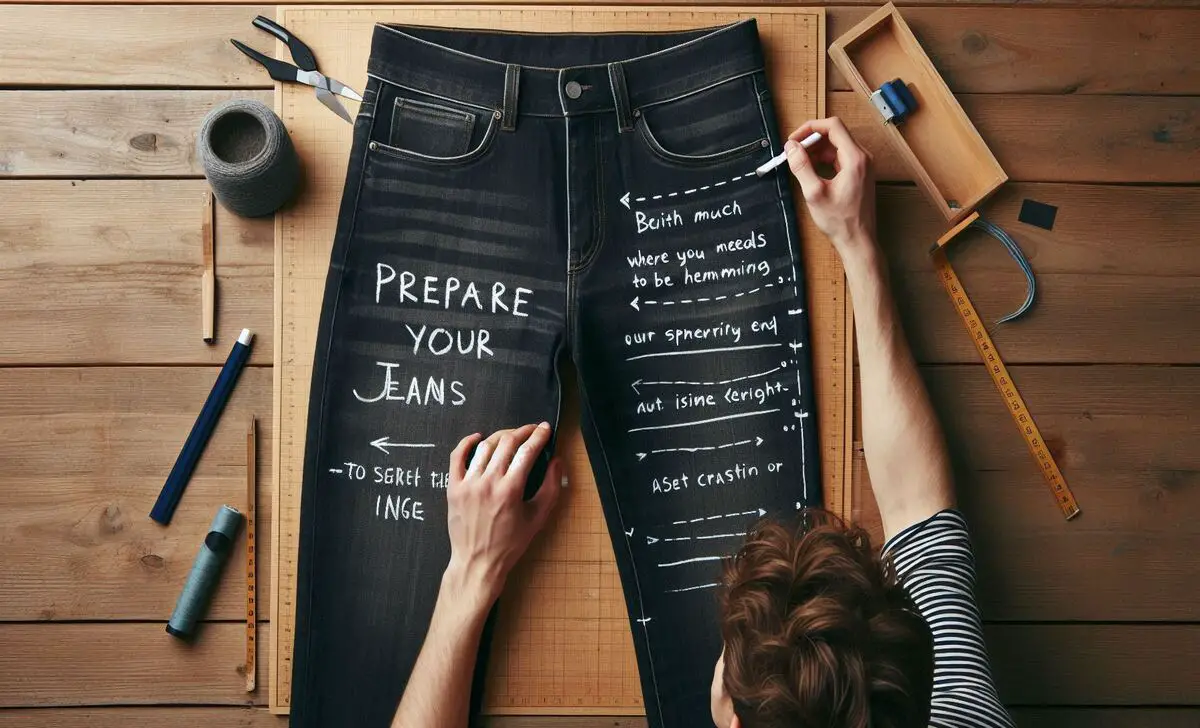
Begin by putting on the skinny jeans to determine how much needs to be hemmed. This is crucial for ensuring that the length is just right for your height and style.
- Mark the Desired Length: Once you’ve figured out the appropriate length, use tailor’s chalk to mark where you want the hem to end. This will serve as your guide for cutting and sewing.
- Measure Twice: Mark both pant legs evenly to keep the hem consistent. Take the time to double-check your measurements to avoid discrepancies.
- Sewing Patterns and Seam Allowance: When you’re ready to hem, consider the sewing patterns you plan to use. When you cut the fabric, make sure to allow for seam allowance to ensure that the jeans fit properly after hemming.
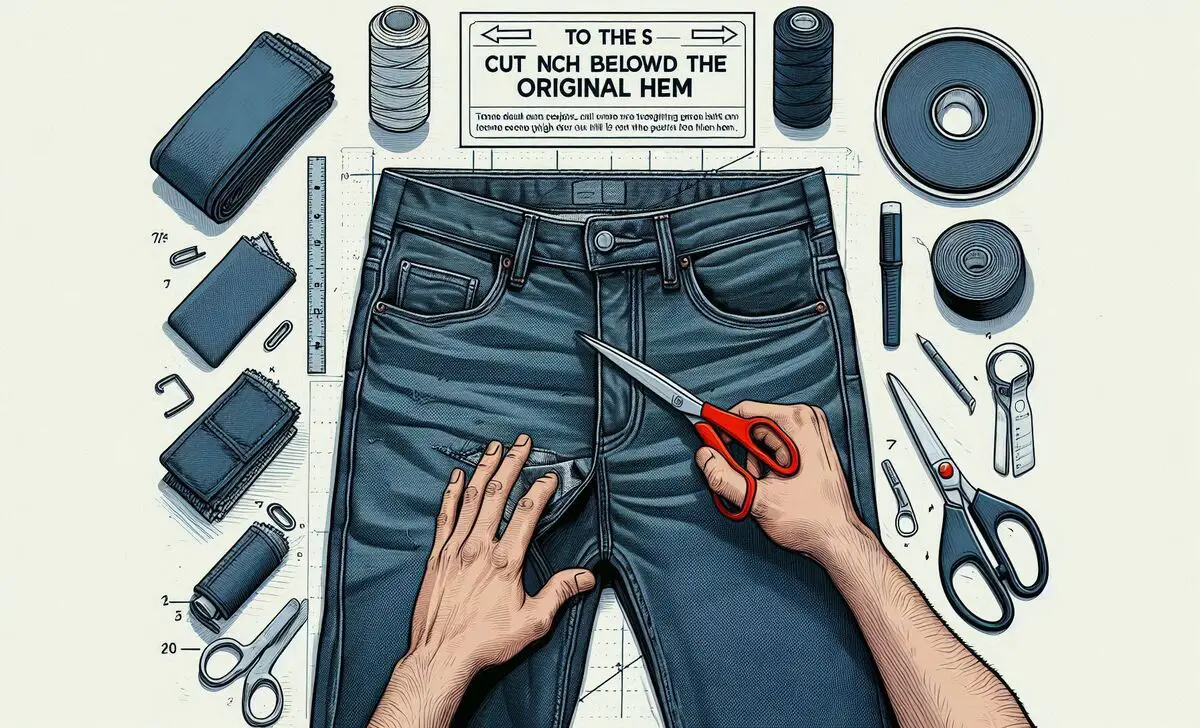
Cut The Jeans

- Cut Below the Original Hem: Measure and cut the jeans about 1-2 inches below the marked line. This extra fabric will be used to reattach the original hem. Ensure your cut is straight to avoid uneven edges.
- Remove Excess Fabric: Trim away any excess fabric, leaving enough to work with but keeping the original hem intact. This helps in achieving a new hem that blends seamlessly with the existing finish.
To hem jeans with the original hem, start by cutting the jeans carefully to ensure a clean and precise finish. This process is crucial for maintaining the original look and feel of the jeans, whether they are flared, straight-leg, or another style.
Reattach The Original Hem
Reattaching the original hem of your hemmed jeans is a great way to restore their appearance and maintain the integrity of the denim fabric. To get started, fold the cut edge of the jeans up to meet the original hem, making sure to pin or clip it in place for stability. This step is crucial as it sets the foundation for a clean finish.
Next, align the original hem so it’s level with the newly folded edge. This alignment ensures that the hem will look even and professional once completed. Once everything is in position, it’s time to sew the hem.
- Use a Zipper Foot to sew close to the original hem without overlapping it.
- Match Thread Color for a seamless finish.
- Stitch around the original hem carefully to secure it in place and maintain the leg opening’s original shape
Final Touches
Before finalizing your work, try on the jeans to ensure the hem is at the desired length and fits well. Popular brands often have specific styles that require careful attention to detail, so take your time to ensure your finished product looks professional. With these steps, you can successfully hem your jeans while maintaining their original character.
Conclusion
Hemming jeans with the original hem is an excellent way to adjust their length while maintaining their classic appearance and professional finish. By carefully measuring, cutting, and reattaching the original hem, you can preserve the authenticity of the denim and achieve a polished look.
This method not only ensures your jeans fit perfectly but also keeps their original style intact. Adhering to these steps will help you successfully adjust your jeans’ length without compromising their unique character and design.
FAQs
1.Why Should I Use The Original Hem?
Using the original hem keeps the jeans’ appearance consistent and avoids the need to create a new hem, which can look less polished. It preserves the original hemline and maintains the jeans’ overall style.
2.Can I Hem Jeans With A Frayed Hem Using This Method?
Yes, you can use this method for frayed hems. Trim any excess frayed fabric before reattaching the original hem to ensure a clean finish and to maintain the integrity of the original hemline.
3.How Much Extra Fabric Should I Leave When Cutting?
Leave about 1-2 inches of extra length below the marked cut edge to accommodate the original hemline. This extra fabric will be used to reattach the old hem properly.
4.What Type Of Thread Should I Use For Hemming Jeans?
Use heavy-duty thread that matches the colour of the jeans for durability and a seamless appearance. This type of thread ensures that the original stitching is replicated effectively.
5.Can I Hem Jeans By Hand Or Use A Sewing Machine?
While a sewing machine provides a more even and durable hem, you can hem by hand if necessary. Use small, neat stitches to mimic the original hemline for a cleaner look.
6.How Can I Ensure The Hem Is Even On Both Legs?
Measure and mark both jeans legs carefully, and use a flat surface to pin and sew the hem. This ensures that the hem is consistent and aligned with the original stitching on both legs.
7.What If I Make A Mistake While Hemming?
If you make a mistake, unpick the stitches and try again to correct the hem. Alternatively, you can take the jeans to a professional tailor for adjustments and ensure a perfect alteration.