Hemming baggy jeans without a sewing machine is simple with the air-dry method. You can achieve a cleaner look by carefully trimming and using fabric glue or temporary hemming tape, allowing them to dry naturally. This guide provides an easy, no-sew solution to alter your jeans’ length and fit at home.
Are your favorite jeans a little too long, making them sag at the ankles? It’s a common frustration! Baggy jeans can sometimes look sloppy, even if they’re comfortable. Fret not, because you don’t need a sewing machine or any fancy skills to fix this. We’re going to walk through an easy, step-by-step process to hem those baggy jeans yourself, using nothing but everyday items and letting them air dry for a sharp, clean finish. By the end of this guide, you’ll have perfectly fitting jeans and the confidence to tackle simple clothing alterations anytime.
Why Hem Your Baggy Jeans?
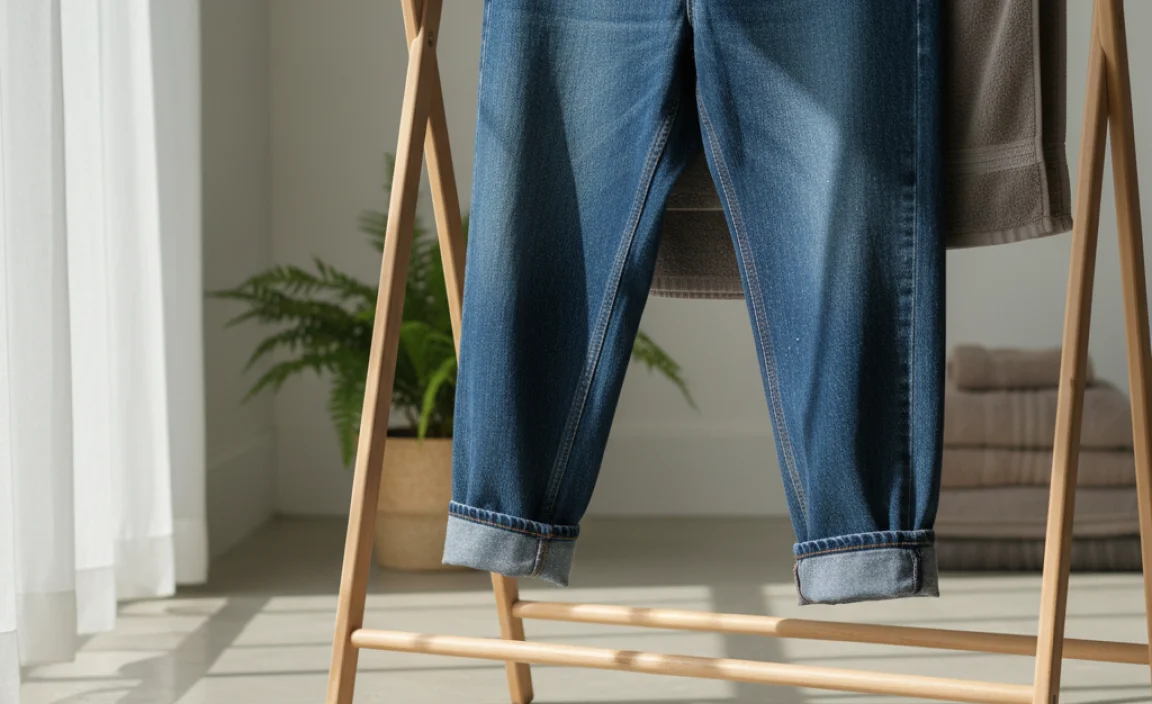
Baggy jeans can be a stylish choice, but when they become too baggy or just too long, they can overwhelm your frame and affect the overall look of your outfit. A proper hem doesn’t just shorten the length; it can redefine the silhouette of your jeans, making them look more tailored and intentional. This simple adjustment can transform a pair of ill-fitting jeans into a staple in your wardrobe, improving comfort and confidence. Plus, avoiding expensive tailor visits is always a bonus!
Understanding the Air-Dry Hemming Method
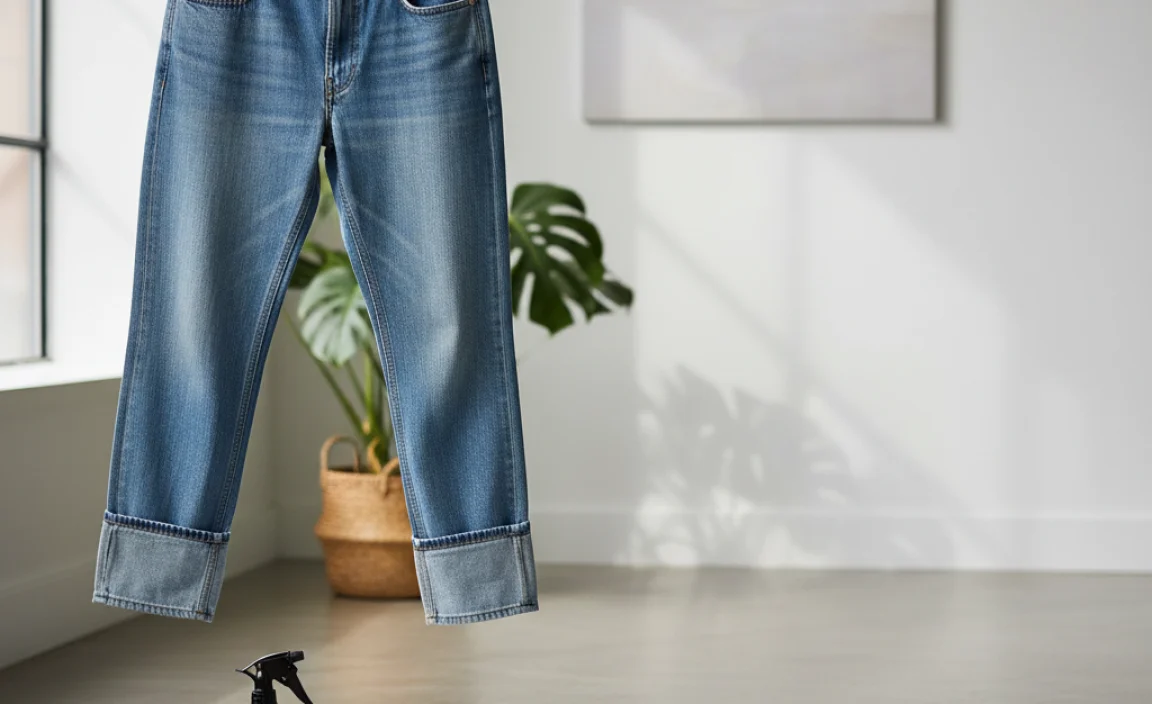
The “air-dry” method for hemming jeans is a beginner-friendly approach that bypasses the need for sewing. It relies on accurate measuring, careful cutting, and a strong adhesive like fabric glue or temporary hemming tape. The key is to secure the hem in place and let it dry completely, which sets the adhesive and creates a neat, permanent or semi-permanent bond. This method is ideal for those who want a quick fix or who prefer not to use a sewing machine.
What You’ll Need
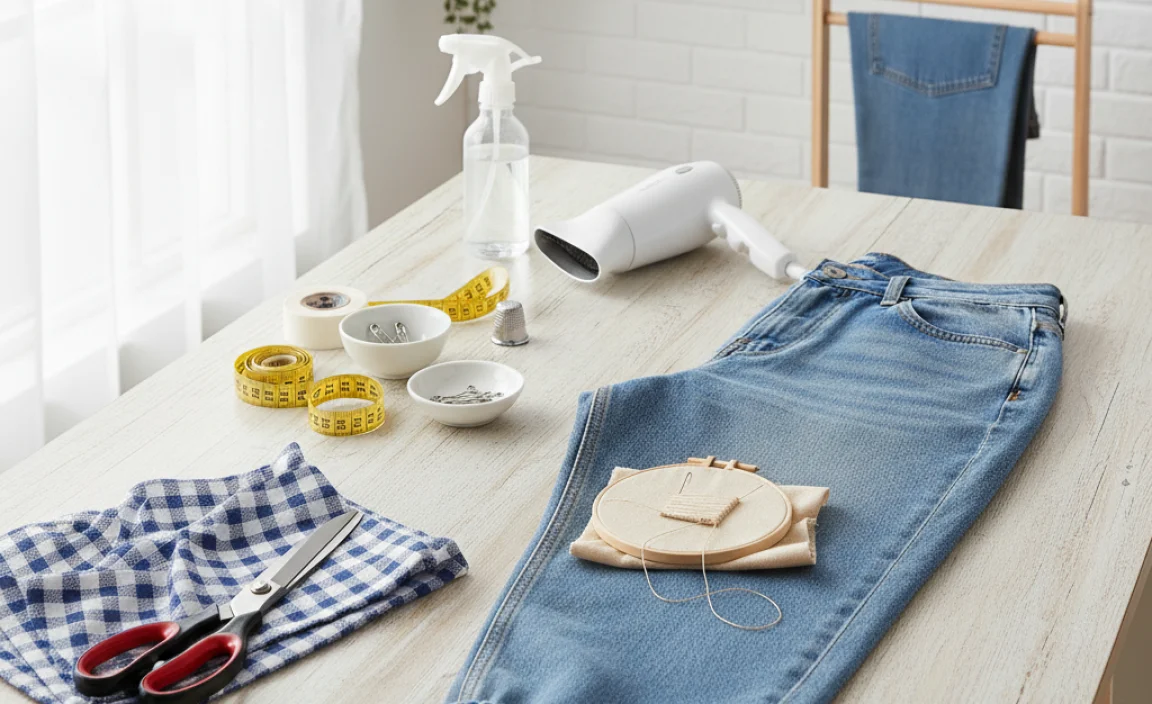
Gathering the right tools makes the process smooth and ensures a professional-looking result. Here’s a list of what you’ll need:
- Your Baggy Jeans: The star of the show! Make sure they are clean and dry.
- Measuring Tape or Ruler: For accurate measurements. A flexible cloth tape measure is great for curves, but a rigid ruler works too, especially for straight lines.
- Fabric Scissors: Sharp scissors are crucial for a clean cut. Fabric scissors are best as they are designed to cut through tough materials like denim without snagging.
- Fabric Chalk or a Removable Fabric Pen: To mark your hemline.
- Iron and Ironing Board (Optional but Recommended): While this is an air-dry method, an iron can help create crisp folds for precise hemming and ensure good adhesion.
- Fabric Glue or Temporary Hemming Tape:
- Fabric Glue: Look for one specifically designed for fabric, preferably flexible and washable. Brands like Aleene’s Fabric Fusion or Gorilla Glue Fabric Glue are good options.
- Temporary Hemming Tape (No-Sew Hem Tape): This iron-activated or pressure-activated tape creates a temporary bond. It’s a great option for test hems or if you might want to adjust later.
- Straight Pins: To hold the hem in place while you work or dry.
- A Flat Surface: For laying out your jeans and making precise marks.
Step-by-Step Guide: How to Hem Baggy Jeans Effortlessly (Air Dry Only)
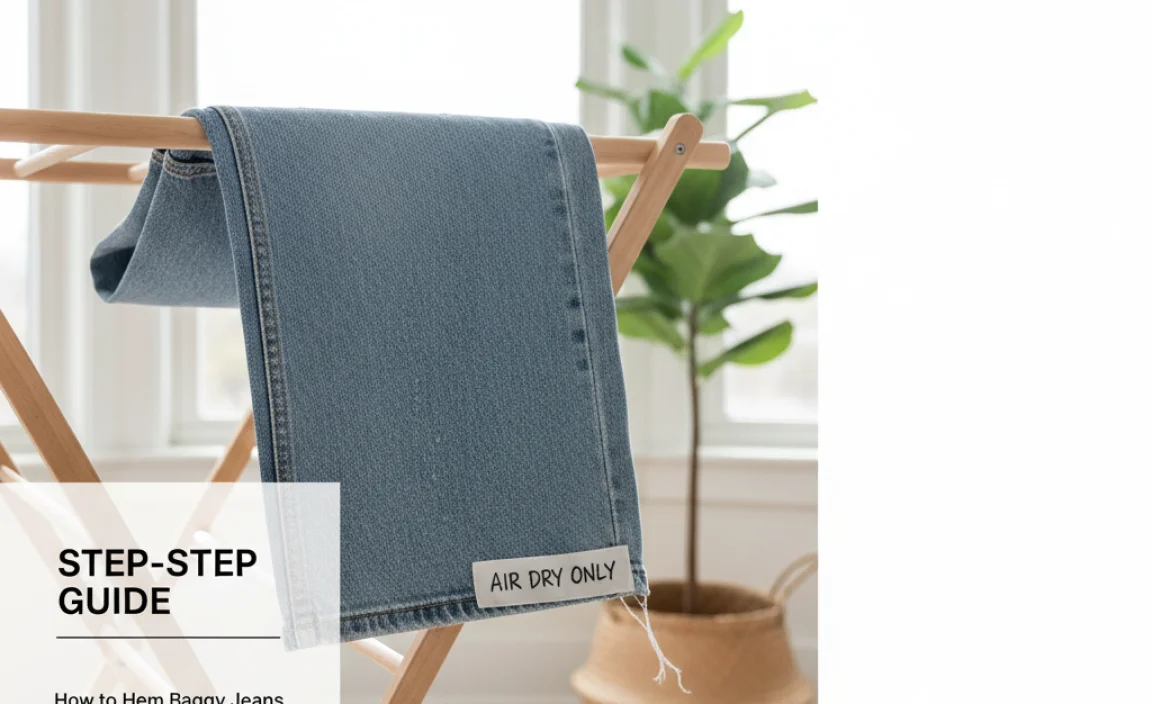
Let’s get started! Follow these steps carefully for a perfect hem every time.
Step 1: Prepare Your Jeans
First, put on your baggy jeans and stand in front of a mirror. Determine how much length you want to remove. It’s always better to start by removing less denim than you think you need, as you can always trim more later. You want the jeans to sit at your desired length. Consider the shoes you’ll most likely wear with them, as this can affect the ideal hemline. If you’re unsure, aim for a length that just skims the top of your shoes or hits about an inch above the sole.
Once you have an idea of the length, take the jeans off and lay them flat on a clean, hard surface. Smooth out any wrinkles.
Step 2: Measure and Mark Your Hemline
Decide on the final length of your jeans. Measure from the crotch seam down to where you want the hem to end. Let’s say you want to shorten your jeans by 2 inches. Mark a small dot with your fabric chalk or pen at the desired length on the outer seam of one leg. Then, measure from that first dot to the bottom of the hem. This is how much you need to fold up. For example, if you want to shorten them by 2 inches, you’ll fold up about 2 inches.
Important Tip: Measuring from the inseam (the seam on the inside of the leg) is also an option, but measuring from the outer seam often gives a more visually consistent result, especially if the original hem had some wear. If you want to maintain the original hem’s appearance, you’ll need to consider that in your folding and measurement.
Now, use your ruler or measuring tape to extend that mark across to the inner seam, creating a horizontal line that goes all the way around the leg. Ensure this line is straight and even. Double-check your measurement, and then repeat the process on the other leg, making sure it’s an exact match. To ensure symmetry, measure from the waistband down to the marked hemline on both legs. Consistent length is key for a professional look. For instance, if you measure 2 inches off of one leg, measure exactly 2 inches off the other leg from the same point.
Step 3: Create the Fold(s)
This is where you decide how you want your hem to look and how much fabric to fold. You have a couple of options:
- Single Fold: If you’re using fabric glue and want a very clean, modern look, you can fold the denim up once at your marked line. This is the quickest method.
- Double Fold: This is often preferred for a more traditional hem finish, especially if you’re trying to replicate the original look or want extra durability. Fold the hem up to your marked line, and then fold it up again by about ½ inch to 1 inch. This creates a thicker, more structured hem.
For the air-dry method focusing on simplicity, let’s aim for a single, clean fold. Fold the bottom of the jean leg up to your marked line. Smooth it out. If you have the optional iron, press the fold flat. This creates a crisp crease that will make applying your adhesive much easier and more accurate.
Step 4: Secure the Hem
Now it’s time to permanently or semi-permanently secure your new hem.
Using Fabric Glue:
Apply a thin, even bead of fabric glue along the raw edge of the denim that is now tucked inside your fold. Make sure you’re applying it to the inside surface of the folded fabric, about ¼ to ½ inch from the raw edge. Be generous enough for good adhesion, but not so much that it oozes out the sides. If you’re using a double fold, apply glue along the raw edge that is now tucked inside the second fold.
Once the glue is applied, carefully press the folded section down onto the main part of the jean leg. If you used an iron to create a crease, this will sit neatly. Use straight pins to hold the hem in place while the glue dries. Insert pins perpendicular to the hemline, spacing them every couple of inches to ensure the fabric stays put.
Using Temporary Hemming Tape:
If you’re using iron-on hemming tape, follow the product instructions. Generally, you’d place the tape inside the fold, then iron over it to activate the adhesive. For no-sew tape, simply place the tape inside the fold and press firmly to adhere. Pins are still recommended to secure the tape and fabric while the bond strengthens.
Pro Tip: If you want to mimic the original hem’s distressed look, you might consider cutting off the original hem first (saving it!), then folding up your new hem, and using a distressing tool or even sandpaper to fray the new raw edge before applying glue or tape.
Step 5: The Air Dry
This is the crucial part of the “air-dry” method. Once you’ve applied your adhesive and secured the hem with pins, it’s time to let nature do its work. Find a dry, well-ventilated area where you can hang your jeans or lay them flat without disturbance. Gravity will help pull the fabric down, ensuring a smooth, wrinkle-free dry.
Hanging the jeans by the waistband (over a hanger or a clothes drying rack) is ideal. Make sure the pinned hem is facing outwards or is otherwise unobscured so air can circulate around it. Avoid humid environments, as this can slow down the drying process and potentially affect the adhesive’s bond.
The drying time will vary depending on the type of fabric glue used, humidity, and air circulation. Most fabric glues will take at least a few hours to set, but for a strong, permanent bond, it’s best to let them air dry for at least 24 hours. Temporary hemming tape might set faster, so always check the product packaging. Resist the urge to rush this step – a complete dry ensures maximum adhesion.
While the jeans are drying, it’s a good idea to periodically check the pinned hem to ensure it hasn’t shifted. You can also gently press down on the hem to encourage a strong bond as it dries.
Step 6: Finishing Touches
After the recommended drying time (24 hours is a good benchmark for strong adhesion), carefully remove the pins. Check the hem for any areas where the adhesive might not have fully bonded. If you find any loose spots, you can carefully lift the fabric and apply a little more glue or tape, then re-pin and allow it to dry further.
Once you’re satisfied with the bond, try on your newly hemmed jeans! Feel the difference a proper length makes. If you ironed the hem crease, you might want to give it one final light press to ensure a sharp finish, but this is optional since the glue has set it. You can also use a lint roller to pick up any stray threads or debris.
Tips for Success and Common Pitfalls

To ensure your hemming project is a success, keep these tips in mind:
- Measure Twice, Cut Once: This classic adage is especially true for hemming. Accuracy is key to avoiding an uneven hem.
- Sharp Scissors: Dull scissors can create a jagged edge that’s hard to fix. Invest in good fabric scissors.
- Test Adhesive: If you’re using a new fabric glue or tape, test it on a scrap piece of denim or an old garment first to see how it bonds and how it looks after washing.
- Wash Before Hemming: Always start with clean, dry jeans. Denim can shrink or change shape slightly after washing, so hemming pre-washed “new” jeans is often best.
- Consider Shoe Height: The shoes you usually wear can dramatically change how a hem length looks.
- Even Pressure: When applying glue or tape, aim for even pressure along the entire hem to avoid puckering or gaps.
- Ventilation is Key: Ensure good airflow during the drying process for faster, more effective bonding.
Common Pitfalls to Avoid:
- Over-cutting denim: It’s easier to trim more than to add length back.
- Uneven markings: This leads to a lopsided hem.
- Insufficient adhesive: Not enough glue or tape means the hem won’t hold.
- Rushing the drying process: This can lead to a weak or unraveling hem.
- Forgetting to account for the fold: If you want a finished hem of 2 inches, you need to fold up 2 inches and then secure it.</li for example.
Alternative No-Sew Hemming Methods
While the fabric glue/tape and air-dry method is excellent, here are a couple of other no-sew options you might consider for quick fixes or different looks:
1. Iron-On Hem Tape (with an Iron)
This is very similar to the tape method described above but relies heavily on the heat from an iron for a strong bond. You place the tape between the turned-up hem and the main fabric, then iron over it according to the tape’s instructions. This provides a very quick and often durable hem, but it does require an iron.
2. Fabric Glue Stick
For very light-duty hemming or temporary fixes, a fabric glue stick can work. It’s less permanent and might not hold up to heavy wear or washing, but it’s easy to use and allows for repositioning. These typically require no drying time beyond a few minutes of pressing.
Pros and Cons of Air-Dry Hemming Baggy Jeans
Like any method, the air-dry hemming technique has its advantages and disadvantages.
| Pros | Cons |
|---|---|
| Beginner-friendly, no sewing skills needed. | Requires patience for drying time. |
| Cost-effective compared to tailoring. | Adhesive bond might not be as strong as a sewn hem. |
| Uses readily available household items. | Can create a slightly stiffer hem depending on the glue/tape. |
| Allows for precise length adjustment. | Permanent glues can be difficult to remove if you change your mind. |
| Clean finishing for a polished look. | May not hold up as well to frequent, vigorous washing compared to sewing. |
For a more durable and professional-looking permanent hem, consider researching heavy-duty fabric adhesives or even looking into how to sew a basic hem if you ever feel inclined. However, for a quick, effective, and readily achievable fix, the air-dry method using fabric glue or tape is hard to beat.
Caring for Your Hemmed Jeans
Once your jeans are successfully hemmed, proper care will ensure they last. Always check the care label on your jeans and the instructions for your chosen adhesive.
- Washing: It’s generally recommended to machine wash your jeans inside out in cold water on a gentle cycle. This helps protect the hem adhesive and prevents excessive wear on the fabric.
- Drying: Air drying is usually the best option for any garment with glued or taped hems. Lay them flat or hang them to dry. Avoid high heat in a dryer, as this can weaken the adhesive or cause the fabric to shrink unevenly around the hem.
- Repairs: If, over time, you notice any fraying or separation at the hem, you can often reinforce it with a little extra fabric glue or tape and allow it to air dry again.
Regular maintenance will keep your perfectly hemmed jeans looking their best for a long time. Remember that even the best adhesives can eventually wear out with repeated washing and wear, so be prepared for occasional touch-ups.
Frequently Asked Questions
Q1: Can I really hem jeans without a sewing machine?
Yes! The air-dry method using fabric glue or hemming tape is specifically designed for no-sew hemming. It’s a straightforward way to alter your jeans’ length.
Q2: How much fabric should I fold up for the hem?
This depends on how much length you want to remove and the desired look. For a clean hem, folding up 1 to 2 inches is common. If you’re aiming to replicate a traditional hem, a double fold (folding twice, perhaps ½ inch then another 1.5 inches) is often best, but the glue/tape still goes on the inside of the primary fold you’re securing.
Q3: How long does an air-dried hem typically take to set?
Most fabric glues require at least a few hours to set, but for a strong, permanent bond that can withstand washing, it’s best to let them air dry for a full 24 hours. Always check the specific product’s instructions.
Q4: Will the fabric glue be visible from the outside?
If you apply the glue neatly to the inside of the fold and don’t use too much, it should not be visible on the outside of the hem. A clean fold and careful application are key.
Q5: What’s the best way to ensure my hem is even on both legs?
Lay your jeans flat and use a measuring tape or ruler to mark the desired hem length on both legs. Measure from points of reference like the crotch seam or waistband to ensure consistency. Having someone help hold the jeans steady can also improve accuracy.


