


Quick Summary: Learn how to hem baggy jeans easily and effectively using Borax. This method offers a no-sew solution to adjust jean length and fit, giving them a crisper, more tailored appearance without complex sewing skills.
Transforming Your Fit: How to Hem Baggy Jeans with Borax

Do your favorite jeans feel a bit too long, pooling around your ankles and making you feel less put-together? It’s a common frustration many of us face. Finding the perfect fit can be a challenge, and sometimes, even a great pair of jeans just needs a little adjustment. What if you could achieve a neat, tailored hem without any sewing? This guide will show you precisely how to hem baggy jeans using Borax, a surprisingly simple and effective method for a cleaner silhouette and a better feel.
We’ll walk you through each step, ensuring you can confidently tackle this common clothing alteration. Get ready to give your wardrobe a little refresh and enjoy jeans that fit just right, every single time. Let’s get started on giving your jeans a custom fit!
Understanding the Borax Hemming Method
The Borax hemming method might sound unusual, but it’s a clever hack that leverages the properties of Borax to create a temporary, yet firm, hem. Borax, also known as sodium borate, is a mineral compound commonly used in laundry boosters and household cleaners. In this context, it acts as a stiffening agent when dissolved in water and applied to fabric. When the solution dries, it holds the fabric in place, effectively acting like a temporary glue or stiffener that can be easily undone.
This method is particularly appealing because it’s a no-sew technique. For those who aren’t comfortable with a sewing machine or needle and thread, or who need a quick fix, this is an excellent alternative. It’s also reversible, meaning you can dissolve the Borax with water later if you change your mind about the hem length.
Why Choose Borax for Hemming?
There are several reasons why the Borax method stands out for hemming baggy jeans:
- No Sewing Required: This is the most significant advantage. It opens up hemming to everyone, regardless of their sewing experience.
- Reversibility: Unlike permanent hemming methods, a Borax hem can be released by simply washing the jeans.
- Crisp Finish: Borax solution, when dried, provides a firm hold that can give your hem a clean, sharp line.
- Cost-Effective: Borax is an inexpensive household item, making this a very budget-friendly alteration.
- Speed: It’s a relatively quick process compared to traditional hemming.
What is Borax and Where to Find It?
Borax is a naturally occurring mineral, a salt of boric acid. It’s white, crystalline, and soluble in water. Commercially, you’ll most often find it as a granular powder. It’s widely available in the laundry aisle of most supermarkets and drugstores. You can also find it online from various retailers. Look for brands like 20 Mule Team Borax or generic sodium borate.
For a deeper understanding of Borax and its common uses, you can refer to resources like the National Center for Biotechnology Information (NCBI) Borax page, which provides detailed scientific information on its properties.
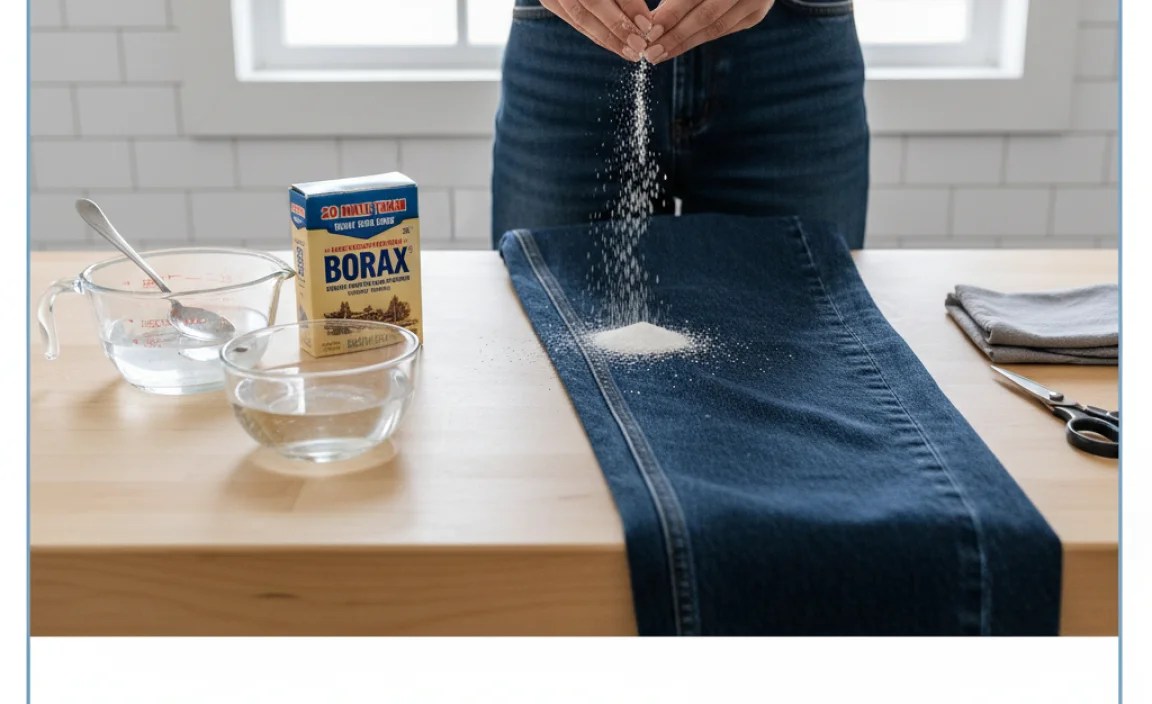
Gathering Your Materials

Before you start, make sure you have everything you need. This ensures a smooth and efficient process when you begin hemming your jeans.
- Your Baggy Jeans: Choose the pair you want to adjust.
- Borax: A small amount of Borax powder is all you need.
- Warm Water: For dissolving the Borax.
- Measuring Tape or Ruler: To ensure an even hem.
- Fabric Marker or Chalk: To mark your desired hemline.
- Scissors: Sharp scissors will make cutting easier if you decide to trim any excess fabric.
- Iron: To pre-flatten the hem and help set the Borax solution.
- Small Bowl or Container: To mix the Borax solution.
- Spoon or Stirrer: For mixing.
- A Flat Surface: Such as an ironing board or a clean table.
- Optional: Pins: To hold the hem in place while it dries.
Step-by-Step Guide: How to Hem Baggy Jeans with Borax

Follow these steps carefully for the best results. Remember, patience is key, especially during the drying phase.
Step 1: Prepare Your Jeans
Start with your jeans clean and dry. Lay them flat on your chosen surface. Decide on the new length you want. It’s often a good idea to have someone help you by holding the jeans up on you to get the marking right, or try them on and observe how they fall. Mark the desired new hemline with your fabric marker or chalk. Ensure the mark is straight and even all the way around.
Step 2: Measure and Mark Accurately
Using your measuring tape or ruler, measure from the marked hemline down to where you want the new bottom edge of your jeans to be. For a crisp hem, you’ll want to fold the fabric upwards. Most people fold up about 1 to 2 inches. So, if your current jeans hem is at the floor and you measure up 1.5 inches, that’s where you’ll fold the fabric. Mark this fold line clearly with your fabric marker.
Pro Tip: Always measure your inseam and outer seam in a few places to confirm the original length before marking. This helps ensure you’re working from a consistent point. A slight inconsistency can lead to a hem that looks uneven when you wear the jeans.
Step 3: Fold and Iron the Hem
Fold the bottom of each leg up to your marked fold line. Ensure the raw edge is tucked neatly inside the fold. Press the fold firmly with your iron. This creates a crisp crease and holds the fabric in place temporarily, making the next step easier.
Table: Recommended Hem Folds for Different Styles
| Jean Style | Recommended Fold Depth (Approx.) | Purpose |
|---|---|---|
| Straight Leg / Bootcut | 1.5 – 2 inches | Creates a clean, weighted hem that falls well over shoes. |
| Skinny / Slim Fit | 1 – 1.5 inches | Maintains a streamlined look without adding bulk. |
| Wide Leg / Flare | 2 – 3 inches | Provides enough weight and structure to keep the leg shape. |
| Cropped / Ankle | 0.75 – 1 inch | A subtle fold for a clean finish just above the ankle. |
Step 4: Prepare the Borax Solution
In your small bowl, mix about 1 tablespoon of Borax powder with 1/4 cup of warm water. Stir until the Borax is completely dissolved. You want a clear liquid. If it looks cloudy or gritty, keep stirring. The exact ratio isn’t critical, but you want a concentrated enough solution to stiffen the fabric.
Important Note: Always dissolve Borax in warm water to ensure it fully dissipates. Cold water may leave undissolved crystals. For more on safely handling Borax, consult EPA guidelines for usage and safety.
Step 5: Apply the Borax Solution
Carefully apply the Borax solution to the inside of the folded hem. You can use a small brush, a sponge applicator, or even your fingers (wear gloves if you have sensitive skin). Ensure the solution saturates the fabric along the folded edge. Don’t make it dripping wet, but make sure it’s evenly applied.
You are essentially wetting the fabric along the fold where you want it to stay. The Borax will dry and act as a temporary stiffener.
Step 6: Secure the Hem
While the fabric is still damp with the Borax solution, fold the hem up once more according to your initial crease. If necessary, use pins to hold the hem in place. Ensure the fold is smooth and the new hem edge is straight.
Alternative for Extra Hold: Some people like to iron over the outside of the hem once more after applying the Borax solution. This can help to slightly “set” the Borax and the fold.
Step 7: Let it Dry Completely
This is the most crucial step for a stable hem. Allow the jeans to air dry completely. This can take several hours, or even overnight, depending on humidity and how much solution you used. Do not try to wear them or put them in the dryer until they are fully dry and stiff in the hemmed area. The Borax needs time to crystallize and hold the fabric in place.
Drying your jeans flat will help maintain the shape of the hem. Avoid hanging them up if possible, as gravity can sometimes pull the damp fabric down, affecting the clean line.
Step 8: Inspect and Refine
Once the hemmed section is completely dry and feels stiff, you can remove any pins. Try on your jeans to check the length and fit. The hem should hold its shape. If it’s not quite right, you can unpin, re-wet the hem with plain water if needed to soften it, readjust, and let it dry again. If you find the fabric is still too long, you can repeat the Borax process, folding up a little higher.
If you’re happy with the length and the Borax has created a sufficiently crisp hem, you’re done! You have successfully hemmed your baggy jeans without sewing.
Maintaining Your Borax Hem

The beauty of the Borax method is its temporary nature. However, this also means it requires some care.
- Washing: When it’s time to wash your jeans, the Borax will dissolve. You’ll need to re-apply the Borax solution and re-hem them after washing if you want to maintain that specific length.
- Drying: It’s best to air dry jeans even without the Borax treatment to preserve their shape and color. If you must use a dryer, use a low heat setting.
- Touch-ups: If the hem starts to loosen before washing, you can sometimes re-dampen the edge with a little Borax solution and let it dry.
Pros and Cons of the Borax Hemming Method
Like any technique, the Borax method has its advantages and disadvantages. Weighing these will help you decide if it’s the right approach for your needs.
Table: Borax Hemming Method – Pros vs. Cons
| Pros | Cons |
|---|---|
| No sewing skills required. | Temporary; needs reapplication after washing. |
| Quick and easy to do. | Can create a slightly stiff or crunchy texture at the hem. |
| Reversible by washing. | May not be suitable for all fabric types or very thick denim. |
| Inexpensive. | Drying time can be lengthy. |
| Provides a crisp fold. | Not a permanent fix for altering the leg opening shape (e.g., taking in a wide leg). |
| Great for quick adjustments or trying out a hem length. | The stiffness can sometimes be noticeable. |
When to Use Borax Hemming vs. Other Methods
The Borax method is fantastic for specific situations. However, for more permanent or structural changes, other methods might be better suited.
- Borax Hemming is Ideal For:
- Quick fixes before an event.
- Experimenting with a new hem length.
- Occasions where you need a temporary hem.
- DIYers who want a no-sew solution.
- Anyone on a tight budget who can’t afford professional alterations.
- When to Consider Other Methods:
- Permanent Hem: If you want a hem that will last through washings, traditional sewing is required. This can be done by hand or with a sewing machine. For guidance on sewing, a resource like Singer’s sewing courses offers excellent tutorials.
- Reshaping the Leg: If your jeans are not only too long but also too wide in the leg, Borax won’t help narrow them. This requires taking in the seams, which involves sewing.
- Heavy Duty Wear: For jeans that will be worn and washed very frequently and require a super durable finish, a sewn hem is more robust.
- Delicate Fabrics: While denim is fairly forgiving, other fabrics might react differently to Borax or benefit more from a tailored sewn hem.
Frequently Asked Questions (FAQ)
Q1: How long does a Borax hem last?
A: A Borax hem is temporary. It will typically hold until the garment is washed. Once washed, the Borax will dissolve, and the hem will fall unless you re-apply the solution.
Q2: Can I use a different laundry booster instead of Borax?
A: While other laundry boosters contain sodium borate, pure Borax powder is recommended for this method as its concentration is known. Using mixed products might yield unpredictable results. It’s best to stick with plain Borax.
Q3: Will Borax damage my jeans?
A: In the concentration and application described, Borax is generally safe for denim and most fabrics. It acts as a stiffener. However, avoid over-saturating the fabric, and always test on an inconspicuous area if you’re concerned, especially with dark or brightly colored denim.
Q4: What if the Borax hem feels too stiff?
A: The stiffness is part of the temporary hold. It will become less stiff after a few wears or after the first wash. If it’s uncomfortably stiff immediately after drying, try gently flexing the hem a few times. The full stiffness is usually only present when it’s completely dry.
Q5: Can I use this method on other clothing items?
A: Yes, this method can work on other trousers or garments made of similar sturdy fabrics like cotton twill or canvas. It’s less ideal for very delicate or stretchy materials where a sewn hem would be more appropriate.
Q6: Do I need to worry about Borax residue after washing?
A: No, Borax is water-soluble. When you wash your jeans, the Borax will be completely rinsed away. Your jeans will be back to their regular state, ready for their next wear or for another hemming session.
Q7: How much Borax should I use?
A: For a standard pair of jeans, about 1 tablespoon of Borax dissolved in 1/4 cup of warm water should be sufficient for each leg’s hem. You want enough to create a solution that saturates the fabric well but doesn’t leave excess residue after drying.
Conclusion
Mastering the Borax hemming method opens up a world of simple, effective garment adjustments for your wardrobe. You’ve learned how to tackle those baggy jeans with a no-sew technique that promises a cleaner silhouette and a custom fit, all without needing a sewing machine. From gathering your straightforward materials to carefully applying the Borax solution and allowing it to dry, you now have the confidence to perform this useful alteration yourself.
Remember, this method is your friendly, temporary solution for when you need your jeans to look just right without a permanent commitment. It’s perfect for those everyday style tweaks that make a big difference in how you feel and how your clothes look. So go ahead, give your favorite baggy jeans the tailored fit they deserve, and enjoy a look that’s perfectly you.


