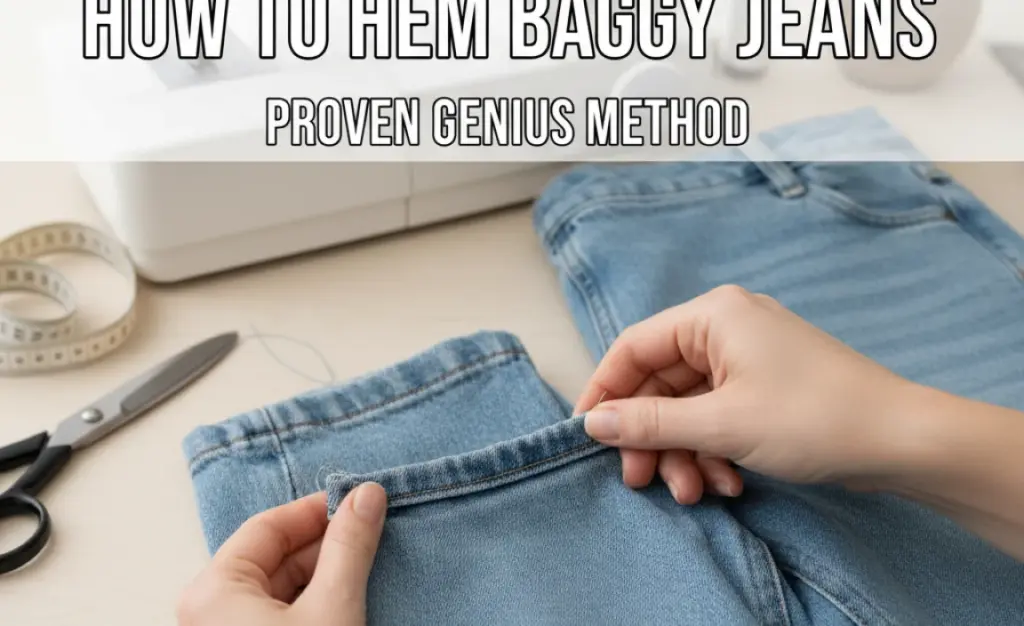
Quick Summary: Easily hem baggy jeans at home with a simple, no-sew method using household items like dish soap, scissors, and an iron. This guide provides a reliable way to achieve a tailored fit without sewing, restoring balance to your look quickly and effectively.
How To Hem Baggy Jeans: The Genius No-Sew Method
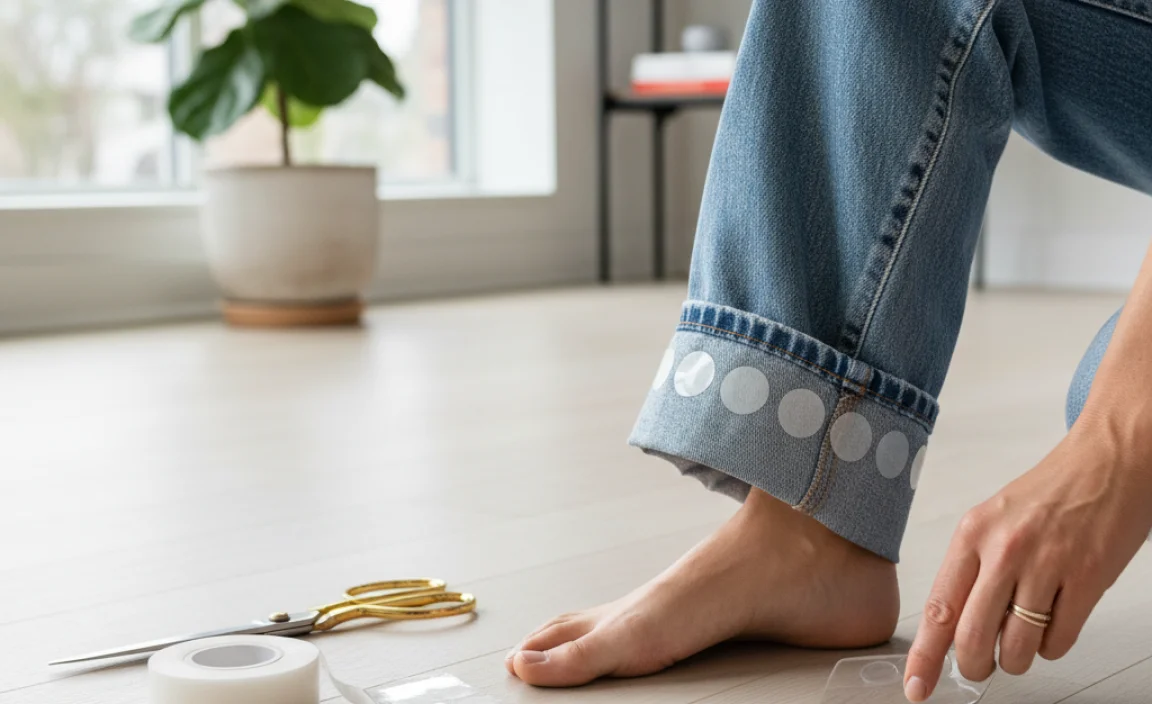
Do you have a favorite pair of jeans that have become a little too roomy? Baggy jeans can be comfortable, but sometimes they can make you feel a bit swamped. Getting them to fit just right doesn’t have to be a struggle or require a trip to the tailor. You can easily adjust the length and even the overall fit of your baggy jeans without touching a sewing machine. This guide will show you a clever, simple method that uses items you likely already have in your home. You’ll be able to tackle those baggy legs and enjoy a perfect fit in no time, feeling more put-together and confident in your favorite denim.
This proven method is designed for absolute beginners. We’ll walk through each step clearly, ensuring you get great results. No confusing techniques, just straightforward advice. Let’s get those jeans looking like they were tailor-made for you.
Why Do My Jeans Get Baggy?
It’s frustrating when your favorite jeans start to lose their shape. Several things can contribute to jeans becoming baggy over time. Understanding why can help you choose better-fitting jeans in the future or manage the ones you already own.
- Fabric Stretch: Many modern jeans contain elastane or spandex for comfort and stretch. While this makes them feel great initially, these fibers can lose their elasticity with frequent wear and washing, leading to sagging.
- Washing and Drying: High heat in washing machines and dryers can break down denim fibers over time, causing them to loosen and stretch out.
- Wear Patterns: Where you put the most stress on your jeans (like at the knees or thighs) can cause the fabric to stretch and lose its original form in those areas.
- Improper Fit to Begin With: Sometimes, what we perceive as “getting baggy” is actually jeans that were a bit too large from the start, and the wear just made that looseness more apparent.
- Weight Fluctuations: Natural changes in body weight can affect how jeans fit, leading to a looser feel even if the jeans themselves haven’t significantly changed.
No matter the reason, the good news is you can correct the baggy issue and give your jeans a new lease on life.
The “Dish Soapy Secret” No-Sew Hemming Method

This technique is a bit of a hidden gem. It relies on the slight slip-inducing properties of dish soap when used as a temporary fabric softener and guide, making it easier to fold and press the fabric precisely. It’s a clean, accessible approach that avoids the stiffness you might get from other no-sew methods.
What You’ll Need:
Gather these common household items. You probably have most of them already.
- Your baggy jeans
- A pair of sharp fabric scissors or good quality scissors
- A measuring tape or ruler
- Tailor’s chalk or a washable fabric marker
- Liquid dish soap (a small amount)
- An iron and ironing board
- A sturdy, flat surface for folding
Step-by-Step Guide to Hemming Your Baggy Jeans
Follow these simple steps for a perfectly hemmed pair of jeans. Keep your workspace clean and follow each instruction carefully.
Step 1: Prepare Your Jeans
Start with your jeans clean and dry. Lay them flat on your sturdy surface. Smooth out any wrinkles so you can get accurate measurements. Decide which pair of jeans you want to work on and gather all your supplies.
Step 2: Determine the Desired Length
Put on the jeans and stand in front of a mirror. Pin or hold the excess fabric at the ankle to your desired length. You can also have a friend help you mark the spot. If you don’t have someone to help, take them off and lay them flat, then measure from the crotch seam down to where you want the hem to hit. Remember to account for the cuff you’ll be creating.
Tip: It’s often better to hem them a little longer than you think you need, as you can always trim more off. You can’t add fabric back if you cut too short!
Step 3: Mark the Hemline
Once you’ve decided on the length, take the jeans off and lay them flat again. Use your measuring tape or ruler to measure up from the original hem to your desired length. Then, use your tailor’s chalk or fabric marker to draw a clear line all the way around the leg where the new hem will be. Make sure the line is straight and consistent on both legs.
Step 4: The “Dish Soap” Trick for a Crisp Fold
This is where the genius comes in. Lightly dampen the marked hemline area with a tiny amount of liquid dish soap. You don’t need much – just a thin, even layer. Rub a small drop of soap along the line you marked. This will act as a temporary lubricant, helping the fabric fold more smoothly and cleanly when you iron it. It also helps the crease set better.
Step 5: Create the First Fold
Carefully fold the excess fabric of the jean leg upwards along the chalk line you drew. Press the fold firmly with your hands. You should notice the fabric glides a bit more easily due to the dish soap, making it easier to get a straight, crisp fold. Ensure the fold is as flat as possible.
Step 6: Create the Second Fold (The Hem Cuff)
Now, you’ll create the actual hem cuff. Fold the fabric upwards again, this time folding the already-folded edge up towards the leg. This second fold should be about 1/2 to 1 inch wide, depending on the look you want and how much fabric you have to work with. Again, press with your hands to flatten it.
Considerations for the Second Fold:
The width of this second fold determines the finished look of your hem. A narrower fold creates a cleaner, more modern hem, while a wider fold can give a more casual, substantial look. For most jeans, a 1/2 inch to 1-inch cuff is ideal.
Step 7: Ironing the Hem
This is the most crucial step for setting the new hem. Set your ironing board and iron. Set your iron to a medium-high heat suitable for denim, but avoid steaming if possible, as we want a dry press to set the fold. Press down firmly along the entire folded edge, applying heat and pressure for about 10-15 seconds. Work your way around the entire leg. For best results, you might need to iron from both the inside and outside of the leg.
Ironing Tips for Best Results:
- Ensure the fabric is completely flat before ironing.
- Apply consistent pressure.
- Move slowly to ensure heat penetrates the fabric.
- Allow the fabric to cool slightly before moving the jeans, which helps set the crease.
Step 8: Repeat on the Other Leg
Once one leg is perfectly hemmed, lay the jeans flat and carefully match the second leg to the first. Use the first hem as a guide to mark and fold the second leg. Repeat Steps 1 through 7 on the other leg, ensuring both hems are as symmetrical as possible.
Step 9: Final Check and Wear
Once both legs are hemmed and cooled, try on your jeans. Check that the length is exactly what you wanted and that the hems hang evenly. Make any minor adjustments if necessary. The dish soap will evaporate and wash out with the next laundry cycle, leaving behind a clean, sharp hem. You’ve successfully hemmed your baggy jeans!
Alternative No-Sew Hemming Methods & Considerations
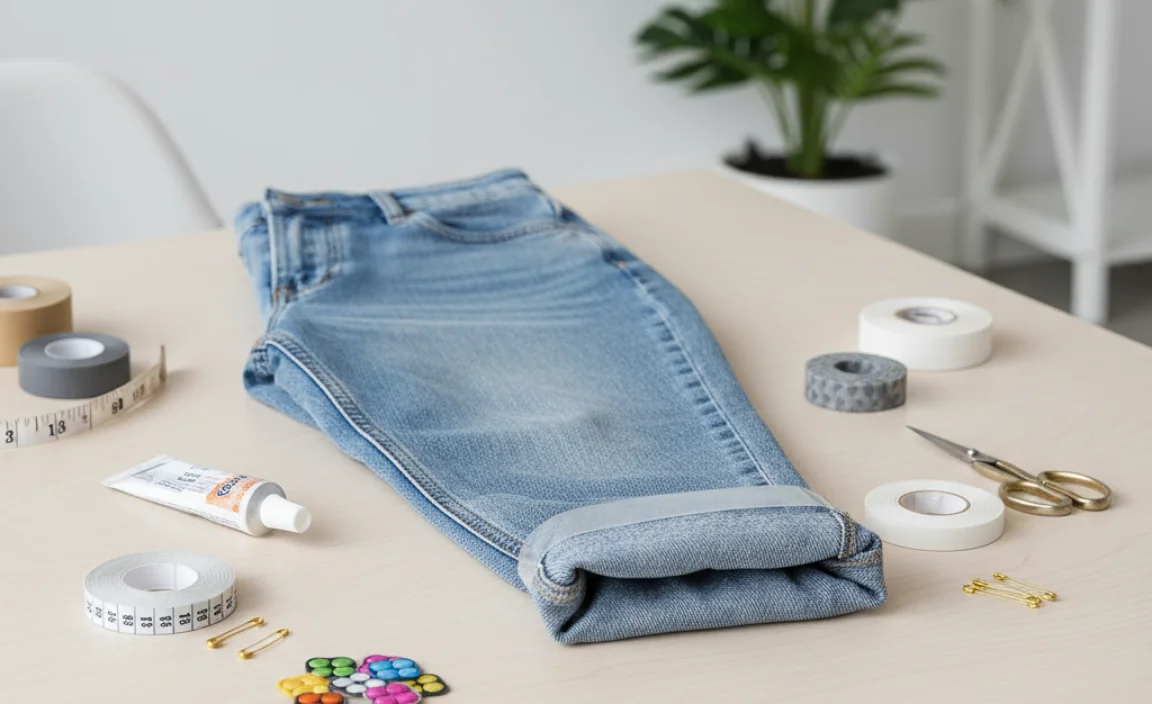
While the dish soap method is a favorite for its clean finish, other no-sew options exist, each with its pros and cons. Understanding these can help you choose the best method for your needs.
| Method | Description | Pros | Cons |
|---|---|---|---|
| Fabric Glue | Uses a special permanent fabric adhesive to bond fabric layers. | Strong, permanent bond; relatively easy to apply. | Can sometimes create a stiff or visible line; requires patience for glue to set; might damage delicate fabrics. |
| Hem Tape (Iron-On) | A strip of adhesive tape activated by heat to fuse fabric layers. | Creates a clean, relatively flat hem; durable when applied correctly. | Requires an iron; can sometimes peel over time with washing; may leave a slight stiffness. |
| Safety Pins/Staples | Temporarily securing excess fabric with pins or staples. | Quickest method for a temporary fix or trying out a length. | Very temporary; pins can snag or poke; staples can rust or damage fabric; not a polished look for everyday wear. |
| Dish Soap Method (Our Focus) | Uses dish soap to aid in folding and pressing a clean, sharp crease. | No extra products needed besides common household items; creates a very clean, press-like finish; temporary adhesive effect washes out. | Less permanent than glue/tape; relies on good ironing technique for best results. |
The dish soap method stands out because it leverages the precise folding and pressing that comes with ironing, while the dish soap acts as a facilitator, not a permanent binder. This means you get a crisp finish without the stiffness of adhesives or the risk of it coming undone in a way that looks messy, unlike pins. For long-term, durable hems, sewing is always the best option, but for a quick, effective, and neat visual adjustment, our chosen method performs exceptionally well.
Choosing the Right Scissors for Hemming
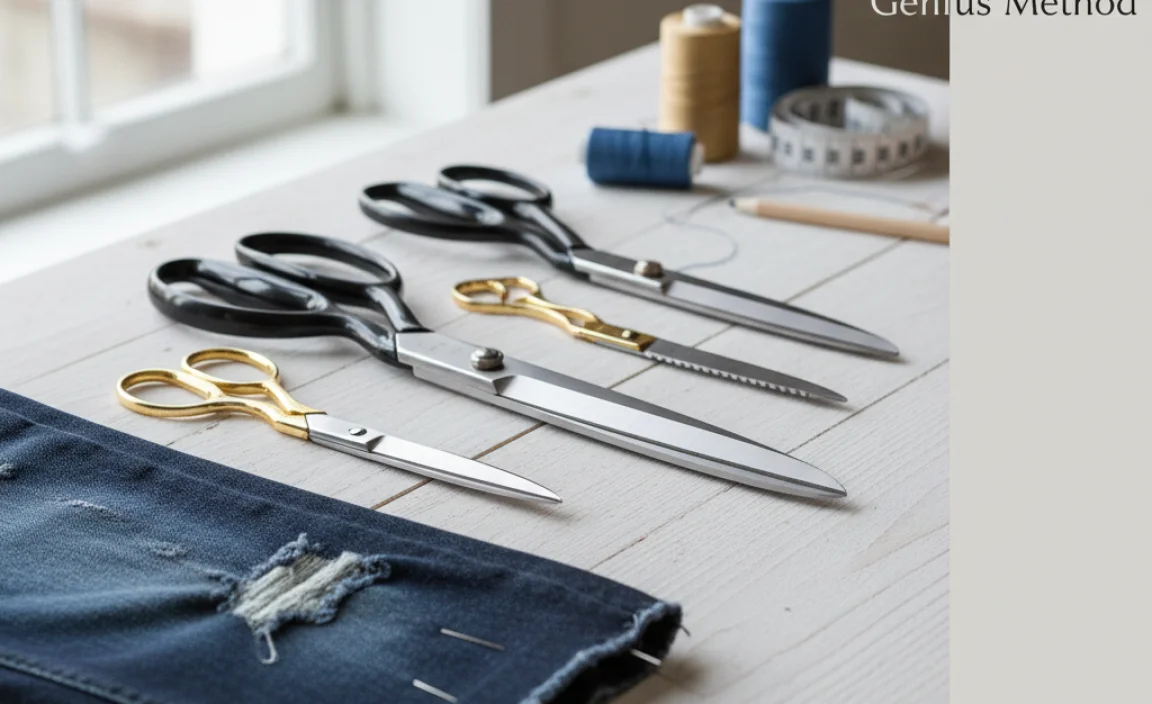
The tool you use to cut your denim makes a significant difference. Using dull scissors can lead to jagged edges that are hard to press neatly. For the cleanest cut, consider these options:
- Fabric Scissors: These are designed for cutting fabric cleanly. They have sharper blades and are usually made with high-quality steel, ensuring a precise cut every time. If you do a lot of fabric crafts or alterations, investing in a good pair is worthwhile.
- Sharp Household Scissors: If you don’t have dedicated fabric scissors, ensure your household scissors are exceptionally sharp. Test them on a scrap piece of fabric first.
- Rotary Cutter and Mat: For very long, straight cuts on stiff fabric like denim, a rotary cutter can be incredibly effective. You’ll need a self-healing cutting mat to protect your surface. This method requires a bit more practice but results in a very straight edge.
Where to find good scissors: Reputable sewing supply stores, craft stores like Michaels, or online retailers are good places to look for fabric scissors or rotary cutters.
Understanding Denim Fabric and Shrinkage
Denim is a sturdy cotton twill fabric. Its properties mean it can be manipulated but also has a tendency to shrink or stretch. Understanding this helps in hemming.
- Raw Denim vs. Washed Denim: Raw denim has not been pre-washed and will shrink significantly when first washed and dried, especially in hot water. Washed denim has already undergone this process, so it’s more stable, but can still stretch out over time.
- Cotton Content: Jeans with a higher cotton percentage will be more susceptible to shrinkage and stretching than those with a significant synthetic blend.
- Heat and Water: Hot water and high heat in a dryer are the primary culprits for shrinking cotton fibers.
For our no-sew hemming method, especially on pre-washed jeans, you’re mostly dealing with established shapes rather than shrinkage. However, always remember that if you are altering raw denim, you may want to pre-shrink them first to get a true sense of their final size. You can learn more about fabric care and shrinkage expectations from textile resources, some of which are detailed on university extension sites like those from University of Vermont Extension.
Perfecting the Hem: Advanced Tips
Once you’ve mastered the basic dish soap hem, here are a few ways to elevate your results:
- Pre-washing and Drying: If you want a hem that looks the most natural and is less likely to unravel or sag over time (even with pressing), consider washing and drying your jeans once more after hemming before giving them a final press. This helps the fabric “sett”.
- Interior vs. Exterior Press: For the crispest line, iron the exterior of the hem first, then flip the jeans and iron the interior fold as well. This creates a strong crease and ensures the hem lays flat from all angles.
- Matching Original Hem (Optional): If you want to mimic the original finished hem of your jeans (e.g., keeping the frayed edge), you would cut off the original hem, then use the dish soap method to fold up the raw edge and press it to the desired length, then fold up again to create the new hem. This is a bit more advanced and requires careful measuring.
- Using a Hemming Gauge: For perfectly consistent folds, consider using a hemming gauge or a simple ruler to ensure each fold is the exact same width all the way around.
Frequently Asked Questions (FAQ)
Q1: Will the dish soap leave a residue on my jeans?
A: No. A small amount of liquid dish soap used as a temporary lubricant will completely evaporate and wash out with your next laundry cycle. It does not leave a stain or residue when used sparingly.
Q2: Can I use this method on skinny jeans or other tight-fitting jeans?
A: Yes, but it’s more challenging. This method works best on straighter or slightly bootcut leg styles where there’s enough fabric width to fold easily. For very tight jeans, the folds might be too bulky or uneven.
Q3: How long will this no-sew hem last?
A: The longevity depends on the fabric quality and how often you wash and wear them. The pressed crease is quite durable, but it is not as permanent as a sewn hem. With careful washing (avoiding high heat), it can last for a long time.
Q4: What if I cut my jeans too short?
A: Unfortunately, this method is not reversible once cut. If you cut too short, you would need to either re-hem them to a shorter length or consider adding a band of contrasting fabric, or even sewing an extension to the bottom.
Q5: Can I use this method for a temporary hem, like to try out a look?
A: While this method sets a pretty firm crease, it’s not designed for temporary holding like safety pins. For a truly temporary hem you can easily undo, safety pins are better, although they won’t look as neat.
Q6: Do I need to use a specific type of dish soap?
A: No, most standard liquid dish soaps will work fine. The key is its mild surfactant properties that help the fabric glide and press more smoothly. Avoid heavily colored or abrasive formulas.
Q7: How do I ensure my hems match at the original pant leg length?
A: Lay your jeans flat, and either measure from the crotch seam down to your desired new hemline on both legs, or fold one leg perfectly, then use that folded leg as a template to fold the other leg precisely. Consistency is key.
Conclusion: Your Jeans, Perfectly Tailored
You’ve now learned a genius, no-sew method to tackle those baggy jeans. By using common household items and a little bit of careful pressing, you can achieve a beautifully altered fit that makes your favorite denim feel brand new. This “dish soapy secret” method is straightforward, effective, and forgiving, making it ideal for anyone looking to tidy up their wardrobe without needing advanced sewing skills.
Remember to take your time, measure carefully, and apply steady heat during the ironing stage. The small effort will pay off with jeans that fit perfectly, boost your confidence, and extend the life of your favorite clothing items. So go ahead, reclaim your wardrobe, and enjoy wearing those perfectly hemmed jeans!


