Quick Summary
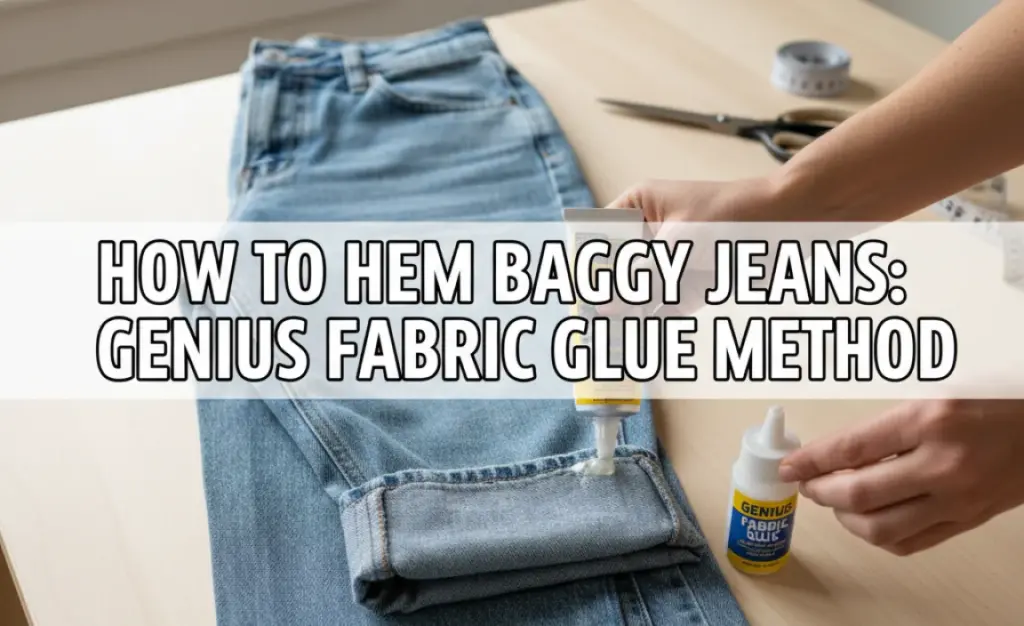
Yes, you can easily hem baggy jeans using fabric glue! This no-sew method is a beginner-friendly way to fix denim that’s too long, saving you time and money. Get great results without a sewing machine by following these simple steps.
How to Hem Baggy Jeans Without Sewing: The Genius Fabric Glue Method
We’ve all been there: your favorite pair of jeans fit perfectly everywhere else, but the length pools around your ankles or makes you feel like you’re wading through fabric. It’s a common denim dilemma! While taking them to a tailor is an option, it can be costly and take time. Luckily, there’s a remarkably simple and effective DIY solution that requires no sewing skills: the fabric glue method. This guide will walk you through exactly how to achieve a neat, durable hem on your baggy jeans using just fabric glue, transforming them into a perfectly fitting pair.
Forget complicated patterns or tricky needlework. We’re focusing on a straightforward, fabric-friendly approach that delivers professional-looking results right at home. Get ready to give your jeans a new lease on life and conquer that common fit frustration with confidence.
Why Choose Fabric Glue for Hemming Jeans?
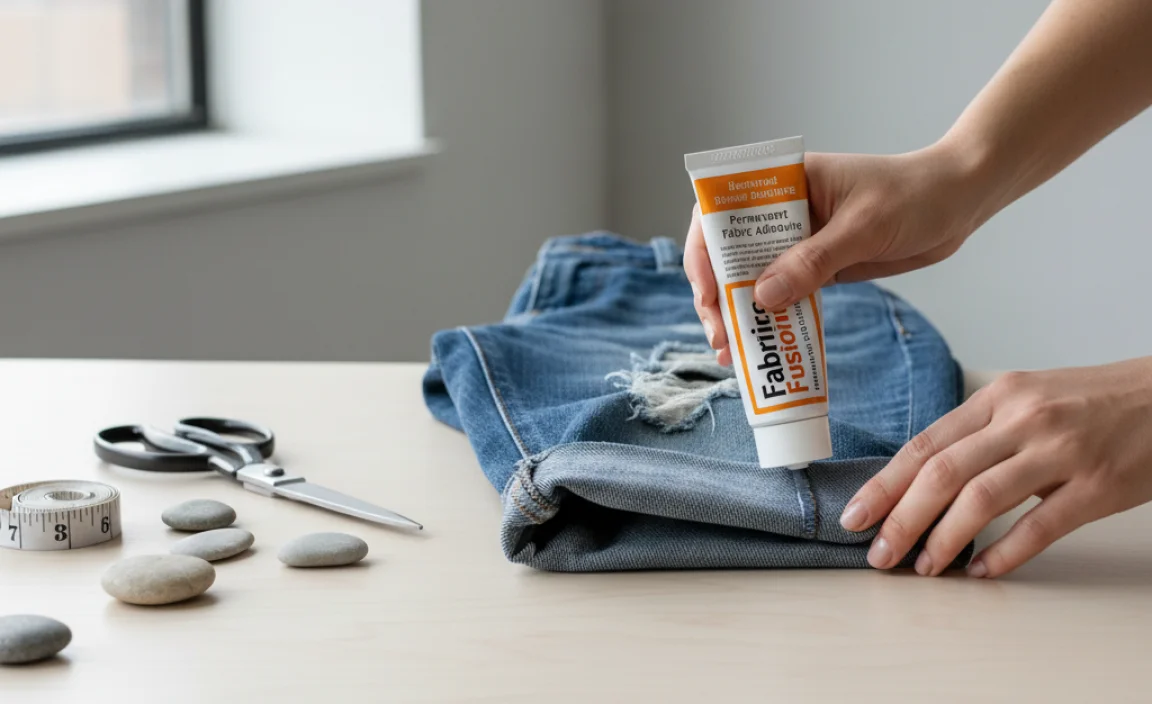
Before we dive into the “how,” let’s talk about “why” fabric glue is such a fantastic option for hemming jeans, especially for beginners. It’s all about simplicity, accessibility, and surprising durability.
- No Sewing Machine Required: This is the biggest win. You don’t need any prior sewing experience or special equipment.
- Speed and Convenience: Unlike traditional hemming, which can take an hour or more, fabric glue hemming can be done in under 30 minutes (plus drying time).
- Cost-Effective: Fabric glue is inexpensive, and you likely already have some of the other materials needed around the house. This saves you money compared to tailoring.
- Adjustable: For most fabric glues, you have a window of time to reposition the fabric if you make a mistake, making it forgiving for beginners.
- Durable Results: When applied correctly, fabric glue creates a strong bond that can withstand washing and regular wear, maintaining the integrity of your hem.
- Clean Finish: This method can achieve a smooth, seamless look, especially if you’re careful with your application.
What You’ll Need: Your No-Sew Hemming Toolkit
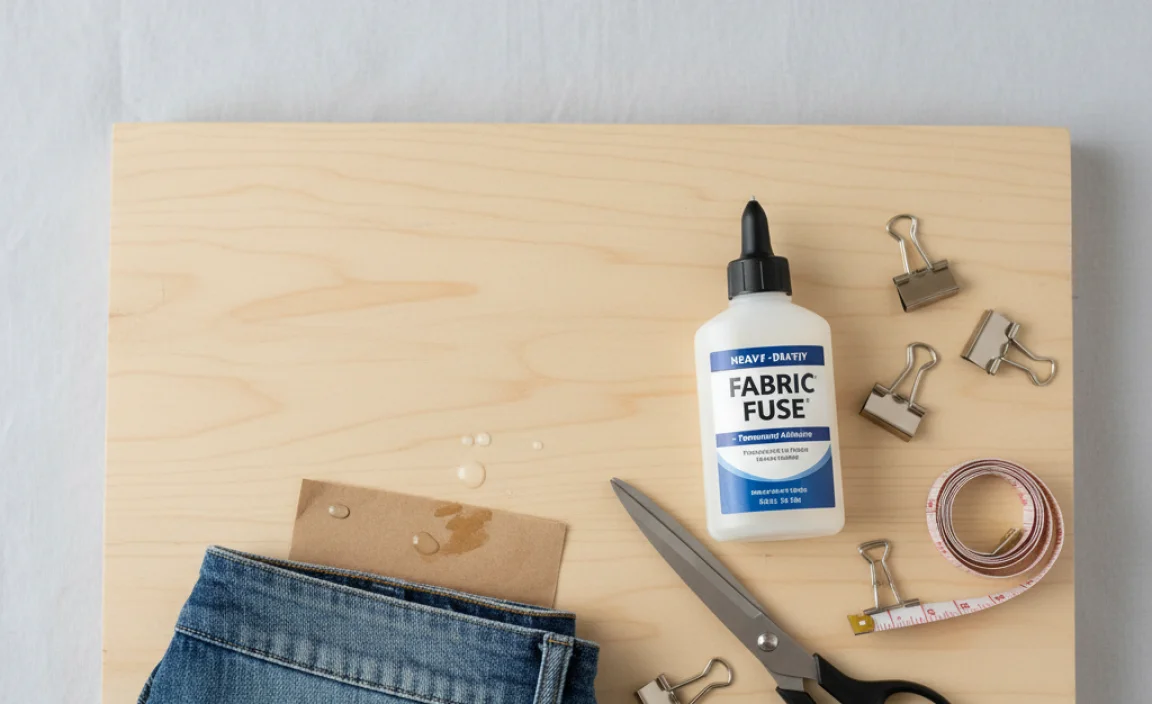
Gathering the right materials is key to a successful and frustration-free hemming project. Don’t worry, there’s nothing complicated here!
Essential Supplies:
- The Baggy Jeans: Your victim for transformation!
- Fabric Glue: Choose a high-quality fabric glue specifically designed for textiles. Look for options that are permanent, flexible, and washable. Brands like Aleene’s Fabric Fusion, Dritz E-6000 fabric glue, or Gorilla Fabric Glue are good choices. Read reviews to see which ones hold up best to washing and wear. Some options are clear, while others dry white, so consider your denim color.
- Sharp Fabric Scissors: A good pair of scissors will ensure a clean cut if you need to trim excess fabric.
- Measuring Tape or Ruler: For accurate measurements to ensure an even hem.
- Fabric Marker or Chalk: To mark your desired hemline.
- Iron and Ironing Board: Crucial for creating a crisp fold and activating some glues. Ensure your iron is clean.
- Cardboard or Plastic Insert: A thin piece of cardboard, a plastic ruler, or a thick piece of card stock to place inside the pant leg. This prevents glue from bleeding through to the other side.
- Clips or Heavy Books: To hold the fabric in place while the glue dries.
Optional Supplies:
- Seam Ripper: If you want to remove the original hem for a cleaner look.
- Hemming Tape (Temporary): For holding the fold in place before applying glue, especially if you’re new to this.
Step-by-Step Guide: Hemming Your Baggy Jeans with Fabric Glue
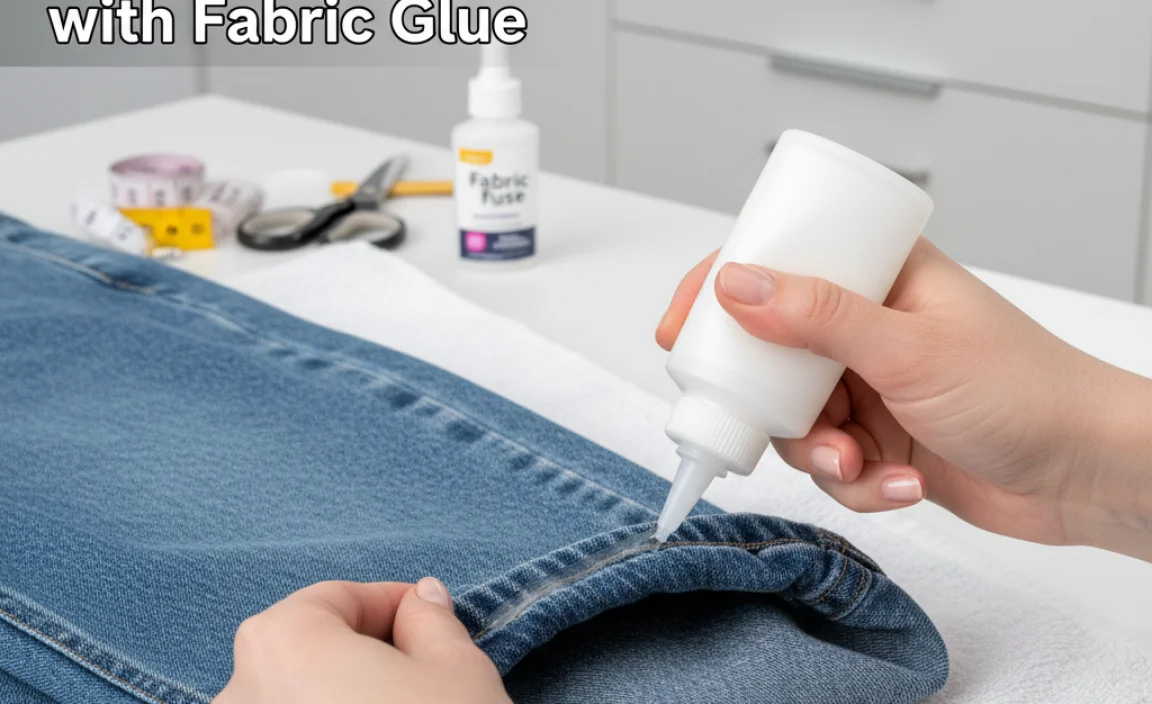
Let’s get started! Follow these simple steps to give your baggy jeans a perfectly tailored hem.
Step 1: Prepare Your Jeans and Workspace
Before you start cutting or gluing, make sure your denim is clean and dry. Any dirt or residue can affect the glue’s adhesion. Lay your jeans flat on a clean, hard surface. Ensure you have good lighting and enough space to work comfortably. Clear your ironing board and have all your supplies within easy reach.
Step 2: Determine Your Desired Length
This is where you figure out how short you want your jeans to be. Try them on:
- Put on the jeans and the shoes you typically wear with them.
- Stand in front of a mirror.
- Gently pull the excess fabric at the bottom of each leg upwards.
- Pin or hold the denim at your desired hem length. Start with a slightly longer hem than you think you want; you can always trim more later.
Once you have your desired length, take the jeans off carefully, keeping the fold in place as much as possible. Lay them flat again, smoothing out the fabric.
Step 3: Mark Your Hem Line
With the jeans still laid flat and the fold held in place, use your fabric marker or chalk to mark the inside of the fold line. You’re essentially marking where the new bottom edge of your jeans should be. Let’s say you want to lose 3 inches of length. You’ll want to create a new hem that is about 1.5 to 2 inches wide, including the fabric you’ll fold up. So, measure 1.5 to 2 inches up from the original bottom edge of the jeans and mark your line. Make sure the line is straight all the way across the leg opening.
Tip: For a truly even hem, measure from the crotch seam down to your marked line on both the front and back of each pant leg to ensure consistency.
Step 4: Create a Clean Fold
Now, you need to create a crisp fold at your marked line. This is where the iron is your best friend.
- First Fold: Fold the bottom of the pant leg upwards along your marked line. Press it firmly with your iron. This creates your initial hemline.
- Second Fold (Optional but Recommended): For a more finished and durable hem, especially if you’ve removed the original hem, you’ll want to create a double fold. Fold the raw edge of the fabric up again, tucking it just inside your first fold. The goal is to hide the raw edge completely. Press this fold firmly with your iron. This creates a clean, narrow hem that will be secured by the glue. The width of this second fold should typically be about 1/2 to 3/4 inch.
Important: If you chose to remove the original hem, now is the time to do it with a seam ripper before making your new folds. If your jeans have a “distressed” or frayed hem, you might want to skip removing it and simply fold up the desired amount, ironing flat.
Step 5: Insert Your Barrier
This step is crucial to prevent glue from sticking to the inside of your pant leg. Slide your cardboard, plastic ruler, or card stock inside the pant leg, positioning it between the two layers of fabric you’ve just folded. Make sure it covers the entire area where you’ll be applying glue, extending slightly beyond your marked hemline.
Step 6: Apply the Fabric Glue
Follow the specific instructions on your fabric glue packaging, as application methods can vary slightly between brands.
- Apply to One Layer: Typically, you’ll apply a thin, even bead of fabric glue along the top edge of the inner fold, directly onto the fabric that will be glued down. For a double fold, apply it to the raw edge you tucked in. Avoid using too much glue, as it can soak through and create a stiff or visible line.
- Spread Evenly: If necessary, use the nozzle of the glue tube or a toothpick to spread the glue into a consistent, thin layer. The goal is even coverage without globs.
Pro Tip: Some crafters recommend applying a thin layer of glue to both surfaces that will be joined for extra strength, but always check your glue’s instructions first. For most fabric glues used for hemming, applying to one surface is sufficient and prevents excess glue.
Step 7: Press and Secure the Hem
This is where patience is rewarded. Carefully press the folded fabric down onto the glued surface.
- Align and Press: Line up the folded hem precisely. Press it down firmly onto the glued area.
- Hold it: Use fabric clips, heavy books, or binder clips to hold the hem securely in place while the glue dries. Ensure the clips don’t leave deep indentations on the outside of the fabric. If using books, stack them on top of the hemmed area.
Step 8: Allow to Dry Completely
This is the most critical waiting period. Fabric glue needs time to cure properly to achieve its maximum strength.
- Check Drying Time: Refer to your fabric glue’s packaging for the recommended drying time. This can range from a few hours to 24 hours or more for a full cure. Resist the urge to test the hem’s strength too early!
- Keep it Flat: Leave the jeans lying flat with the hem secured throughout the drying process. Avoid moving or wearing them.
Once dry, remove the clips or books. Gently tug on the hem to ensure it’s secure. You can also re-iron the hem (on the inside, if possible) to reinforce the bond and create a crisp line.
Step 9: Repeat and Finish
Follow the same steps for the other pant leg. Once both legs are hemmed and completely dry, try on your newly fitted jeans!
Pros and Cons of Using Fabric Glue for Hemming
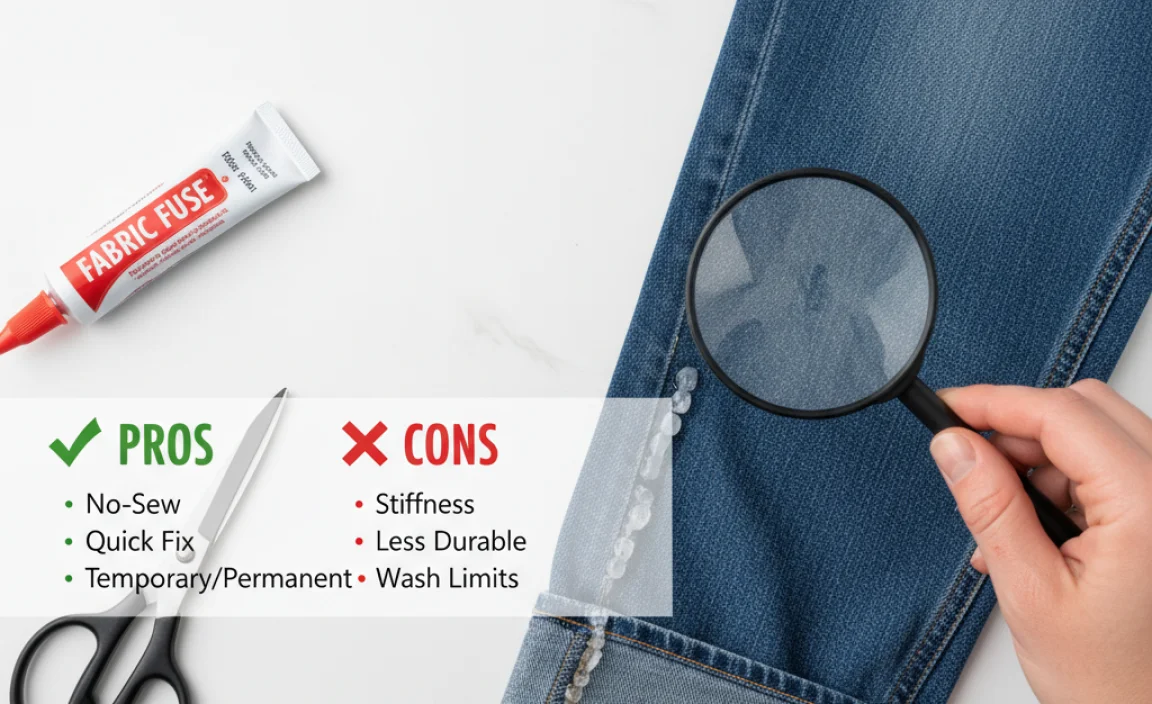
Like any crafting method, fabric glue has its advantages and disadvantages. Understanding these can help you decide if it’s the right solution for your needs.
| Pros | Cons |
|---|---|
| No sewing skills or equipment needed | Takes time for glue to cure (cannot be worn immediately) |
| Fast and convenient for quick fixes | Can create a slightly stiffer feel than sewn hems if too much glue is used |
| Cost-effective alternative to tailoring | Durability can vary by glue brand and application; may require touch-ups over time |
| Flexible bond that allows for some movement | Glue can sometimes seep through thinner fabrics if not applied carefully |
| Achieves a clean, professional-looking finish when done correctly | Some glues may yellow or become brittle over time, especially with frequent washing or exposure to sunlight |
| Easy to correct mistakes if done while glue is still wet | May not be suitable for very delicate fabrics or heavy-duty workwear requiring extreme durability |
Factors Affecting Fabric Glue Hem Durability
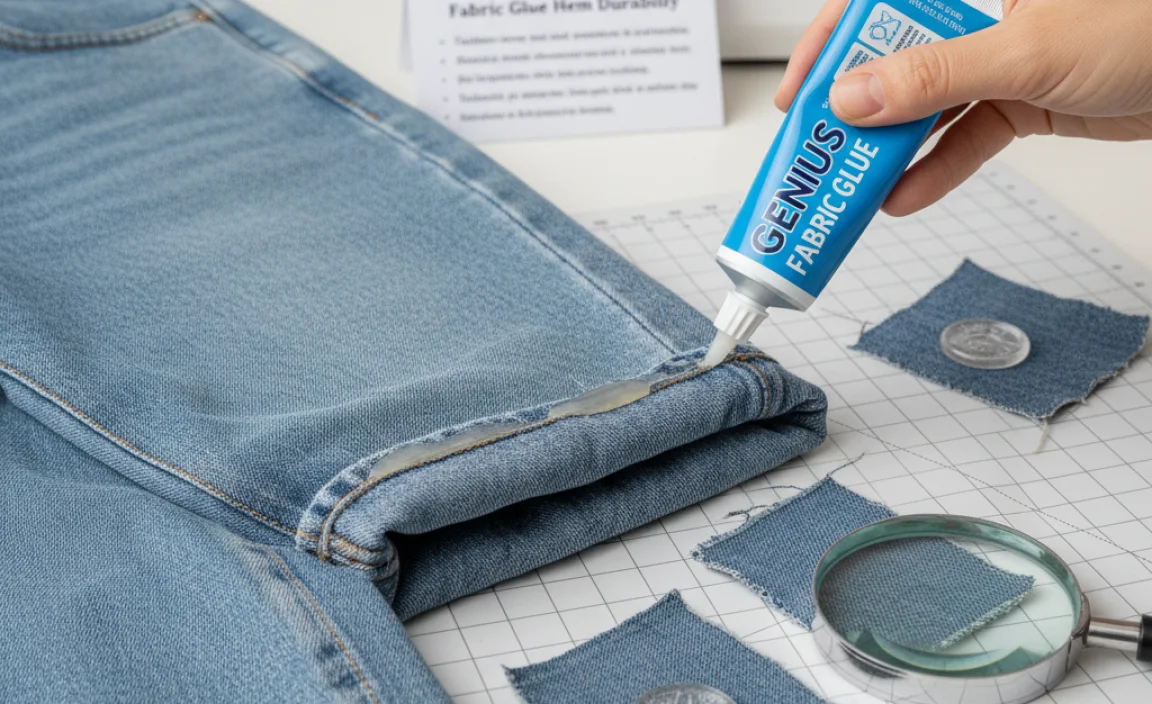
The success and longevity of your fabric-glued hem depend on several factors. Knowing these can help you achieve the best results.
- Type of Fabric Glue: As mentioned, always use a glue specifically formulated for fabric. Craft glues or super glues not designed for textiles will likely fail, become brittle, or damage the fabric. Reputable brands offer better adhesion and flexibility. For long-lasting results, look for permanent, washable, and flexible formulations. For a deep dive into fabric adhesives, the FabricLink.com resource on fabric adhesives provides useful context about different types and their uses.
- Surface Preparation: Ensure the denim is clean and dry. Any oils, dirt, or softener residue can interfere with the glue bonding to the fibers.
- Application Technique: Applying a thin, even layer of glue is crucial. Too much glue can seep through, create a thick, stiff line, and may not cure properly, leading to a weaker bond. Applying to a clean, folded edge as per instructions is key.
- Adequate Drying and Curing Time: This is non-negotiable! Rushing the drying process will compromise the bond. Always allow the glue to cure fully according to the manufacturer’s instructions. Some glues reach handling dry in an hour but need 24-72 hours for a full cure.
- Washing and Care: Once the hem is fully cured, treat it gently. Wash jeans inside out in cold water on a gentle cycle. Air drying or tumble drying on low heat is recommended to extend the life of the glued hem compared to high heat. Avoid harsh detergents.
- Fabric Type: While denim is generally forgiving, different washes or blends of denim might react slightly differently. Very thick or coated denims might require a stronger, more specialized fabric glue.
Frequently Asked Questions (FAQ)
How long will a fabric glue hem last?
With proper application and care, a fabric glue hem can last for several washes and wear cycles. However, it may not be as durable as a traditionally sewn hem over the very long term, especially with rough wear or frequent high-heat washing. Periodic touch-ups might be necessary.
Can I remove the original hem before using fabric glue?
Yes, you can. Using a seam ripper to carefully remove the original stitches allows you to create a clean, custom fold and a more seamless look. If you’re aiming for a frayed or distressed hem, you might skip this step and simply work with the existing hem.
What if I use too much glue?
If you use too much glue, it might seep through the fabric, creating a stiff or visible line. In this case, try to gently blot away any excess with a damp cloth while the glue is still wet. If it’s already started to dry, you might need to let it cure and then carefully try to scrape off excess, or live with the slightly stiffer hem. Using just enough glue to coat the surface thinly is best.
Can I iron my jeans after hemming with fabric glue?
Yes, you can gently iron the hem area to reinforce the bond and ensure a crisp finish. It’s best to iron from the inside of the pant leg or use a pressing cloth on the outside to avoid direct contact with the glue itself. Use a low to medium heat setting.
Will the fabric glue be visible on my jeans?
A well-applied fabric glue should not be visible from the outside of the jeans. It dries clear or translucent for most brands and is located on the inside fold. If it’s applied too thickly or seeps through, it might be visible as a slight stiffness or sheen.
Is this method suitable for all types of jeans?
This method works best on standard denim. For very thick or very thin, delicate fabrics, your results might vary. Denim’s sturdy structure makes it ideal for fabric glue hemming.
Can I wash AND dry my jeans after hemming?
Yes, once the glue has fully cured (usually 24-72 hours), you can wash and dry your jeans. For maximum longevity, wash them inside out in cold water on a gentle cycle and tumble dry on low heat or air dry. High heat can sometimes break down adhesives over time.
Conclusion
Fixing baggy jeans doesn’t have to be a daunting or expensive task. The fabric glue method offers a remarkably simple, effective, and accessible way to achieve a perfect hem without touching a needle and thread. By following these straightforward steps, you can confidently alter your denim to fit you perfectly, giving your favorite jeans a new lease on life.
Remember to choose a quality fabric glue, prepare your denim properly, mark your lines accurately, and, most importantly, allow ample drying time for the strongest bond. With a little patience and a few basic supplies, you’ll soon be enjoying jeans that fit just right, all thanks to this genius no-sew solution. Happy hemming!


