Yes, you can easily hem baggy jeans at home with a few simple tools and steps, achieving a clean, custom fit without a tailor. This guide makes it straightforward to fix jeans that are too long or have an undesirable drape, saving you money and giving you confidence in your perfect fit.
Finding jeans that fit just right can feel like a quest. Sometimes, even when they fit your waist and hips, they end up looking baggy or just too long. This can make even your favorite pair of denim look less than flattering, pooling around your ankles or creating an unflattering silhouette. The good news is you don’t need a sewing machine or professional skills to fix this. With some basic supplies and a little patience, you can transform your baggy jeans into a perfectly tailored fit right in your own home. We’ll walk through each step, making it simple and stress-free.
Why Hemming Your Baggy Jeans is a Great Idea

Baggy jeans can be a style statement, but when they’re unintentionally sloppy due to length or excess fabric, they can detract from your overall look. Hemming offers a practical solution that:
- Improves Fit and Silhouette: A proper hem ensures your jeans fall correctly, enhancing your natural body shape rather than obscuring it.
- Extends the Life of Your Jeans: Worn-out hems can fray and unravel. Repairing or shortening them can prevent further damage.
- Saves Money: Tailoring can be expensive. Learning to do it yourself is a cost-effective way to maintain your wardrobe.
- Customizes Your Style: You can choose exactly how you want your jeans to look and how they should sit on your footwear.
What You’ll Need: Your Hemming Toolkit
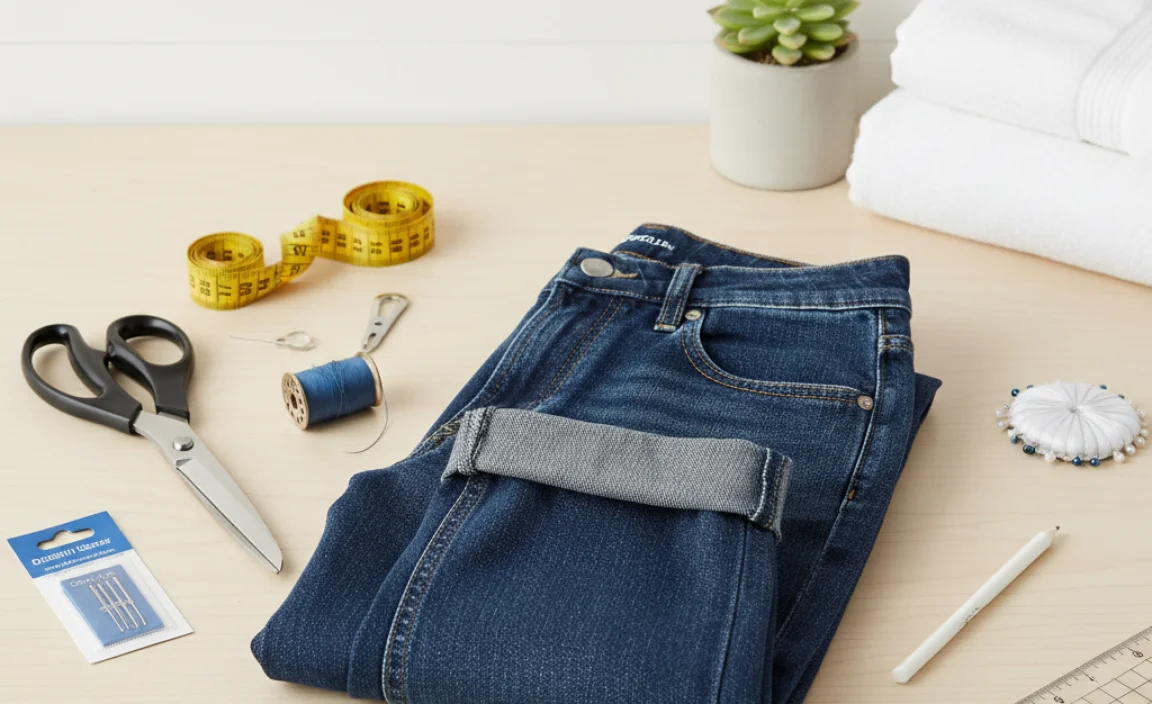
Gathering the right tools is the first step to a successful hemming project. You likely have most of these items already:
| Tool | Description & Purpose |
|---|---|
| Measuring Tape or Ruler | Essential for accurately measuring the desired length. Fabric measuring tapes are flexible and easiest to use. |
| Fabric Scissors | Sharp scissors specifically for fabric ensure a clean cut, preventing snags and fraying. |
| Fabric Chalk or Disappearing Ink Pen | For marking your cut line on the denim. Chalk is easy to see and brush off. |
| Pins | To hold the folded hem in place before sewing. Straight pins or tailor’s pins work well. |
| Iron and Ironing Board | Crucial for pressing creases and securing folds, making sewing much easier and more precise. |
| Thread | Choose a color that closely matches your jeans’ existing stitching, or a contrasting color if you want a visible hem detail. |
| Needle | A standard sewing needle is sufficient for hand-sewing. If using a machine, ensure it’s set up for denim. |
| Seam Ripper (Optional) | Useful if you want to remove the original hem and reattach it for a factory-like finish. |
| Sewing Machine (Optional) | Speeds up the process significantly and creates a very durable stitch. Use a denim needle for best results. |
Step-by-Step Guide: How to Hem Baggy Jeans at Home
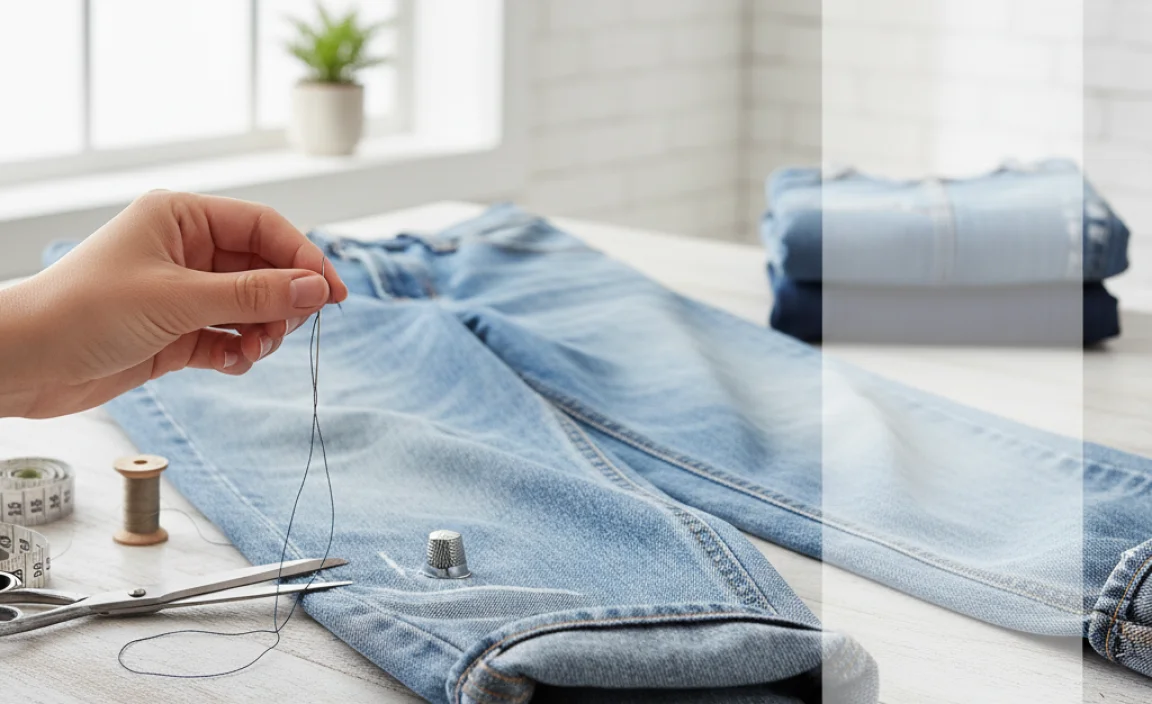
Let’s get those jeans fitting perfectly. This method focuses on a simple, clean finish that works for most styles.
Step 1: Determine Your Desired Length
Put on the jeans you want to hem and the shoes you’ll most often wear with them. Stand in front of a mirror or have someone help you. Decide where you want the hem to fall. For a classic look, aim for the hem to just graze the top of your shoe. If you prefer a slightly shorter look, mark a bit higher. Feel free to try different lengths to see what works best for your style.
Tip: Don’t mark directly on the jeans yet. Use your hands or pins to get a feel for the length.
Step 2: Measure and Mark
Once you’ve found your ideal length, take the jeans off and lay them flat on a clean surface. Make sure they are smooth and free of wrinkles. Measure from the crotch seam down to where you want the new hem to be. Mark this point with fabric chalk or a disappearing ink pen. You’ll then fold the excess fabric up to this mark. Ensure you factor in the amount you’ll need for your new hem fold. A good rule of thumb for a simple hem is to add about 1 to 1.5 inches for the cuff, so mark your cut line 1 to 1.5 inches ABOVE your desired final length.
Example: If you want the jeans to end at 30 inches from the crotch, and you want a 1-inch finished hem, mark your final hem line at 30 inches FROM THE CROTCH. Then, mark your CUT LINE at 31 inches FROM THE CROTCH.
Consistency is Key: Measure and mark this point on both the left and right legs. Ensure the marks are at the same height from the floor when the jeans are laid flat, or measure from the inseam (crotch seam) down to ensure accuracy.
Step 3: Cut the Excess Fabric
Using your sharp fabric scissors, carefully cut off the excess fabric along the line you marked in Step 2. It’s better to cut too much than too little, as you can always trim more later if needed. Try to make the cut as straight and even as possible.
For a Straight Cut: If you’re having trouble getting a perfectly straight line, consider using a ruler or a sturdy edge as a guide.
Step 4: Prepare the New Hem
Now, take the cut edge of one leg and fold it upwards towards the inside of the jeans. This fold should reach up to the line you initially marked as your desired finished length (the one measured from the crotch). Press this fold firmly with your iron. This creates your new hemline and helps it lie flat.
Double Fold for Durability: For a cleaner and more durable hem, especially on thinner denim, you can create a double fold. First, fold up about 0.5 inches of the raw edge towards the inside, press it. Then, fold this entire section up again to meet your desired finished length mark. Press firmly again. This encases the raw edge.
Step 5: Pin the Hem in Place
With the hem folded and pressed, use pins to secure it in place. Place pins perpendicular to the folded edge, about every 1-2 inches. Ensure the fabric lies flat and there are no puckers. The pins should go through all layers of the folded hem, holding it firmly against the main body of the jeans.
Check for Evenness: Flip the jeans over and check the other leg to ensure the hem is at the same height. Adjust pins as needed.
Step 6: Sew the Hem
This is where your chosen sewing method comes in. Whether by hand or machine, the goal is a secure and neat stitch.
Option A: Hand Sewing
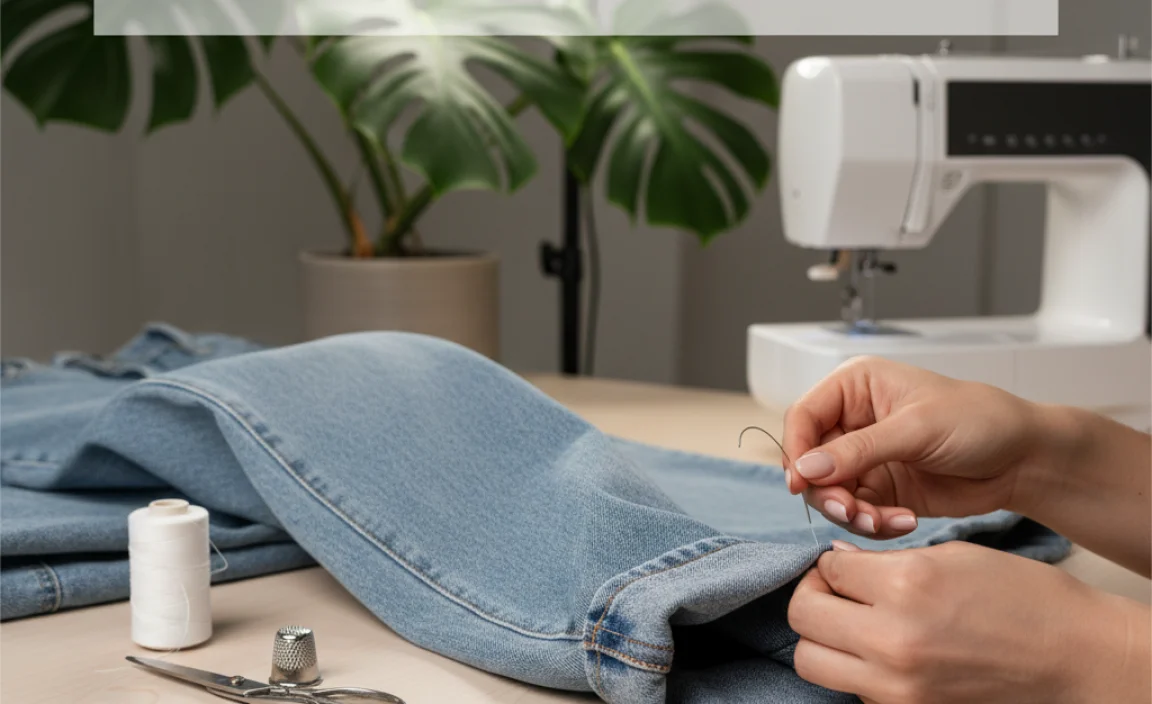
Thread your needle with a length of thread that’s about an arm’s length. Tie a knot at the end. You can use several sewing stitches, but a blind hem stitch or a whipstitch are common and effective:
- Blind Hem Stitch: This stitch is designed to be almost invisible from the outside. Take a small amount of fabric from the inside of the folded hem, then take a tiny stitch in the main jean fabric, creating a small loop. Repeat, alternating between the folded hem and the main fabric. This locks the hem without visible stitches on the outside.
- Whipstitch: A simpler stitch where you loop the thread over the folded edge and catch a small bit of the main jean fabric, pulling the thread through. This will be visible stitching on the outside. Aim for small, even stitches.
Work your way around the entire hem, ensuring the stitches are close together for strength. When you finish, loop your thread a couple of times and tie a secure knot close to the fabric.
Option B: Machine Sewing
Set up your sewing machine with a needle appropriate for denim (a jeans needle or a heavy-duty needle). Use a thread color that matches your jeans. Set your stitch length to a medium setting (around 2.5mm). Starting just before where you tied off your initial pins, carefully sew along the top edge of the folded hem. Keep the fabric flat as you feed it through the machine. Go slowly, especially when you reach the thick seams of the jeans. Sew all the way around, backstitching a few stitches at the beginning and end to secure the thread.
Step 7: Finishing Touches
Once sewn, remove all pins. Press the hem firmly with your iron one last time. Trim any loose threads. If you used fabric chalk, gently brush it off. Turn the jeans right side out and admire your work!
Advanced Technique: Keeping the Original Hem
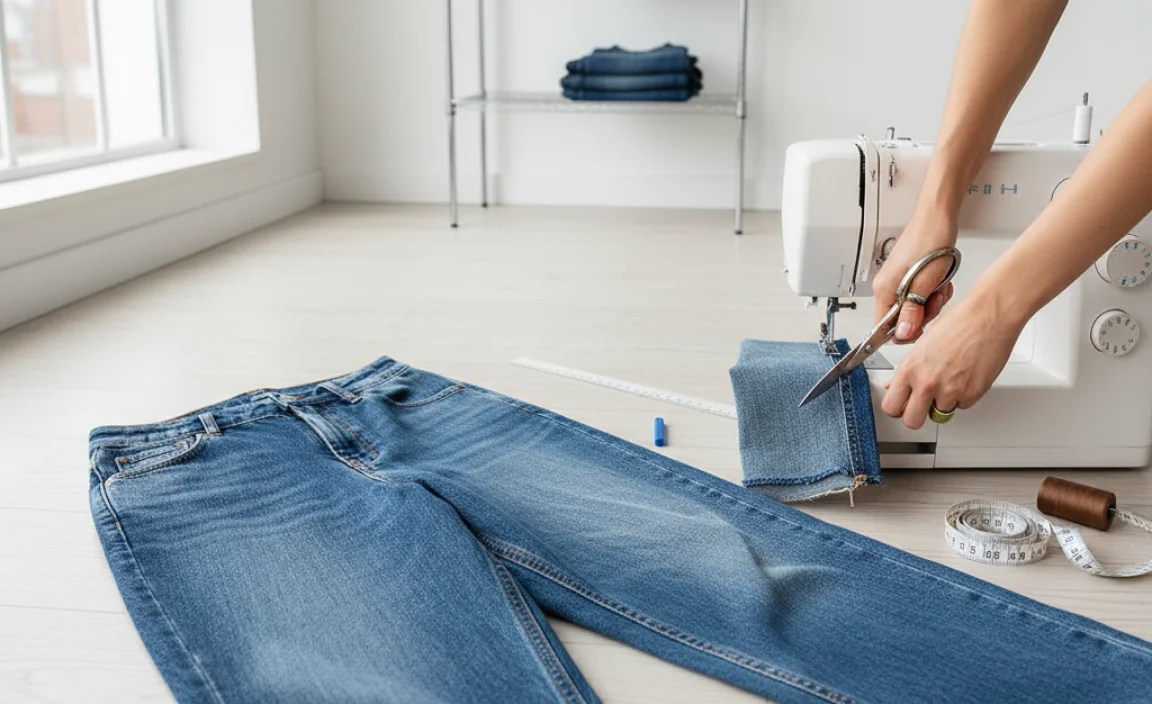
If you want your hem to look exactly like the original factory finish, complete with the distressed or faded edges, you can reattach the original hem. This is a bit more involved but yields a very authentic look.
- Measure and Mark: Determine your desired length as usual. Mark the cut line about 0.5 inches BELOW the original hem.
- Remove Original Hem: Carefully use a seam ripper to undo the stitching of the original hem. You’ll be left with the long, original hem band and the rest of the jean leg above it.
- Trim Jean Leg: Cut off the excess fabric from the bottom of the jean leg, leaving about 0.5 inches of fabric below the point where the original hem was attached.
- Fold and Press: Fold this remaining small amount of fabric upwards towards the inside of the jean leg, creating a new raw edge. Press it flat with your iron.
- Attach Original Hem: Place the original hem band back onto the bottom of the jean leg, aligning the raw edge of the leg with the top edge of the original hem band. Pin it securely.
- Sew: Hand-sew or machine-sew the original hem band back onto the leg. Try to follow the original stitch line for the most natural look.
Resource: For a visual guide on reattaching a hem, resources from institutions like the Penn State University Libraries’ Textile and Clothing Collections often provide historical context and insights into garment construction, which can be helpful for understanding these techniques.
Troubleshooting Common Hemming Issues
Even with the best intentions, a few hiccups can occur. Here’s how to handle them:
| Problem | Solution |
|---|---|
| Uneven Hemline | Don’t panic! If it’s slightly uneven after cutting, you can trim more carefully. After sewing, if you notice a slight dip, you can iron it to try and even it out. For significant unevenness, you might need to unpick and re-pin/re-cut. |
| Stitches are Visible from the Outside | If you don’t like the visible stitches, you can either try a blind hem stitch next time or consider a different method like hemming tape (which requires ironing). For now, you can carefully stitch from the inside to minimize visibility. |
| Fabric Puckering | This often happens if the fabric isn’t pulled taut while sewing, or if the tension on the sewing machine is off. Ensure you’re not stretching the fabric as you feed it through the machine. Re-sewing with even tension can often fix this. |
| Thread Color Doesn’t Match | If you’ve finished and the thread color is too noticeable, you can try to carefully unpick the stitches and re-sew with a better-matching thread. For a deliberate look, contrasting thread can add a stylish detail. |
| The Fold is Too Bulky | If you used a double fold and it feels too thick, especially on thinner denim, you can try a single fold. Just fold up enough fabric to prevent fraying (about 0.5 inches) and sew that edge. |
Hemming by Hand vs. Sewing Machine: Pros and Cons
Choosing between hand sewing and a machine depends on your tools and preferences.
| Method | Pros | Cons |
|---|---|---|
| Hand Sewing | Accessible (no machine needed), allows for precision, quiet, portable. | Time-consuming, can be less durable if not done carefully, stitches might be more visible. |
| Sewing Machine | Fast, durable stitches, consistent results, professional finish. | Requires owning a machine, can be noisy, needs practice to master, might be tricky on thick seams. |
Frequently Asked Questions About Hemming Jeans
Q1: How much fabric should I leave for the hem?
For a clean, folded hem, leave about 1 to 1.5 inches of fabric below your desired finished length line. This allows for a folded edge that is easy to sew and durable.
Q2: What kind of needle should I use for sewing jeans?
For hand sewing, a standard sharp sewing needle is usually fine. For a sewing machine, it’s highly recommended to use a denim needle or a heavy-duty needle (size 90/14 or 100/16) to easily go through the thick denim fabric and avoid breaking the needle.
Q3: Can I hem jeans without cutting them?
You can use temporary hemming methods like hemming tape or iron-on hem aids, which adhere the fabric together. However, for a permanent and durable hem, sewing is necessary.
Q4: How do I make sure my hems are even?
Lay the jeans flat and measure from the crotch seam down to your marked hem line on BOTH legs. Ensure these measurements are identical. When pinning, check that the folded edge aligns correctly on both sides. Stand up in them with your shoes on to double-check the length.
Q5: What if my jeans are stretchy denim?
With stretchy or knit denim, be extra careful not to stretch the fabric as you sew. You might want to use a ballpoint needle on your sewing machine and a slightly longer stitch length. Hand sewing with a flexible stitch can also work well.
Q6: How do I hem jeans without making them look “homemade”?
Use matching thread, make your stitches small and even, and press your folds firmly with an iron. For the most professional look, consider reattaching the original hem or using a blind hem stitch.
Conclusion
Learning how to hem your baggy jeans at home is a wonderfully practical skill that puts control of your wardrobe right in your hands. You’ve learned how to measure, mark, cut, fold, and sew to achieve a perfect fit, whether you prefer a simple stitch by hand or a quick run through a sewing machine. Don’t be afraid to experiment; the beauty of hemming your own clothes is the freedom to get it exactly how you like it. With these steps, you can transform your ill-fitting denim into your new favorite pair, saving time and money while boosting your style confidence. Happy hemming!


