Struggling with jeans that are too long or baggy? This guide shows you how to easily hem them yourself, giving them a perfect fit without complex skills. You’ll get professional-looking results with simple tools and clear steps, saving tailoring costs and boosting your style.
It’s frustrating when your favorite jeans are just a bit too loose or drag on the floor. That perfect pair can quickly become a tripping hazard or simply look unkempt. But what if I told you achieving a perfectly fitted hem on your baggy jeans is easier than you think? You don’t need to be a sewing expert to tackle this common clothing issue. This guide is designed to walk you through, step-by-step, with proven, effortless methods. We’ll cover everything you need to know to get your jeans looking and fitting exactly how you want them. Get ready to revive your denim!
The Magic of a Perfect Hem: Why It Matters
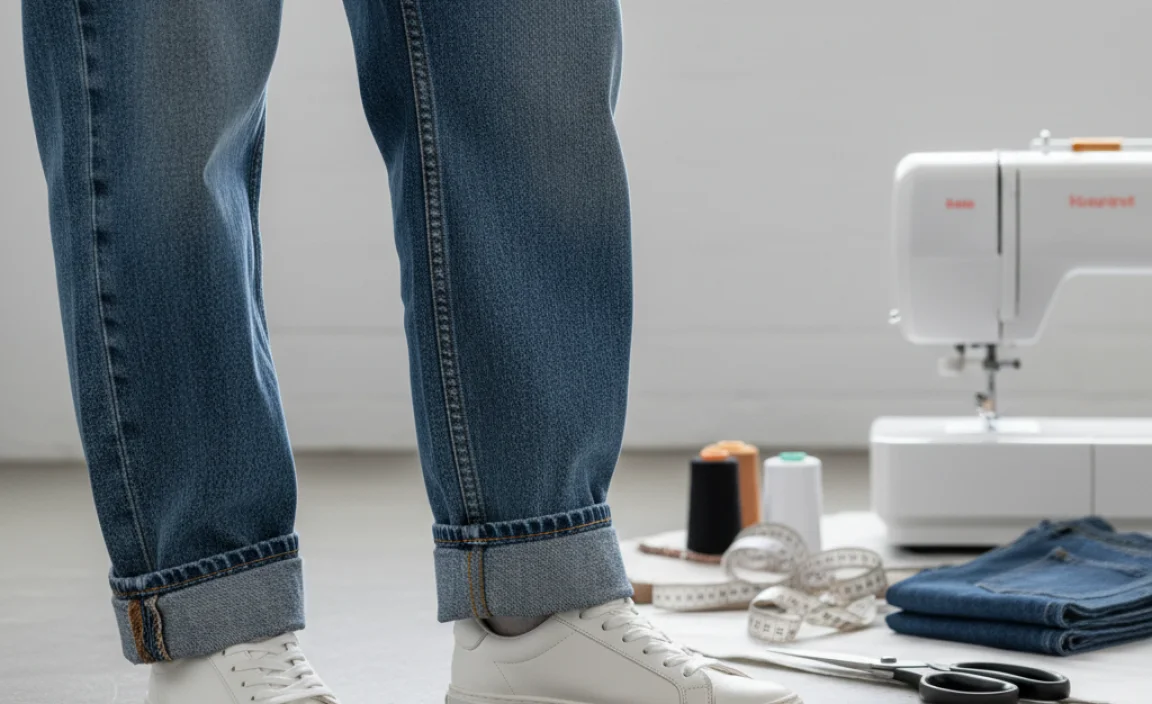
A well-hemmed pair of jeans is more than just a garment that fits. It’s about confidence, style, and making a great impression. Baggy jeans can swallow your frame, make you appear shorter, and just feel sloppy. When the hemline is right, your jeans will complement your shoes, elongate your legs, and create a polished silhouette. It’s a simple alteration that makes a massive difference in how you look and feel.
Understanding Your Jeans: Fabric and Fit
Before you grab your scissors, take a moment to look at your jeans. Are they stiff denim or a softer blend? This can affect how they drape and how easy they are to hem. Most modern jeans are a cotton-denim blend, making them fairly forgiving. The fit also matters. If they’re just long, you might only need to adjust the hem. If they’re also baggy through the leg, you might consider a slight taper along with the hem for a truly custom fit. For now, we’ll focus on the hem, a foundational step for any denim adjustment.
Gathering Your Hemming Toolkit
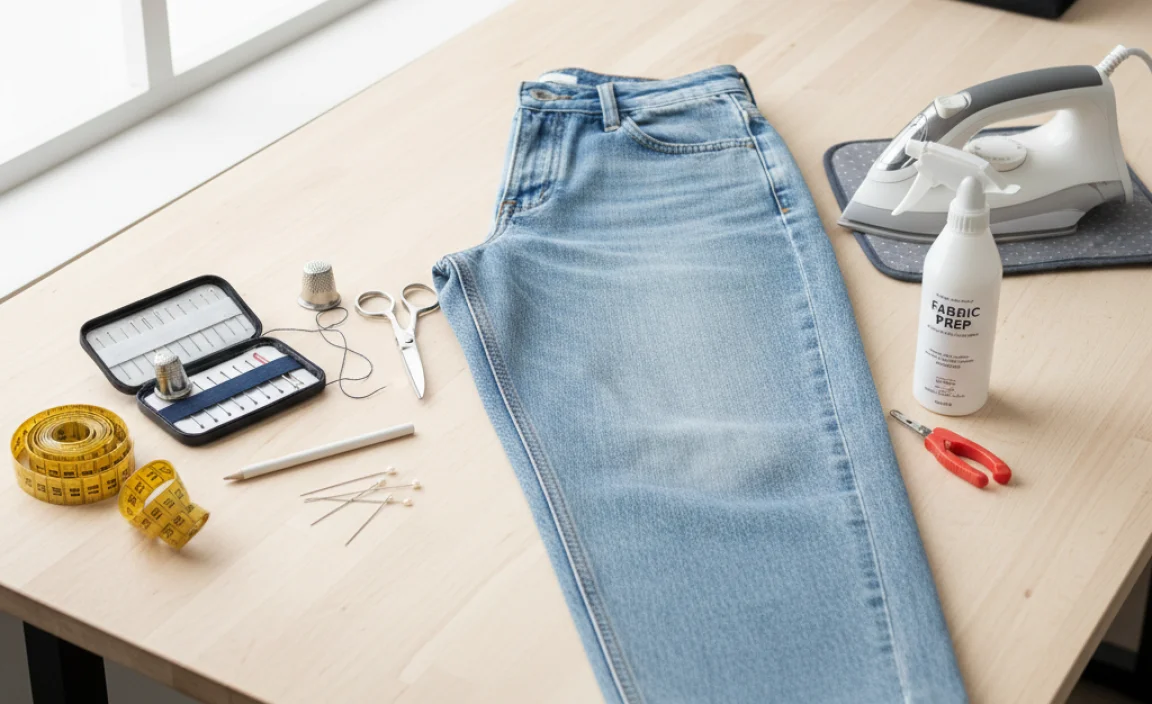
The good news is you don’t need a full tailor’s shop to hem your jeans. A few basic items will set you up for success. Having the right tools makes the job smoother and leads to a neater finish. I always recommend assembling everything before you begin, so you’re not searching for a pin halfway through.
Essential Tools for Hemming Jeans
- Measuring Tape: For accurate measurements. A flexible tailor’s tape measure is ideal.
- Fabric Scissors: Sharp scissors are crucial for a clean cut. Don’t use dull scissors, or you’ll get a ragged edge.
- Fabric Marker or Chalk: To mark your desired hemline. Washable fabric markers are best.
- Straight Pins: To hold the fabric in place while you work.
- Iron and Ironing Board: To press seams and crisp up your hem.
- Sewing Machine (Optional but Recommended): For a durable and professional-looking stitch.
- Thread: Choose a color that matches your jeans or the original thread.
- Seam Ripper: If you need to remove the original hem to preserve its look.
Method 1: The “Cut and Sew” Method (Machine Sewing)
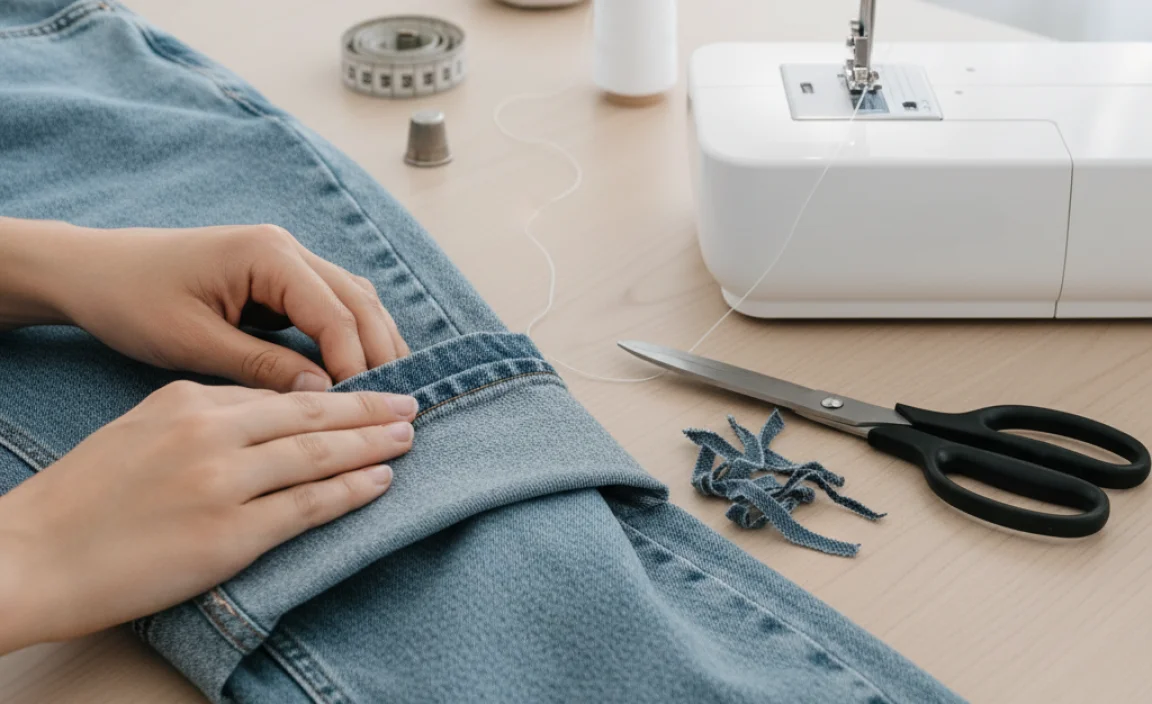
This is the most common and durable method, especially if you want your jeans to look like they were professionally altered. It involves cutting off the excess fabric and then creating a new hem. For a truly authentic look, we’ll also discuss preserving the original hem. This method is great for most denim fabrics and provides a clean, lasting finish.
Step 1: Measure and Mark Your Hemline
Putting on your jeans is the best way to get the right length. You want to wear the shoes will you’ll typically wear with the jeans. Turn them inside out. Standing in front of a mirror, decide where you want the new hem to fall. Use your measuring tape to measure from the top of your waistband down to where you want the hem, or simply mark the desired length while wearing them. A good rule of thumb for a clean look is for the hem to just skim the top of your shoe or sneaker. If you want a slightly more casual, stacked look, allow a little extra length.
Once you’ve decided, mark this point on one leg with your fabric marker or chalk. For example, if you’re taking off 2 inches, mark 2 inches up from the existing hem. Repeat this process precisely on the other leg. Ensure the marks are even. A slight difference can make your jeans look uneven when worn.
Step 2: Cut Off the Excess Denim
Lay one jean leg flat on a clean surface. Use your sharp fabric scissors to cut off the excess fabric at your marked line. Cut straight across. If you’re aiming for a casual, frayed look, you can cut slightly longer than your desired finished length to allow for fraying. For a clean hem, cut exactly at your mark. Repeat this on the other leg, ensuring you cut at the same length. It’s often helpful to measure from the inseam to ensure both legs are cut identically.
Step 3: Prepare the New Hem
Turn the jeans right side out. Take one leg and fold the raw edge up towards the inside by about 1/2 inch. Press this fold firmly with your iron. This creates a clean edge within the seam allowance. Now, fold it up again, this time by the desired finished hem length (e.g., if you cut off 2 inches and wanted a 1-inch hem, fold up 1 inch). Press this second fold firmly, ensuring the raw edge is completely enclosed. Pin the hem in place along the folded edge. Repeat this entire process on the other leg.
Some prefer to fold up the desired hem length twice without cutting, essentially creating a double-fold hem. This looks very professional and prevents fraying. For baggy jeans where you’re removing a significant amount of length, cutting off the excess first is usually more manageable.
Step 4: Sew the Hem
Set up your sewing machine with thread that matches your jeans. Use a straight stitch. You can also use a double needle for a professional, stretchy hem finish, mimicking the original look of many jeans. Place the pinned hem under the sewing machine’s presser foot. Sew slowly and steadily along the edge of the folded hem, right where the folded fabric meets the main body of the jeans. Backstitch at the beginning and end to secure the stitches. Remove the pins as you sew.
Tip: For the most authentic look, try to sew as close to the original twin needle stitch line as possible if you’re not using a double needle yourself. If you are using a double needle, you’ll likely be sewing a bit higher up, which is also perfectly acceptable and looks professional.
Step 5: Finish and Press
Once both legs are sewn, trim any loose threads. Give the hemmed area a final press with your iron. This sets the stitches and gives your jeans a crisp, finished look. Your baggy jeans are now perfectly hemmed!
Method 2: The “No-Sew” Iron-On Hem Tape Method
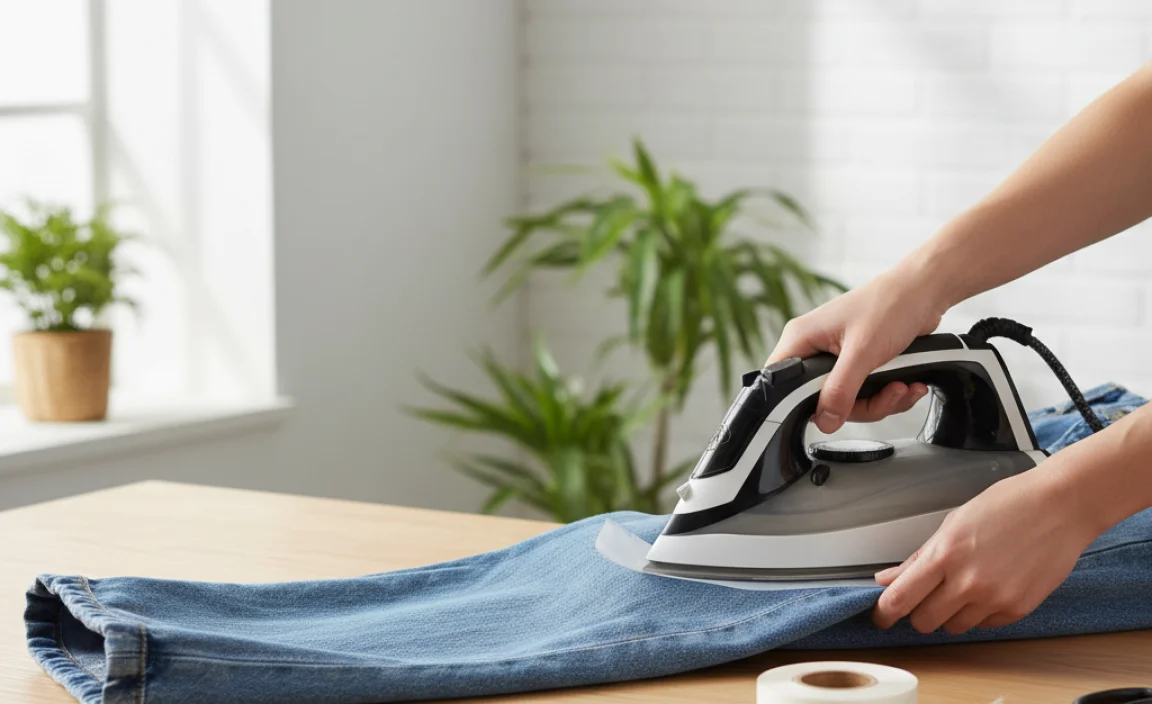
If you don’t have a sewing machine, or you need a quick fix, iron-on hem tape is a fantastic alternative. It’s simple, effective, and surprisingly durable for everyday wear. This method creates a clean hem without any stitching.
Step 1: Measure and Mark
Similar to the sewing method, put on your jeans with the shoes you’ll wear them with. Turn them inside out. Decide on your desired length and mark it clearly with a fabric marker or chalk on both legs.
Step 2: Prepare for Ironing
Lay one jean leg flat. Fold the raw edge up by about 1/2 inch and press with an iron. Then, fold it up again by your desired hem length, making sure the raw edge is tucked inside. Press this second fold to create a crisp crease. Pin the hem in place. Repeat on the other leg.
Step 3: Apply Hem Tape
Cut a piece of iron-on hem tape long enough to go around the entire circumference of the hem. You can find this tape at most fabric or craft stores. Follow the manufacturer’s instructions for your specific tape, as application can vary slightly. Generally, you’ll place the tape inside the second fold of your hem—between the two layers of fabric. Then, using a hot iron (no steam usually), press down firmly on the hem for the recommended amount of time. The heat will activate the adhesive on the tape, bonding the fabric layers together.
External Resource: For more details on using fusible web and hem tapes correctly, check out this guide from a reputable textile resource:
How to Use Fusible Web and Hem Tapes
Step 4: Test and Reinforce
Once cooled, gently tug on the hem to ensure it’s securely bonded. If it feels a little loose in spots, reapply the iron. You can also add a few small stitches by hand at the side seams for extra security, although this is often not necessary with good quality tape.
Method 3: Preserving the Original Hem (for a Vintage Look)
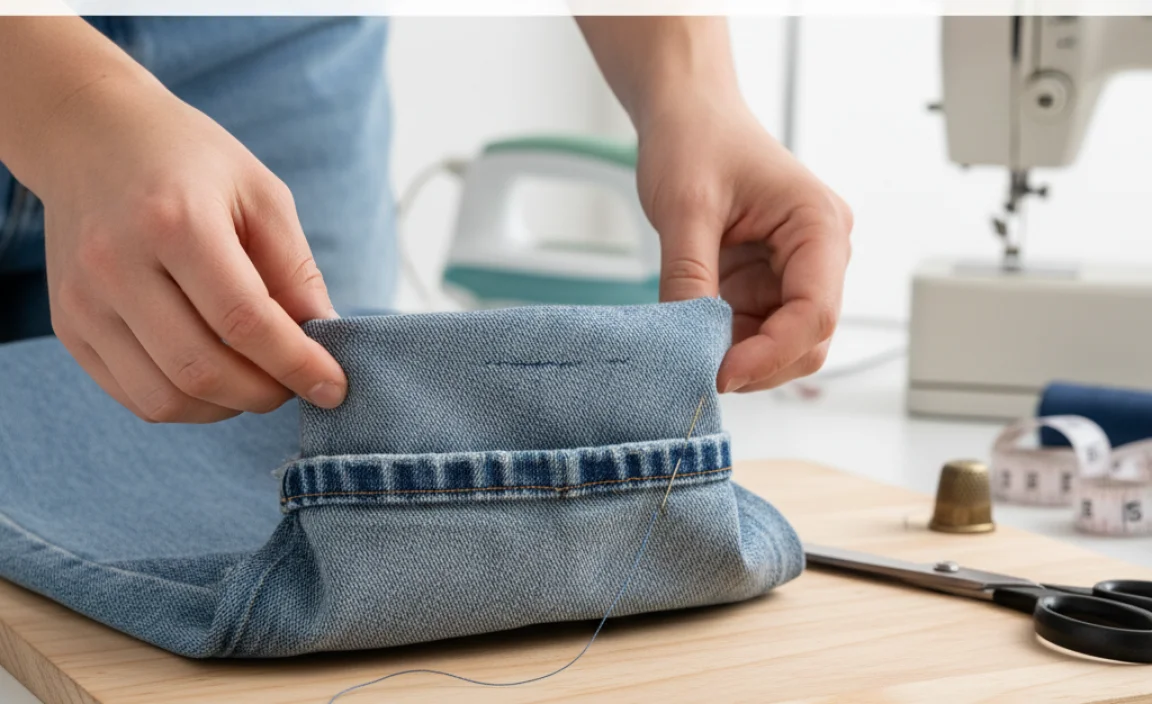
For that authentic, slightly worn look that’s popular with many denim styles, you can reuse the original hem. This is a fantastic way to maintain the character of your jeans, especially if they have a factory-finished “selvedge” or unique stitching. This method is slightly more involved but offers a unique appeal.
Step 1: Carefully Detach the Original Hem
Turn your jeans inside out. Using a seam ripper, very carefully detach the original hem from the leg of the jeans. Take your time! You want to remove the stitches that attach the hem to the main fabric without damaging the hem itself or the fabric. Work slowly and patiently, pulling out one stitch at a time. Once detached, the original hem will be loose. You can either leave the excess fabric attached for now, or carefully cut it off, preserving the original hemline.
Step 2: Measure and Reattach
With the original hem detached, you can now adjust the length. Try on the jeans with your desired shoes and determine how much extra length you need to cut from the leg above the original hem. Cut off the excess fabric from the leg. Now, you’ll reattach the original hem. Fold the raw edge of the leg fabric up to the desired length (usually about 1/2 inch) and press. Then, position the original hem against this folded edge so the bottom lines up. Pin it securely. The original hem will now sit on the outside of the leg.
Step 3: Sew the Original Hem Back On
Using your sewing machine (ideally with a double needle for an authentic look) or by hand, carefully sew the original hem back onto the leg. Aim to sew through the original stitch holes if possible, or as close to the original stitching line as you can. This will make it look like the hem was never removed. Backstitch at the start and end for durability. If you’re sewing with a regular needle, you might choose a slightly thicker thread to mimic the original look.
Pro Tip: If your original hem had a distinctive twin-needle stitch, using a twin needle on your machine will help you replicate that professional finish.
Comparing Hemming Methods
Choosing the right method depends on your desired outcome, available tools, and time. Here’s a quick comparison:
| Method | Pros | Cons | Best For |
|---|---|---|---|
| Machine Sewn (Cut & Sew) | Durable, professional, clean finish, versatile. | Requires sewing machine and basic sewing skills. | Permanent alteration, all jean types, desired clean look. |
| No-Sew (Hem Tape) | Fast, easy, no sewing machine needed, temporary option. | May not be as durable as sewing, can sometimes show up if not applied perfectly. | Quick fixes, beginners, temporary hemming, no access to sewing machine. |
| Preserve Original Hem | Authentic vintage look, preserves original character and stitching. | More time-consuming, requires careful stitching, may not be suitable if original hem is damaged. | Vintage jeans, selvedge denim, preserving original factory finish. |
Troubleshooting Common Hemming Issues
Even with the best intentions, you might encounter a few hiccups. Here’s how to iron them out:
- Jeans are still too long: No problem! You can repeat the hemming process, folding and sewing a little higher.
- Uneven hem: If you notice one leg is slightly longer after hemming, you can carefully try to adjust the hem on the longer side by a small amount. For significant unevenness, it might be best to start over on that leg.
- Stitches unraveling: Ensure you backstitched at the beginning and end of your seam. If stitches are still coming loose, you might need to reinforce with a few extra stitches by hand or re-sew the seam.
- Fabric fraying too much: If you want a clean hem but the denim is fraying excessively, consider using a serger to finish the raw edge before folding, or apply a small amount of fray-stop liquid to the raw edge.
- Iron-on tape not sticking: Ensure your iron is hot enough (check fabric settings), and press for the full recommended time. Clean the sole of your iron if it’s dirty, as residue can prevent proper adhesion.
Frequently Asked Questions About Hemming Jeans
How much length should I add for hemming?
When hemming, always factor in the allowance for your seam. For a standard hem, about 1 to 1.5 inches is usually sufficient. This allows for a double fold for a clean finish or enough fabric to secure the hem well.
Can I hem jeans for a bootcut or flare style?
Yes, you can. The process is the same, but you’ll need to be mindful of the flare. Lay the jeans flat and smooth out the fabric to ensure you’re marking and cutting evenly around the leg opening. You might need to adjust the hem length slightly differently for bootcut or flare jeans compared to straight-leg styles, depending on how they are intended to sit on your shoes.
How do I make my hem look professionally done?
For a professional look: use a sewing machine with a matching thread, opt for a double needle if your machine has one (this mimics the common jeans stitch), press every fold meticulously with an iron, and ensure your stitches are straight and even. Preserving the original hem is also a surefire way to get a professional, vintage look.
What if my jeans are stretchy?
For stretchy jeans, use a ballpoint or stretch needle on your sewing machine. Sew with a slightly shorter stitch length. When hemming, avoid stretching the fabric as you sew, as this can cause the hem to pucker when the stretch returns. A walking foot or a stretch stitch can also help prevent puckering. If using iron-on tape, ensure it’s suitable for stretch fabrics. For great results on stretch denim, a serger is ideal.
How do I hem jeans without any sewing at all?
The no-sew hem tape method is the easiest way to hem jeans without any sewing. You simply fold the fabric, insert the hem tape, and press with an iron to fuse the layers together. Fabric glue or hemming clips can also be temporary solutions, but they are less durable than iron-on tape.
Can I cut my jeans to make them shorter without hemming?
Yes, you can! If you’re going for a raw, frayed hem, you can simply cut the jeans to your desired length and then wash them. The edges will fray naturally. For a cleaner, more intentional fray, you can cut them to length and then use tweezers or scissors to pull out threads from the cut edge to encourage fraying. Be aware that raw hems can continue to fray over time and may require occasional trimming or finishing.
Learn More: For inspiration on different denim styles and how to achieve them, including raw hems, resources like The Drifter Shop’s guide to denim terms can be helpful.
Conclusion: Your Jeans, Your Fit
Headeding baggy jeans might seem daunting, but as you’ve seen, it’s entirely achievable with a few basic steps and tools. Whether you prefer the durable finish of a sewing machine, the quick fix of hem tape, or the authentic charm of preserving the original hem, there’s a method for everyone. Taking the time to hem your jeans properly not only improves their look and feel but also extends their life and ensures they’re a staple in your wardrobe for years to come. So next time you’re faced with denim that’s not quite right, remember these effortless guides. You’ve got this!


