Quick Summary: Don’t let baggy jeans ruin your look. Learn genius, effortless ways to hem them perfectly, even without sewing. Get that custom fit and style update easily.
How to Hem Baggy Jeans: Genius & Effortless Solutions
Baggy jeans can feel like a constant style struggle. They can make you look sloppy or that your favorite pair just isn’t fitting right anymore. Good news! You don’t need to be a sewing expert or spend a fortune to make them fit better. This guide will show you simple, effective methods to tame those baggy legs and achieve a polished look, easily and quickly.
Forget frustrating piles of excess fabric. We’ll cover quick fixes that look great and more permanent solutions that are still beginner-friendly. By the end, you’ll know exactly how to bring your favorite jeans back to life and make them work for your wardrobe.
Why Do My Jeans Get Baggy?

Jeans can become baggy for a few common reasons. Over time, fabric fibers in denim can stretch out, especially with regular wear and washing. If your jeans are a lower-rise or a looser fit to begin with, they might just naturally develop a baggier silhouette as they break in. Sometimes, weight fluctuations can also contribute. The good news is, no matter the cause, there are straightforward ways to fix it.
What You’ll Need: Essential Tools
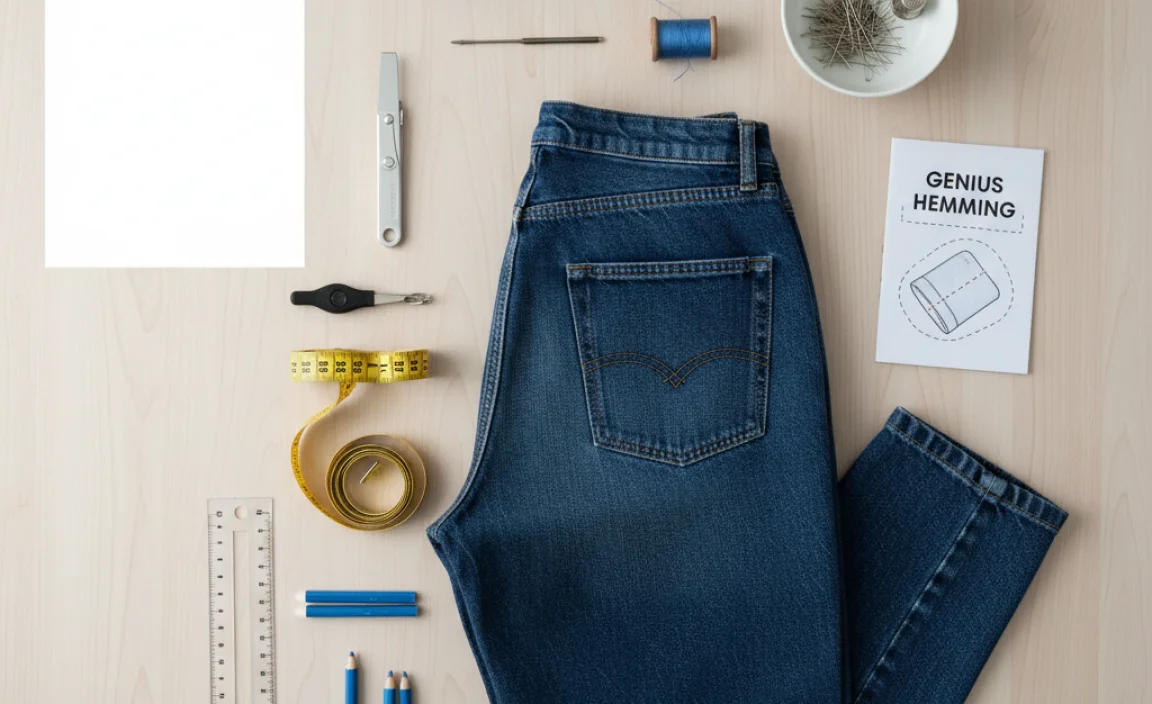
Before we dive into the methods, let’s gather the few simple tools you’ll likely need. Most of these are common household items, making these fixes accessible to anyone.
- Fabric scissors (sharp ones are key for a clean cut)
- Measuring tape or ruler
- Fabric pen or chalk
- Iron and ironing board (for some methods)
- Seam ripper (optional, for removing original hems if needed)
- Hemming tape or fabric glue (for no-sew options)
- Needle and thread (for the simplest sewing option)
- Safety pins (for quick, temporary fixes)
Method 1: The Quickest Fix – Safety Pins
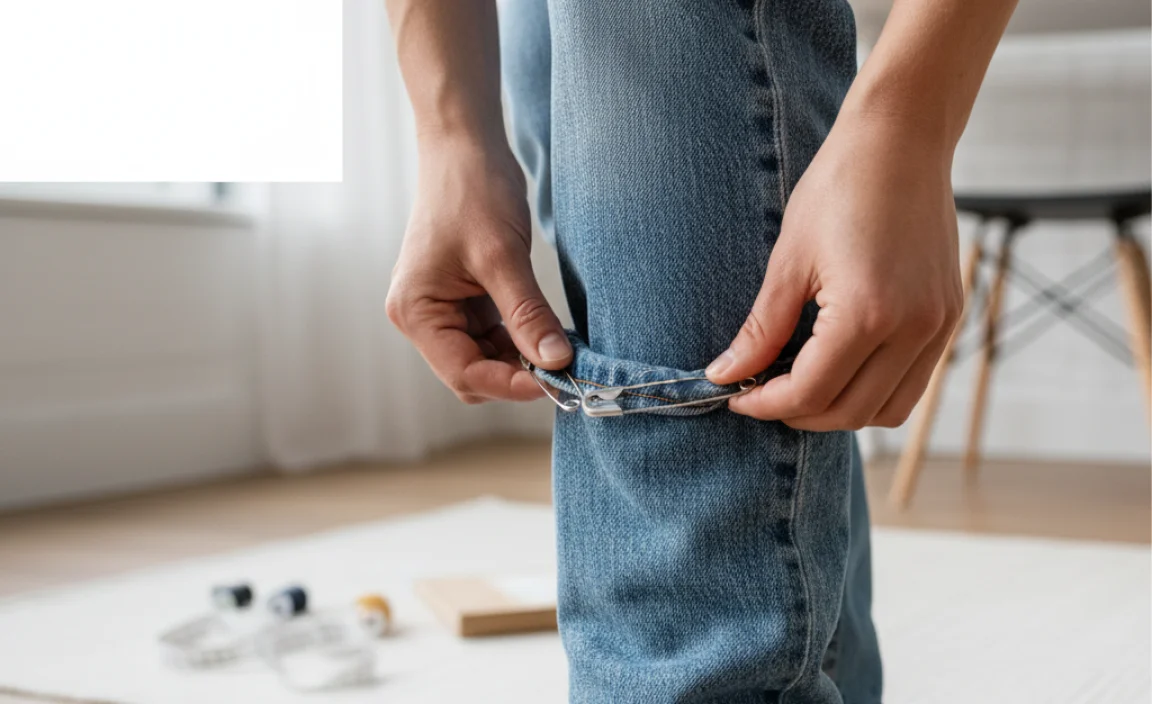
This is the fastest way to get an idea of how a shorter hem will look and feel. It’s temporary but incredibly useful for a quick style adjustment or to test a new length before committing to a more permanent fix.
Steps:
- Put on your jeans and stand in front of a mirror.
- Locate where you want the new hem to fall.
- Fold the excess fabric upwards inside the pant leg to your desired length.
- Smooth out the fabric so there are no major wrinkles.
- Carefully insert safety pins along the inside of the hem, catching the folded fabric and the original jean material. Place pins about every 2-3 inches for a secure hold.
- Check the length and look in the mirror to ensure it’s even on both legs.
Pros:
- Extremely fast and requires no special tools beyond safety pins.
- Completely reversible; no permanent changes are made.
- Great for testing a new jean length or style.
Cons:
- Can sometimes be visible from the outside, depending on pin placement.
- Not a permanent solution and pins can come undone.
- May create a slight bulge or lumpiness.
Method 2: No-Sew Hemming with Fabric Tape (Iron-On)
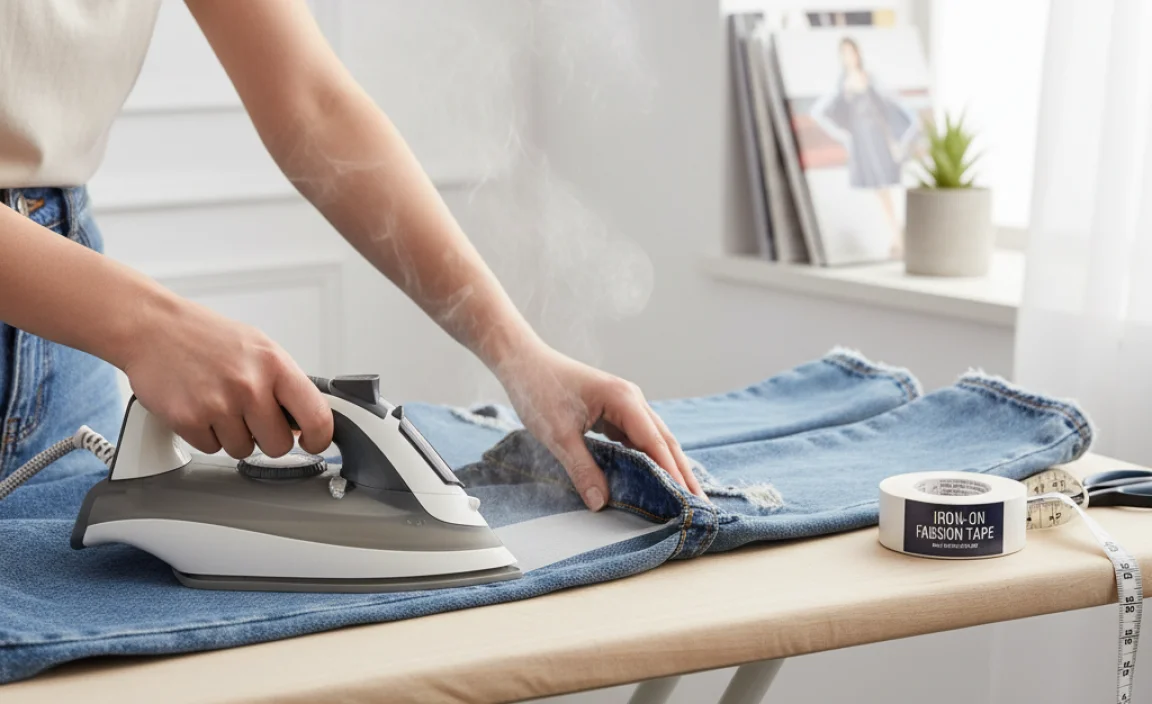
This is a popular no-sew method that provides a clean, durable hem. Fabric tape, also known as hemming tape or fusible web, uses heat from an iron to bond the fabric together. It’s surprisingly strong and looks very professional.
Steps:
- Wash and dry your jeans. This pre-shrinks them and ensures the fabric is clean for bonding.
- Lay one pant leg flat on your ironing board. Decide where you want the new hem line to be. You’ll want to fold the fabric up so the final length is what you desire. Remember to fold enough fabric to account for the tape and a small hem allowance.
- Fold the pant leg up along your desired hem line. Press the fold with your iron to create a crisp crease.
- Unfold the crease. Lay your hemming tape along the inside of the pant leg, directly on theCrease line you just made. Some tapes recommend placing it slightly below the crease to bind the folded fabric. Check the tape’s instructions.
- Refold the pant leg, ensuring the raw edge of the fabric tucks neatly inside the fold and lies flat against the hemming tape.
- Set your iron to the appropriate temperature for denim (usually medium-high, check your tape’s instructions).
- Place a press cloth (a thin piece of cotton fabric or parchment paper) over the hem area to protect your iron and the jeans.
- Press the iron firmly onto the hem for the amount of time recommended by the hemming tape manufacturer (typically 5-10 seconds per section). Work your way along the entire hem, ensuring good adhesion.
- Allow the hem to cool completely before moving. For extra durability, some recommend turning the jeans inside out and ironing from the other side as well.
- Repeat on the other pant leg, making sure to measure and fold precisely to match the first leg.
For best results, consult the specific instructions for your chosen hemming tape, as adhesion can vary.
Pros:
- Creates a clean, almost invisible hem.
- Durable and washable.
- No sewing skills required.
- Relatively quick to do once you get the hang of it.
Cons:
- Requires an iron and ironing board.
- Can be tricky to get perfectly smooth on the first try.
- If not applied correctly, the hem may come undone over time.
Method 3: Fabric Glue for a Permanent Bond
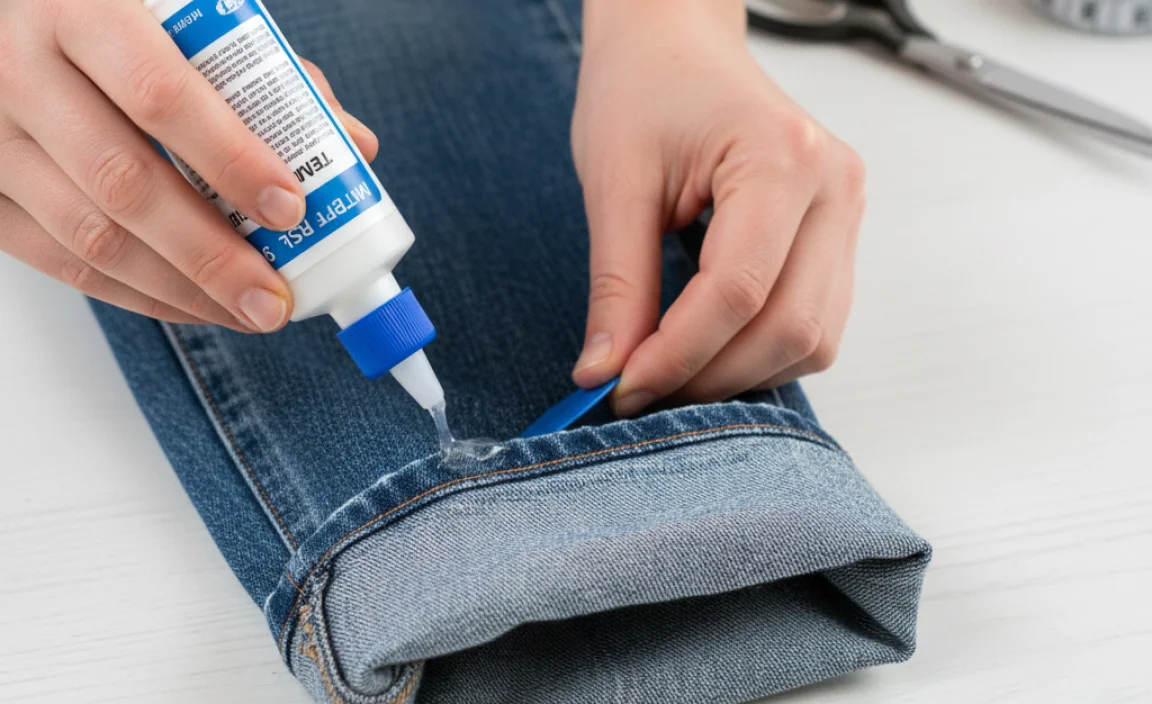
Fabric glue is another excellent no-sew option. It offers a flexible bond that holds well through washing and wearing. It’s a good choice if you don’t have an iron or prefer a glue-based application.
Steps:
- Wash and dry your jeans.
- Lay a pant leg flat and determine your desired hem length, then fold the fabric upwards to create a crease.
- Unfold the crease. Apply a thin, even line of fabric glue along the inside of the fold, about ¼ inch from the raw edge. Make sure not to use too much, as it can seep through.
- Refold the pant leg, pressing the raw edge neatly against the glued line. Ensure the fabric is smooth and flat.
- Press the hem together firmly. You can use clips or heavy books to hold it in place while the glue dries. Follow the glue manufacturer’s recommended drying time, which can range from a few hours to 24 hours.
- Once dry, check the bond. You can reinforce it with a second thin layer of glue if needed, allowing it to dry completely.
- Trim any excess fabric from the inside if it looks messy, but try to keep the hem somewhat substantial for durability.
- Repeat for the other leg, carefully measuring to ensure symmetry.
Pros:
- No sewing or ironing needed.
- Creates a strong, flexible bond.
- Washable and durable once fully cured.
Cons:
- Requires drying time, which can be a longer process.
- Potential for glue to show through if applied too heavily.
- The bond might feel slightly stiff where the glue is applied.
Method 4: The Simple Sew – Hand Stitching
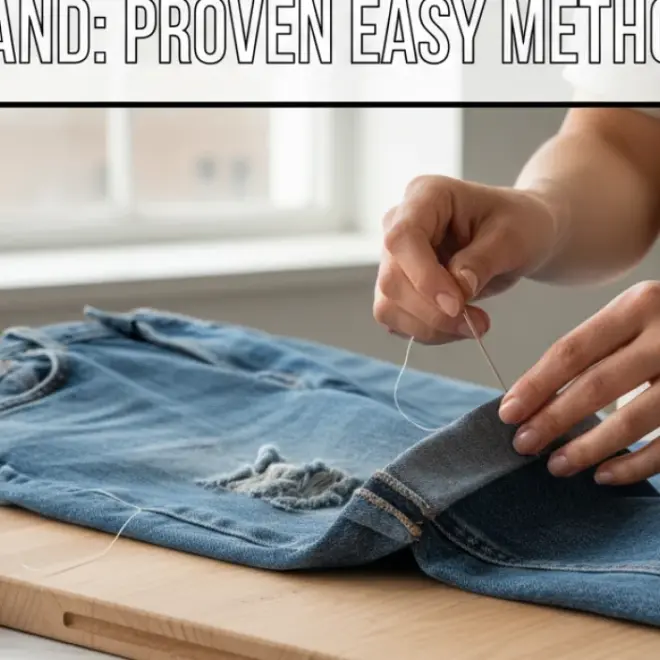
If you have a needle and thread, a simple hand stitch is a reliable and classic way to hem jeans. It doesn’t require any special equipment and can look surprisingly neat.
Steps:
- Wash and dry your jeans.
- Put on your jeans to mark the desired length. Pin them in place or have someone help you mark your target hemline with a fabric pen.
- Take off your jeans. Fold the excess fabric up inside each pant leg to create your desired hem length. Use your fabric pen to mark the new hem line.
- For a cleaner finish, you can trim off the excess fabric, leaving about ½ to 1 inch for the hem allowance.
- Fold this remaining allowance up again, so the raw edge is enclosed. Create a crisp crease with your iron.
- Thread a needle with a strong thread that matches your jeans as closely as possible. Knot the end.
- Starting on the inside of the hem, make small, neat stitches. A running stitch or a blind stitch (where the stitches are almost invisible on the outside) works well. For a blind stitch, catch just a few denim threads on the outer pant leg with each stitch, then go back down into the folded hem.
- Work your way around the entire circumference of the hem.
- When you reach the end, tie off your thread securely on the inside of the hem.
- Repeat for the other pant leg, ensuring the length and stitching match.
Pros:
- Durable and very secure.
- Can look very neat and professional if done carefully.
- Requires minimal tools.
- Completely adjustable for precise fit.
Cons:
- Takes more time and patience than no-sew methods.
- Requires basic hand-sewing skills.
Method 5: The Machine Sew – For a Professional Finish
If you have access to a sewing machine, hemming jeans is a straightforward and quick process that yields professional-looking results. This method is ideal for a permanent and durable alteration.
Steps:
- Wash and dry your jeans.
- Put them on to mark your desired hem length. Measure from the crotch down to where you want the hem to fall.
- Remove your jeans. Lay one leg flat. Fold the excess fabric upwards to your desired hem length and press a crease. Mark the new hem line.
- You have two options for the hem allowance:
- Option A (Cleanest Finish): Trim off excess fabric, leaving about 1/2 to 1 inch for the hem allowance. Fold this allowance up again to enclose the raw edge, then stitch.
- Option B (Maintain Original Hem Look): If you want to keep the original, frayed hem look, you can actually cut off the original hem, then reattach it to the shorter leg. This is more advanced and usually involves a seam ripper. For beginners, Option A is recommended.
- Fold the hem allowance up once, press, and then fold upwards again to enclose the raw edge. Press again to create a crisp fold.
- Thread your sewing machine with a strong thread that matches your jeans.
- Place the pant leg under the sewing machine foot, aligning the folded hem with the edge of your machine’s pressure foot or as specified by a guide.
- Sew a straight stitch around the entire hem. For extra durability, sew a second line of stitching about ¼ inch or 1/8 inch inside the first one.
- Backstitch at the beginning and end of your stitching to secure it.
- Trim any loose threads. Repeat for the other pant leg, ensuring the length and stitching are identical.
Pros:
- Very durable and professional finish.
- Quick once you’re set up with the machine.
- Handles thick denim well.
Cons:
Choosing the Right Method for You
The best method depends on your needs and available tools. Here’s a quick guide to help you decide:
| Method | Time Commitment | Skill Level | Tools Required | Durability | Appearance |
|---|---|---|---|---|---|
| Safety Pins | Very Quick | Beginner | Safety Pins | Temporary | Visible Pins |
| Fabric Tape (Iron-On) | Quick | Beginner | Iron, Ironing Board, Scissors | Durable (Washable) | Clean, Invisible |
| Fabric Glue | Moderate (Drying Time) | Beginner | Fabric Glue, Scissors, Clips (Optional) | Durable (Washable) | Clean, Semi-Visible Edge |
| Hand Stitching | Moderate to Long | Beginner/Intermediate | Needle, Thread, Scissors | Very Durable | Neat, Can be Invisible |
| Machine Sewing | Quick (with Machine) | Intermediate | Sewing Machine, Scissors | Very Durable, Professional | Professional, Visible Stitch Line |
Tips for Perfect Hemming
Regardless of the method you choose, a few extra tips can ensure your hemming is a success:
- Measure Twice, Cut Once: This old adage is crucial. Always double-check your measurements before any cutting or hemming.
- Ironing is Your Friend: For no-sew methods and even hand-stitching, a crisp crease made by ironing makes folding and aligning much easier and leads to a cleaner finish.
- Always Try On First: Never just eyeball the length. Put the jeans on (or have someone help you) to mark the correct length. Consider the shoes you’ll wear them with, as this affects the ideal jean length.
- Work on a Flat Surface: Ensure your jeans are laid out smoothly on a flat, stable surface for accurate measuring and folding.
- Match Thread/Tape Color: If you’re sewing, use a thread color that matches your jeans as closely as possible. For hemming tape, the tape is usually hidden, so color matching isn’t as critical.
- Consider Fabric Type: Denim can be thick. Make sure your needle (for hand sewing) or sewing machine is equipped to handle it.
- Practice on Old Fabric: If you’re using a new technique like hemming tape or fabric glue, test it on a scrap piece of fabric or an old garment first to get a feel for it.
- Keep the Original Hem (Advanced): For a truly authentic look on jeans that have a specific wash or cuff detail at the bottom, you can carefully cut off the original hem with a seam ripper, then reattach it to the newly shortened leg using a sewing machine. This is more involved but achieves the original look. A great resource for understanding original hems is Thread Count.
Frequently Asked Questions (FAQ)
Q1: How do I hem jeans without sewing at all?
Absolutely! You can use fabric tape with an iron, fabric glue, or even strong double-sided fabric tape. All these methods create a bond without a needle and thread, resulting in a neat hem.
Q2: What’s the best way to hem jeans if I don’t have a sewing machine?
Hemming tape (iron-on) or fabric glue are excellent choices if you don’t have a machine. Hand stitching is also a very effective and accessible option.
Q3: How much extra fabric should I leave for the hem allowance?
For a clean fold where the raw edge is hidden, aim to leave about ½ to 1 inch of fabric for your hem allowance after you’ve folded to your desired length.
Q4: Can I hem skinny jeans or tight jeans?
Yes, you can hem any type of jeans! For very tight styles, be extra careful with measurements and ensure the hem isn’t too tight or constricting. The same methods apply, just with a focus on maintaining stretch and fit.
Q5: Will hemming my jeans make them look tighter in the leg?
No, hemming only shortens the length of the pant leg. It won’t change the width or fit of the leg unless you are altering the entire leg shape. Your jeans will simply be the right length.
Q6: How can I make sure both legs are the same length?
The best way is to measure from the crotch seam down to your desired hem length on both legs. Alternatively, put the jeans on and mark one leg, then fold the other leg up to match it exactly before cutting or hemming.
Q7: Can I shorten jeans that have a flare or bootcut?
Yes, but it requires a bit more care. You


