Quick Summary:
Yes, you can easily hem bootcut jeans to the perfect length for air drying, ensuring they maintain their shape and style. This guide provides straightforward steps, necessary tools, and helpful tips for a clean, professional finish without using a dryer. Get ready for perfectly fitting jeans that look great and last longer, all while air-drying them.
How to Hem Bootcut Jeans: The Air Dry Only Essential Guide
Those perfectly broken-in bootcut jeans are a wardrobe staple. But what happens when they’re just a little too long? A common frustration is dealing with hems that drag on the floor, especially when you prefer air drying your clothes. You might worry about how to shorten them properly without them shrinking unevenly or losing that classic bootcut flare when you can’t use a dryer. This guide is here to show you exactly how to achieve a flawless hem on your bootcut jeans, designed specifically with air drying in mind. We’ll walk through every step, from measuring to the final stitch, so you can confidently tackle this task and enjoy jeans that fit like a dream.
Knowing how to properly hem your jeans is a valuable skill that saves money and extends the life of your favorite denim. With a few simple tools and a bit of patience, you can achieve professional-looking results right at home. Forget about costly trips to the tailor or risking damage in the dryer; this guide makes it accessible for everyone. Let’s get started on transforming your jeans into the perfect length, ensuring they look their best, even after air drying.
Why Choose Air Drying for Hemmed Jeans Specifics

When it comes specifically to newly hemmed jeans, air drying offers distinct advantages, especially for denim. The heat from a dryer can cause the fabric to shrink unpredictably, which is a major concern when you’ve just altered the length. This can lead to an uneven hem, a loss of the bootcut shape, or even a shorter-than-intended final length.
Air drying allows the denim fibers to settle naturally after being altered. It helps maintain the integrity of the fabric and preserves the original drape and flare of the bootcut style. Furthermore, air drying is gentler on the fabric, preventing the stiffness and potential damage that high heat can inflict. For hemming, this means your new hemline is more likely to stay exactly where you put it, with no unexpected shrinking or distortion.
Tools and Materials You’ll Need

Gathering the right supplies upfront is key to a smooth hemming process. You don’t need a fancy sewing machine for a great-looking hem, though it can speed things up. Here’s a list of essentials:
- Your Bootcut Jeans: Make sure they are clean and have been washed and dried (as you normally would before hemming, to account for any initial shrinkage).
- Fabric Scissors: Sharp scissors designed for fabric will make clean cuts.
- Measuring Tape or Ruler: For accurate measurements of your desired length.
- Fabric Pen or Chalk: To mark your cutting line directly on the denim.
- Pins: To hold the fabric in place while you work.
- Needle and Thread: Choose a thread color that closely matches your jeans. A strong, durable thread is best for denim.
- Iron and Ironing Board: To press seams and create crisp fold lines.
- Optional: Seam Ripper: If you want to remove the original hem for a more authentic look.
- Optional: Sewing Machine: If you prefer machine sewing, ensure you have a denim needle.
Step-by-Step Guide to Hemming Bootcut Jeans (Air Dry Only)
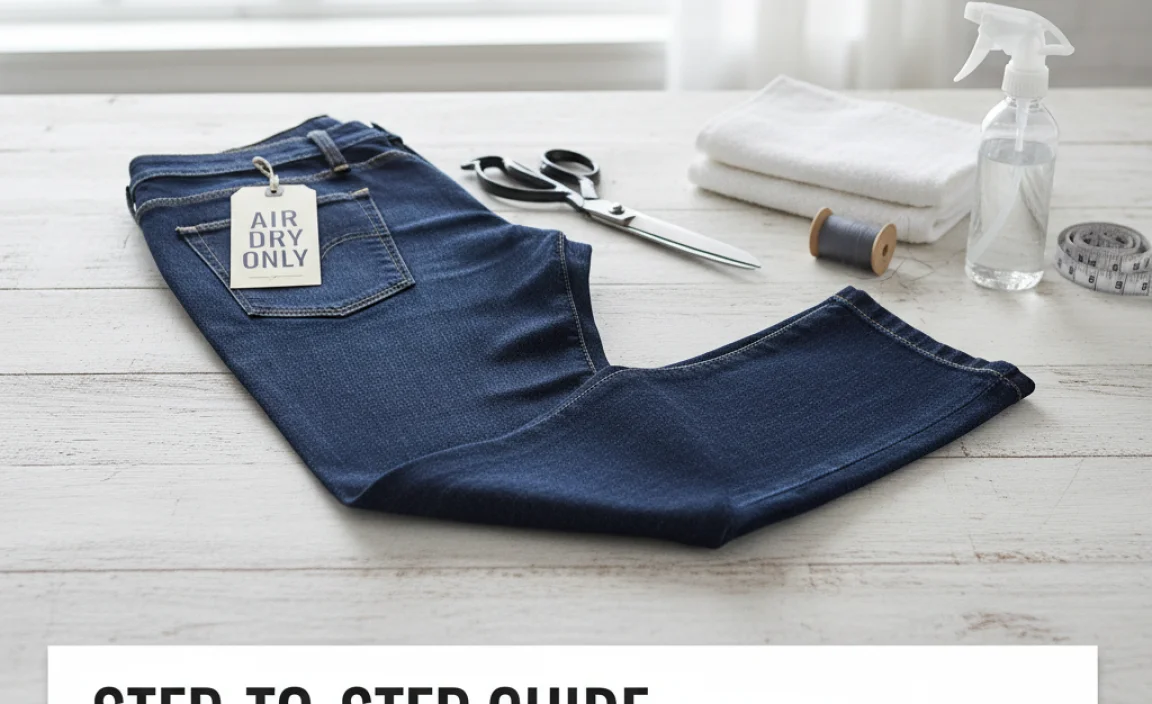
Follow these steps carefully to achieve a professional-looking hem on your bootcut jeans, keeping air drying in mind throughout the process.
Step 1: Prepare Your Jeans
Start with your bootcut jeans. It’s crucial to take your measurements when the jeans are in their final state. If you haven’t washed them since buying them, wash and dry them as you typically would before hemming. This accounts for any initial shrinkage, ensuring your hem will be the correct length after they’ve gone through their normal care routine. Ensure they are clean and free of wrinkles for accurate measuring.
Put on the shoes you’ll most commonly wear with your bootcut jeans. This is critical because the shoe height significantly impacts how the hem should sit.
Step 2: Determine the Correct Length
Wearing the jeans with your chosen shoes, stand in front of a mirror. Locate where you want the hem to fall. For bootcut jeans, the ideal hem is typically just kissing the top of your shoe or the sole. You don’t want them dragging on the floor, as this can cause premature wear and tear, but you also don’t want them too short, as it detracts from the bootcut silhouette. Use your fabric pen or chalk to mark the exact spot on the side of one leg where the hem should end. A small dot is usually sufficient.
After marking one spot, check the length. You want the hem to clear the floor just enough to prevent significant fraying or dirt pickup. A general rule of thumb is to have the hemline sit about ¼ to ½ inch above the sole of your shoe. For a cleaner look, you might want the hem to fall just slightly longer, covering the very top of the shoe, but avoiding the instep. You can also have someone else help you for more accuracy.
Step 3: Mark Your Cutting Line
Once you have your reference mark, take off the jeans and lay them flat on a clean surface. Ensure the leg you marked is perfectly smooth. Transfer your original mark to the hemline. Then, decide how much fabric you want to fold up for the new hem. A common hem allowance for denim is 1 to 1.5 inches. Mark this fold line parallel to the original hem, extending from your cutting line.
To create a consistent hem all around, use your measuring tape or ruler to measure upward from your desired finished hem length. For example, if you want the jeans to end exactly where you marked, measure up 1.5 inches from that mark all the way around the leg. Use your fabric pen or chalk to draw a clear, straight line. This line is where you will cut.
Tip: If your jeans have a thick, original hem with visible stitching, you might consider carefully removing it with a seam ripper. This allows you to re-hem using the original finished edge, which can give a factory-like appearance. If you choose this route, mark your new hemline above where the original hem started. If you don’t remove the original hem, you’ll be cutting below it.
Step 4: Cut the Excess Fabric
With your cutting line clearly marked, carefully take your fabric scissors. Trim off the excess denim exactly along the marked line. Work slowly and steadily to ensure a straight cut. This is especially important if you plan to let the hem fray naturally. A clean, straight cut provides a good foundation for either a sew-in hem or a raw edge DIY hem.
It’s often a good idea to cut one leg first, then use that leg as a guide for the second leg. Lay the first cut leg over the second un-cut leg, aligning the seams carefully. Transfer your cut line to the second leg by tracing it, or by laying out the fabric and measuring from the already cut leg.
Step 5: Prepare the New Hem
Now, you’ll create the fold for your new hem. If you removed the original hem, fold the raw edge up by your chosen hem allowance (e.g., 1.5 inches). If you’re hemming over the existing raw edge or keeping the original hem intact and sewing it down, fold up the fabric from the cut edge to create your desired hem depth. Aim for a consistent fold all the way around the leg.
Use your iron to press this fold flat. This creates a crisp crease that will make sewing much easier and ensure a neater finish. For bootcut jeans, pay special attention to maintaining the flare. Ensure the fold is perfectly aligned so it doesn’t distort the leg opening’s shape.
Pro Tip: If you want a more structured hem, you can fold the fabric twice. First, fold up about 1/2 inch to create a small finished edge, press it. Then, fold up your remaining hem allowance (e.g., 1 inch) over the first fold. Press again. This creates a double-fold hem that looks very neat and professional.
Step 6: Pin the Hem in Place
Once the hem is pressed, you need to secure it before sewing. Use your pins to hold the folded hem in place. Place pins perpendicular to the fold, about every 2-3 inches. Ensure the pins go through all layers of fabric and that the hem remains smooth and even. Check the inside and outside of the leg to ensure there are no puckers or twists.
Double-check that your bootcut flare is still natural and that the pinned hem isn’t creating any strange angles. If it looks like the hem is pulling or bunching in certain areas, adjust the pins and re-press if necessary.
Step 7: Sew the Hem
You have two main options here: hand-sewing or machine sewing. Both methods work well for denim, especially when preserving the air-dry properties.
Hand Sewing:
Thread your needle with a strong thread that matches your jeans. Knot the end securely. Begin sewing just inside the folded edge. Use a stitch that is durable and relatively inconspicuous. A “hidden stitch” or “blind hem stitch” works wonderfully for a seamless look. This involves catching just a thread or two of the jean fabric on the outside with each stitch on the folded edge. If you prefer a more visible, utilitarian stitch, a small, even whipstitch or backstitch will also work, and can even add a decorative touch if you choose a contrasting thread. Aim to keep your stitches small and consistent for the best result. Stitch all the way around the leg.
Machine Sewing:
If using a sewing machine, set it up with a denim needle and strong thread. You can use a straight stitch or a zigzag stitch. A straight stitch, sewn very close to the folded edge, is classic. For added durability, you could use a slightly wider zigzag stitch. Sew slowly, guiding the fabric evenly. It’s helpful to remove pins as you approach them with the needle to avoid damage. Stitch all the way around the leg.
Important Note for Air Drying: Regardless of whether you hand sew or machine sew, the goal is to create a strong bond that won’t unravel. The key here is that you are not introducing any heat that could cause shrinkage. The sewing process itself shouldn’t negatively impact the denim’s structure if done correctly.
Step 8: Finish and Inspect
Once you’ve completed sewing, tie off your thread securely. Trim any excess thread. If you kept the original hem on the outside of the jeans (meaning you folded the raw edge up and sewed it down), you can now press the hem again from the outside to set the stitch. If you’ve created a double-fold hem or a hidden hem, press it from the inside and then from the outside for a crisp finish.
Turn the jeans right side out and try them on with your shoes again. Check the length from all angles. Ensure the hem is even, the bootcut shape is preserved, and there are no pleats or puckers. If you notice any minor issues, you can gently unpick a small section and re-sew.
Step 9: Final Air Drying
Hang your newly hemmed bootcut jeans to air dry. Use a sturdy hanger, preferably one that won’t leave marks on the denim. Ensure they are hung straight. Avoid direct sunlight for extended periods, as this can fade dark denim. Allow them to dry completely. Once dry, they are ready to wear!
Considering Different Hem Styles for Bootcut Jeans
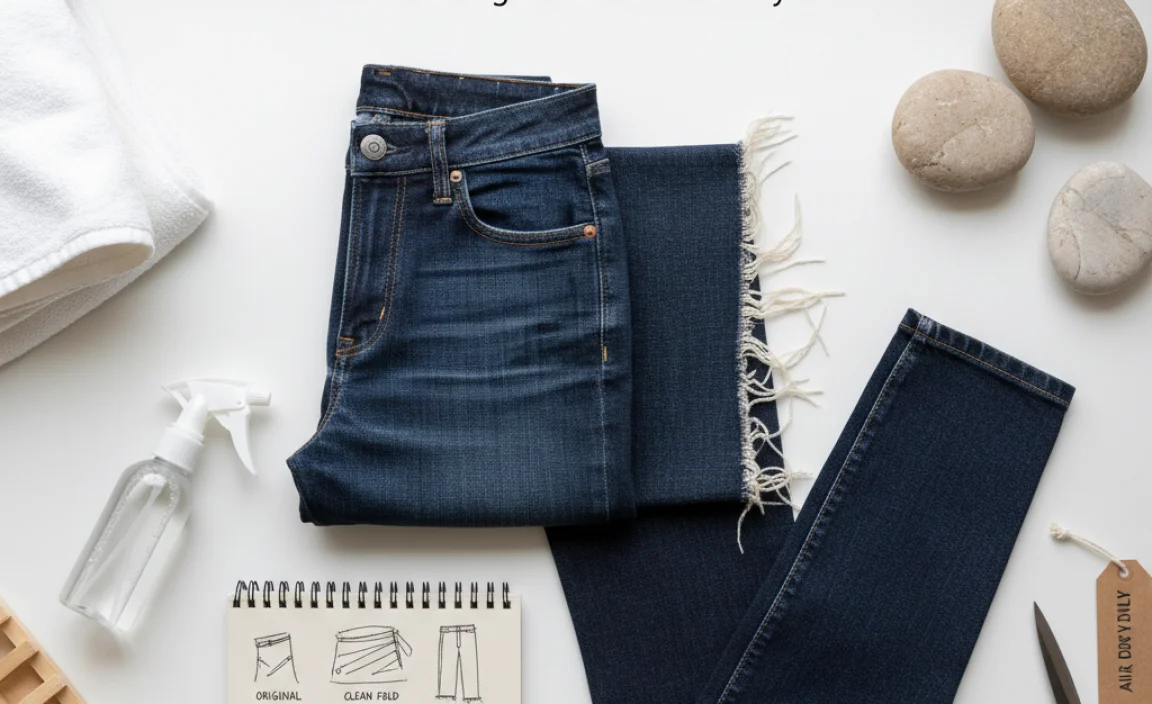
The way you finish your hem can significantly change the look and feel of your bootcut jeans. When focusing on air drying, some styles are more forgiving and easier to achieve without heat-induced shrinkage.
The Classic Sewn Hem
This is what we’ve detailed above. It involves folding the fabric a specific amount and sewing it down. It offers a clean, finished look.
- Pros: Durable, neat, professional appearance, maintains bootcut shape well.
- Cons: Requires sewing skill, can sometimes look “too neat” if you prefer a more casual look.
Table: Classic Sewn Hem Options
| Hem Style | Description | Best For | Air Dry Considerations |
|---|---|---|---|
| Double Folded Hem | Edge folded up twice for a clean interior finish. | Neat, finished look; excellent for preventing fraying. | No direct heat needed for the fold itself, just pressing. |
| Single Fold Hem | Edge folded up once and sewn. | Quicker to sew, can be more versatile depending on stitch. | A simple, reliable hem for air drying. |
The Raw Hem (DIY Frayed Hem)
This style is popular for a casual, lived-in look. It involves cutting the jeans to the desired length and then allowing the edges to fray naturally over time. Some people enhance the fraying by washing the jeans a few times.
- Pros: Very casual and trendy, easy to achieve (just needs cutting and patience), requires minimal sewing if any.
- Cons: Can fray excessively if not managed, might not be suitable for all occasions, requires consistent cutting line for a neat initial finish.
How to achieve a raw hem for air drying:
- Follow steps 1-4 above to measure, mark, and cut your jeans.
- Instead of folding and sewing, you can simply turn the jeans right side out and wear them. The raw edge will naturally fray with wear and washing.
- To encourage initial fraying, you can use a stiff brush to rub the cut edge, or carefully use tweezers to pull out a few threads.
- Wash and dry your jeans as usual (air dry!). The washing process will help the raw edges fray and soften.
External Link: For more on fabric care and drying techniques, visit the American Cleaning Institute’s Fabric Care section on drying clothing.
The Original Hem Preservation
This method is ideal if you love the look of the original hem on your bootcut jeans. It involves carefully removing the original hem and then reattaching it.
- Pros: Maintains the factory look, preserves the original stitching color and style, great for vintage or specific-wash jeans.
- Cons: Most time-consuming, requires a seam ripper and careful stitching to reattach evenly.
How to preserve the original hem for air drying:
- Follow steps 1-2 to determine your desired length.
- Carefully use a seam ripper to detach the original hem from the jean leg. Keep the original hem as one intact piece of fabric.
- Lay the jean leg flat and measure up from the raw edge to your desired new finished length. Mark this line.
- Fold the jean leg fabric up from the raw edge to meet your marking line. Press this fold firmly.
- Align the original hem with the folded edge of the jean leg, ensuring the fabric edges are nested neatly. Pin securely all the way around.
- Sew the original hem back onto the jean leg. Use a stitch that closely matches the original, or a durable straight stitch.
- Press the new hem.
Common Issues and How to Solve Them
Even with the best intentions, you might encounter a few snags. Here’s how to troubleshoot:
- Uneven Cutting: If your cut line isn’t perfectly straight, don’t panic. When you fold and press your hem, minor bumps can often be smoothed out. For significant unevenness, you can trim a tiny bit more to create a straighter line before folding.
- Jeans Turn Out Too Short/Long: This is often due to measuring errors or forgetting to account for shoe height. If too short, and you have enough fabric allowance, you might be able to let the hem down slightly. If too long, and you’ve cut off too much, you might need to re-hem with a smaller allowance or try a raw hem style. It’s why doing the first measure with shoes on is so important!
- Stretched Out Leg Opening: Bootcut jeans can sometimes stretch out at the leg opening, especially if they’ve been worn a lot. When hemming, try to maintain the natural width of the leg opening as you fold and pin. If the opening seems stretched, you might consider a slightly deeper hem for more structure.
- Skipped Stitches: Ensure your needle is sharp and appropriate for denim (a denim needle is best for machines). Check that your thread is not tangled and that the tension on your sewing


