Quick Summary: Learn how to hem bootcut jeans simply and effectively. This guide provides clear steps for beginners to achieve a perfect fit, whether you’re sewing by hand or using a machine, ensuring your favorite jeans look great without a trip to the tailor.
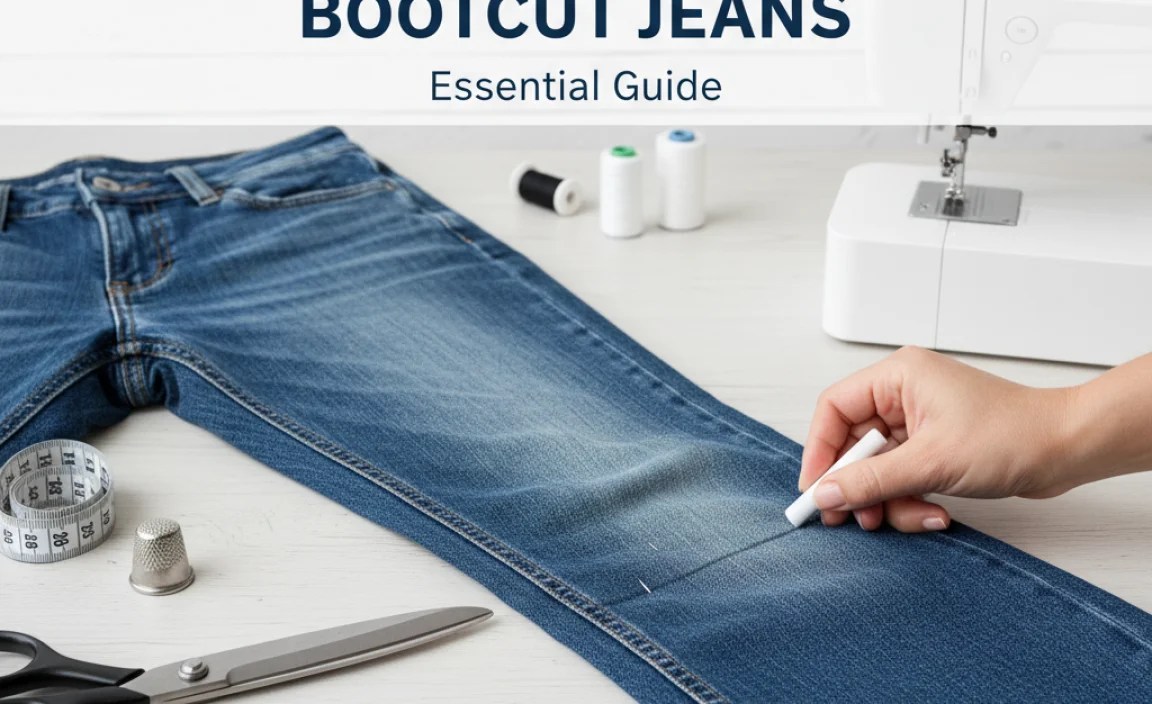
How to Hem Bootcut Jeans: Your Essential Guide
Are your favorite bootcut jeans a little too long, dragging on the floor and looking a bit sloppy? It’s a common problem, but thankfully, an easy fix. Getting the perfect length for your jeans can make a world of difference in how they look and feel. You don’t need to be a sewing expert to tackle this. We’ll walk you through everything you need to know, step-by-step, so you can get that perfect hem. Ready to give your jeans a fresh, polished look? Let’s get started.
Why Hemming Bootcut Jeans Matters


Bootcut jeans are designed to flow over your footwear, creating a balanced silhouette. However, the ideal length varies depending on your height, the shoes you wear, and even the specific style of the jeans. When jeans are too long, they can:
- Drag on the ground, leading to fraying and premature wear.
- Look untidy and less flattering.
- Shorten your legs visually.
- Get caught on things, posing a tripping hazard.
A proper hem ensures your bootcut jeans always look sharp, extend their lifespan, and complement your shoes, rather than overpower them.
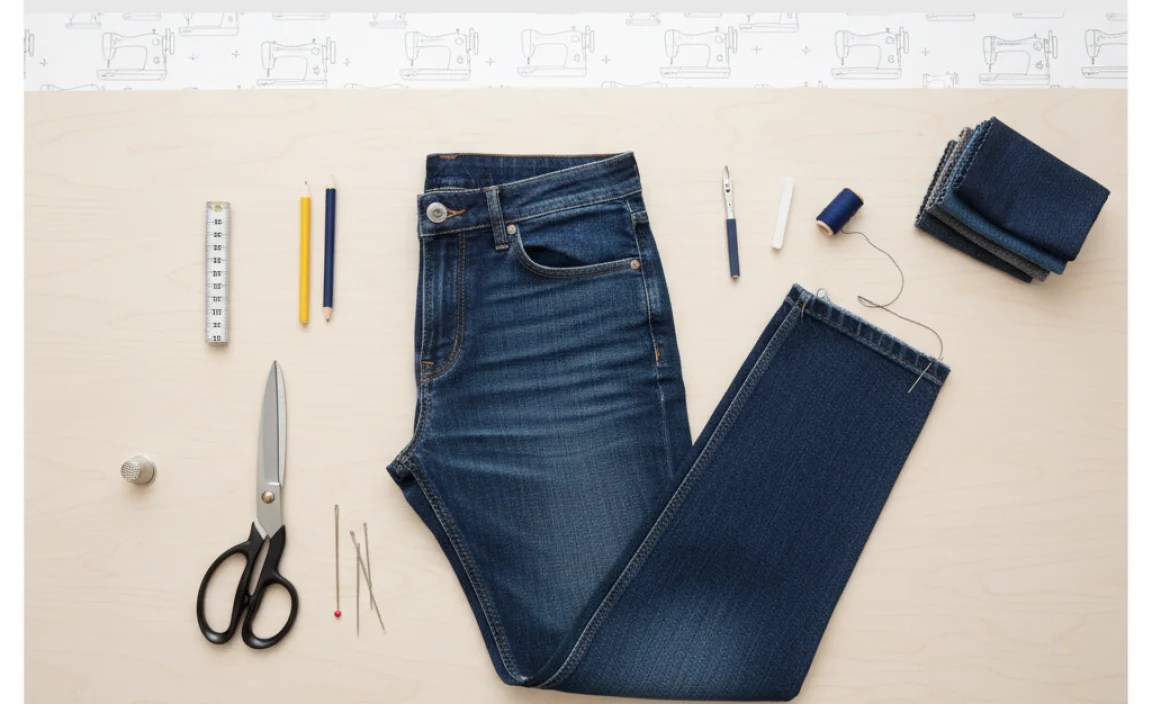
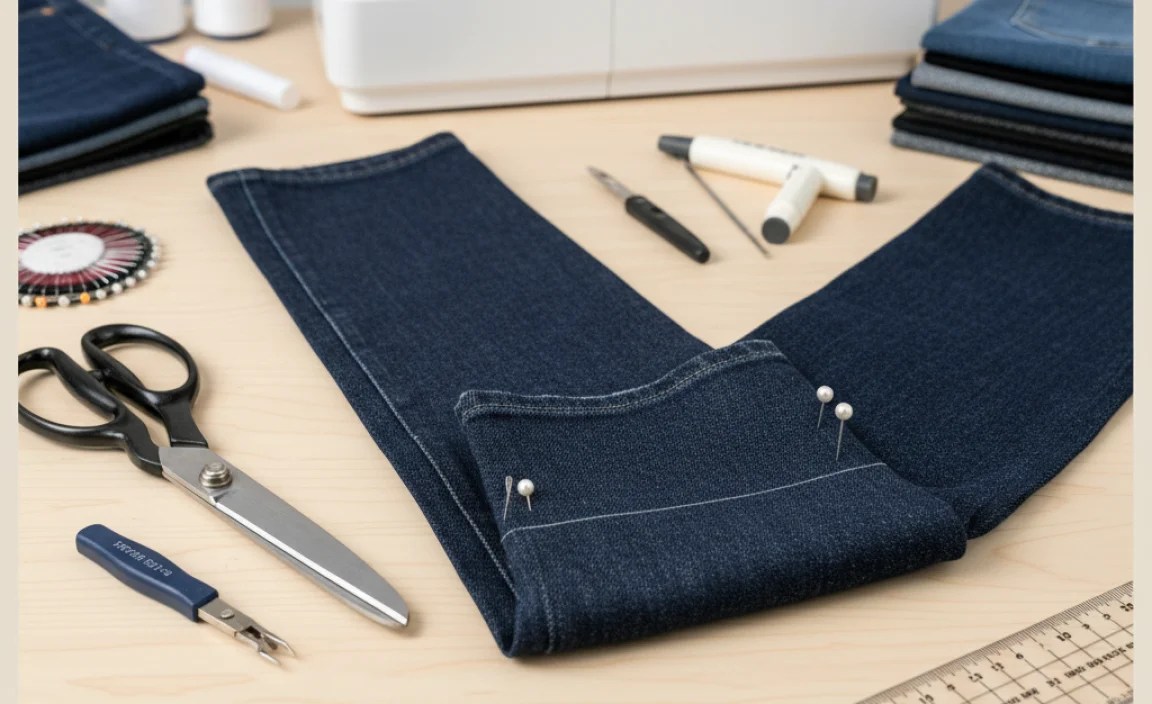
Tools You’ll Need


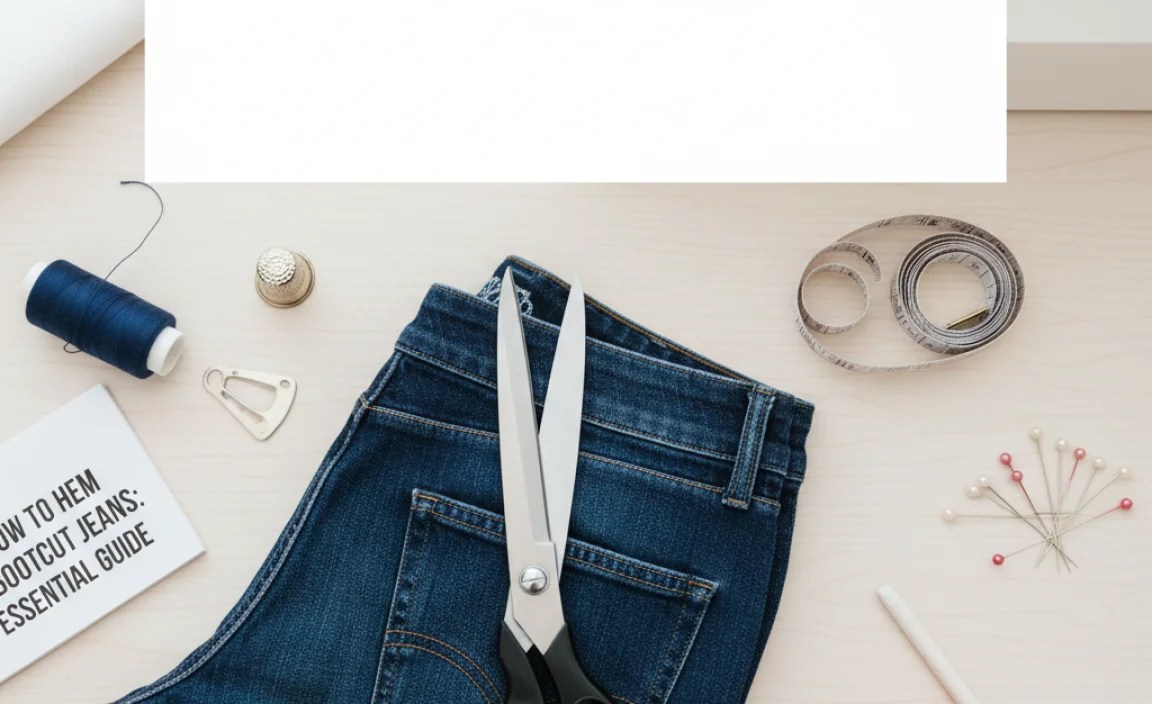
Before you start, gather these essential items. Having everything ready will make the process smooth and efficient.
For Measuring and Marking:
- Measuring tape or ruler
- Fabric chalk, disappearing ink pen, or a washable marker
- Straight pins
For Cutting:
- Sharp fabric scissors or a rotary cutter and mat
For Sewing:
- Sewing machine (optional, but recommended for durability)
- Needle and thread (if sewing by hand)
- Thread that matches your jeans
- Seam ripper (if you want to preserve the original hem)
Other Helpful Items:
- Iron and ironing board (for pressing seams)
- A friend to help you check the length (optional)
Preparing Your Jeans for Hemming


Proper preparation is key to a successful hem. Follow these steps:
- Wash and Dry Your Jeans: Always start with clean jeans. Washing and drying them will account for any shrinkage, ensuring your hem adjustment is accurate.
- Try Them On With Your Shoes: Wear the shoes you typically pair with your bootcut jeans. This is crucial as different shoe heights will affect the desired length.
- Stand Naturally: While wearing the jeans and shoes, stand in front of a mirror or have a friend observe.
Methods for Hemming Bootcut Jeans


There are a few ways to hem your bootcut jeans, each with its own benefits. We’ll cover the most common and effective methods.
Method 1: The Classic Sewn Hem (Recommended)
This method creates a durable and professional-looking hem that holds up well to wear and washing. It’s the most versatile approach.
Step-by-Step: Classic Sewn Hem
- Determine the Desired Length: With your jeans on and shoes on your feet, use a measuring tape to find where you want the hem to hit. A good rule of thumb for bootcut jeans is for them to just graze the top of your shoes, or hover about 1/2 inch above the sole. Have a friend help you mark the spot with a pin or chalk. It’s often best to mark the shortest point of the hem, usually at the outer inseam.
- Mark the Hem Line: Take off your jeans. Lay them flat on a surface. Using your measuring tape, measure from the marked point down to the original bottom hem. Transfer this measurement to the inner leg seam and then to the outer seam, creating a parallel line across the entire bottom of the leg. Double-check that this line is even all the way around.
- Mark for Cutting: Add an extra 1 to 1.5 inches below your marked hem line for the seam allowance and for folding. This extra fabric provides room for a clean fold and stitching. Mark this new cutting line clearly.
- Cut the Excess Fabric: Carefully cut along the cutting line you just made. Use sharp scissors for a clean cut. Try to keep the cut as straight as possible.
- Prepare the Original Hem (Optional, but recommended for appearance): If your jeans have a distinctive original hem with contrasting stitching or a pre-worn look, you might want to preserve it. Carefully use a seam ripper to remove the original stitching. Gently detach the original hem from the leg. You’ll reattach this later.
- Create the Fold: Fold the raw edge of the fabric up to meet your first marked hem line (the one you measured from). Press this fold firmly with an iron. This creates a crisp crease.
- Fold Again: Fold the fabric up a second time, so the raw edge is completely enclosed and the folded edge meets the original bottom edge of the jean leg (or where it would have been if you removed the original hem). The amount you fold here should correspond to the seam allowance you decided on in Step 3, about 1 to 1.5 inches. Press this second fold firmly with an iron.
- Pin in Place: Secure the folded hem with straight pins, placing them about every inch or two. Ensure the pins go through all layers of fabric and are perpendicular to the folded edge.
-
Sew the Hem:
- By Machine:thread your sewing machine with matching thread. Use a sturdy needle (a denim or jeans needle is ideal). Sew along the top edge of the folded hem, keeping a consistent seam allowance (about 1/8 inch from the top folded edge). Sew slowly and carefully, especially over thick seams. Backstitch at the beginning and end of your stitching to secure it.
- By Hand: Use a strong, secure stitch like a backstitch or a hemming stitch. Sew as close to the top folded edge as possible, ensuring your stitches are small and even.
- Reattach Original Hem (If Preserved): If you removed the original hem, carefully hand-stitch it back onto the newly sewn hem. Try to mimic the original stitch placement for an invisible finish.
- Final Press: Give the hem a final press with your iron to ensure it lies flat and looks neat.
Method 2: No-Sew Hem Tape
This is a quick and easy option for a temporary or permanent hem if you don’t have a sewing machine or prefer not to sew.
Step-by-Step: No-Sew Hem Tape
- Prepare Jeans and Mark Length: Follow steps 1-3 from Method 1 (Determine desired length, mark hem line, mark for cutting). Cut off excess fabric, leaving about 1 inch for folding.
- Fold and Press: Fold the raw fabric edge up by 1/2 inch. Press firmly with an iron.
- Apply Hem Tape: Cut a piece of fabric hem tape (also called hemming web or fusible tape) to the length of your hem. Place the tape inside the folded edge, centering it.
- Fold Again: Fold the hem up a second time, encasing the hem tape. The raw edge should be hidden. Press this fold firmly with an iron.
- Fuse the Tape: Following the manufacturer’s instructions for your specific hem tape, use a hot iron to press over the folded hem. The heat will activate the adhesive on the tape, bonding the fabric layers together. You may need to hold the iron in place for a set amount of time.
- Test Durability: Let the hem cool completely. Gently pull at the hem to ensure it’s securely bonded.
Method 3: Preserving the Original Hem
This method keeps the original factory hem, which often looks authentic and worn, making it ideal for a casual look.
Step-by-Step: Preserving the Original Hem
- Try On and Mark: With your jeans on and your usual shoes, mark the desired length on the outer seam. It’s important to mark where the jeans should end.
- Remove Original Stitching: Take off your jeans. Lay them flat. Use a seam ripper to carefully remove the stitching holding the original hem to the leg of the jean. Work slowly to avoid damaging the fabric.
- Measure and Mark for Cutline: Measure the distance from the bottom edge of the original hem to your marked desired length. This is how much you need to shorten the jeans. Now, measure the width of the original hem. You’ll need this later. Mark a cutting line on the leg of the jean that is 1 inch below where the original hem was stitched. This extra inch allows for a small fold.
- Cut the Fabric: Cut along the cutting line you just made.
- Fold and Press: Fold the raw edge of the fabric up by 1/2 inch. Press this fold firmly with an iron.
- Position the Original Hem: Place the original detached hem back onto the leg of the jean, aligning its top edge with the folded raw edge. The goal is to have the original hem perfectly cover the raw edge and slightly overlap the folded fabric. You might need to adjust this placement slightly.
- Pin in Place: Pin the original hem securely to the folded edge of the jean leg.
- Sew the Hem: Using a sewing machine with a matching thread and a jeans needle, stitch along the bottom edge of the original hem, or just inside the original stitching line. If sewing by hand, use a strong, neat stitch like a backstitch, aiming for the original stitch line.
- Final Press: Press the hem with an iron.
Pro Tips for Perfect Bootcut Jeans


Here are some insider tips to ensure your hemming project goes smoothly:
- Use Denim Needles and Thread: For machine sewing, a specific denim or jeans needle is essential. It’s stronger and designed to go through thick denim layers without breaking. Use a strong polyester thread that matches your jeans.
- Slow and Steady Wins the Race: When sewing, especially through thick layers or seams, go slowly. You can even use your machine’s handwheel for better control.
- Test on Scrap Fabric: If you’re new to sewing, practice your stitch on a scrap piece of denim. This helps you get the tension right and ensures your stitch looks good.
- Consider the Stack: How do you want your bootcut jeans to look? Some prefer them to just kiss the floor, while others like a slight “stack” where the fabric gathers a bit on top of the shoe. This is a style preference that influences your final length.
- Reinforce Seams: If your jeans are heavily worn, consider reinforcing the inner leg seam after hemming, as this area often takes the most stress.
Understanding Hemming Allowances and Styles
The amount of fabric you leave for the hem (the allowance) and the way you finish it can impact the final look. Here’s a quick breakdown:
| Hemming Style | Recommended Allowance | Best For | Pros | Cons |
|---|---|---|---|---|
| Classic Folded Hem | 1 to 1.5 inches | Most jeans, casual to semi-dressy | Durable, clean finish, preserves original look | Requires sewing machine or hand-stitching |
| No-Sew Hem Tape | 1 inch | Temporary fixes, quick alterations | Fast, no sewing required | May not be as durable, can sometimes be visible |
| Preserving Original Hem | 1 inch + original hem width | Achieving an authentic, lived-in look | Maintains original denim character, subtle | Can be tricky to reattach perfectly, may add bulk |
Always ensure your allowance is sufficient to allow for at least one clean fold to enclose the raw edge. For bootcut jeans, a slightly wider hem can help maintain the flare and balance.
Addressing the “Baking Soda” Query
You might have come across unusual suggestions online, such as hemming bootcut jeans with baking soda. It’s important to clarify that baking soda is a common household ingredient used for cleaning, deodorizing, or in some DIY recipes. It has no practical application in the physical process of hemming fabric. Hemming involves cutting, folding, and securing fabric with stitches or adhesive tape. Baking soda cannot perform these functions. If you encounter such advice, it’s likely a misunderstanding or perhaps a metaphorical reference that has been misinterpreted. Always rely on established sewing techniques and materials for successful alterations.
Maintaining Your Hemmed Jeans
Once your jeans are perfectly hemmed, follow these tips to keep them looking great:
- Wash Inside Out and Cold: This protects the denim color and any decorative stitching.
- Air Dry When Possible: High heat from dryers can shrink and damage denim fibers over time. Air drying is gentler.
- Avoid Over-Washing: Jeans don’t need to be washed after every wear. Spot clean and air them out instead.
- Check Hem Periodically: Give your hem a quick check now and then for any signs of wear or loose threads.
Frequently Asked Questions About Hemming Bootcut Jeans
Q1: How short should bootcut jeans be?
Bootcut jeans should ideally end just grazing the top of your shoes. For most people, this means about 1/2 inch to 1 inch off the floor when wearing their typical shoes. They shouldn’t drag excessively or bunch up.
Q2: Can I hem bootcut jeans myself?
Absolutely! With a few basic tools and this guide, anyone can hem bootcut jeans. It’s a straightforward sewing project.
Q3: How much fabric should I leave for the hem?
For a standard folded hem, leave about 1 to 1.5 inches of fabric below your desired hemline. This allows for a clean double fold.
Q4: What’s the best way to hem jeans if I don’t have a sewing machine?
You can effectively hem jeans by hand using a needle and thread with a strong stitch like a backstitch. Alternatively, fabric hem tape (fusible tape) offers a no-sew solution that’s quite durable.
Q5: How do I make sure the hem is straight?
Laying the jeans flat, using a measuring tape to mark parallel lines, and pressing the folds with an iron will help ensure your hem is straight and even.
Q6: How do I handle the thick seams on jeans?
When sewing over thick seams (like the outseam or inseam), slow down your sewing machine. You can also use a slightly longer stitch length and even lower the presser foot pressure if your machine allows. A denim needle is crucial here.
Q7: Can I unpick the original hem on my bootcut jeans?
Yes, you can carefully unpick the original hem using a seam ripper. This is a great way to maintain the original look of the denim edge.
Conclusion
Hemming your bootcut jeans is a rewarding DIY project that can significantly improve the way your favorite denim fits and looks. Whether you opt for a classic sewn hem for lasting durability, a quick no-sew fix for convenience, or to preserve that authentic original hem, the process is manageable for beginners. By following these steps, gathering the right tools, and paying attention to detail, you can achieve professional-looking results right at home. Say goodbye to dragging denim and hello to perfectly tailored bootcut jeans that always make you look and feel your best.