Quick Summary: Learn how to hem your bootcut jeans affordably at home with simple tools and clear steps. This guide ensures your jeans fit perfectly without a trip to the tailor, saving you time and money.
How To Hem Bootcut Jeans On A Budget: Essential Guide
Are your favorite bootcut jeans dragging on the floor? It’s a common style mishap that can make even the best-fitting denim look sloppy. You don’t need to spend a fortune at the tailor to fix it. With a few basic supplies and a little guidance, you can easily achieve a perfect hem right at home. This article will walk you through the entire process, step-by-step, so you can confidently give your bootcut jeans a polished, custom fit without breaking the bank.
Why Hemming Bootcut Jeans Is Worth It
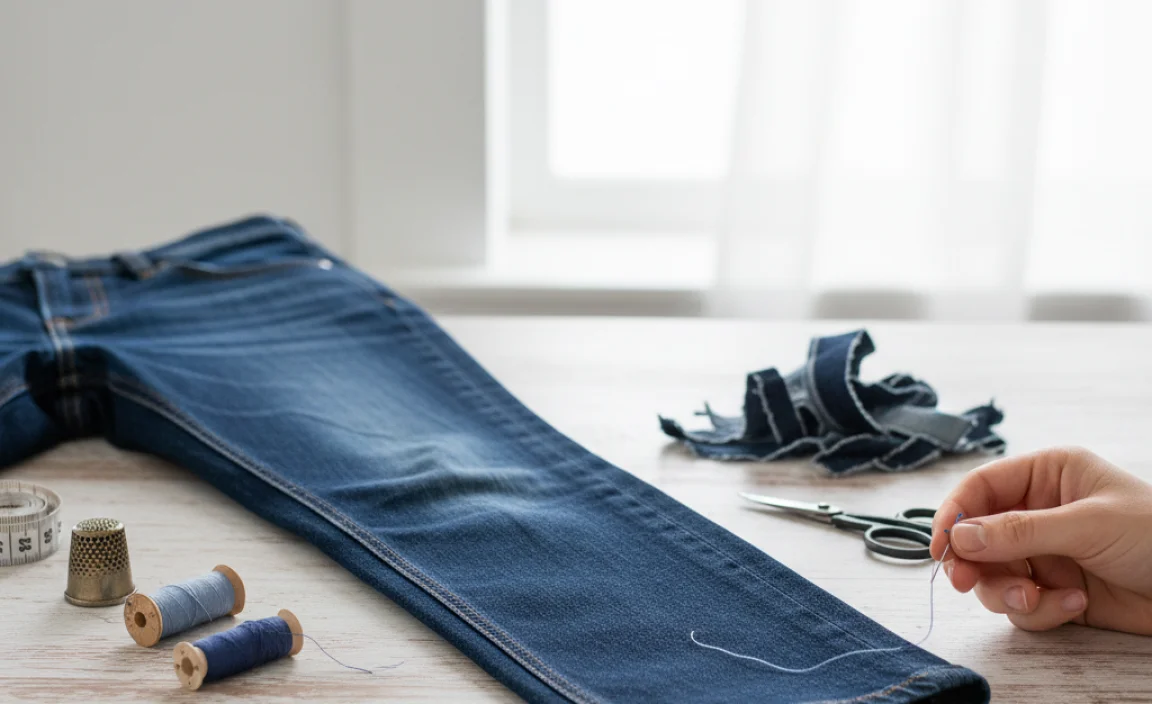
Bootcut jeans are a classic for a reason – their subtle flare at the ankle slims the leg and balances proportions. However, when they’re too long, the wide leg can overwhelm your frame, creating a tripping hazard and a less-than-ideal silhouette. A proper hem is more than just cutting fabric; it’s about restoring the intended design and ensuring the jeans look as good as they feel. For bootcut styles, maintaining the slight flare is crucial. Trying to hem them incorrectly can disrupt that balance, making them look a bit awkward. Learning to do it yourself means you can keep your favorite jeans in rotation, no matter your footwear.
Gathering Your Hemming Supplies
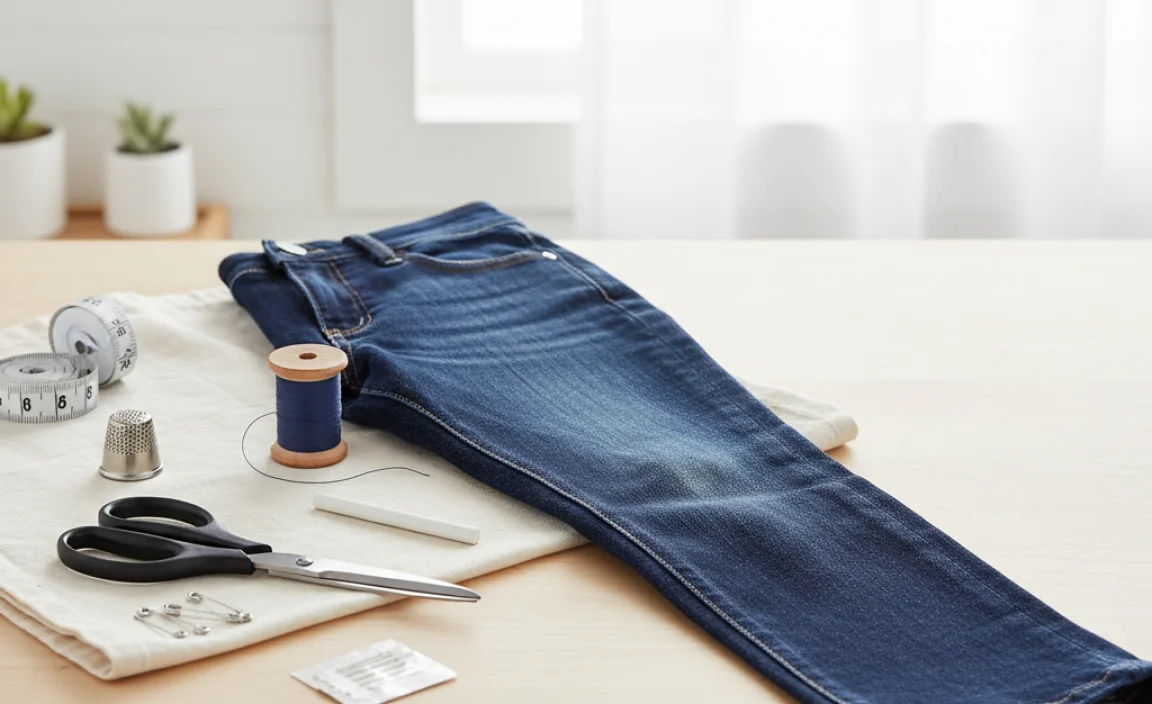
You don’t need a sewing machine or fancy equipment to hem your bootcut jeans. Most of what you’ll need is likely already in your home or can be purchased very affordably at a craft store or even a dollar store. Here’s a breakdown of what to have on hand:
Essential Tools for Budget Hemming:
- Sharp Fabric Scissors: This is non-negotiable. Dull scissors will fray the denim and make for messy cuts. Invest in a decent pair if you don’t have any; they’ll last for many projects. For denim, it’s best to have a pair exclusively for fabric.
- Measuring Tape or Ruler: Accuracy is key here. A flexible tailor’s tape measure is ideal, but a sturdy ruler will also work.
- Fabric Marker or Tailor’s Chalk: You need a way to mark your hemline clearly and temporarily. Washable fabric markers are excellent as they disappear with washing. Tailor’s chalk can also be used, though it might leave a faint mark until brushed away.
- Straight Pins: Lots of them. These help hold the fabric in place as you work, ensuring your hem stays even.
- Thread to Match Your Jeans: Choose a thread that closely matches the color of your jeans. If you’re going for a more casual, visible stitch, you could opt for a contrasting thread for a unique look, but matching thread is generally best for a clean finish.
- Needle: A standard sewing needle is sufficient for hand-sewing. If you have a sewing machine, you can use that, but hand-sewing is perfectly fine and often preferred for a more authentic look on denim.
- Iron and Ironing Board: Pressing the hem as you go makes a huge difference in achieving a neat finish.
- Your Bootcut Jeans: Of course! Make sure they are clean and dry.
For a truly budget-friendly approach, consider checking thrift stores for sewing kits or individual tools. You might also find a basic sewing machine at a garage sale for a minimal cost if you prefer machine sewing.
Measuring for the Perfect Hem
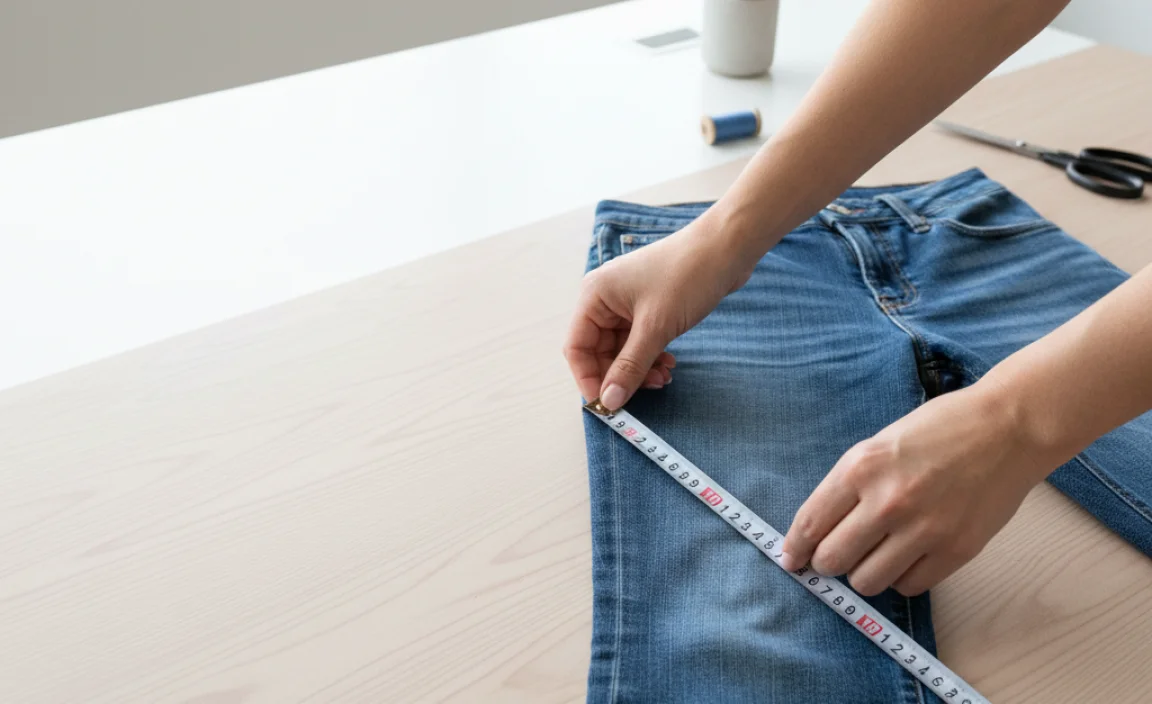
This is the most critical step. Taking accurate measurements ensures your jeans will have the perfect length after hemming. For bootcut jeans, you want them to just graze the top of your shoes. Avoid hemming them too short, as this can disrupt the bootcut’s intentional balance.
Step-by-Step Measurement Process:
- Wear Your Usual Shoes: Put on the shoes you almost always wear with your bootcut jeans. This is crucial because different shoe heights will dramatically affect where your hemline should fall.
- Put On Your Jeans: Wear the bootcut jeans you intend to hem. Ensure they are sitting at your natural waist.
- Find the Natural Length: Stand in front of a mirror. Let the jeans fall naturally. They should be just touching the top of your shoes without bunching significantly or dragging excessively on the floor.
- Mark the Desired Length: Using your fabric marker or tailor’s chalk, make a small mark on the inside seam of one leg, where you want the hem to end. Aim for the spot right where the denim begins to lift off the floor.
- Check All Sides: Carefully check the length at the front, side, and back of the leg. You might need to make small adjustments to ensure an even length all around. Bootcut jeans can sometimes hang differently at the front compared to the back due to the flare.
- Measure from the Waistband (Optional but Recommended): For an extra layer of accuracy, measure from the waistband down to your marked hemline. Write this measurement down. Then, try measuring down the inseam or the center of the leg to confirm. This helps ensure consistency if you’re not comfortable marking directly on the fabric.
- Repeat for the Other Leg: Once you’re happy with the mark on the first leg, carefully transfer that exact measurement to the second leg. You can do this by folding the jeans in half with the legs aligned, or by re-measuring from the waistband. Consistency between legs is vital.
Pro Tip: If you’re unsure, it’s always better to mark slightly longer than you think you need. You can always trim more off, but you can’t add fabric back easily!
The Cutting Process: How Much to Trim?
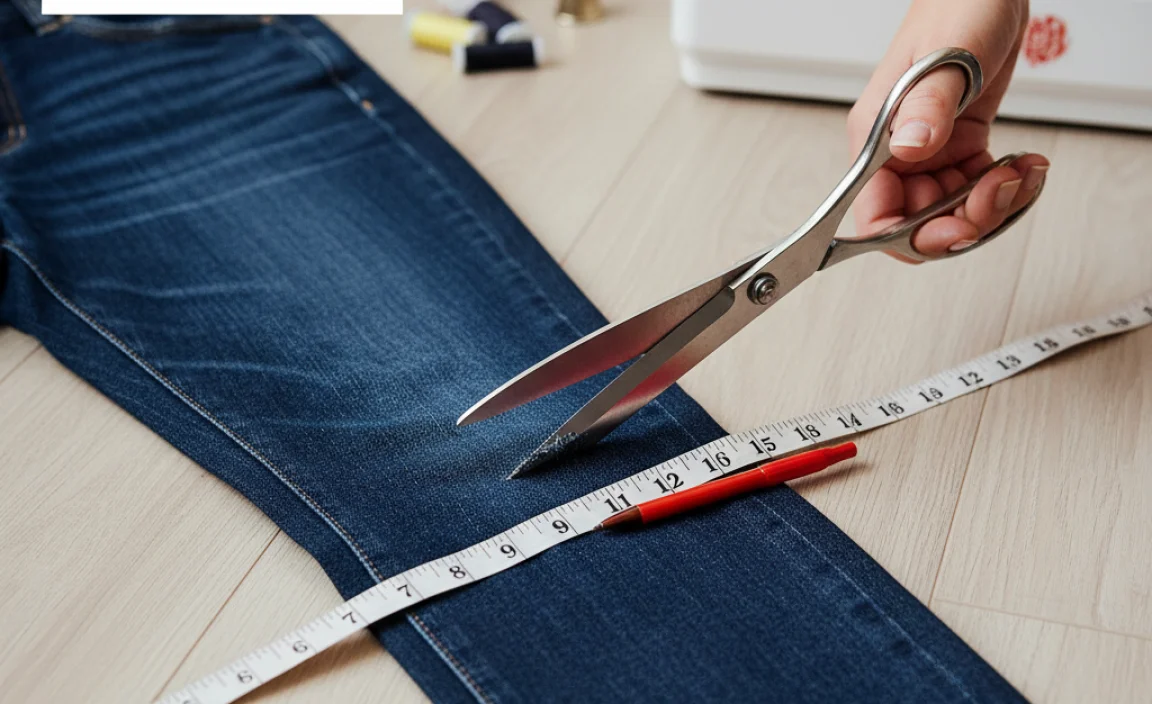
Once you’ve marked your desired hemline, it’s time to cut. But how much extra fabric should you leave for the hem? This is where you factor in the hem allowance – the extra fabric needed to create the folded-over cuff. For bootcut jeans, a standard hem allowance of 1 to 1.5 inches is usually sufficient. This amount allows for one fold and then a second fold to encase the raw edge, creating a clean finish that resembles the original hem.
Determining Your Cut Line:
To determine your cutting line, you’ll add your desired hem allowance to the mark you made for the final hem length. For example, if your desired finished hem hits at the 28-inch mark from the waistband, and you want a 1.5-inch hem allowance, your cutting line would be at 29.5 inches from the waistband.
Table: Hem Allowance Guidelines for Bootcut Jeans
| Finished Hem Length Desired | Suggested Hem Allowance | Cutting Line Mark (from Waistband) |
|---|---|---|
| e.g., 28 inches | 1 inch | 29 inches |
| e.g., 28 inches | 1.5 inches | 29.5 inches |
| e.g., 30 inches | 1 inch | 31 inches |
| e.g., 30 inches | 1.5 inches | 31.5 inches |
Cutting Instructions:
- Mark the Cutting Line: Using your fabric marker or chalk, draw a line parallel to your first hemline mark, at the distance of your chosen hem allowance. Measure from your first mark consistently around the leg.
- Use Pins for Accuracy: Once your cutting line is marked, you can use straight pins to mark the entire cut line. Place pins at intervals along the line.
- Cut with Confidence: Using your sharp fabric scissors, cut along the marked cutting line. Try to make one smooth, continuous cut for the cleanest result.
- Double-Check: After cutting, re-measure from the waistband to your cut edge on both legs. Ensure they are identical before proceeding.
Important Note: When cutting bootcut jeans, remember the leg is wider at the bottom. Your cutting line might not be a perfect circle but rather a slightly curved line following the natural shape of the denim. Don’t worry if it looks a little odd; it will be folded up.
Folding and Pressing the Hem
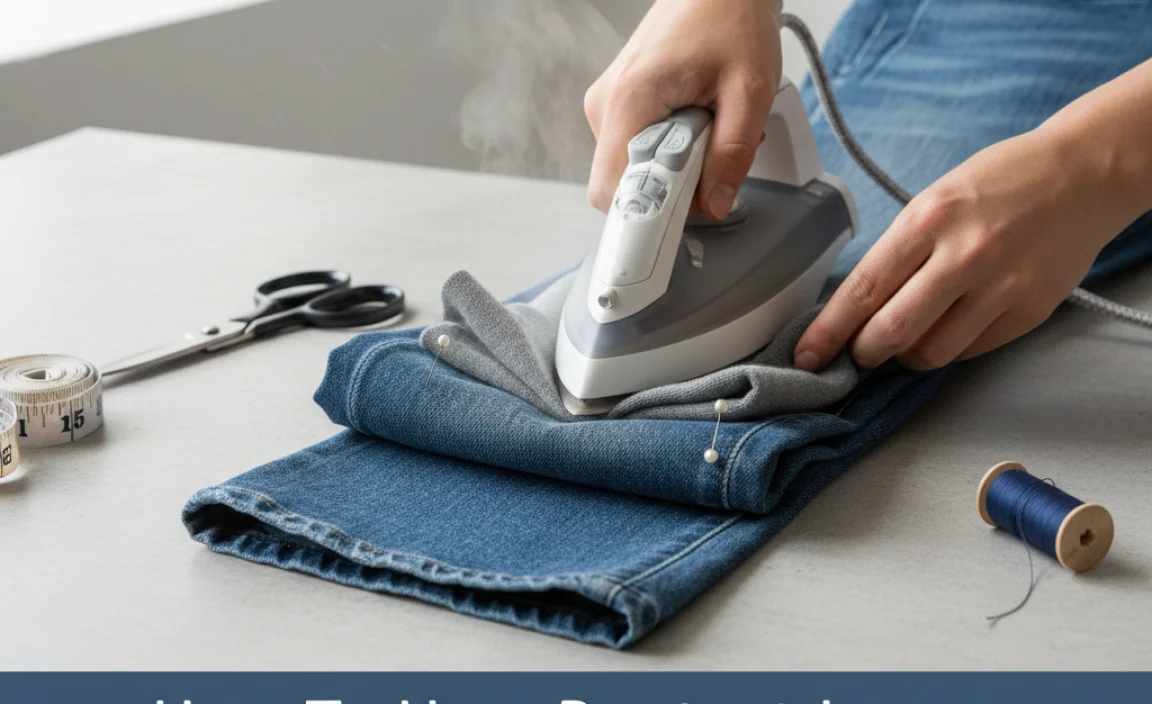
Now that your jeans are cut to the correct length, it’s time to create the actual hem fold. This is where the iron becomes your best friend. A well-pressed fold creates a crisp edge for sewing and ensures your finished hem lies flat.
Folding Method for a Clean Finish:
- First Fold: Take the cut edge of the fabric and fold it upwards, towards the inside of the jean leg, by the amount of your hem allowance (e.g., 1 or 1.5 inches). Press this fold firmly with your iron. This creates a clean, folded edge.
- Second Fold: Now, fold that already-folded edge up again, this time by about 0.5 inches. This second fold encloses the raw edge of the denim within the hem, preventing fraying and creating a professional-looking finish.
- Pin in Place: Once you have the second fold in place, secure it all the way around the leg with straight pins. Place pins perpendicular to the folded edge, about every 2-3 inches. Ensure the fabric lies flat and there are no wrinkles or puckers.
- Press Again: Before you start sewing, give the entire folded and pinned hem a final, thorough press with your iron. This flattens everything and makes sewing much easier and neater. Repeat this entire folding and pressing process for the second leg.
Visual Aid: The Double Fold Hem
Imagine the raw edge of the denim. The first fold tucks this raw edge up by the hem allowance. The second fold then tucks that entire first fold up again, usually by a smaller amount (around 0.5 inches). This creates a double-layered hem. This is a common technique for a durable and neat finish on trousers and jeans, similar to how they are often sewn in factories.
Sewing the Hem: Hand vs. Machine
You’re almost there! The final step is to sew the hem in place. You have two main options: hand-sewing or using a sewing machine. Both methods are effective, but the choice depends on your preference and available tools.
Option 1: Hand-Sewing the Hem
Hand-sewing offers great control and can provide a very authentic, original-looking stitch. A simple running stitch or a blind stitch (also called a ladder stitch) works well.
Hand-Sewing Steps:
- Thread Your Needle: Cut a piece of matching thread about 18-24 inches long. Thread it through your needle and tie a knot at the end.
- Start Sewing: Begin at an inconspicuous spot, like the inside seam of the leg. Insert your needle from the wrong side of the fabric out, through the folded hem. Pull the thread through until the knot is snug against the fabric.
- The Blind Stitch (Recommended): For an almost invisible hem, use a blind stitch.
- Take a tiny stitch on the folded hem edge.
- Then, pick up just one or two threads of the main jean fabric, about 1/4 inch away from the fold.
- Alternate between these stitches, creating a ladder-like pattern.
- Pull the thread gently every few stitches to draw the folds together, making the stitches disappear into the fabric.
- The Running Stitch (Simpler): If a blind stitch seems too fiddly, a simple running stitch is fine. Make small, even stitches in and out of the folded hem, ensuring you catch the main fabric underneath with each stitch. This will create a more visible seam on the outside.
- Maintain Even Stitches: Try to keep your stitches consistent in size and spacing for a neat appearance.
- Secure the End: When you get back to where you started, make a few extra stitches in the same spot and tie off the thread securely. Trim any excess thread.
- Repeat: Repeat the sewing process for the second leg.
A good resource for learning various hand stitches is GatherThread’s guide on hemming, which offers visual examples of different hemming techniques.
Option 2: Machine-Sewing the Hem
If you have a sewing machine, this can be a faster and more durable option. Use a strong needle designed for denim, such as a size 10/16 or 11/18.
Machine-Sewing Steps:
- Set Up Your Machine: Thread your sewing machine with matching thread. Set your stitch length to a medium setting (around 2.5 mm).
- Position the Jeans: Roll up the jean leg and place the folded hem under the presser foot. Align the edge of the folded hem with the presser foot, making sure the raw edge is enclosed within the fold.
- Start Sewing: Begin sewing at the inside seam. Sew around the entire circumference of the folded hem.
- Backstitch: At the beginning and end of your seam, backstitch for about 1/2 inch to secure the stitches.
- The Double Fold Challenge: Sewing through the thick double fold of denim can be challenging for some machines. If you encounter resistance, you can try:
- Using a jeans needle.
- Sewing very slowly.
- Pre-piercing a small hole with a pin where you start to ease the fabric under the foot.
- If your machine struggles significantly to go over the thick seam at the inner leg, you can sometimes stop just before it, finish with a few hand stitches over that one spot for reinforcement, and then continue sewing.
- Finish the Second Leg: Repeat the process for the other leg.
Which Method to Choose?
If your goal is an invisible or barely noticeable hem, hand-sewing with a blind stitch is superior. If speed and durability are prioritized, and you’re comfortable with a sewing machine, that’s a great option. For a truly authentic, factory-like look on bootcut jeans, sometimes a chain stitch is used by manufacturers, which is best done with a specialized sewing machine. However, for a home budget hem, either hand or standard machine sewing will yield excellent results.
Maintaining Your Hemmed Jeans
Once your bootcut jeans are perfectly hemmed, proper care will ensure they stay that way and continue to look great. Denim is durable, but certain washing and drying habits can cause fading, shrinking, or even damage the new hem.
Best Practices for Caring for Hemmed Jeans:
- Wash Less Often: Jeans don’t need to be washed after every wear. Spot cleaning with a damp cloth for minor stains is often sufficient. Frequent washing can wear down the fabric and stitches faster.
- Wash Inside Out: When you do wash them, turn your jeans inside out. This protects the outer fabric from abrasion and helps preserve the color and the integrity of your new hem.
- Use Cold Water: Always opt for cold water. Hot water can cause shrinkage and set in stains.
- Gentle Detergent: Use a mild detergent and avoid harsh chemicals or bleach, especially on darker washes.
- Air Dry (Recommended): The best way to dry your jeans is to hang them up and let them air dry. This prevents shrinking and minimizes stress on the fabric and seams. Ensure they are hung properly to maintain their shape. If you must use a dryer, use the lowest heat setting and remove them while still slightly damp.
- Avoid Over-Drying: Over-drying in a machine can make denim stiff and brittle.
- Check the Hem Periodically: Every few washes, give your hem a quick check to ensure stitches are holding strong and there’s no fraying.
By following these simple care tips, your newly hemmed bootcut jeans will last longer and maintain their perfect fit and appearance.
Alternative Budget-Friendly Hemming Options
If sewing feels intimidating, or you need a quick fix, there are a few no-sew options available. While they might not offer the same durability or polished look as a sewn hem, they can be very effective for a temporary fix or for those who want to avoid sewing altogether.
No-Sew Hemming Methods:
- Fabric Glue: Use a strong fabric glue specifically designed for textiles, like Aleene’s Fabric Fusion or Gorilla Glue Fabric Glue. Follow product instructions carefully, ensuring you create a strong bond that can withstand washing. Wash the jeans first and dry them completely before applying glue.
- Hem Tape (Iron


