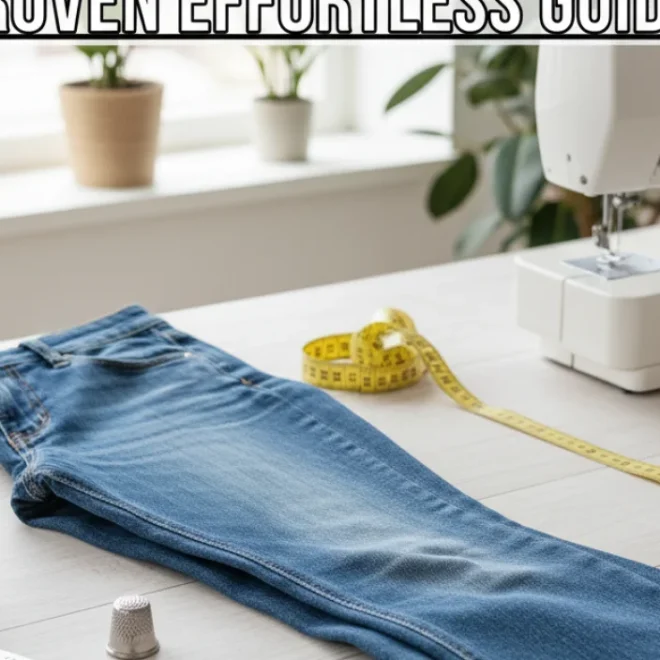
Is your favorite pair of bootcut jeans too long? Don’t worry! This guide shows you the easiest ways to hem them perfectly at home, even if you’ve never sewn before. Get that flawless fit without a trip to the tailor.
How to Hem Bootcut Jeans: Genius Effortless Fix
Finding the perfect pair of jeans can feel like striking gold. But what happens when those perfectly fitting bootcut jeans drag on the floor? It’s a common frustration that can make your favorite denim look messy and even wear out the hems prematurely. The good news is, you don’t need to be a sewing expert to fix this. We’re going to walk through simple, effective methods to hem your bootcut jeans so they fit like they were made just for you. Get ready to give your jeans a new lease on life with these effortless fixes.
Why Hemming Bootcut Jeans Matters
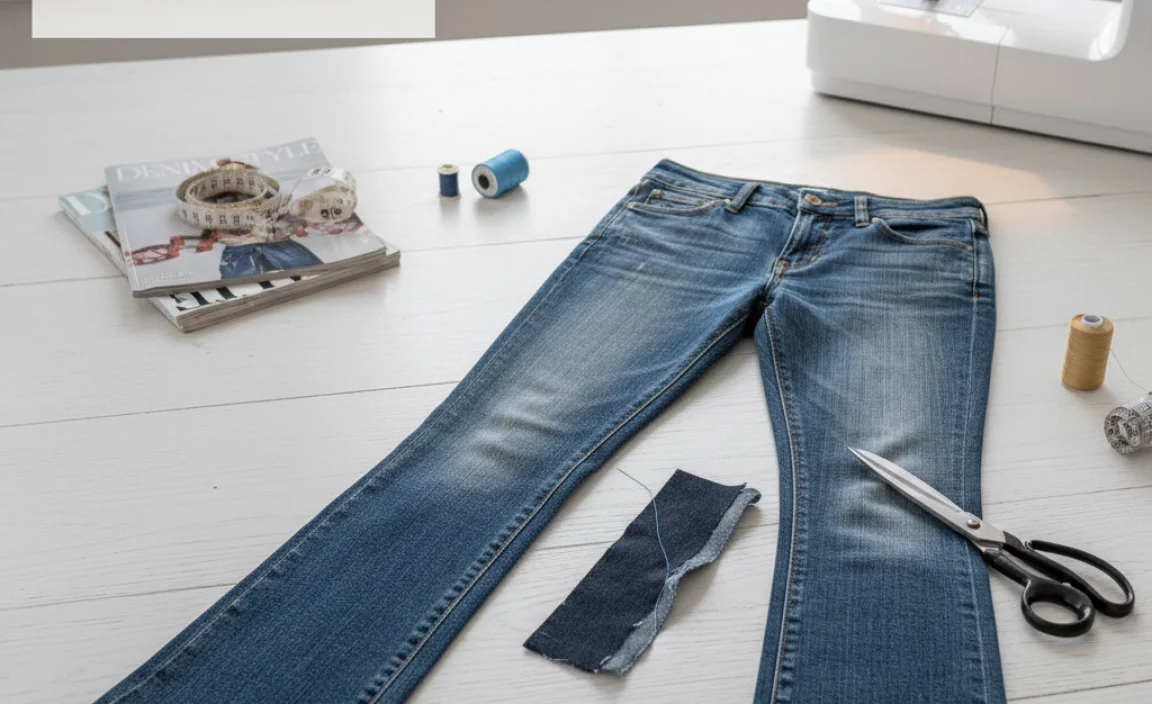
Hemming your bootcut jeans isn’t just about aesthetics; it’s about practicality and longevity. When your jeans are too long, they can:
- Trip you up or get caught on things.
- Drag on the ground, picking up dirt and damage.
- Look sloppy and unfashionable.
- Wear out the original hem, making it impossible to salvage later.
Bootcut jeans have a specific flare at the ankle, which means uneven hemming can disrupt that characteristic shape. This guide will help you maintain that silhouette while achieving the perfect length, ensuring your jeans look and feel their best.
Tools You’ll Need for Effortless Hemming
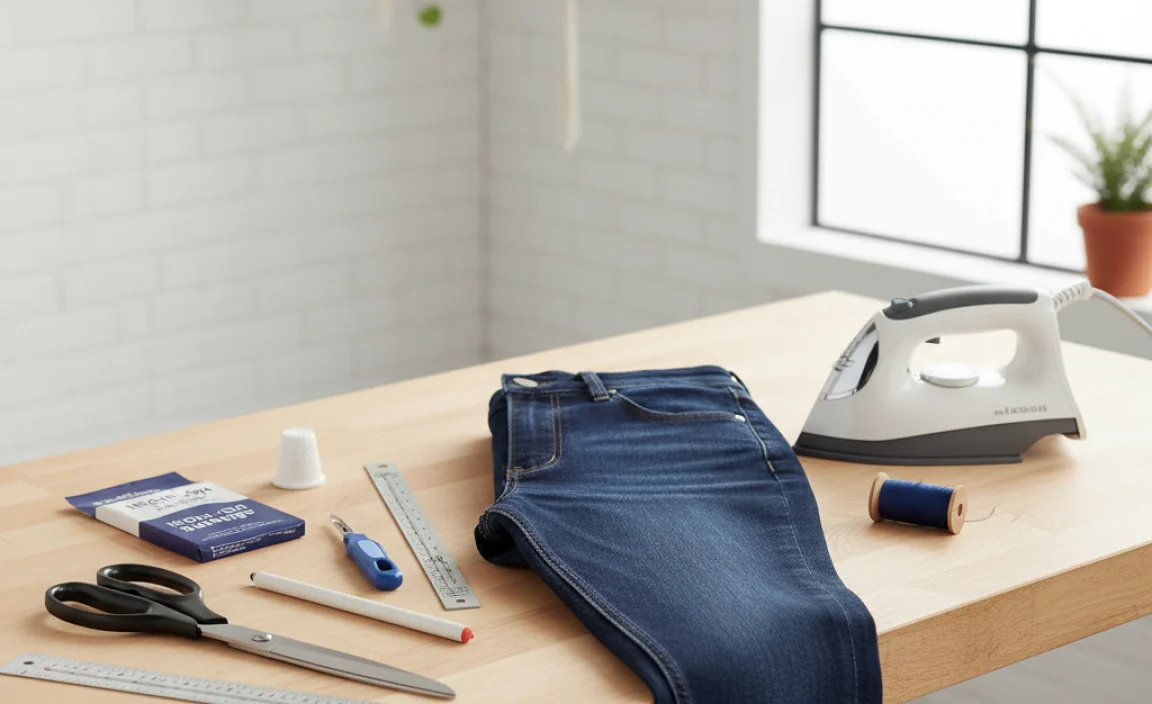
Depending on the method you choose, you’ll need a few basic supplies to get started. Having these on hand will make the process smooth and successful. Most of these are common household items or easily found at a craft or fabric store.
| Method | Essential Tools | Optional Tools |
|---|---|---|
| Fabric Glue |
|
|
| Hem Tape (Iron-On) |
|
|
| Sewing Machine |
|
|
| Hand Sewing |
|
|
Method 1: The Genius Fabric Glue Fix (No Sewing Required!)
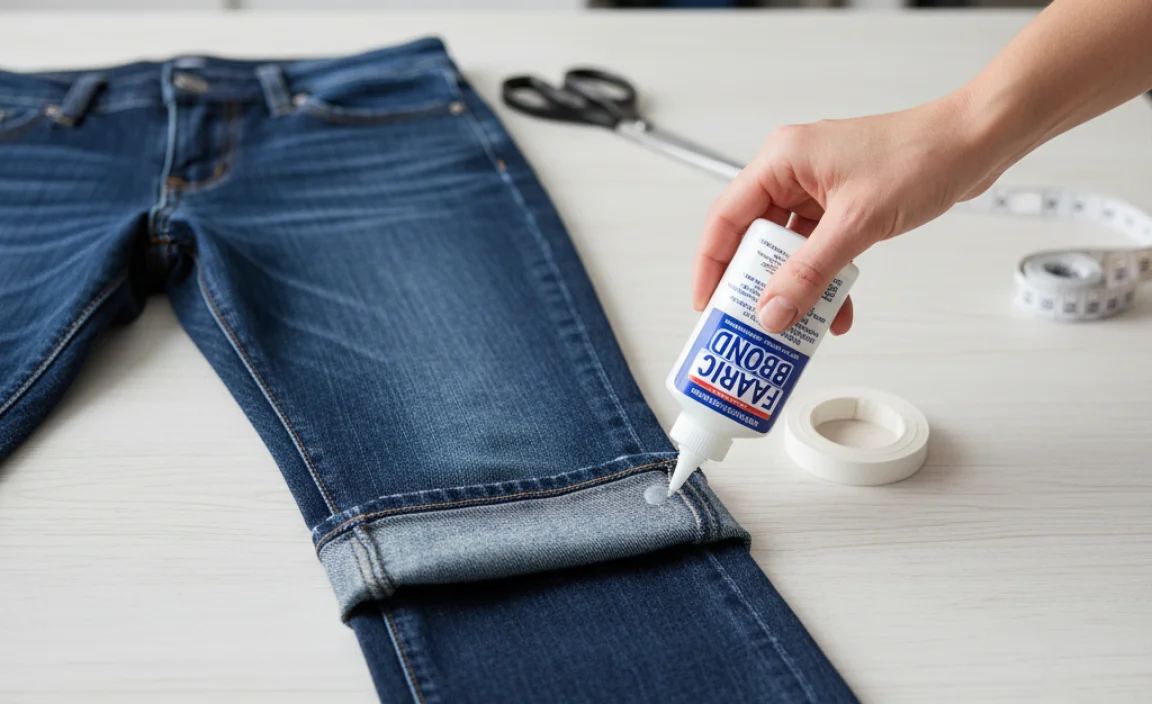
This is by far the easiest and quickest way to hem your bootcut jeans. It’s perfect for beginners, those who don’t own a sewing machine, or when you need an urgent fix. Fabric glue creates a strong, flexible bond that holds up well to washing and wearing.
Step 1: Measure and Mark Your Desired Length
Put on the shoes you typically wear with your bootcut jeans. Stand in front of a mirror. Grab a friend or use a ruler and fabric chalk/pen. Decide where you want the new hem to fall. For bootcut jeans, the hem should usually hover just above the sole of your shoe, or slightly touch it, depending on your preference and shoe style. Too long, and they drag; too short, and they look awkward. Mark this point on the outside of one leg. Then, carefully transfer this mark to the other leg, ensuring it’s at the exact same height. Use multiple marks if needed for accuracy.
Step 2: Try Them On (Again!)
Before you cut, it’s crucial to double-check your markings. Carefully take off the jeans and put them back on inside out. Lay them flat and measure from the waistband down to your marked hemline on both sides to confirm they are even.
Step 3: Cut Off the Excess Fabric
Now, decide how much extra fabric you want to leave for the hem. A standard hem allowance is about 1 to 1.5 inches (2.5 to 4 cm). This gives you enough material to fold over and create a clean edge. Mark this new cutting line below your original length marks. Use a ruler and fabric chalk to draw a straight line connecting these points all the way around the leg. Carefully cut along this line using sharp fabric scissors. Ensure you cut both legs evenly.
Step 4: Prepare the Inner Hem
Turn the jeans inside out so the cut edge is facing you. Fold the raw edge up by about half an inch (1.25 cm). Press this fold firmly with an iron to create a crisp crease. This little fold creates a neater edge for the glue to adhere to and prevents fraying.
Step 5: Apply Fabric Glue
Now, unfold the small fold you just made. You should see a crease line. Apply a thin, even line of fabric glue directly onto the wrong side of the fabric, right along that creased edge. Ensure you have enough glue to create a solid bond but not so much that it seeps through to the outside of the jeans. You can find excellent fabric glues at most craft stores or online retailers like Amazon.
Step 6: Fold and Press
Carefully fold the fabric edge back up along the crease line, pressing it firmly onto the glued area. Ensure the raw edge is completely enclosed within the fold. Hold it in place for a moment. For a really secure hold, you can use straight pins to keep the folded hem in position while the glue sets, or you can press it down with a flat object like the edge of a ruler or a piece of cardboard. Then, run your iron over the hemmed area. Check the fabric glue’s instructions for the recommended ironing time and temperature. This step permanently bonds the layers.
Step 7: Curing Time
Fabric glue needs time to cure and reach its full strength. Most glues require at least 24 hours, some up to 72 hours, before the garment can be washed. Check your glue’s packaging for specific instructions. Resist the urge to test it too soon! Once cured, your hem will be surprisingly durable.
Method 2: Iron-On Hem Tape (Still No Sewing!)

This method uses a special tape that, when heated by an iron, fuses fabric layers together. It’s another excellent no-sew option for a quick and clean hem.
Step 1: Measure and Mark
Follow the same measuring and marking steps as in Method 1. Put on your shoes, mark your desired hem length, and then transfer the mark to the other leg. Be precise!
Step 2: Cut the Excess Fabric
Just like with the glue method, decide on your hem allowance (1 to 1.5 inches is common). Mark a cutting line below your original length marks and cut both leg hems evenly with sharp fabric scissors.
Step 3: Prepare the Inner Hem and Apply Tape
Turn the jeans inside out. Fold the raw edge up by about 1 inch (2.5 cm) and press with an iron to create a clear crease. Unfold this small fold. Cut a piece of iron-on hem tape to fit the circumference of the hem. Place the hem tape onto the wrong side of the fabric, directly on the crease you just made, ensuring it’s centered over the fold. Some hem tapes have a paper backing; keep that on for now.
Step 4: Iron to Fuse
Remove the paper backing from the hem tape. Carefully fold the hem up again, pressing the fabric edge firmly against the exposed hem tape. Ensure the raw edge is fully enclosed. Now, grab your iron. Set it to a medium-high heat setting appropriate for denim (check your iron’s manual and the hem tape’s instructions). Place a pressing cloth (a thin cotton cloth or a pillowcase) over the hem. Press the iron down firmly onto the hemmed area for the duration recommended by the hem tape manufacturer (usually 10-20 seconds per section). Move the iron along the entire hem, pressing thoroughly. Don’t move the iron back and forth; just press straight down. Repeat on the inside if needed for extra security.
Step 5: Let it Cool and Test
Allow the hem to cool completely before handling it. Once cool, gently tug on the hem to ensure it’s securely bonded. Fabric’s fusible bonding web, for example, is a popular product and works effectively when following instructions.
Method 3: Sewing Machine Hemming (For a Professional Finish)
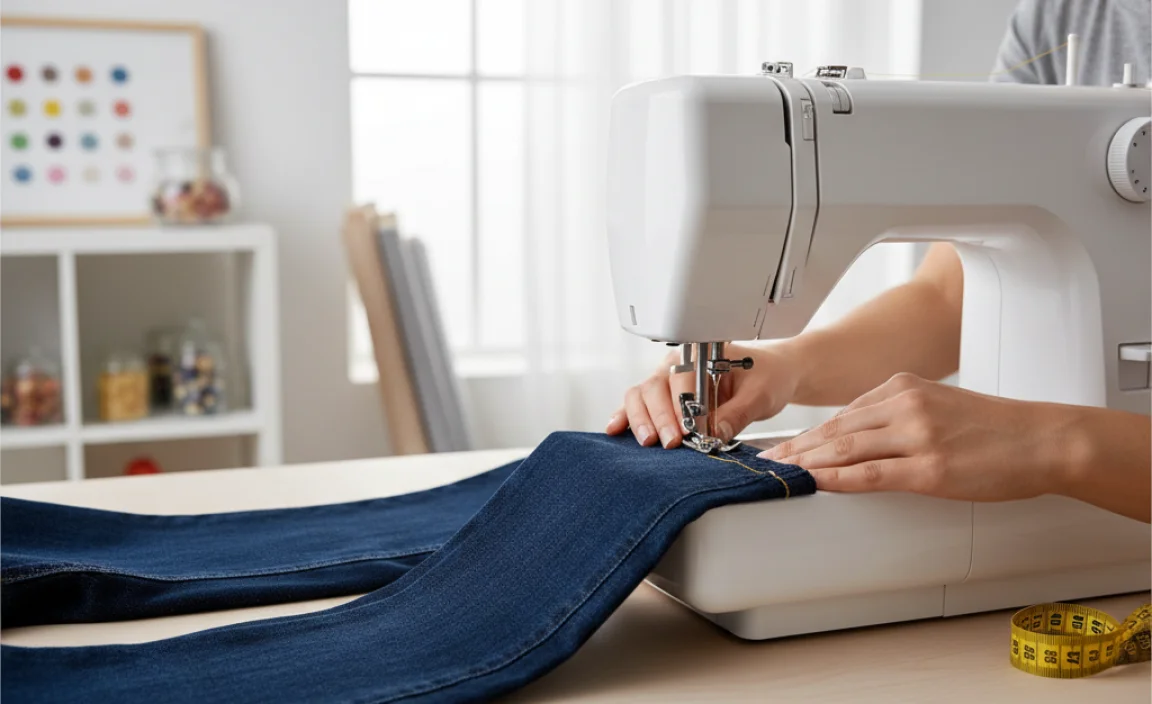
If you have a sewing machine and feel comfortable using it, this method will give you the most durable and professional-looking hem. It’s ideal for preserving the original look of your jeans.
Step 1: Measure, Mark, and Cut
This is the same as the previous methods: wear your shoes, mark your desired length, ensure both legs match, and then cut off the excess fabric, leaving a 1-1.5 inch hem allowance.
Step 2: Prepare the Hem
Turn the jeans inside out. Fold the raw edge up by about 0.5 inches (1.25 cm) and press with an iron. Then, fold it up again by 0.5 to 1 inch (1.25 to 2.5 cm) to encase the raw edge. Press this double fold firmly to create a clean, flat hem. Pin the hem in place all the way around the leg using straight pins. Ensure the pins are placed so you can easily remove them as you sew.
Step 3: Set Up Your Sewing Machine
Thread your sewing machine with a strong thread that matches your jeans (denim thread is ideal). Install a needle suitable for denim. Set your machine to a straight stitch. A stitch length of 2.5-3mm is usually good for denim. Test your stitch on a scrap piece of denim to ensure tension and appearance are correct.
Step 4: Sew the Hem
Place the jeans under the sewing machine’s presser foot, aligning the edge of the hem with the needle. Start sewing from the inseam side of the leg; this often makes it easier to navigate the thicker seams. Sew slowly and steadily, following the folded edge of the hem. Remove pins as you encounter them to avoid damaging your machine. Backstitch at the beginning and the end of your seam to secure it. You should aim to sew close to the inner folded edge for a neat finish.
Step 5: Finishing Touches
Once you’ve sewn all the way around, trim any loose threads. You can also opt to leave the original hem intact and carefully sew the new hem just below it, or use a seam ripper to carefully remove the original hem and then reattach it for a truly authentic look. For an authentic look, remove the original hem thread with a seam ripper, then fold the denim to the desired length and re-sew using the original stitch holes and a matching thread. For a quicker professional finish, simply sew a new hem to the inside of the leg.
Method 4: Hand Sewing a Hem
If you don’t have a sewing machine, hand sewing is a perfectly viable option. It takes a bit more time but can achieve a nearly invisible finish. This method requires patience and a steady hand.
Step 1: Measure, Mark, and Cut
Follow the standard steps: wear shoes, mark length, match legs, and cut excess fabric, leaving a 1-1.5 inch hem allowance.
Step 2: Prepare the Hem
Turn the jeans inside out. Fold the raw edge up by 0.5 inches (1.25 cm) and press. Then, fold it up again by 0.5 to 1 inch (1.25 to 2.5 cm) to enclose the raw edge. Press this double fold firmly. Pin the hem in place.
Step 3: Thread Your Needle
Cut a piece of thread about 18-24 inches long. Thread it through the eye of your needle and tie a knot at the end. For extra strength, you can double your thread.
Step 4: Sew with a Blind Hem Stitch
Start at the inseam of one leg. Poke the needle through the fabric of the inner folded hem. Bring the needle out and then make a tiny stitch through the original fabric of the jean leg (only catching one or two threads). Then, make another stitch back into the folded hem. Continue this alternating pattern – a tiny stitch on the main jean fabric, followed by a stitch within the folded hem – all the way around the leg. This “blind stitch” is very hard to see from the outside. Use a stitch length of about 0.5 inches between stitches on the folded hem and only catch 1-2 threads on the outside leg. Refer to resources like WikiHow’s guide on blind hemming for visual aids, as it’s a technique that benefits from seeing it done.
Step 5: Finish and Press
When you reach your starting point, tie off your thread securely with a knot. Trim any excess thread. Remove all pins. Press the hem flat with an iron.
Maintaining the Original Jean Hem
Many people prefer to keep the original hem of their bootcut jeans because it often has whiskering and a specific distressed look that’s hard to replicate. If you want to preserve this look:
- Measure and Mark Carefully: Mark your desired length on the inside of the jean leg.
- Remove the Original Hem: Use a seam ripper to meticulously remove the original stitching holding the original hem. Take your time; this is delicate work.
- Press the Original Hem Open: Carefully unfold the original hem. Press it flat.
- Measure the Original Hem Depth: Measure the width of the original hem you just unpicked. This is typically around 0.5 to 1 inch.
- Prepare the New Hem: To get the correct length, you’ll need to shorten the jean from the top of the leg (waistband) or by adding a cuff. However, for a quick fix to shorten the bottom, you can try this:
Alternative for Preserving Original Hem:
- Measure and mark your desired length on the inside of the pant leg.
- Fold the excess fabric up towards the inside of the pant leg, creating a clean fold without cutting anything off.
- You will now have a folded section on the inside of the leg. Ensure this fold is neat and flat.
- You can then use fabric glue or hem tape to secure this inner fold.
- If you’re sewing, you can hand-stitch or machine-sew this inner fold in place. This method preserves the original outer appearance of the hem.
This method is a bit more advanced but yields excellent results for those who want that original hem look. For most beginners, the no-sew methods or a simple sewn hem on the cut edge will be more manageable.
Troubleshooting Common Hemming Issues
Even with careful work, things can go awry. Here are solutions to common problems:
- Jeans are Uneven: If you discover your hem is uneven after cutting, don’t despair. You can trim the longer side to match. If you used fabric glue or hem tape, you might be able to carefully iron the area to loosen the bond, adjust, and re-glue/re-tape. For sewing, you can carefully unpick the stitches and re-do it.
- Fabric Glue Seeps Through: This happens if too much glue is used. For minor seepage, try dabbing with a damp cloth immediately. If it dries, you might be able to carefully scrape it off. Prevention is key: use a thin, even bead of glue.
- Hem Tape Doesn’t Stick: Ensure your iron is hot enough and you’re pressing for


