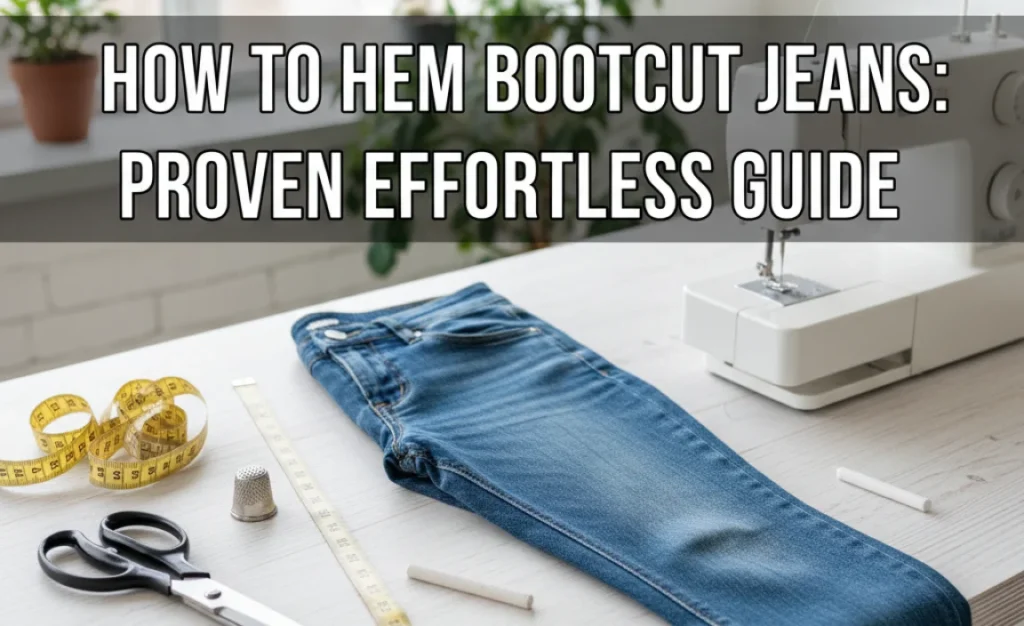
Quick Summary: Hemming bootcut jeans is a simple DIY project that saves money and ensures a perfect fit. This guide provides clear, step-by-step instructions for beginners, covering measurement, cutting, and finishing techniques to achieve a professional look with minimal effort.
How to Hem Bootcut Jeans: A Proven, Effortless Guide
Jeans are a wardrobe staple for many. When they’re too long, they can drag on the floor, get damaged, or just look sloppy. Bootcut jeans, with their distinctive flare at the ankle, can be particularly tricky to get the length just right. Instead of letting them gather dust or paying for professional alterations, you can easily learn how to hem your bootcut jeans yourself. This guide will walk you through the process, making it simple and straightforward, even if you’ve never sewn before.
We’ll cover everything you need to know, from measuring your jeans to choosing the right hemming method. By the end, you’ll have a perfectly fitting pair of favorite jeans ready to wear without any fuss.
Why Hemming Your Bootcut Jeans Matters
The right jean length can elevate your entire look. For bootcut jeans, the hem is crucial because the flare can easily hide too-high shoes or, conversely, become a tripping hazard if too long. A well-hemed pair not only looks better but also helps maintain the integrity of the fabric, preventing premature fraying and wear.
- Aesthetics: Properly hemmed jeans create a clean line from hip to ankle, enhancing your silhouette.
- Durability: Prevents the denim from dragging on the ground, which leads to rips and frays.
- Shoe Pairing: Ensures your bootcut jeans sit perfectly over your favorite boots or shoes.
- Cost Savings: DIY hemming is significantly cheaper than taking them to a tailor.
Gather Your Tools: What You’ll Need
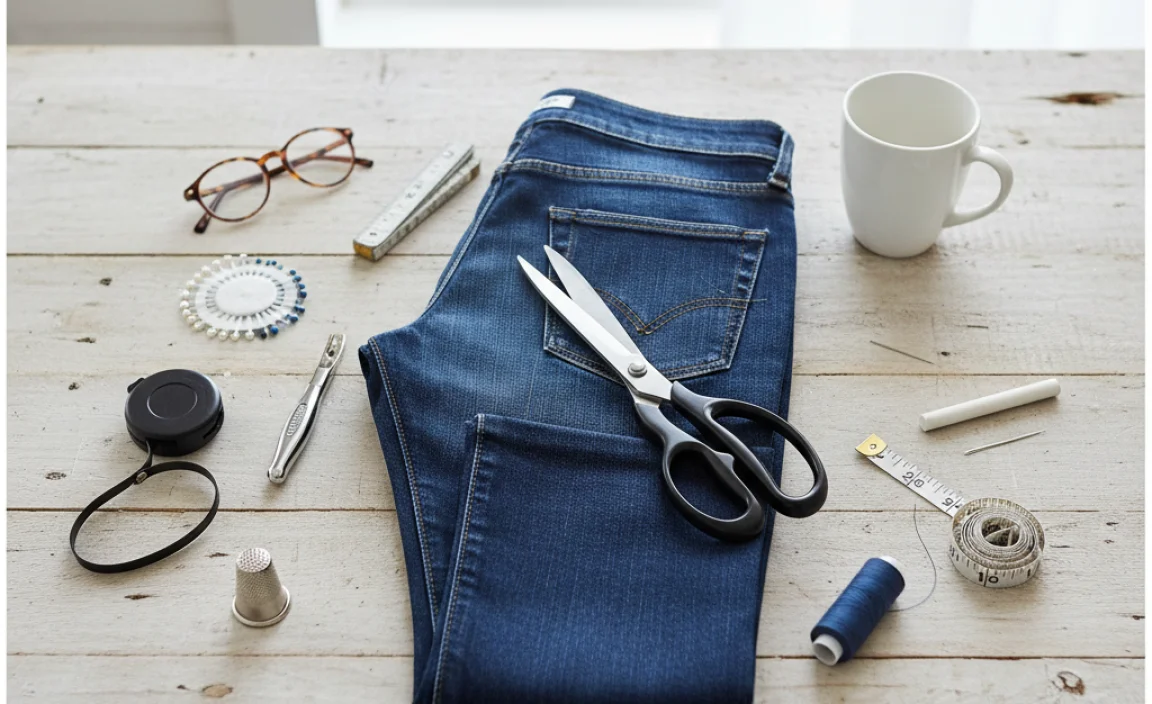
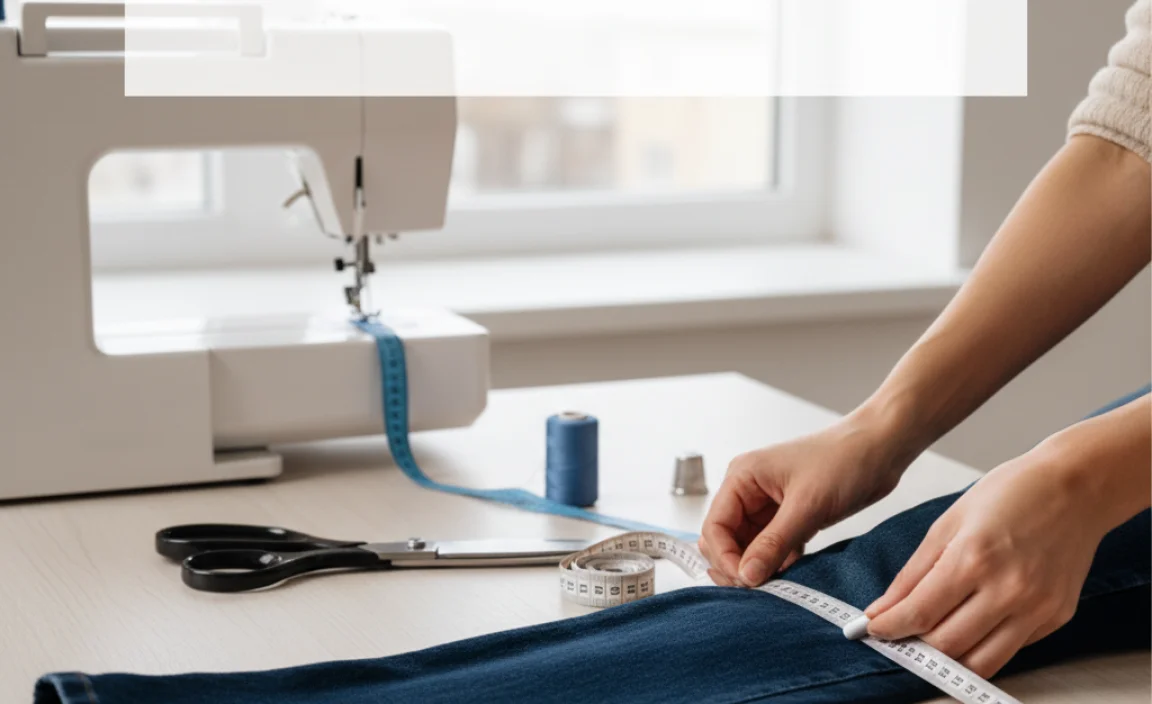
Before you start, having the right tools makes the job much easier and results in a cleaner finish. Don’t worry if you don’t have extensive sewing experience; most of these items are basic and readily available.
- Your Bootcut Jeans: The pair you want to hem.
- Sharp Fabric Scissors: Essential for a clean cut. Regular scissors can fray the denim.
- Measuring Tape or Ruler: For accurate length measurements.
- Fabric Marker or Chalk: To mark your cutting line clearly.
- Pins: To hold the fabric in place while you work.
- Sewing Machine (Optional): For a quick and durable seam.
- Needle and Thread (If Sewing by Hand): Choose a thread color that matches your jeans.
- Iron and Ironing Board: To press seams and create crisp lines.
- A Friend (Optional but helpful): To help hold the jeans steady for accurate measuring.
Step 1: The Crucial Measurement

This is the most important step. Getting the length right ensures your jeans will fit perfectly after hemming. Accuracy here prevents future frustration.
Put on the shoes you typically wear with your bootcut jeans. This is important because different shoe heights will change the ideal length of your jeans. Stand in front of a mirror.
Have a friend help you, or carefully pin the hem as it currently sits. You want the hem to just graze the top of your shoes or the bottom of the heel, depending on your preference and the style of the shoe. Avoid letting them pool on the floor, but also don’t make them too high.
Using your fabric marker or chalk, make a small mark on the outside of each leg where you want the new hem to fall. If you’re working alone, you can carefully unpin the hem, lay the jeans flat, and smooth them out, but keep the original hem intact for reference.
Step 2: Determine Your New Hem Length
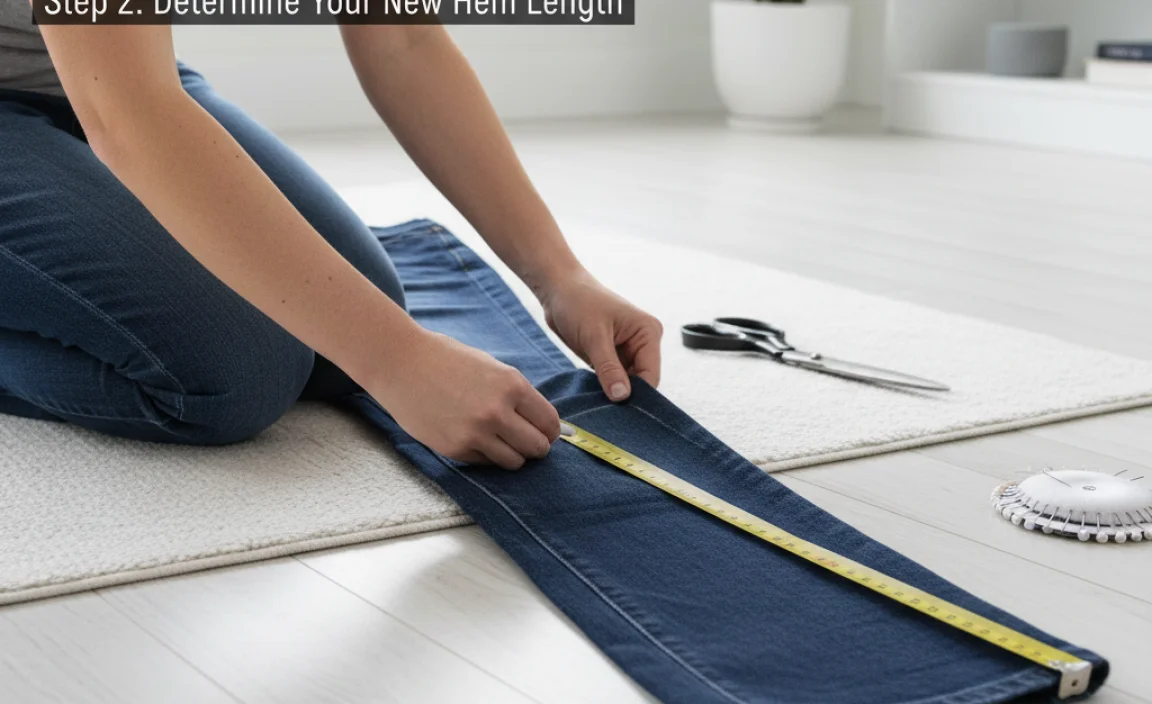
Once you have your mark, take the jeans off. Lay them flat on a table or the floor. Smooth out the fabric. You’ll need to decide how much length to remove and how much you want to fold up for the new hem (hem allowance).
A standard hem allowance for denim is typically 1 to 1.5 inches. This gives you enough fabric to fold over twice for a clean, finished edge that mimics the original hem. Ensure you are measuring from the marked line for the new hemline, adding your hem allowance upwards.
For example, if your mark is at 30 inches and you want a 0.5-inch original hem and a 1-inch fold-over, you’ll be cutting at inch ____ below your mark to create a 1.5-inch total allowance. Wait, that’s not clear. Let’s rephrase that. If your mark for where the new hem should end is at 30 inches from the waistband, and you want to fold up 1 inch of fabric twice (for a total of 2 inches of folded-over fabric before sewing), then you need to cut off the excess fabric at the 32-inch mark from the waistband. That means you should mark a new cutting line 2 inches above your desired final hem length.
Now, take your measuring tape and measure from the marked point (where the jean leg should end) straight up the leg to create a new cutting line. Add your desired hem allowance. A good rule of thumb for bootcut jeans is about 1 to 1.5 inches for the hem allowance. This will be the amount of fabric you fold up twice.
Example: If your jeans should end at 31 inches from the waistband, and you want a 1.5-inch hem allowance, your new cutting line will be at 31 inches minus 1.5 inches, which is 29.5 inches from the waistband. Your final hem will be 1.5 inches tall.
Use your fabric marker or chalk and ruler to draw a straight, clear line across both legs at this new measurement, parallel to the original hem. Double-check that both legs are marked at the exact same length.
Tip for Bootcut Flares: Adjusting the Cutting Line
Because bootcut jeans flare out, the original hem might not sit perfectly straight. When you measure up from your marked line, ensure your new cutting line is parallel to the floor when the jeans are on your feet, not necessarily parallel to the original uneven hem. This is where a friend can be very helpful as you mark.
Step 3: Cutting the Jeans
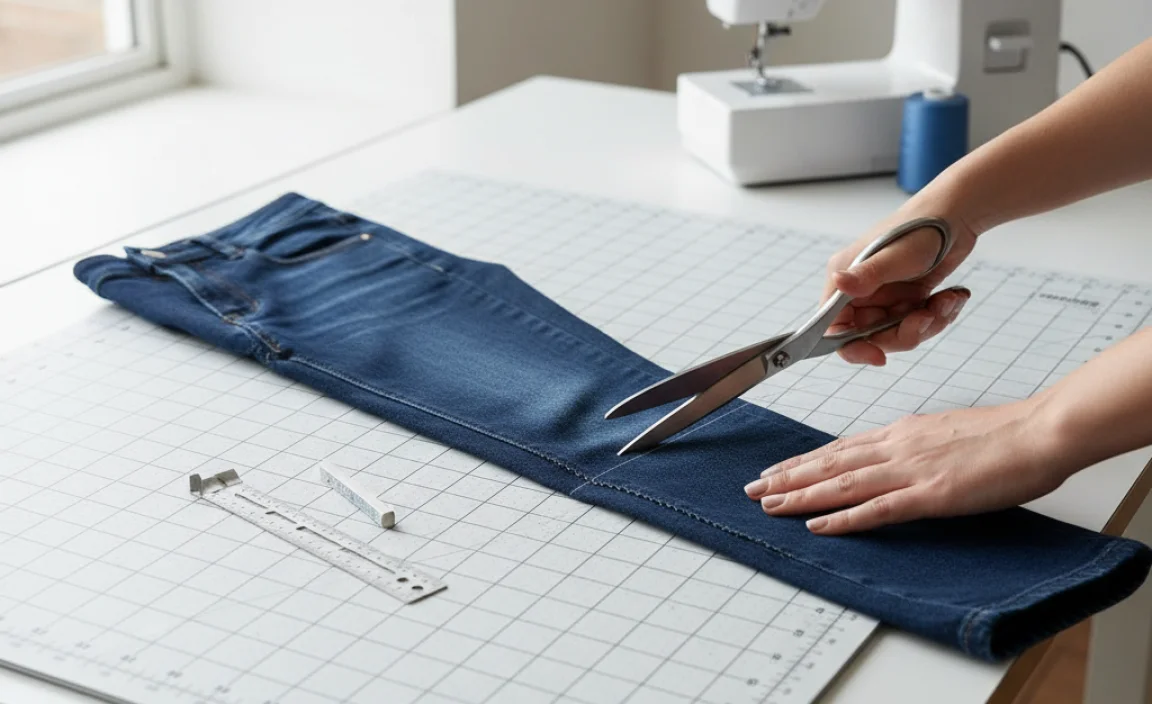
With your new cutting lines clearly marked, it’s time to cut. Lay one leg flat and smooth out the fabric, ensuring the marked line is taut. Using your sharp fabric scissors, carefully cut along the marked line. Cut through both layers of the fabric.
Repeat for the other leg, ensuring you cut at the exact same height. Take your time and make a smooth, confident cut. It’s better to cut slightly longer than you think and trim later if needed, than to cut too short.
Step 4: Preparing the Hem
Now that your excess fabric is cut away, you’ll prepare the fabric for folding. You have a couple of popular methods for this, depending on the look you want and how you plan to finish the hem.
Method A: The Double Fold Hem (Recommended for a Clean Finish)
This is the most common and professional-looking method. It creates a folded edge that looks much like the original hem of your jeans.
- First Fold: Take the raw edge of the cut fabric and fold it upwards towards the inside of the jean leg, aligning it with your marked cutting line. Press this fold firmly with an iron. This creates a neat, 1.5-inch (or your chosen allowance) raw edge.
- Second Fold: Now, take this newly pressed folded edge and fold it upwards again, so the raw edge is completely enclosed. This second fold should align with your original marking line (where the jean hem is supposed to end). Press this second fold very firmly with the iron. You should now have a clean, double-folded hem.
- Pinning: Secure the folded hem in place with pins, placing them about every inch along the hem. Ensure the pins go through all layers of fabric and are placed straight to avoid puckering when sewing.
Method B: The Single Fold Hem (Simpler, may fray)
This method is quicker but means the raw edge of the fabric will be visible on the inside, and might fray over time if not secured properly.
- Fold: Fold the raw edge up once, by your chosen hem allowance (e.g., 1.5 inches). Press this fold firmly with an iron.
- Pinning: Pin the folded hem in place as described above.
This method is best if you plan to create a cuffed hem to show off the fabric, or if you’re using a fabric fray sealant.
Step 5: Sewing the Hem
This is where your bootcut jeans start to look professionally altered. You can achieve this with a sewing machine or by hand.
Sewing with a Machine
- Thread your machine: Use a thread that matches your jeans. A strong denim needle is recommended for thicker fabrics.
- Position the jeans: Place the pinned hem under the presser foot, aligning the edge of the folded hem with the seam guide or your marked stitching line.
- Start sewing: Begin sewing, keeping the fabric flat and guiding it as you go. Sew slowly along the edge of the folded hem, removing pins as you encounter them.
- Backstitch: At the beginning and end of your seam, backstitch a few times to secure the stitches and prevent them from unraveling.
- Press: Once sewn, press the hem again with your iron.
Sewing by Hand
If you don’t have a sewing machine, a hand-sewn hem can still look great, especially if you choose a matching thread and stitch neatly. A common stitch for hemming is the blind hem stitch, which is nearly invisible from the outside.
- Thread your needle: Use a double strand of matching thread for strength and knot the end.
- Start sewing: From the inside of the seam, insert the needle. Catch just a thread or two of the jean fabric every 1/2 inch or so, moving from right to left.
- The Blind Stitch: Make a small stitch in the folded hem, moving the needle forward about 1/4 inch within the fold. Then, reach ahead in the jean fabric and catch another small amount of fabric. Repeat this process, making your stitches in the main body of the jean as small as possible and your stitches within the folded hem slightly longer so the thread is hidden.
- Continue and Secure: Continue all the way around the hem. When you reach the beginning, make a few small knots to secure the thread, then snip any excess.
- Press: Gently press the hem with an iron.
Step 6: The Finishing Touches
Once sewn, give your hem a final press with the iron. Ensure the folded edge is crisp and lies flat. If you used the double fold method, the raw edge will be completely hidden, providing a clean and durable finish.
Try on your jeans with your shoes. Check the length and the overall hang. If there are any small puckers or uneven areas, you can try gently pressing them out. If the hem feels a little stiff, a light wash and dry can help it settle in naturally.
Alternative Hemming Methods for Bootcut Jeans
While the double fold is excellent for a neat finish, other methods can achieve different looks or be quicker.
The Fray Hem
This popular style embraces a slightly distressed look. It’s great for casual denim.
- Cut: Cut your jeans to the desired length, allowing for about 1 to 1.5 inches of excess fabric below your new desired hemline.
- Create Fray: Fold the raw edge up just about 0.5 inches and press.
- Sew: Sew a straight stitch along this folded edge.
- Encourage Fraying: After sewing, you can gently pull at the threads below the stitch line to encourage a frayed look. This can also be achieved by washing the jeans after hemming.
The Rolled or Cuffed Hem
This is a quick fix and can be adjusted easily. It’s functional and can add a stylish detail.
- Measure and Cut: Decide how much you want to see of the cuff. A 2- to 3-inch cuff is common. Cut off the excess fabric, leaving the amount you want for the cuff plus a small hem allowance (about 1/2 inch) to fold over.
- Prepare Cuff: Fold the raw edge up by your small hem allowance and press. Fold this again to create a clean edge. Pin and sew this small hem.
- Fold: Fold the entire finished length up by your desired cuff amount (e.g., 3 inches). Press firmly.
- Secure (Optional): You can add a few small stitches inside the cuff on the side seams to keep it from unfolding, or simply rely on the press.
Using Starch for Crisper Hems
For an extra crisp and easy-to-work-with hem, consider using spray starch. Before you fold and press your fabric, lightly spray the area with liquid starch. This stiffens the fabric, making it easier to get sharp folds and precise lines, especially helpful when you’re new to hemming.
To use starch effectively:
- Lay the jean leg flat.
- Spray the area where you will fold evenly with starch.
- Iron over the starch-treated area until dry and crisp.
- Proceed with your folds and sewing.
What About “How to Hem Bootcut Jeans with Hydrogen Peroxide”?
You might have come across the idea of using hydrogen peroxide for hemming jeans. It’s important to clarify that hydrogen peroxide is primarily used for lightening or bleaching denim, not for the actual hemming or sewing process itself. It’s a fabric treatment, not a sewing tool.
If the intention is to create a distressed or faded hem, hydrogen peroxide can be used after the jeans have been hemmed. For example, you might:
- Hem your bootcut jeans using one of the methods described above.
- Once hemmed and the stitches are secure, you can apply a diluted solution of hydrogen peroxide to the hem area (carefully, to avoid uneven bleaching).
- You might then wash the jeans to further enhance the effect and even out any accidental streaks. This can help achieve a worn-in look, but it’s purely for aesthetic alteration and has no bearing on the mechanical process of sewing the hem. Always test on an inconspicuous area first, as results can vary greatly depending on the denim and concentration.
Troubleshooting Common Hemming Issues
Don’t get discouraged if your first attempt isn’t perfect. Here are solutions to common problems:
Problem Solution Uneven Hem Measure carefully from the intended final hem up to the cutting line, ensuring it’s consistent on both legs. If already cut, you might need to trim slightly more or even out by hand or machine. A good press can sometimes hide minor irregularities. Wavy or Puckered Seam Ensure you are not stretching the fabric as you sew. Sew at a consistent speed and guide the fabric gently. Using a longer stitch length on your sewing machine can also help. A good press after sewing can relax the fabric. Thread Breaking Ensure you are using the correct needle for denim (a denim or jeans needle). Check that your machine is threaded correctly, and that the thread tension is appropriate. Use a strong sewing thread, ideally one designed for heavier fabrics. Hem Too Short This is tricky to fix without looking messy. You might need to add a cuff or a decorative band to the bottom, or consider buying new jeans if it’s a significant difference. It’s why measuring twice and cutting once is crucial. Stitches Showing on Outside If using a machine, ensure you are stitching precisely along the edge of the folded hem. If sewing by hand, a blind hem stitch is best for invisibility. For decorative stitches, ensure they are applied intentionally for style. The Importance of Denim Quality and Care
The type of denim you’re working with can affect how it sews and looks. Heavier, rigid denim is often easier to hem than very stretchy or thin denim. Stretchy denim can be more prone to stretching out as you sew, leading to puckering. Taking your time and using a walking foot on your sewing machine (if available) can help with stretchy fabrics


