Quick Summary: Hemming bootcut jeans is straightforward when you know how. This guide breaks down the process into simple, actionable steps for a perfect fit, ensuring your favorite jeans look great and feel comfortable, no matter your sewing skill level.
How to Hem Bootcut Jeans: Your Proven Effortless Guide
Are your favorite bootcut jeans a little too long? That slight drag on the floor can mean uneven wear, tripping hazards, and a generally sloppy look. It’s a common problem, but thankfully, a solvable one. You don’t need to be a master tailor to fix them. With a few simple tools and this step-by-step guide, you can achieve a professional-looking hem right at home. Get ready to give your jeans a new lease on life and enjoy a perfect fit every time.
Why Hemming Your Bootcut Jeans Matters



Bootcut jeans have a specific shape designed to fall just right over footwear. When they’re too long, this intended drape is disrupted. The excess fabric can bunch up around your shoes, making your legs look shorter and your outfit less polished. Beyond aesthetics, a hem that’s too long can pick up dirt, fray quickly, and create a tripping hazard. Hemming ensures your jeans maintain their intended style and longevity.
Gathering Your Hemming Supplies

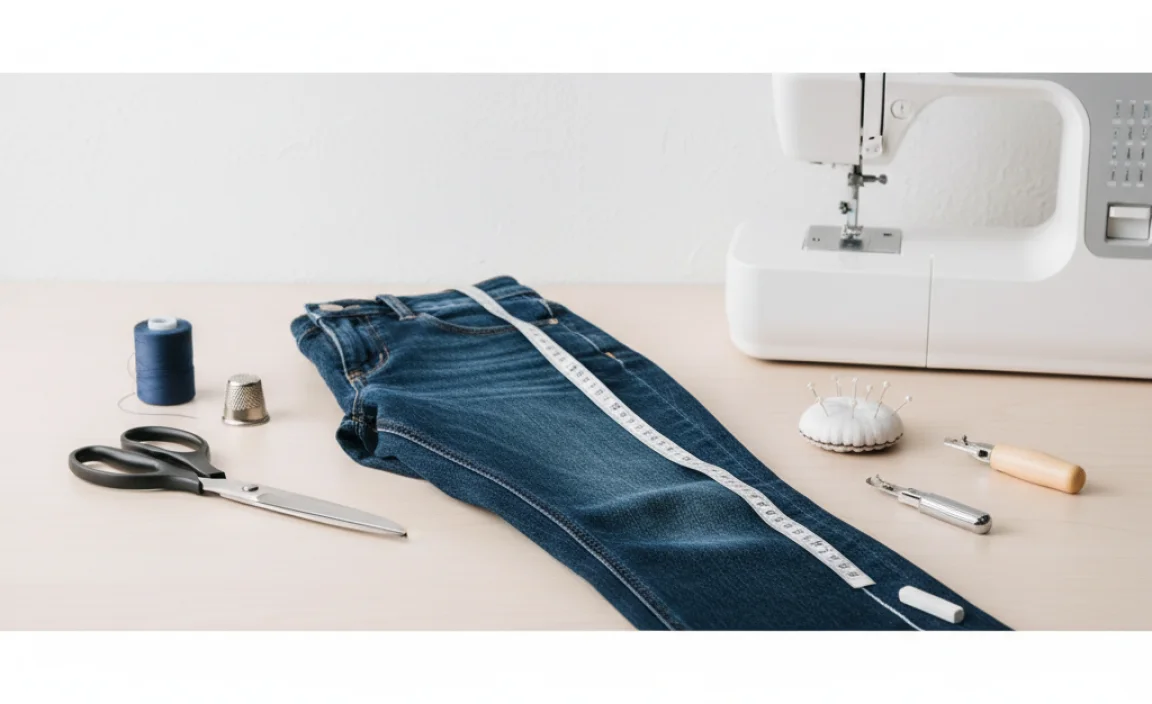


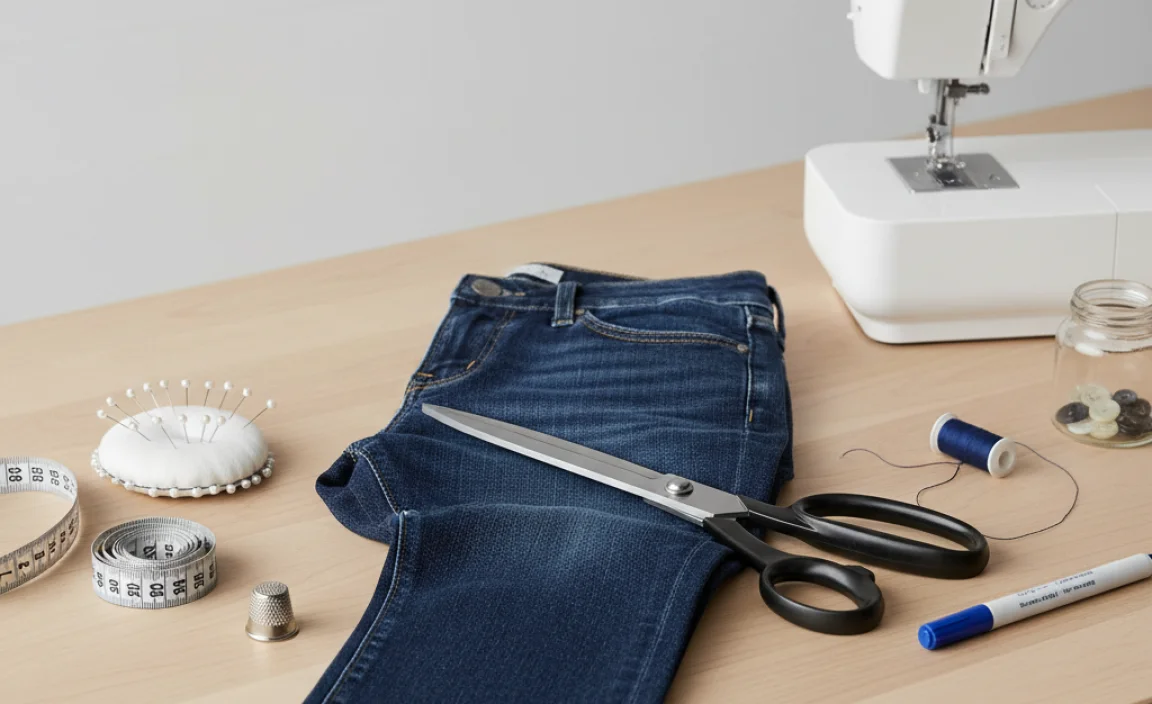
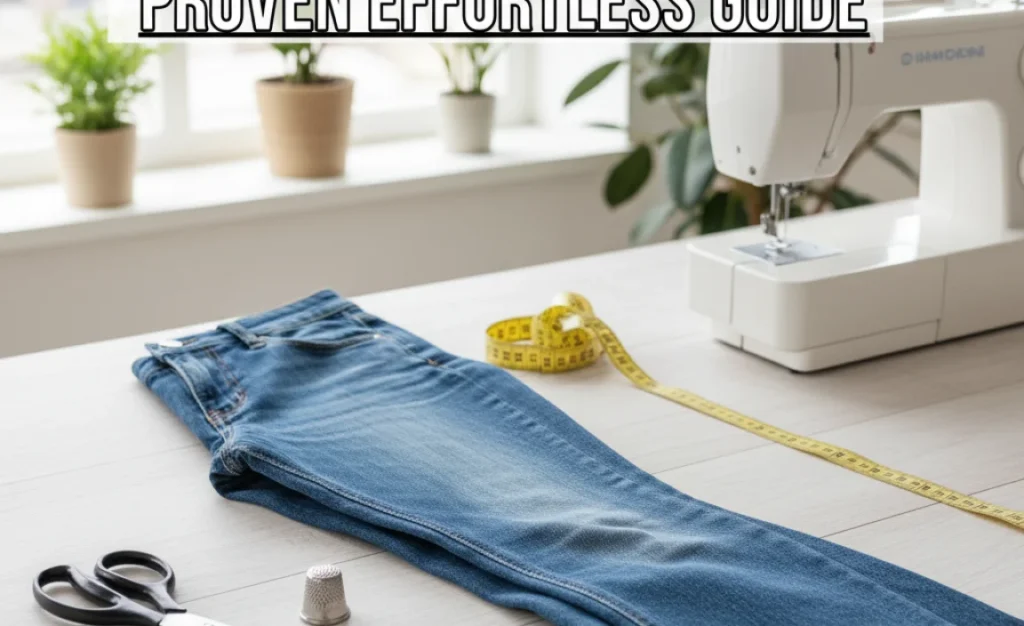
Before you start, having the right tools makes the job much easier and cleaner. Here’s what you’ll need:
- Your Bootcut Jeans: Make sure they are clean and unwrinkled.
- Sharp Fabric Scissors: Essential for clean cuts.
- Measuring Tape or Ruler: For accurate measurement.
- Fabric Marker or Chalk: To mark your cut line.
- Pins: To hold the hem in place while you work.
- Iron: For pressing seams and creating crisp folds.
- Sewing Machine (Optional but Recommended): For a durable and neat stitch.
- Thread: Matching your jeans’ original thread color.
- Iron-On Hem Tape or Fabric Glue (for no-sew option): A quick alternative to sewing.
- Iron-On Patches (for a specific no-sew technique): To reinforce and decorate the hem.
The No-Sew Method: Hemming with Iron-On Patches & Tape
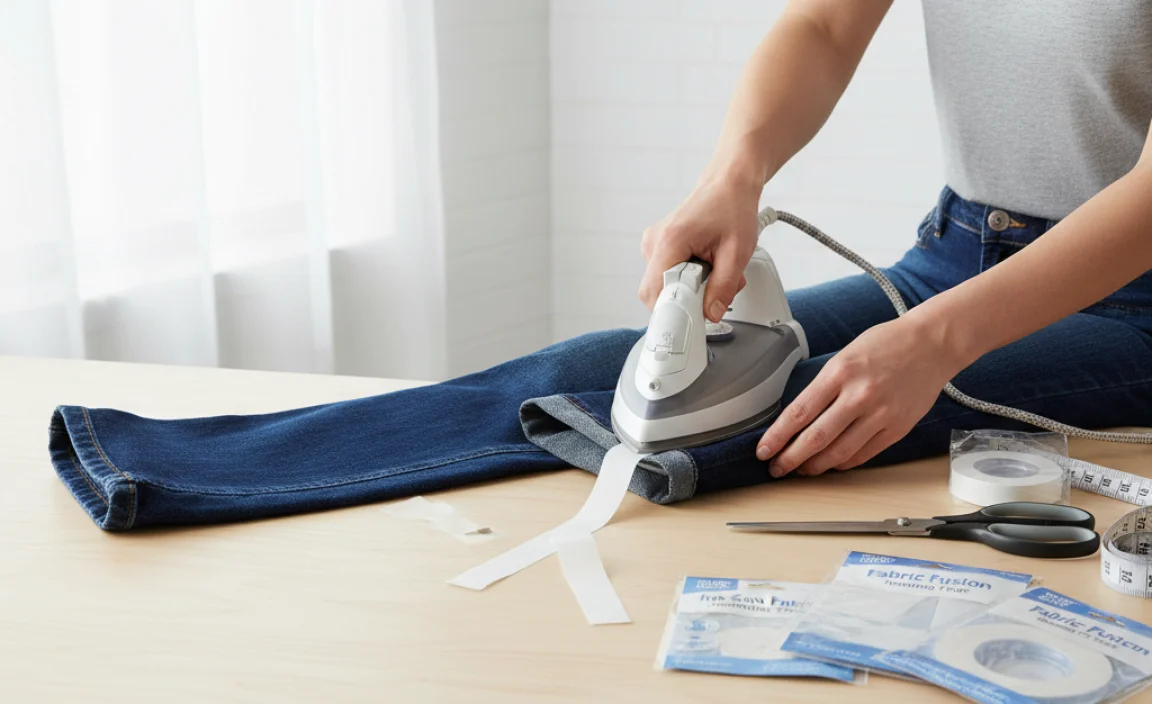


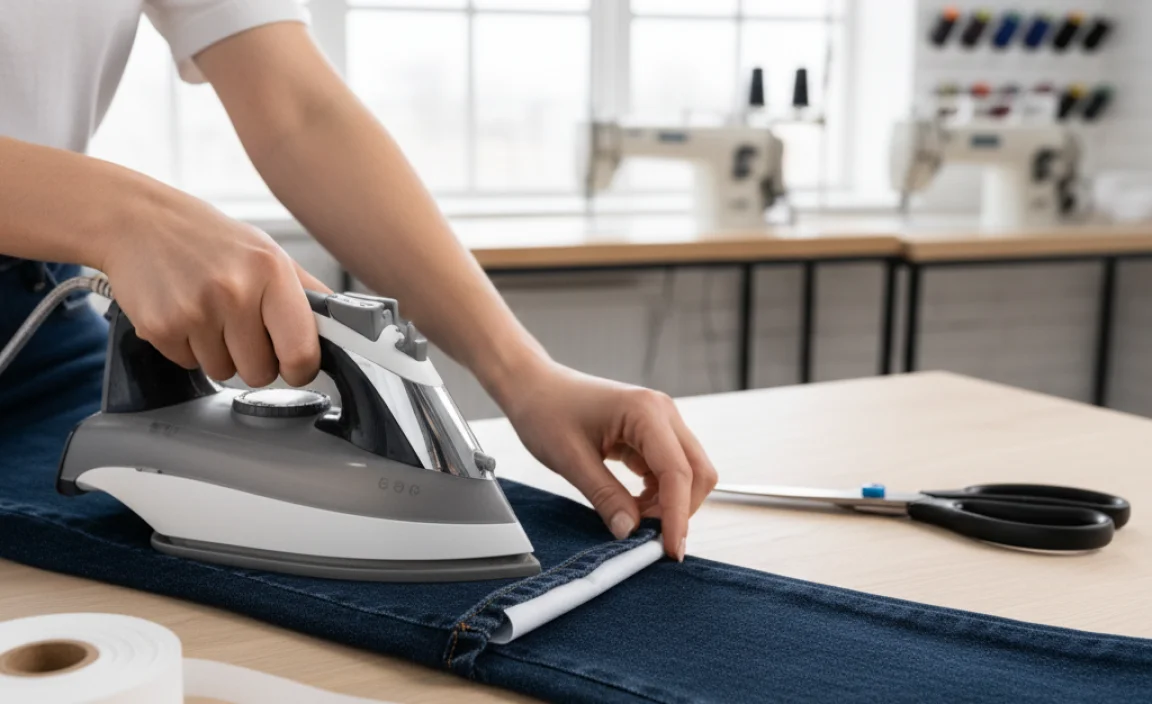

This method is perfect for beginners or those who want a quick fix without a sewing machine. Iron-on patches can add a unique flair while securing the hem.
Step 1: Measure Accurately
Put on the shoes you typically wear with your bootcut jeans. Stand in front of a mirror. Have a partner or friend help you, or use a full-length mirror. Carefully pull the jeans down until they lay flat around your ankle. Mark where you want the bottom of the hem to fall. Remember to account for the roll of the hem itself – you’ll need to fold the fabric up, so mark where the new bottom edge will be, not where the fabric will be cut. Measure from the waist down to determine the desired length, or use this mirror-marking method.
Step 2: Prep for Cutting
Take off the jeans. Lay them flat on a clean, hard surface, like a table or the floor. Smooth out any wrinkles. Use your measuring tape and fabric marker to draw a straight line across the leg, where you want the new hem to rest. Double-check your measurement. It’s always better to cut a little too long than too short. You can always trim more later.
Step 3: Cut Away Excess Fabric
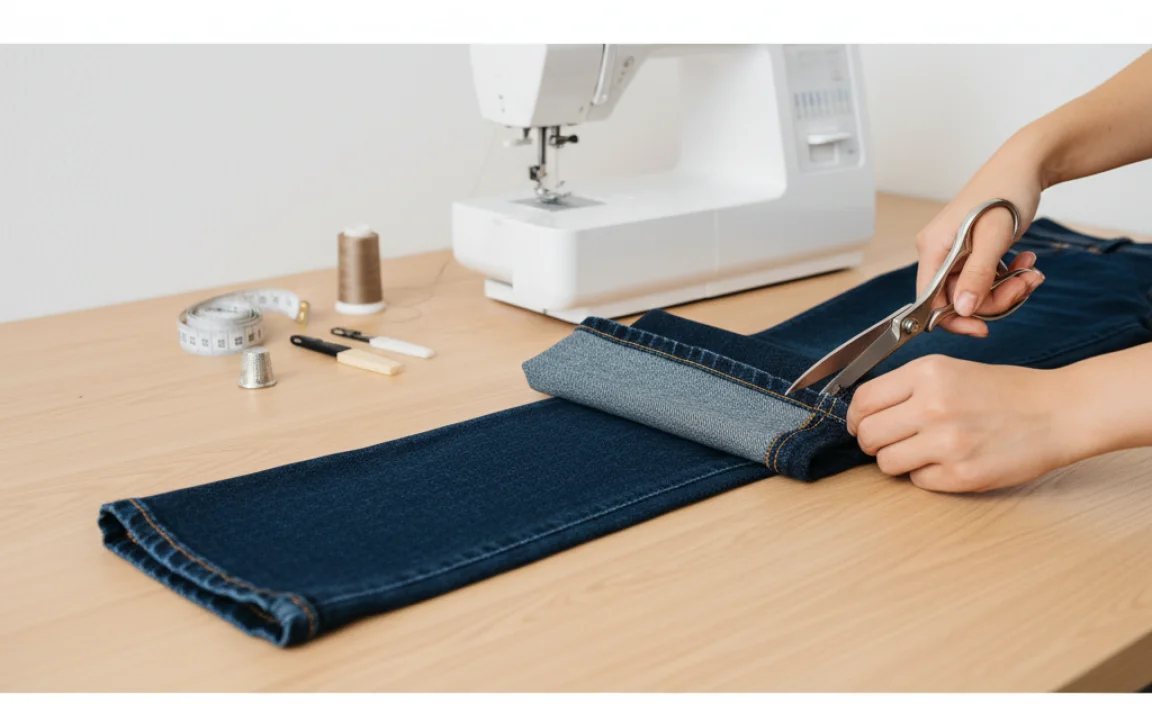
Using your sharp fabric scissors, carefully cut along the marked line. Try to make your cut as straight and even as possible. Repeat for the other leg, ensuring the length is identical.
Step 4: Prepare for the Iron-On Patch Method
Now, decide how much fabric you want to fold up for the hem. A typical fold is about 1 to 1.5 inches. Fold the denim inwards along the cut edge, creating a double fold. This means you’ll fold up about 0.5 to 0.75 inches first, press it flat, and then fold it up again by another 0.5 to 0.75 inches. This creates a clean, finished edge that won’t fray easily.
Step 5: Apply A Reinforcing Patch (Optional but Recommended for Durability)
For added strength and to prevent fraying on the inside of the hem, you can use a small piece of fusible interfacing or a fabric patch. Cut a piece about 1 inch wide and long enough to go across the width of the pant leg. Place this on the inside of the folded hem where the raw edge meets the main fabric. Follow the manufacturer’s instructions for your specific fusible product, typically involving applying heat with an iron to bond it.
Step 6: Secure with Iron-On Hem Tape
Once you have your double fold creased, insert iron-on hem tape (also called hemming tape or fusible web) between the layers of folded fabric. Make sure it’s distributed evenly. Place a pressing cloth (a thin piece of cotton fabric or a handkerchief) over the hem. Using your iron on a medium-high heat setting (check your jean fabric and tape instructions), press down firmly for about 10-15 seconds. Lift the iron and allow the hem to cool completely before moving it. Repeat this process all the way around the leg. Test the hold by gently trying to pull the fabric apart.
Step 7: Add Decorative Iron-On Patches (Optional)
If you want to add a visual element or extra security, this is where those decorative iron-on patches come in. Cut your patches into strips or shapes that will fit on the outside of the hem, covering some of the folded fabric. Place the patch where you want it, lay a pressing cloth over it, and iron according to the patch manufacturer’s instructions. Ensure the heat reaches the adhesive to bond securely. You can use patches to create a unique, custom look.
The Sewing Method: A Durable and Polished Finish



For a long-lasting hem that looks professionally done, sewing is the way to go. This method is more robust than the no-sew options.
Step 1: Measure and Mark
As with the no-sew method, wear your jeans with your usual shoes. Mark the desired length. Take off the jeans and lay them flat. Determine how much fabric you’ll need to fold up. For a standard hem on denim, 1 to 1.5 inches is common. This means you’ll cut off the excess and then fold up that amount. Mark your cutting line, then measure and mark your folding line. A good rule of thumb is to have about 1 inch of fabric to fold up, then another 0.5 inches to fold again for a clean finish.
Step 2: Cut the Excess Fabric
Using sharp fabric scissors, cut off the excess denim along your marked cutting line. Ensure both legs are cut to the exact same length.
Step 3: Create the Fold
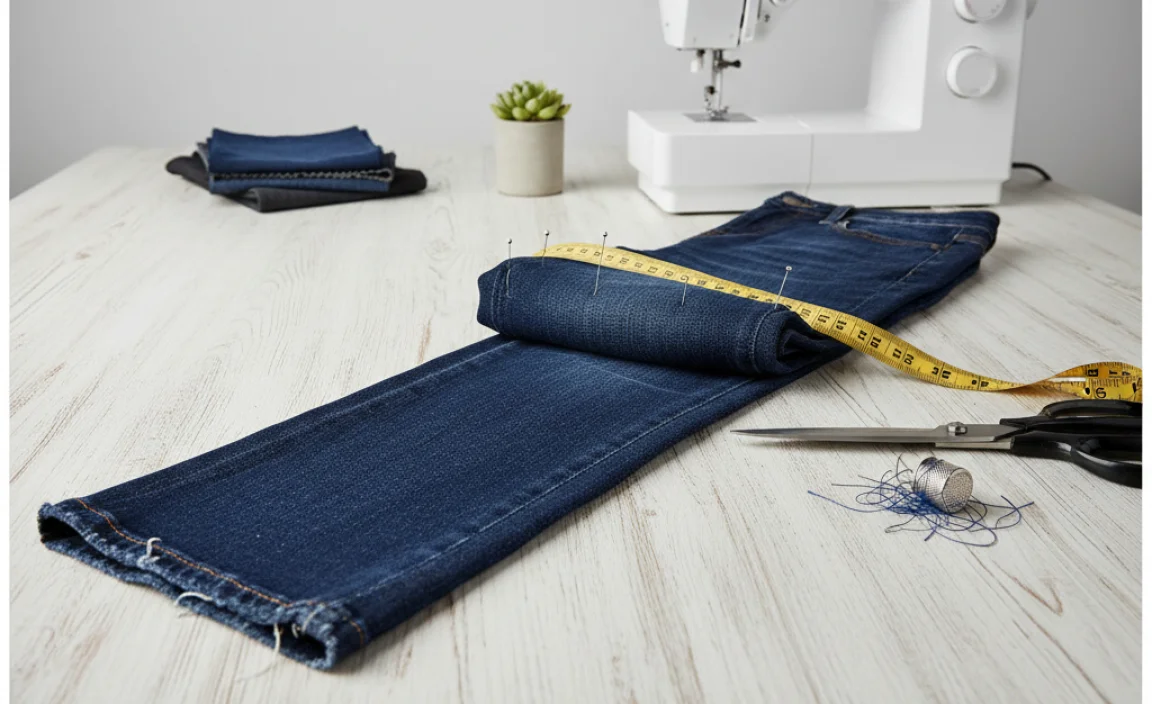
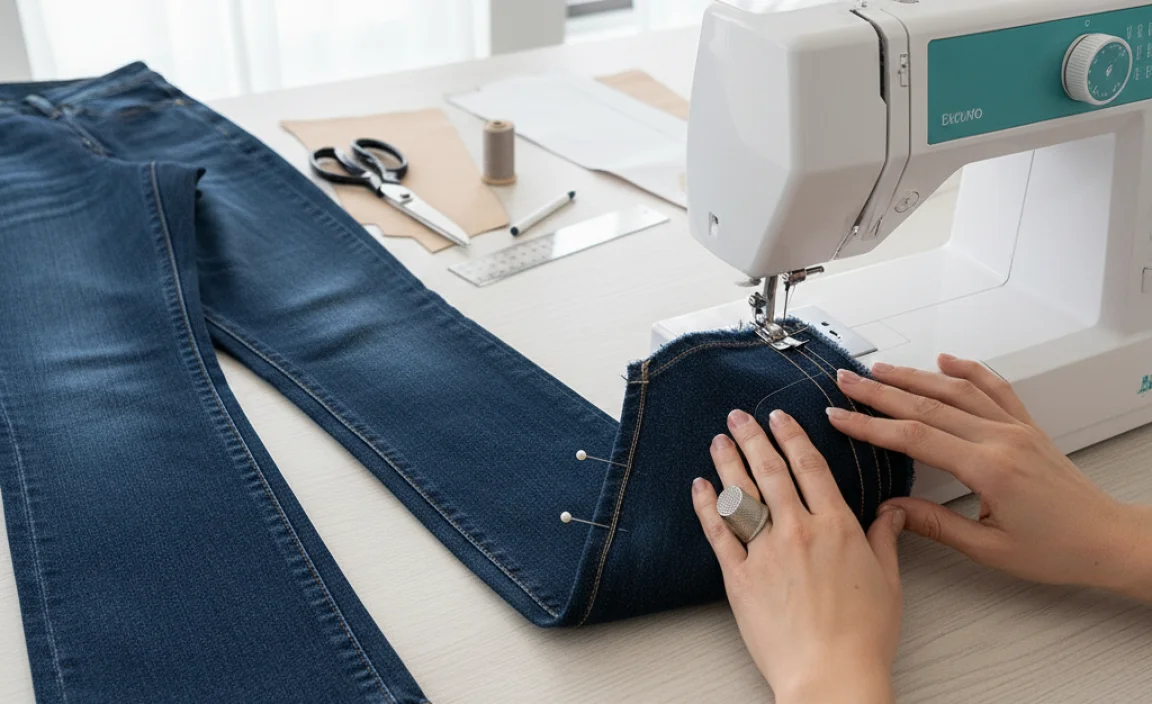
Fold the raw edge of the fabric up by about 0.5 inches and press it flat with your iron. Then, fold it up again by about 1 to 1.5 inches (depending on how much fabric you left). This creates a double fold, encasing the raw edge and giving a neat finish. Pin the hem securely in place all the way around the leg. The double fold helps prevent fraying and gives the hem a bit of body.
Step 4: Prepare Your Sewing Machine
Thread your sewing machine with a strong thread that matches the original stitching on your jeans. If your jeans have a distinctive color (like a gold or copper thread), try to find a close match. Select a straight stitch. You might want to do a test stitch on a scrap piece of denim to ensure tension and stitch length are correct. Denim can be thick, so a slightly longer stitch length might be best.
Step 5: Sew the Hem
Start sewing at the inseam side of the hem, where it’s less visible. Stitch along the upper edge of the folded hem, removing pins as you go. Aim to keep your seam line straight and about 1/8 inch from the top folded edge. Sew all the way around the leg. When you reach your starting point, backstitch a few times to secure the seam. Repeat the process for the other leg.
Step 6: Finishing Touches
Once sewn, press the hem flat with your iron. You can press it on the inside or outside, depending on the look you prefer. Trim any excess threads. If you want to mimic the original look, some jeans have a double stitch on the hem. You can achieve this by carefully sewing a second line of stitches just below your first stitch, or by using a twin needle if your machine supports it.
Maintaining Your Newly Hemmed Jeans


To keep your bootcut jeans looking their best after hemming:
- Wash Inside Out: This protects the denim and stitching.
- Use Cold Water: Helps prevent shrinkage and color fading.
- Gentle Cycle: Less agitation means less wear and tear.
- Air Dry When Possible: Tumble drying can weaken fibers and cause shrinkage or damage to hems, especially those secured with iron-on materials. Hang them to dry or lay them flat.
- Avoid Harsh Detergents: Stick to mild, color-safe options.
Troubleshooting Common Hemming Issues
Even with the best intentions, a few common hiccups can occur. Here’s how to handle them:
| Problem | Solution |
|---|---|
| Uneven Hemline | If the hem is slightly uneven after sewing, you can carefully trim it further. For no-sew methods, you might need to reapply the tape or patches after trimming. Using a guide or a ruler during the marking process is key to prevention. |
| Fraying Edges (Sewn Hem) | If the raw edge inside your double fold is still fraying, you can apply a small amount of fabric fray stop liquid to the inside edge. For severe fraying, you might need to unpick the hem, trim the excess, and re-fold with a wider hem. |
| Iron-On Tape Not Sticking | Ensure your iron is hot enough and you’re pressing for the recommended time. Clean the fabric surface before application, as dirt or fabric softener can interfere. For stubborn areas, a bit of fabric glue can reinforce the bond after ironing. |
| Machine Skipping Stitches | This can happen with thick denim. Ensure you’re using a new, sharp needle designed for denim or heavy fabrics. Check your machine’s tension settings and consider a slightly longer stitch length. A walking foot can also help feed the thick layers of denim more evenly. |
When to Consider Professional Hemming
While these DIY methods are effective, there are times when professional hemming is a better choice:
- Delicate Fabrics: If your bootcut jeans are made from a very delicate or unusual fabric, a professional tailor can ensure it’s handled with care.
- Complex Designs: Jeans with intricate embroidery, embellishments, or unique pocket details near the hem might be best left to a professional to avoid damage.
- Perfect Fit is Critical: For very expensive or tailored jeans where a perfect, undetectable hem is crucial, a tailor’s expertise is invaluable.
- Lack of Time or Tools: If you’re short on time or don’t have the necessary tools, a professional can complete the job quickly and efficiently.
A good tailor can often replicate the original hem look, preserving the stonewash and stitching details.
Understanding Denim Weight and Needle Choice
Denim comes in various weights, from lightweight chambray to heavy-duty selvedge. The weight of your bootcut jeans will influence the tools you use, especially your sewing needle.
The weight of denim fabric is typically measured in ounces per square yard. Lighter denims (under 10 oz) are easier to work with, while heavier denims (12 oz and up) require more robust needles and potentially a stronger sewing machine.
For sewing, it’s highly recommended to use a denim needle (also referred to as a Jeans needle) of appropriate size. Sizes typically range from 80/12 to 100/16. A size 90/14 or 100/16 is usually suitable for most standard denim weights. Using a ballpoint or universal needle on denim can lead to skipped stitches or fabric damage.
Step-by-Step Comparison: No-Sew vs. Sewing
Here’s a quick breakdown to help you decide which method suits you best:
| Feature | No-Sew (Iron-On) | Sewing |
|---|---|---|
| Time Required | Quick (30-60 minutes) | Moderate (1-2 hours) |
| Skill Level | Beginner | Beginner to Intermediate |
| Durability | Good, but can loosen with excessive washing/wear. Reinforcement (patches) helps. | Excellent, long-lasting. |
| Tools Needed | Iron, scissors, marker, tape/glue, patches (optional). | Sewing machine, thread, scissors, marker, pins, iron. |
| Appearance | Can be neat, but may show tape lines or a bulkier fold. Patches add a design element. | Can look very professional and closely match original hem. |
| Cost of Materials | Low | Low to Moderate (thread, needles) |
Frequently Asked Questions (FAQs)
Q1: Can I hem bootcut jeans without a sewing machine?
A: Absolutely! The iron-on hem tape or even fabric glue method is a highly effective no-sew alternative. Using iron-on patches can provide extra reinforcement and a unique decorative touch.
Q2: How much fabric should I leave for hemming bootcut jeans?
A: For a clean, durable hem, it’s recommended to leave about 1 to 1.5 inches of fabric for folding. This usually involves a smaller initial fold (around 0.5 inches) followed by a larger fold to create a double hem, which best encases the raw edge.
Q3: Will hemming my bootcut jeans change their flare?
A: Hemming yourself should not change the bootcut flare. You are only altering the length at the very bottom edge of the leg opening.
Q4: How do I ensure both legs are the same length?
A: The surest way is to measure from the waistband down to your desired hem length on both legs, or to hold the jeans up against yourself (with shoes on) and mark them simultaneously. Laying them flat and carefully measuring from seam to seam or using a tailor’s chalk can also ensure uniformity.
Q5: How do I hem bootcut jeans with a worn hem already?
A: If the original hem is too worn or frayed to reuse, you’ll need to cut it off to a clean edge. Then, you can proceed with either the no-sew or sewing method as described, creating a new hem. For a similar look, try to replicate the original width of the hem fold.
Q6: What is the best way to get a straight line when cutting denim?
A: Use a good rotary cutter and a quilting ruler on a self-healing mat for the most precise and straight cut. If using scissors, a fabric marker and a sturdy metal ruler can help guide your cut for maximum accuracy.
Conclusion
Hemming your bootcut jeans doesn’t have to be a daunting task. Whether you opt for the quick and easy no-sew iron-on method, perhaps enhanced with stylish iron-on patches, or prefer the lasting durability of a sewn hem, you can achieve professional results at home. By following these straightforward steps, you’ll ensure your favorite jeans fit perfectly, look fantastic, and remain a staple in your wardrobe for years to come. Don’t let too-long denim hold you back – empower yourself with these simple hemming techniques!


