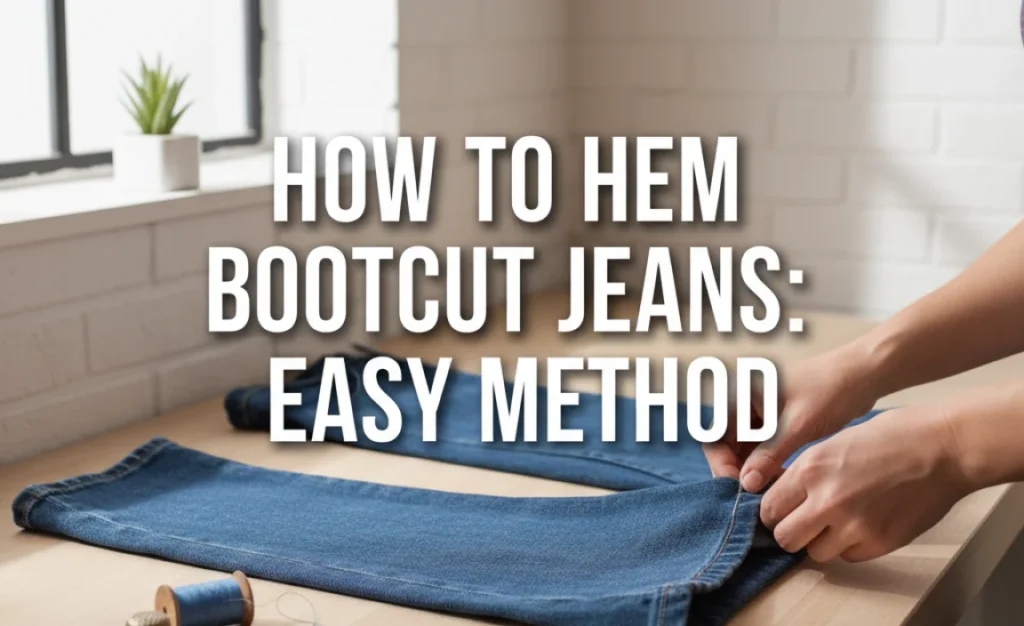
Quick Summary: Easily hem your bootcut jeans at home to the perfect length without complex sewing. This guide uses a no-sew method that’s quick, effective, and makes your favorite jeans look professionally altered.
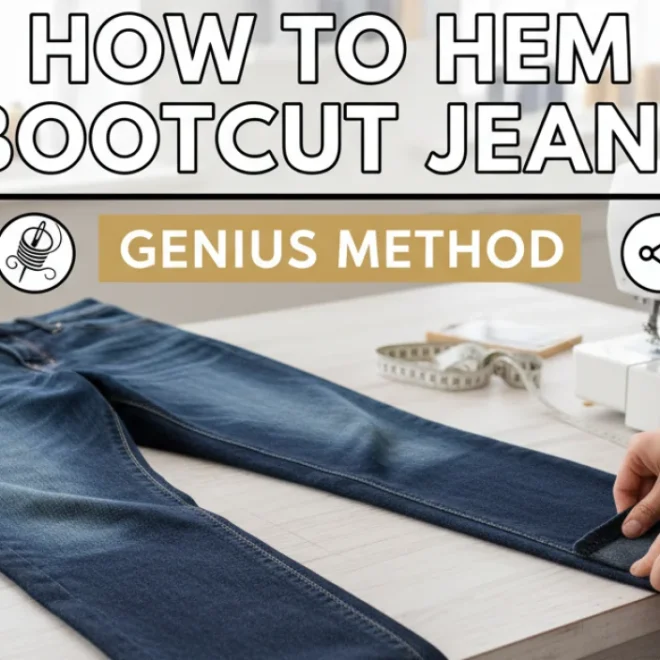
How to Hem Bootcut Jeans: A Genius, Easy Method
Have you ever loved a pair of bootcut jeans but wished they were just a little shorter? It’s a common frustration. Jeans that are too long can drag on the ground, get dirty, and look sloppy. While taking them to a tailor is an option, it can be costly and time-consuming. The good news is, you don’t need a sewing machine or professional skills to get that perfect fit. This guide will walk you through a brilliant, super-easy method to hem your bootcut jeans at home, giving them a fresh, custom look in no time.
We’ll cover everything you need, from simple tools to a step-by-step process that’s so straightforward, you’ll wonder why you didn’t try it sooner. Get ready to transform your favorite denim!
Why Hemming Bootcut Jeans Matters
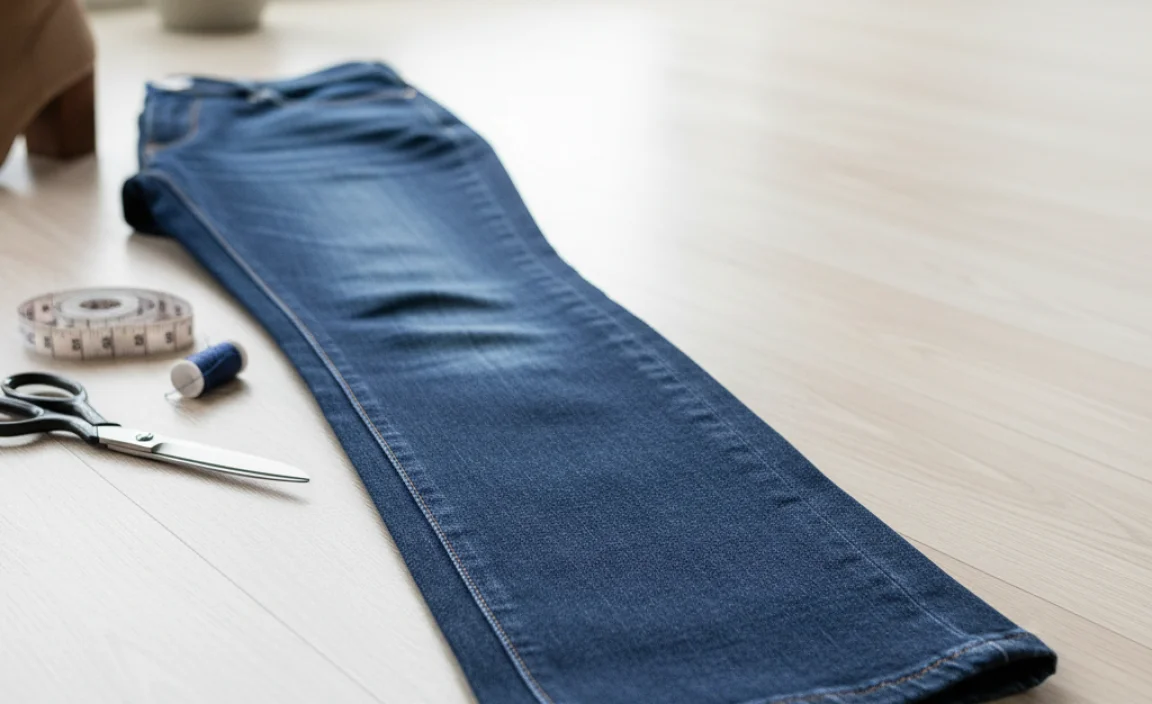
Bootcut jeans have a distinct flare at the ankle, designed to drape nicely over boots. However, this style can be unforgiving when it comes to length. The correct hemline is crucial for bootcut jeans for several reasons:
- Appearance: The hem should fall just above the sole of your shoe, with a slight break over the top of your boots. Too long, and they’ll pool around your feet. Too short, and they’ll look awkward.
- Durability: Jeans that constantly drag on the ground will fray, wear out faster, and pick up dirt and damage.
- Comfort: Properly hemmed jeans won’t trip you up or feel heavy and cumbersome.
- Versatility: The right length ensures your bootcut jeans look polished whether you’re dressing them up or down.
Gather Your Supplies: What You’ll Need
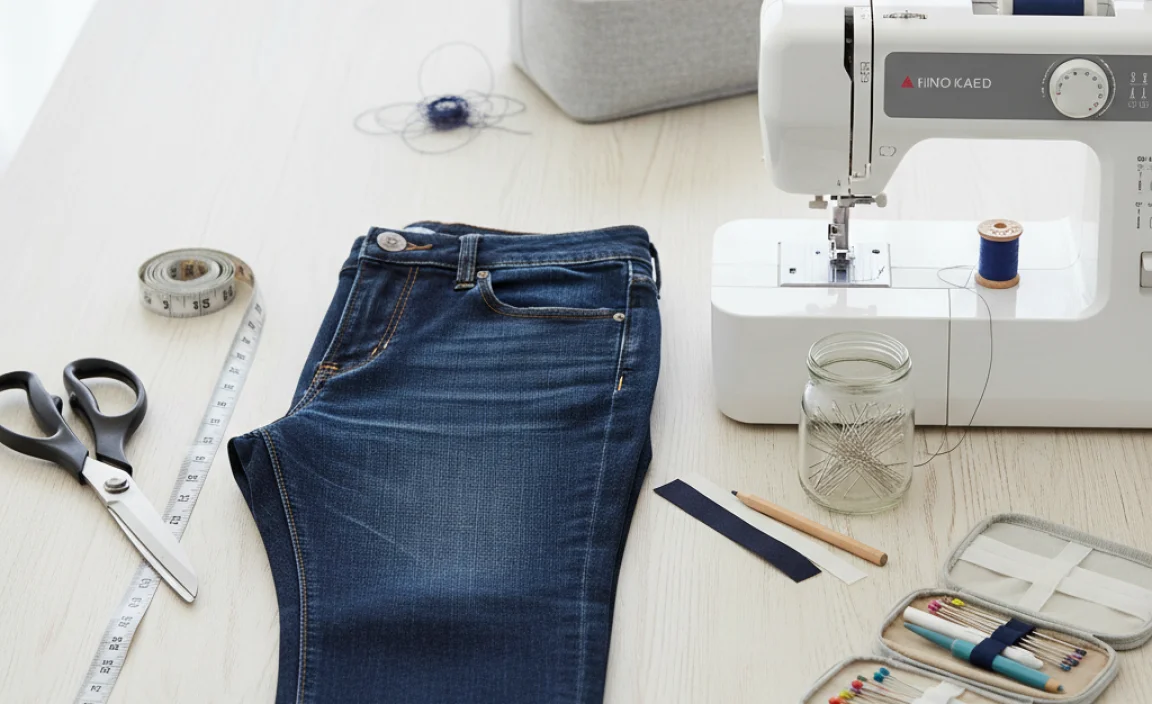
The beauty of this method is its simplicity. You likely have most of these items already. Here’s your checklist:
- Fabric Scissors: Sharp scissors are essential for a clean cut. If you don’t have dedicated fabric scissors, sharp kitchen shears can work in a pinch, but avoid cutting paper with them afterward.
- Measuring Tape or Ruler: For accurate measurements.
- Fabric Chalk or a Washable Pen: To mark your cutting line.
- Flat Surface: A clean table or floor to lay your jeans flat.
- Iron and Ironing Board: To press seams neatly.
- Fabric Glue or Hem Tape: This is your no-sew magic. Look for a flexible, washable fabric glue or a good quality iron-on hem tape. Brands like Dritz or Heat n Bond are reliable.
- Washable Shampoo (Optional, but surprisingly useful!): More on this later.
- Your Bootcut Jeans: The star of the show!
- The Shoes You’ll Wear Most Often with the Jeans: Crucial for accurate measuring.
The “Genius” No-Sew Method: Step-by-Step
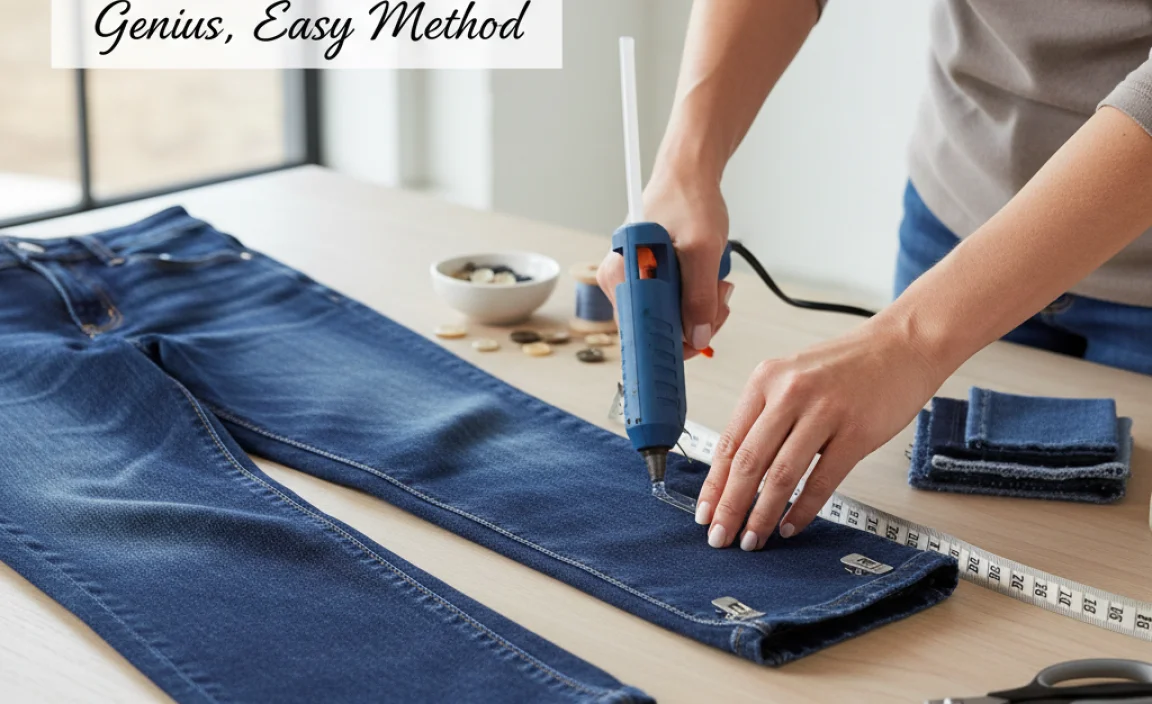
This method focuses on creating a clean, durable, and undetectable hem without any sewing. It’s perfect for beginners and delivers professional-looking results.
Step 1: Prepare Your Jeans and Find the Right Length
First, wash and dry your jeans as you normally would. This is important because denim can shrink. Lay your jeans flat on a clean surface. Now, put on the shoes you plan to wear most often with these bootcut jeans. This is critical for getting the length correct. Stand in front of a mirror and put on your jeans.
Assess the current hemline. Is it dragging too much? For bootcut jeans, you want the hem to just skim the top of your shoes, creating a slight break or bend in the fabric at the front. The back of the hem should ideally be about 1/2 inch to 1 inch off the floor, depending on the shoe and the desired look. You’re aiming for a line that looks balanced and intentional.
Step 2: Mark Your Cutting Line
With your jeans on and your marking tool ready, adjust them until you’re happy with the length. Have someone else mark the jeans for you if possible, as it’s easier to get an accurate line that way. If you’re marking yourself, use a mirror and be patient.
Using your fabric chalk or washable pen, carefully mark a horizontal line all the way around the bottom of each leg. Make this mark below where you want the final hem to be. How far below? Add about 1.5 to 2 inches to your desired final hem length. This extra fabric will be used to create the new hem fold.
For instance, if you want your jeans to end at 30 inches from the waistband, and you’ve measured that length, mark your cutting line at 31.5 or 32 inches from the waistband. Ensure the mark is even all around both legs.
Pro Tip: If you’re worried about marking on the outside, turn the jeans inside out and mark the line on the wrong side of the fabric. This is how most professionals do it.
Step 3: Cut the Excess Fabric
Now, take off your jeans and lay them flat again. Using your sharp fabric scissors, carefully cut along the marked line you just made. Cut through both layers of fabric on each leg. Aim for a straight, clean cut. Don’t worry if it’s not perfectly precise; the hemming process will hide minor imperfections.
You’ll now have jeans that are significantly shorter, with a raw edge at the bottom of each leg. The fabric you cut off is extra! You can discard it or save it for other denim projects.
Step 4: Prepare for the Fold
This is where the magic happens. You need to create a clean fold for your new hem. Turn the jeans inside out, so you’re working with the wrong side of the denim facing you. You should see the raw edge you just cut.
Take your measuring tape and measure from the raw edge upwards. You’ll need about 1 inch of fabric to fold over to create the new hem. If you marked your initial cutting line 1.5 to 2 inches below your desired finished length, you should have just enough. Fold the raw edge UP by 0.5 inches. Press this smaller fold with your iron. This creates a neat edge to work with and prevents fraying from getting too wild.
Step 5: The Main Fold and Application of Hemming Material
Now, fold the fabric UP again. This time, fold it up so that the top of your first fold (the 0.5-inch crease you just pressed) meets your desired final hemline (which is your original marked cutting line from Step 2, now acting as the desired end point of the jean). Essentially, you are folding the fabric up twice, creating a 1-inch hem allowance that is now folded and secured.
Press this main fold firmly with your iron. You should now have a neat double fold on the inside of the jean leg, hiding the raw edge and creating your new hem. It should look like a clean, finished hem from the outside.
Here’s where the hemming material comes in:
Using Fabric Glue:
- Unfold the top layer of your main fold slightly, just enough to get your fabric glue applicator in there.
- Apply a thin, even line of fabric glue along the inside edge of the folded fabric, right against the crease you just made in Step 4. Work in sections, about 8-10 inches at a time, so the glue doesn’t dry out.
- Carefully refold the fabric to its final position, pressing it firmly where the glue is applied. Wipe away any excess glue immediately.
- Repeat this process all the way around the leg.
Using Hem Tape:
- Cut pieces of iron-on hem tape to fit along the inside of your folded hem.
- Place the hem tape so it bridges the gap between the inner fold and the main pant leg fabric.
- Follow the instructions on your hem tape packaging for ironing. Typically, you’ll place a damp cloth over the tape and then press with a hot iron for a specified amount of time.
- Work in sections, ensuring the tape adheres well.
The “Shampoo” Secret: A Clever Alternative
For a truly temporary or quick fix, especially if you don’t have fabric glue or hem tape handy, a surprisingly effective method involves using a bit of shampoo in conjunction with pressing! This should be used cautiously and is best for a one-time wear or very short term.
- After completing Step 5 and pressing the double fold, instead of glue or tape, apply a very thin and even layer of a standard, clear, washable shampoo (avoid conditioners or colored ones) along the inside edge of the fold where the fabric meets.
- The shampoo acts as a temporary adhesive when pressed with an iron. It lubricates the fibers slightly, allowing them to “stick” together better when heated.
- Press firmly with your iron (use a pressing cloth to protect your iron and jeans). The heat activates the shampoo’s temporary hold.
- This method is less permanent than glue or tape and will likely wash out, so it’s best for emergencies or super temporary fixes. For a durable hem, stick to fabric glue or hem tape.
Step 6: Final Pressing and Drying
Once you’ve applied your adhesive (glue or tape) and worked your way around both legs, you’ll want to do one final, thorough pressing. Ensure the folds are crisp and flat on the inside. If you used fabric glue, let the jeans dry completely according to the product’s instructions (usually a few hours or overnight) before wearing or washing.
If you used iron-on hem tape, ensure all edges are sealed. The heat and pressure from a good pressing will make the hem strong and durable.
Comparing Hemming Methods
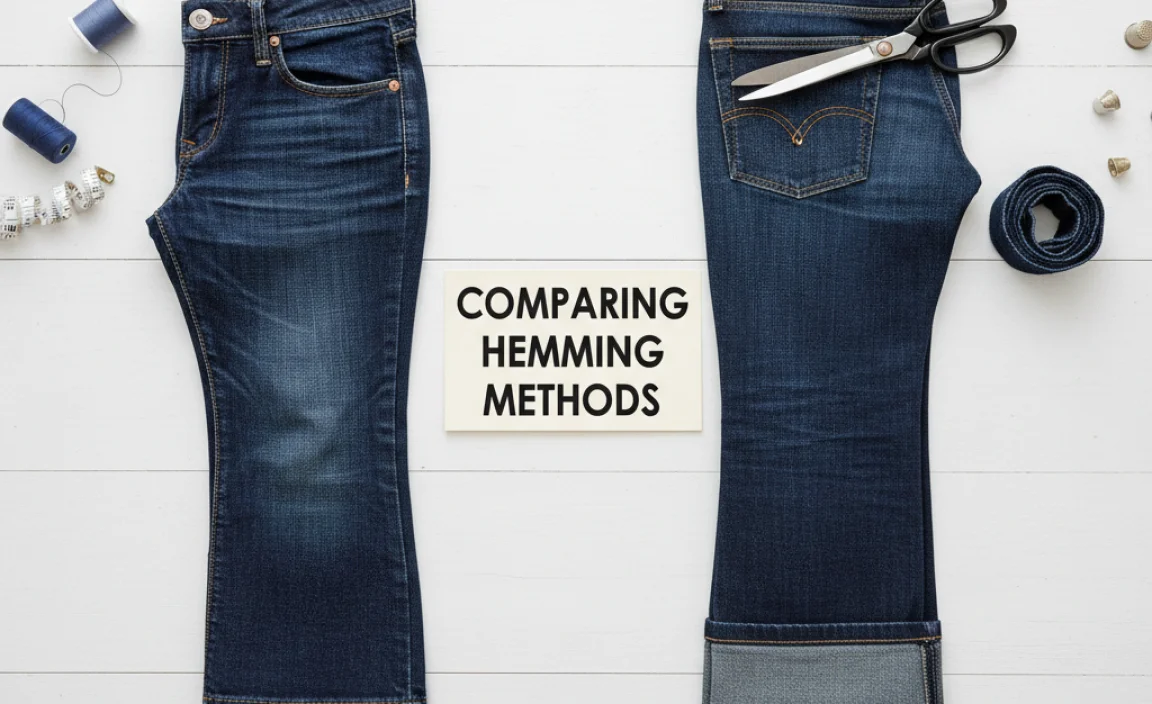
Let’s look at how this no-sew method stacks up against other common ways to hem jeans.
| Method | Pros | Cons | Best For |
|---|---|---|---|
| No-Sew (Glue/Tape) | Quick, easy, requires no sewing skills, affordable, professional-looking finish. | May not be as durable as sewing through repeated washes and wear, can sometimes feel stiff if too much glue is used. | Beginners, quick fixes, occasional wear, those without sewing machines. |
| Hand Sewing | Precise, can achieve a clean finish, more durable than no-sew, no special equipment needed beyond needle and thread. | Takes longer, requires some sewing skill, can be tedious for a thick material like denim. | Those comfortable with basic hand stitches, wanting a durable but inexpensive fix. |
| Sewing Machine | Fastest sewing method, very durable, can create a professional, factory-like finish, best for thick denim. | Packs can be tricky, requires owning and knowing how to use a sewing machine, best results on denim often need a heavy-duty needle and thread. | Frequent hemming, those with sewing machines, wanting the most durable and professional finish. |
| Tailor Services | Professionally done, guaranteed results, saves you time and effort. | Most expensive option, requires scheduling appointments and waiting for service. | When you want perfection with no personal effort, very delicate or expensive denim. |
Tips for Bootcut Jean Hemming Success
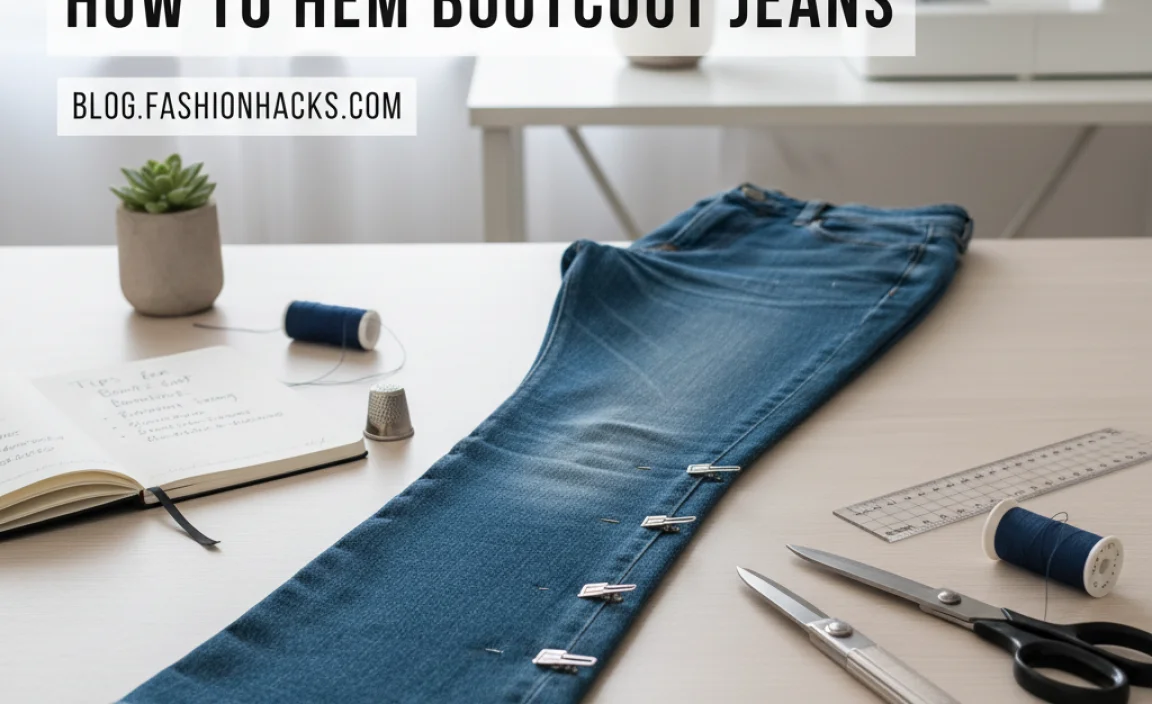
Here are a few extra pointers to ensure your hemming project goes smoothly:
- Always measure with shoes on: This is the golden rule for any pant hemming, especially bootcut styles.
- Cut straight: Even though you’re folding, a jagged cut will be harder to manage and might show through.
- Use good quality supplies: A sharp pair of fabric scissors and a reputable brand of fabric glue or hem tape make a big difference. For hem tape, check out resources like Spoonflower’s guide on Heat ‘n Bond for application tips.
- Test your adhesive: If you’re unsure how your fabric glue or hem tape will behave, try it on a scrap piece of denim or an old garment first.
- Consider the original hem: For a perfect match, some people opt to cut off the original hem and then reattach it using their chosen method. This is more advanced but can look incredibly authentic.
- Wash before you hem: Denim can shrink, so always wash and dry your jeans before measuring and cutting.
Frequently Asked Questions (FAQ)
Can I really hem bootcut jeans without sewing?
Yes! This guide uses fabric glue or hem tape for a strong, secure hem without any stitches. It’s a popular and effective method for a quick, clean finish.
How much fabric should I leave for hemming bootcut jeans?
For this no-sew method, leave about 1.5 to 2 inches below your desired finished length. This allows for a double fold (e.g., 0.5-inch inner fold and a 1-inch main fold) to create a clean, professional hem.
What’s the best way to mark where to cut my jeans?
Use fabric chalk or a washable fabric pen on the INSIDE of the jean leg for the most discreet marking. Always measure with the shoes you’ll wear with the jeans on!
Will the hem look messy if I use fabric glue?
As long as you apply a thin, even line of glue and press firmly, the glue should be invisible from the outside of the jeans. Work in small sections and wipe away any excess glue immediately.
How long will a no-sew hem last?
A well-applied fabric glue or hem tape hem can last a very long time, often as long as stitched hems, through many washes. However, very old or aggressive washing cycles might eventually weaken the bond.
Can I use this method for other types of pants?
Absolutely! This no-sew hemming method works well for most types of pants, including straight-leg jeans, chinos, and even some lighter-weight trousers. You might need to adjust the fold size for very delicate fabrics.
Conclusion: Your Perfectly Hemmed Jeans Await!
There you have it – a simple, reliable, and ingenious way to achieve perfectly hemmed bootcut jeans without a sewing machine or a trip to the tailor. By following these steps, you can easily adjust the length of your favorite denim to sit just right with your favorite boots or shoes. This method not only saves you money but also empowers you to customize your wardrobe with confidence. So, grab your scissors, your adhesive of choice, and get ready to enjoy jeans that fit you like they were made for you. Happy hemming!
.lwrp.link-whisper-related-posts{
margin-top: 40px;
margin-bottom: 30px;
}
.lwrp .lwrp-title{
}.lwrp .lwrp-description{
}
.lwrp .lwrp-list-container{
}
.lwrp .lwrp-list-multi-container{
display: flex;
}
.lwrp .lwrp-list-double{
width: 48%;
}
.lwrp .lwrp-list-triple{
width: 32%;
}
.lwrp .lwrp-list-row-container{
display: flex;
justify-content: space-between;
}
.lwrp .lwrp-list-row-container .lwrp-list-item{
width: calc(25% – 20px);
}
.lwrp .lwrp-list-item:not(.lwrp-no-posts-message-item){
max-width: 150px;
}
.lwrp .lwrp-list-item img{
max-width: 100%;
height: auto;
object-fit: cover;
aspect-ratio: 1 / 1;
}
.lwrp .lwrp-list-item.lwrp-empty-list-item{
background: initial !important;
}
.lwrp .lwrp-list-item .lwrp-list-link .lwrp-list-link-title-text,
.lwrp .lwrp-list-item .lwrp-list-no-posts-message{
}@media screen and (max-width: 480px) {
.lwrp.link-whisper-related-posts{
}
.lwrp .lwrp-title{
}.lwrp .lwrp-description{
}
.lwrp .lwrp-list-multi-container{
flex-direction: column;
}
.lwrp .lwrp-list-multi-container ul.lwrp-list{
margin-top: 0px;
margin-bottom: 0px;
padding-top: 0px;
padding-bottom: 0px;
}
.lwrp .lwrp-list-double,
.lwrp .lwrp-list-triple{
width: 100%;
}
.lwrp .lwrp-list-row-container{
justify-content: initial;
flex-direction: column;
}
.lwrp .lwrp-list-row-container .lwrp-list-item{
width: 100%;
}
.lwrp .lwrp-list-item:not(.lwrp-no-posts-message-item){
max-width: initial;
}
.lwrp .lwrp-list-item .lwrp-list-link .lwrp-list-link-title-text,
.lwrp .lwrp-list-item .lwrp-list-no-posts-message{
};
}


