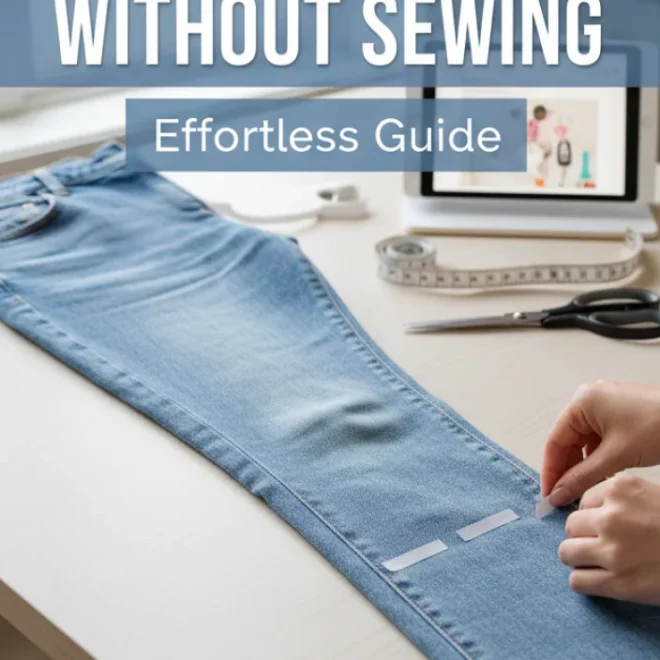
To hem bootcut jeans successfully at home, you’ll need basic sewing supplies, to measure carefully while wearing the jeans, and to follow straightforward steps for a clean, professional finish that maintains the bootcut shape.
Is your favorite pair of bootcut jeans just a little too long, dragging on the floor and looking sloppy? You’re not alone. Many of us have struggled with jeans that are the wrong length, but hemming them yourself is totally doable. Forget expensive tailor visits or stuffing them into shoes that are way too high. We’re going to walk through this step-by-step, and I’ll show you how to get that perfect fit right at home. Get ready to rescue those jeans!
Why Your Bootcut Jeans Need the Right Hem
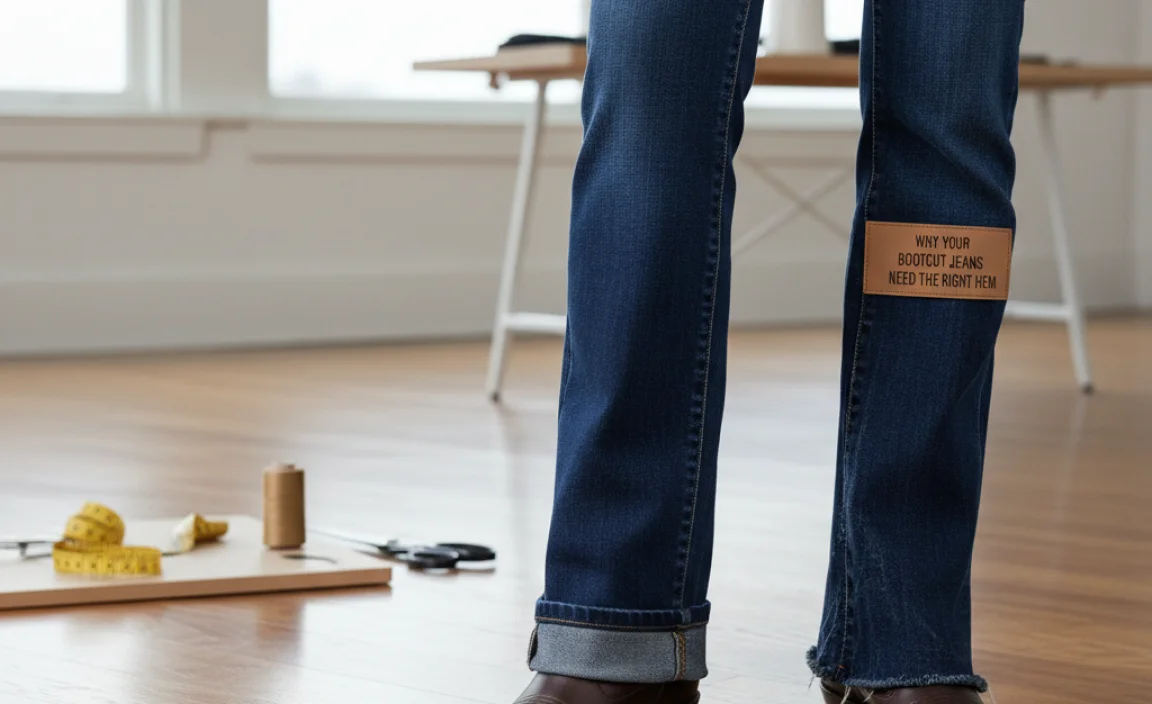
Bootcut jeans have a specific flair – they’re designed to fit snugly through the thigh and knee, then subtly widen from the knee down. This shape is meant to balance with footwear like boots or chunky sneakers. When the hem is too long, it can obscure your shoes, make the jeans appear baggy, and even cause them to fray unevenly from constant contact with the ground. A properly hemmed bootcut jean looks polished, elongates your legs, and ensures the design of the jean is showcased correctly.
Essential Tools for Hemming Bootcut Jeans
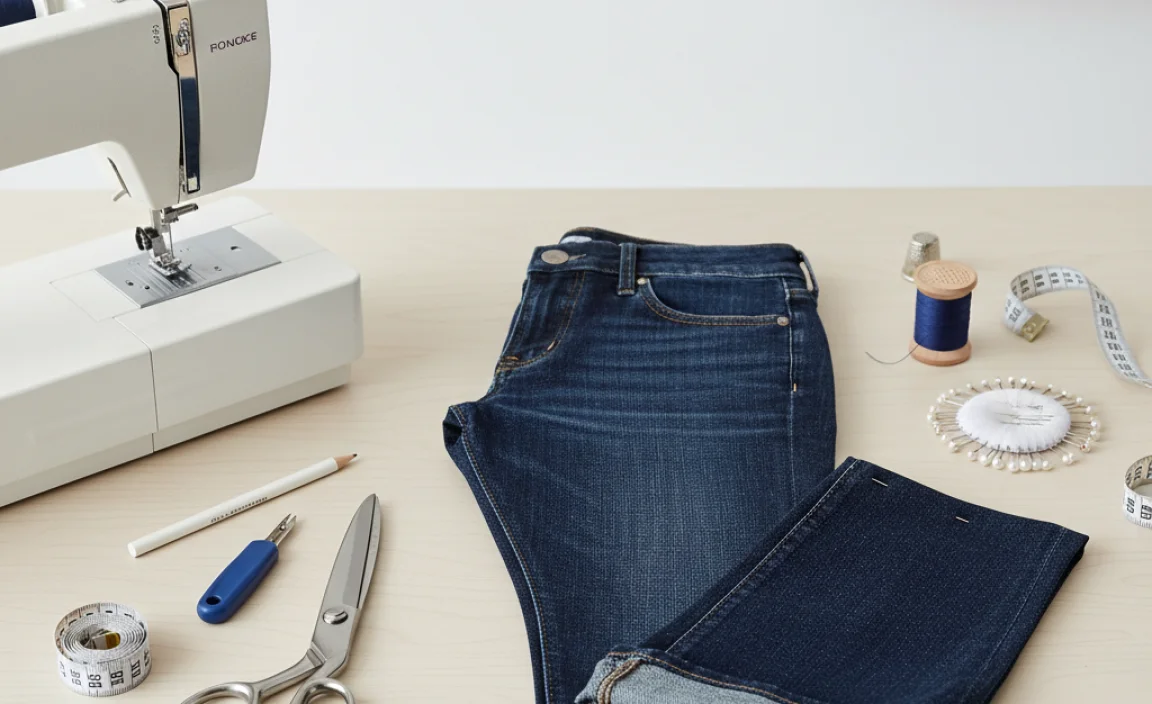
Before we start cutting, let’s gather what you’ll need. Don’t worry, most of these are standard household items or inexpensive sewing supplies.
- Your Bootcut Jeans: The star of the show!
- Sharp Fabric Scissors: A good pair makes a world of difference. Regular scissors can snag.
- Measuring Tape or Ruler: For accuracy.
- Fabric Chalk or a Washable Fabric Marker: To mark your cutting line.
- Straight Pins: To hold the fabric in place while you work.
- Sewing Machine (Recommended): For a durable and professional-looking stitch.
- Needle and Thread (if no sewing machine): Choose a color that matches your jeans as closely as possible.
- Iron and Ironing Board: For crisp folds.
- A Pair of Shoes: The ones you’ll most often wear with your bootcut jeans. This is crucial for getting the length right.
Step-by-Step Guide: How to Hem Bootcut Jeans
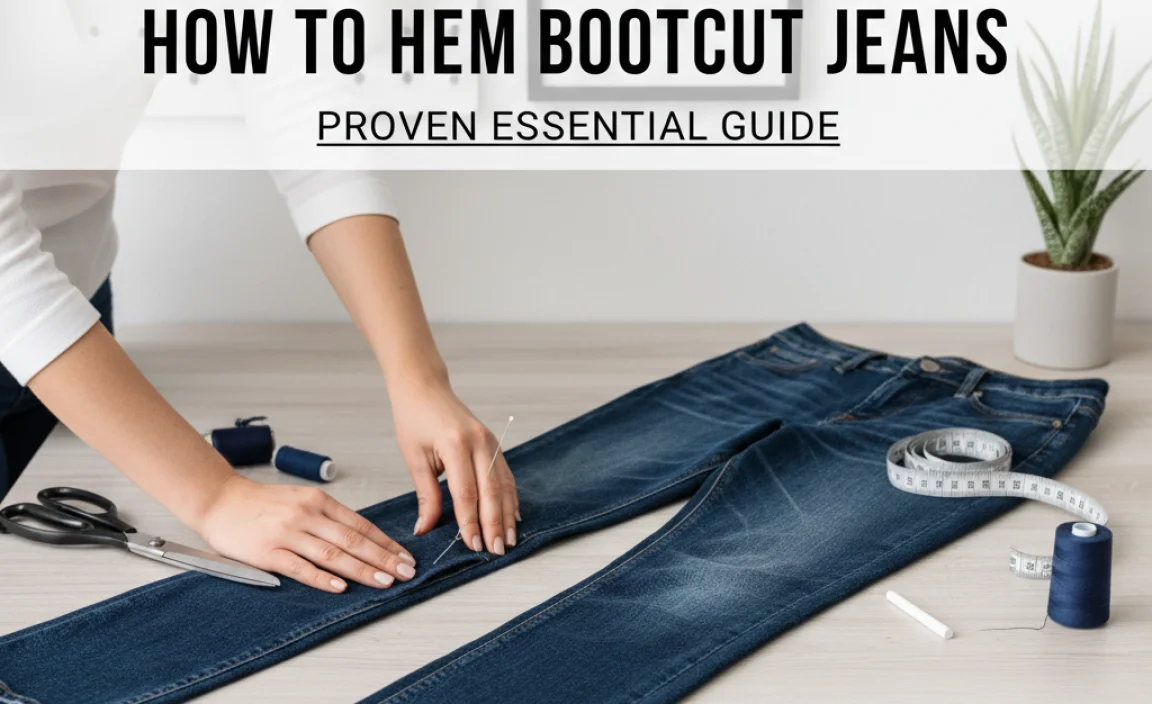
Let’s get these jeans fitting perfectly. Follow these steps carefully, and you’ll have a great result.
Step 1: Prepare Your Jeans and Yourself
First, wash and dry your jeans as you normally would. This is important because denim can shrink, and you want to hem them after any potential shrinkage has occurred. Lay them flat on a clean, hard surface. Ensure you have good lighting. Now, put on the shoes you typically wear with your bootcut jeans. This is non-negotiable for achieving the correct length.
Step 2: Determine the Desired Length
Put on your jeans with the chosen shoes. Stand in front of a mirror. Observe how the current hemline falls. If they’re too long, they’ll likely be bunching slightly at the shoe. You want the hem to just graze the top of your shoe. For bootcut jeans, the hem often has a slight flare; avoid making it too short, which can ruin the silhouette. A good rule of thumb is for the hem to just touch the instep of your shoe. Some prefer the hem to hover just above the sole.
Step 3: Mark Your Cutting Line
With the jeans on and the shoes in place, carefully use your fabric chalk or marker to mark the desired hem length. Start from the inseam (the inside seam of the leg) and work your way around to the outseam (the outer seam of the leg). It’s best to mark small dots every few inches, then connect them to create your line. For bootcut jeans, remember the hemline might not be perfectly straight when laid flat because of the flare. The best way to mark is while wearing them. Ask a friend to help, or lean over carefully to mark if you’re doing it solo. Aim to mark about 1/4 inch below where you want the final hem to sit, to account for the seam allowance.
Step 4: Measure and Adjust (if needed)
Take off the jeans. Lay them flat on your work surface, with the legs perfectly aligned. Measure from the marked line down to where the original hem was. You need to decide how much fabric you want to fold up. A common hem allowance is about 1 to 1.5 inches. This is the amount you’ll be folding up. If your chalk marks are for the final length, you’ll need to add this folding allowance below your marks. For example, if you marked where you want the final hem to be, then measure down 1 to 1.5 inches from that line and draw a new, straight cutting line. This ensures you have enough fabric to fold over neatly.
Step 5: Cut Off the Excess Fabric
Once you’re confident in your cutting line, carefully cut along this line using your sharp fabric scissors. Try to cut cleanly and evenly. If you are hemming both legs, overlap the fabric of the second leg perfectly on top of the first and cut through both at once to ensure they are identical in length. This is a crucial step to avoid uneven legs.
Step 6: Create the New Hem (Folding and Pressing)
Now it’s time to create the new hem. You have a couple of options here: a single fold or a double fold. A double fold is generally more durable and has a cleaner finish, preventing fraying better.
- Double Fold Method: Fold the raw edge of the fabric up by about 1/2 inch towards the inside of the jean leg. Press this fold firmly with your iron to create a crisp crease. Then, fold it up again, this time by the amount you want your finished hem to be (e.g., 1 inch). Press this second fold down firmly. You should now have a tidy hem with the raw edge completely enclosed within the folds.
- Single Fold Method: If you want to keep the original hem’s look (often achieved with a specific stitch), you might just fold up 1 to 1.5 inches once. This is less common for a DIY hem aiming for a clean look unless you’re specifically trying to replicate a raw or frayed edge.
For most beginner projects, the double fold is recommended for a durable and neat finish.
Step 7: Secure the Hem with Pins
Once you have your folded hem pressed and in place, use straight pins to hold it securely. Place pins about every 1 to 2 inches along the folded edge. Make sure the pins go through all the layers of fabric and are perpendicular to the fold for easier sewing.
Step 8: Sew the New Hem
This is where your sewing skills (or machine) come into play.
- Using a Sewing Machine: Thread your sewing machine with a thread color that matches your jeans. Set your machine to a straight stitch, with a stitch length of about 2.5mm to 3mm. Start sewing at the inseam side of the hem to hide the beginning of your stitch line. Sew slowly and carefully around the entire leg, following the edge of the folded hem. Backstitch at the beginning and end to secure the stitches. Trim any excess threads.
- By Hand: If you don’t have a sewing machine, you can hand-stitch. Use a backstitch for strength and a neat appearance. Thread a sewing needle with a matching color thread (double it for extra strength) and knot the end. Start from the inside of the pant leg, near the inseam. Carefully make small, consistent stitches along the top edge of the folded hem. Aim for stitches that are about 1/8 inch from the very top edge of the fold.
For a professional look, you might consider a double needle stitch if your sewing machine has that capacity, as it mimics the original jean stitching style. Information on sewing machine stitches can often be found in your machine’s manual.
Step 9: Final Press and Inspection
Remove all pins. Give the newly sewn hem a good press with your iron to make sure it lies flat and crisp. Turn the jeans right-side out. Try them on again with your shoes. Check the length and make sure the bootcut silhouette is still intact. If everything looks good, congratulations! You’ve successfully hemmed your bootcut jeans.
Keeping the Original Jean Look (Optional)
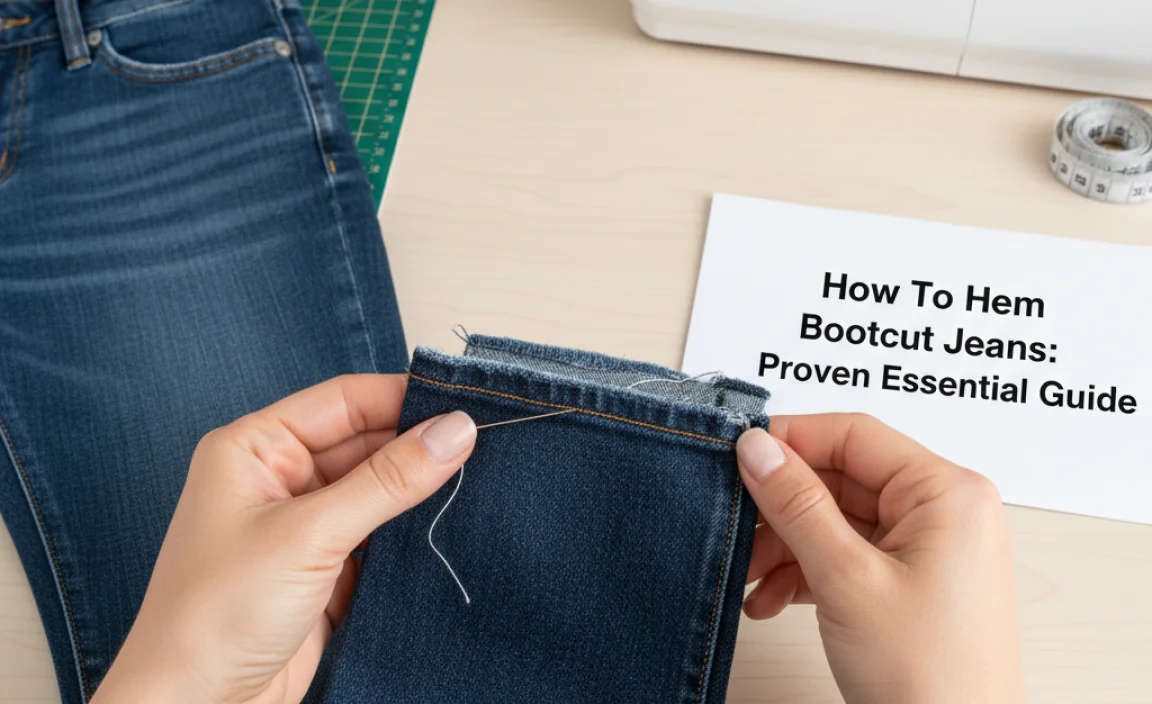
Some people love the worn-in look of their original jean hem and prefer not to create a new stitched hem. If this is you, you can try to preserve the original hem. This is a more advanced technique often called “jean hemming by the original hem” or “preserving the old hem.” It typically involves cutting off the excess fabric, then carefully disassembling the original hem, reattaching it to the newly shortened leg, and sewing it back on with a sewing machine. This requires precision and can be tricky for beginners, as the original hem already has a specific amount of fabric rolled and stitched. For most, creating a new, clean hem is simpler and yields great results for a beginner.
Common Issues and How to Fix Them
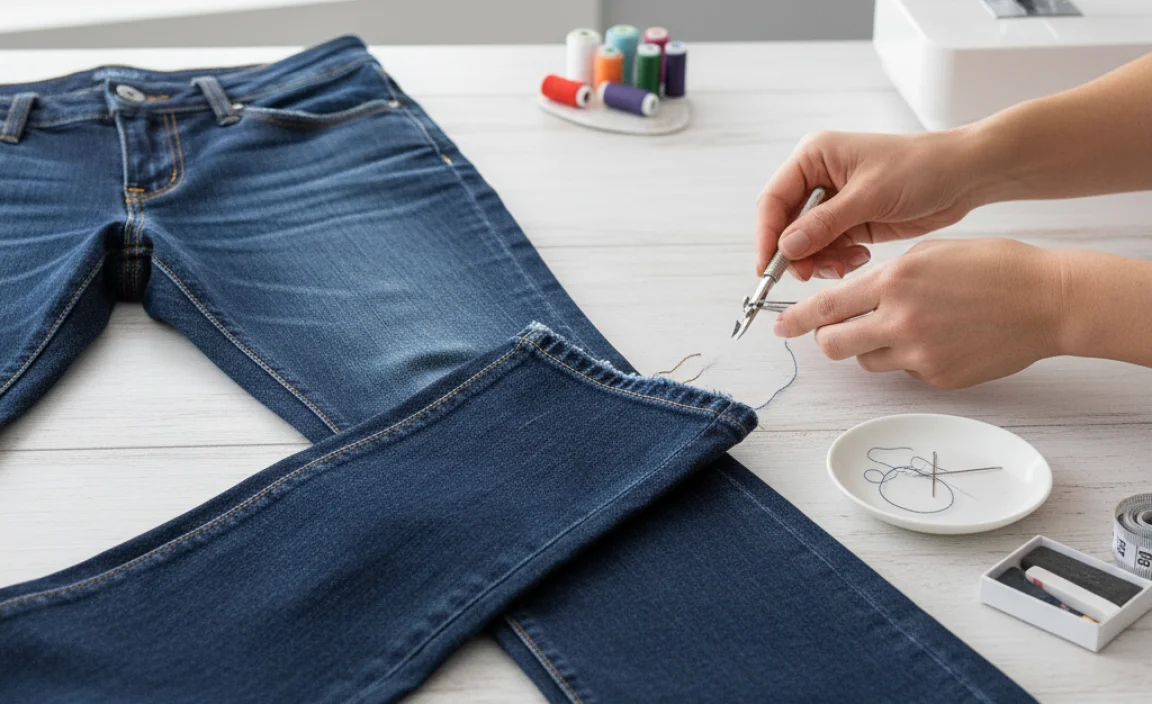
Even with careful work, you might run into a snag. Here are a few common issues and simple solutions:
- Uneven Hem: If one leg is noticeably shorter than the other, you might need to re-hem. Measure precisely from the longest point and carefully cut the shorter leg again, or add a small strip of fabric to the shorter one if the difference is minor.
- Wavy or Puckered Stitches: This often happens if the machine tension is off or if you pulled the fabric too tightly while sewing. Sometimes, a good press can help smooth it out. If it’s very noticeable, you might consider unpicking and re-sewing, focusing on consistent pressure.
- Hem Too Short/Long: If you misjudged the length, it’s usually best to unpick the hem and adjust. It’s better to do this now than to live with ill-fitting jeans.
- Fraying Edges: If your raw edge is still peeking through, you likely need a narrower fold or a serger/overlocker to finish the edge before folding. For a quick fix without special tools, you can use a fray-checking liquid product.
Tips for Maintaining Your Hemmed Jeans
Once you’ve achieved that perfect fit, taking care of your jeans will ensure they last:
- Wash Less Often: Over-washing can wear down fabric and stitches. Spot clean when possible.
- Wash Inside Out: This protects the outer fabric and seams.
- Use Cold Water: Helps preserve color and fabric integrity.
- Air Dry: Tumble dryers can shrink and damage fibers. Hang or lay flat to dry.
- Avoid Harsh Detergents: Opt for mild, color-safe detergents.
Following these simple washing tips can help your hemming job look sharp for a long time.
Understanding Your Jeans: Fabric Weight and Stretch
The type of denim your bootcut jeans are made of can influence the hemming process. Heavier, rigid denim will hold a crease and shape better, making precise folding and pressing easier. Jeans with a significant amount of stretch (lycra, elastane) can be trickier. Because stretchy fabrics can pull and warp more easily, it’s even more important to ensure they are lying flat and you aren’t stretching them while pinning and sewing. If you have stretchy jeans, consider using a ballpoint needle in your sewing machine, as these are designed to push the fabric threads aside rather than break them, preventing skipped stitches and damage.
For some context on denim types, the Textile and Apparel Curriculum at Denison University provides valuable insights into fabric construction and finishes, including denim.
How to Hem Bootcut Jeans: By the Numbers
Here’s a quick recap of key measurements and considerations for hemming:
| Component | Recommended Measurement/Action |
|---|---|
| Hem Allowance (Fabric to Fold) | 1 to 1.5 inches (2.5 to 3.8 cm) for a double fold. |
| Marking Point | Mark where you want the final hem to sit, then measure down for allowance. |
| Sleeve Length Adjustment | If adjusting inseam, aim for the hem to just touch the top of your footwear. |
| Sewing Stitch Length | 2.5mm – 3mm for standard straight stitch. |
| Fabric Shrinkage | Always hem AFTER washing and drying. |
These numbers serve as solid guidelines, but remember your personal preference and the specific shoe you’re wearing are the ultimate determiners of the perfect length.
Frequently Asked Questions about Hemming Bootcut Jeans
Q1: Do I need a sewing machine to hem jeans?
No, you don’t need a sewing machine. While a machine provides a strong, quick, and professional-looking stitch, you can achieve excellent results by hand-sewing using a backstitch. It will take longer, but it’s entirely feasible.
Q2: How much fabric should I leave for the hem allowance?
A standard hem allowance for jeans is typically 1 to 1.5 inches (about 2.5 to 3.8 cm). This allows for a neat double fold, which hides the raw edge and creates a durable finish. If your jeans are very thick denim, you might opt for a slightly smaller allowance or a single fold to reduce bulk.
Q3: Can I hem jeans without cutting them?
Yes, it’s possible to hem jeans without cutting by using iron-on hemming tape or fabric glue. However, these methods are less durable than sewing. They can come undone in the wash or wear out over time, and they can create a stiffer, more noticeable hemline.
Q4: How do I make sure bootcut jeans don’t lose their shape after hemming?
The key is to measure and cut carefully while wearing the shoes you intend to wear with the jeans. The bootcut flare is designed to fall at a specific point. If you cut too high or too low, it can disrupt this balance. Also, ensure your new hem isn’t too bulky by using a neat double fold and pressing it well.
Q5: What is the best thread color to use for hemming jeans?
The best thread color usually matches the original stitching on your jeans as closely as possible. Most casual denim jeans use an orange, gold, or a slightly darker wheat-colored thread. If you can’t find an exact match, a medium brown or dark grey can often work as a neutral alternative, or choose a thread color that closely matches the denim fabric itself.
Q6: My jeans are made of stretchy denim. Does that change how I hem them?
Yes, stretchy denim requires extra care. When measuring, pinning, and sewing, try not to stretch the fabric, as it can warp. Use a ballpoint needle on your sewing machine if you have one, and consider using a stretch stitch or a zigzag stitch for the hem to allow the fabric to move without breaking the threads. Ensure each layer is lying flat and smooth before you sew.
Conclusion
Hemming bootcut jeans might seem daunting, but with these clear steps, you’ve got this. You’ve learned about the necessary tools, how to measure accurately while wearing your favorite shoes, and the best methods for cutting, folding, and sewing a neat and durable hem. Remember, practice makes perfect. Don’t be discouraged if your first attempt isn’t flawless; each time you do it, you’ll get better. Now, go ahead, transform those slightly-too-long jeans into a perfectly fitting part of your wardrobe. Enjoy wearing your perfectly hemmed bootcut jeans with confidence!
.lwrp.link-whisper-related-posts{
margin-top: 40px;
margin-bottom: 30px;
}
.lwrp .lwrp-title{
}.lwrp .lwrp-description{
}
.lwrp .lwrp-list-container{
}
.lwrp .lwrp-list-multi-container{
display: flex;
}
.lwrp .lwrp-list-double{
width: 48%;
}
.lwrp .lwrp-list-triple{
width: 32%;
}
.lwrp .lwrp-list-row-container{
display: flex;
justify-content: space-between;
}
.lwrp .lwrp-list-row-container .lwrp-list-item{
width: calc(25% – 20px);
}
.lwrp .lwrp-list-item:not(.lwrp-no-posts-message-item){
max-width: 150px;
}
.lwrp .lwrp-list-item img{
max-width: 100%;
height: auto;
object-fit: cover;
aspect-ratio: 1 / 1;
}
.lwrp .lwrp-list-item.lwrp-empty-list-item{
background: initial !important;
}
.lwrp .lwrp-list-item .lwrp-list-link .lwrp-list-link-title-text,
.lwrp .lwrp-list-item .lwrp-list-no-posts-message{
}@media screen and (max-width: 480px) {
.lwrp.link-whisper-related-posts{
}
.lwrp .lwrp-title{
}.lwrp .lwrp-description{
}
.lwrp .lwrp-list-multi-container{
flex-direction: column;
}
.lwrp .lwrp-list-multi-container ul.lwrp-list{
margin-top: 0px;
margin-bottom: 0px;
padding-top: 0px;
padding-bottom: 0px;
}
.lwrp .lwrp-list-double,
.lwrp .lwrp-list-triple{
width: 100%;
}
.lwrp .lwrp-list-row-container{
justify-content: initial;
flex-direction: column;
}
.lwrp .lwrp-list-row-container .lwrp-list-item{
width: 100%;
}
.lwrp .lwrp-list-item:not(.lwrp-no-posts-message-item){
max-width: initial;
}
.lwrp .lwrp-list-item .lwrp-list-link .lwrp-list-link-title-text,
.lwrp .lwrp-list-item .lwrp-list-no-posts-message{
};
}


