Quick Summary: Learning how to hem bootcut jeans is a straightforward process that restores your favorite denim to the perfect length. With a few basic tools and simple steps, you can achieve a professional-looking finish at home, ensuring your boots are perfectly showcased and your jeans fit flawlessly without needing a tailor.
How To Hem Bootcut Jeans: Your Essential Guide
Ever bought a pair of perfect bootcut jeans, only to find they’re a little too long? It’s a common frustration, but thankfully, fixing it is easier than you might think. A misplaced length can make your jeans drag on the floor, get dirty quickly, or just look a bit off, especially when worn with your favorite boots. Don’t worry! With this guide, you’ll learn how to hem your bootcut jeans yourself, getting that perfect fit without any complicated machinery or needing to visit a tailor. We’ll break down everything you need, from measuring to the final stitch, ensuring your jeans will look great and fit just right.
Why Hemming Bootcut Jeans Matters

Bootcut jeans are designed with a subtle flare at the ankle, intended to sit perfectly over boots. When they’re too long, this flare can pool on the floor, creating an untidy look and potentially causing premature wear and tear. Proper hemming ensures that the unique silhouette of the bootcut remains intact, your boots are visible, and your jeans maintain their intended drape and style. It’s about making your favorite denim work for you, enhancing your look and prolonging the life of your clothing.
Gathering Your Hemming Supplies

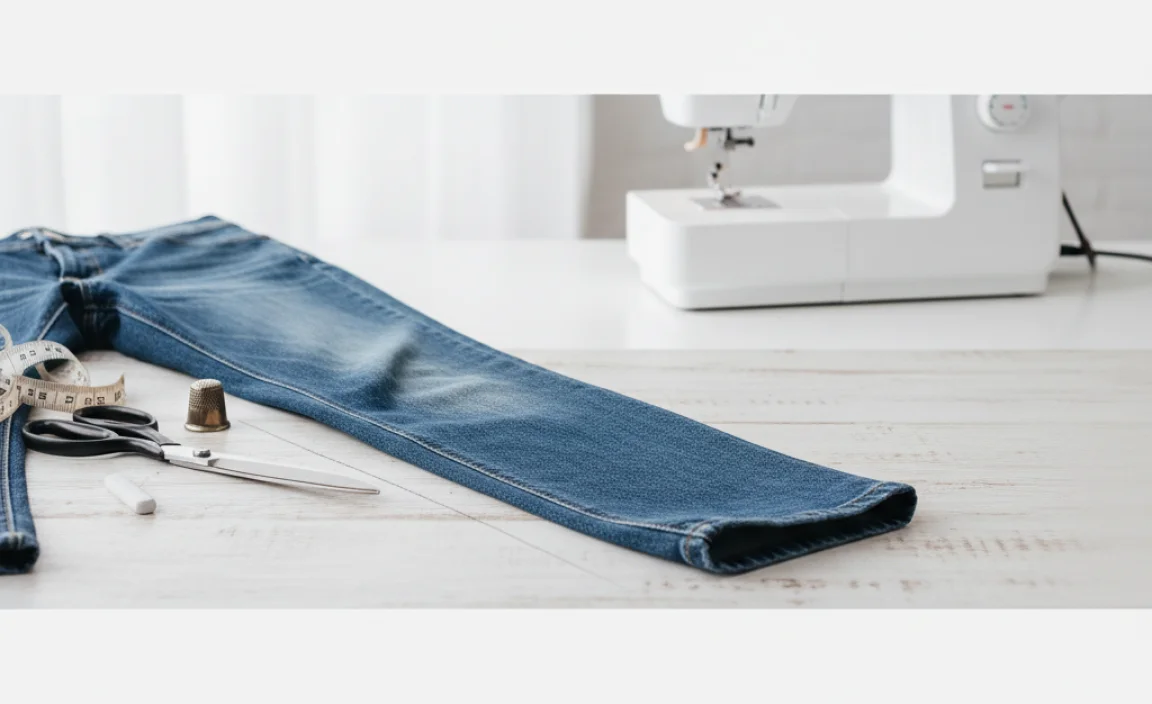
Before you start, having the right tools will make the process smooth and successful. You don’t need a sewing machine for a great result, but having one can speed things up. Here’s a list of what you’ll likely need:
- Measuring Tape: Essential for getting the correct length.
- Fabric Scissors: Sharp scissors are crucial for a clean cut.
- Fabric Chalk or a Disappearing Ink Pen: For marking your hemline.
- Sewing Pins: To hold the fabric in place while you work.
- Seam Ripper: To carefully remove the original hem if you want to preserve the factory look.
- Thread: Choose a color that matches your jeans, or opt for a contrasting color if you want a visible stitch.
- Needle: A standard sewing needle will do for hand-sewing, or you can use one suitable for denim if using a machine.
- Iron and Ironing Board: To press seams and create crisp folds.
- Your Bootcut Jeans: The star of the show!
- A Pair of Boots: To measure the correct length with.
Step-by-Step Guide to Hemming Bootcut Jeans

Let’s get started. Follow these steps carefully, and you’ll have your bootcut jeans looking perfectly altered in no time.
Step 1: Prepare Your Jeans
Start by washing and drying your jeans as you normally would. This is important because fabric can shrink or change slightly after washing. You want to hem them to their final, post-wash length. For bootcut jeans, it’s often best to unpick the original hem if you want to match the original look. Use a seam ripper to carefully separate the threads of the existing hem. This will give you a clean edge to work with and expose the original fabric, allowing you to re-create that factory-finished look.
Step 2: Measure for the Perfect Length
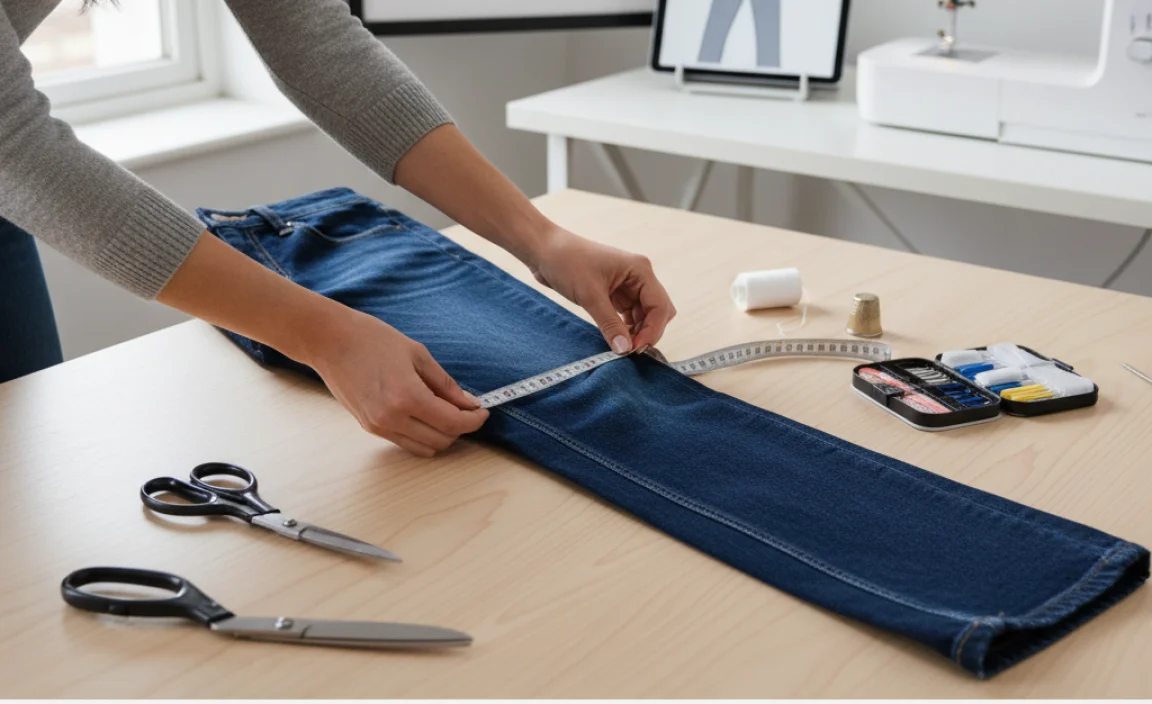
This is the most critical step. Put on the shoes or boots you typically wear with your bootcut jeans. Stand in front of a mirror. Place the jeans on and let them lay naturally. Using your measuring tape, determine where you want the bottom of the hem to fall. A good rule of thumb for bootcut jeans is to have them just graze the top of your footwear, without dragging on the floor. Mark this desired length on the inside of one leg with your fabric chalk or pen. Keep in mind where the original hem was – you’ll want to add about ½ inch to 1 inch for your new hem allowance, depending on how wide you want your new hem to be.
Pro Tip: If you have someone to help, they can mark the line for you while you wear the jeans to ensure accuracy. They should place a pin at the desired length or draw a line with chalk.
Step 3: Mark the Cut Line
Once you’ve determined the perfect length on one leg, it’s time to mark the cutting line. Measure down from your desired hemline by the amount of your hem allowance (usually ½ to 1 inch). Mark this line all the way around the leg opening. Ensure the mark is parallel to the original leg opening. You’ll be cutting on this line. Once marked, carefully cut through the excess fabric. It’s always better to cut a little less than too much, as you can always trim more later if needed.
Tip: For bootcut jeans’ unique shape, ensure your cut line follows the existing angle of the leg opening. Measure from the ground up consistently.
Step 4: Create the New Hem
Now, you’ll fold the fabric to create the new hem. Turn the jeans inside out. Fold the raw edge of the fabric up towards the inside of the leg to meet your marked cutting line. Press this fold firmly with your iron. This creates a crisp crease. Then, fold that pressed edge over again by about ½ inch (or your chosen hem allowance). Press this second fold down firmly. This double fold creates a clean, durable hem that won’t fray.
Table: Hemming Allowance Guide
| Fabric Type / Style | Recommended Hem Allowance | Purpose |
|---|---|---|
| Bootcut Jeans (Original Look) | ½ inch to ¾ inch (double fold) | Mimics factory hem, maintains drape. |
| Bootcut Jeans (Slightly Thicker Fabric) | ¾ inch to 1 inch (double fold) | Provides durability and a cleaner finish for heavier denim. |
| Casual Denim Hem | 1 inch to 2 inches (single or double fold) | Creates a more substantial, visible hem for a casual look. |
Step 5: Pin the Hem in Place
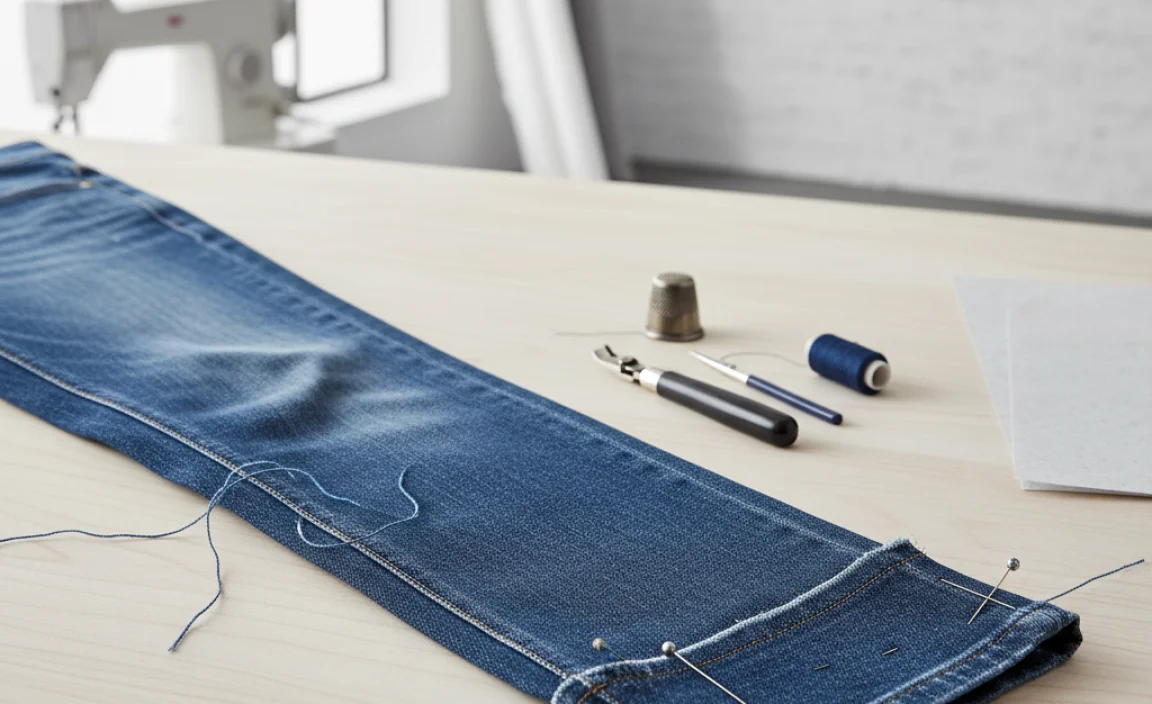
With the hem folded and pressed, use your sewing pins to secure it. Place pins perpendicular to the folded edge, about every 1-2 inches. Ensure the pins go through all layers of the fabric and are placed on the inside of the leg so they won’t be visible during sewing. Make sure the hem is even all the way around each leg. Check that there are no twisted seams.
Step 6: Sew the Hem
This is where your hemming actually takes shape. You have two options: hand-sewing or machine sewing.
Option A: Hand-Sewing the Hem
Thread your needle with matching thread, tying a knot at the end. Begin sewing along the folded edge of the hem. A simple blind hem stitch or a whipstitch is recommended for a neat finish. For a blind hem stitch, you’ll catch just a few threads of the jean fabric on one side and then loop around the folded hem edge on the other, making your stitches nearly invisible from the outside. For a whipstitch, you’ll make small, consistent stitches that go back and forth over the raw edge of the folded hem. Ensure your stitches are small and close together for durability.
External Link: For detailed instructions on various stitches, explore resources like Threads Magazine’s guide on basic sewing stitches.
Option B: Machine Sewing the Hem
If using a sewing machine, set it to a straight stitch. Use a needle suitable for denim. Stitch along the raw edge of the folded hem. Stitching on the inside means your stitches will be along the folded edge. You can also stitch on the outside, just above the folded edge, for a visible, decorative seam, similar to how many jeans are originally finished. Go slowly, especially when navigating the thicker seams of jeans. Backstitch at the beginning and end of your seam to secure the threads.
Step 7: Finishing Touches
Once you’ve sewn the hem on both legs, carefully remove all the pins. Trim any excess threads. Try on your jeans with your boots to check the length and fit. If everything looks good, give the hem area a final press with your iron. This helps set the stitches and gives your hem a crisp, professional finish. If you unpicked the original hem, you can sometimes use the old hem thread to re-stitch with a sewing machine for an even more authentic look, matching the original stitch color and type.
Maintaining Your Hemmed Bootcut Jeans

Once you’ve successfully hemmed your bootcut jeans, taking good care of them will ensure they last. Always check the care label on your jeans for washing instructions. For best results, wash them in cold water and consider using a gentle cycle. Air drying is preferable to machine drying, as high heat can cause denim to shrink further or fade unevenly. If you need to iron them, do so inside out on a medium heat setting.
Common Issues and How to Fix Them

Even with careful work, sometimes things don’t go perfectly. Here are a few common issues and their solutions:
- Uneven Hem: If you notice a slight wobble once the hem is done, you can try to carefully unpick a section and re-stitch it, or strategically trim a tiny bit more fabric to even it out. Ironing can often help disguise minor unevenness.
- Stitches Pulling: If your stitches appear to be pulling the fabric, you might be using a needle that’s too large for the denim, or your tension might be too tight. Adjust your machine tension or opt for smaller, more consistent stitches when hand-sewing.
- Frayed Edges (if not double-folded): If you opted for a single fold and the edge is fraying, you can use a stitch like a zigzag stitch close to the raw edge before folding, or carefully apply a fabric glue like Fray Check to the raw edge to prevent further unraveling.
Frequently Asked Questions About Hemming Bootcut Jeans
Q1: Can I hem bootcut jeans without sewing?
A1: Yes, you can! For a quick fix, you can use a strong fabric glue or iron-on hemming tape (like Stitch Witchery). You’ll still need to measure, cut, and fold the fabric, but instead of sewing, you’ll apply the adhesive and press it with an iron to secure the hem.
Q2: How much fabric should I leave for the hem allowance?
A2: For bootcut jeans, a common hem allowance is between ½ inch and 1 inch. This provides enough fabric for a double fold, which looks neat and is durable. Always consider the thickness of your denim. A thicker denim might benefit from a slightly wider allowance.
Q3: How do I make sure the hem is the same length on both legs?
A3: The best way is to measure while wearing the jeans with your desired footwear. Mark one leg, then measure the distance from the floor to your mark on the inside of the leg. Transfer that exact measurement to the inside of the other leg, ensuring the mark is at the same point along the leg’s curve.
Q4: Can I re-attach the original hem to my bootcut jeans?
A4: Absolutely! This is the best way to maintain the original look, including the specific stitching and subtle fading of the original hem. Carefully unpick the old hem with a seam ripper, then reattach it to the newly shortened jeans. This often requires a sewing machine to match the original stitch.
Q5: What’s the difference between hemming regular jeans and bootcut jeans?
A5: The main difference lies in preserving the bootcut silhouette. When hemming regular jeans, you can often cut straight across. For bootcut jeans, you need to ensure your new hem follows the outward flare at the bottom of the leg, so the proportions remain correct.
Q6: How do I hem bootcut jeans without bleach?
A6: To hem bootcut jeans without bleach, simply follow these steps without using any bleaching agents. Focus on accurate measuring, cutting, and sewing. The goal is to adjust the length, not to alter the color or wash of the denim. Your hemming technique will be the same regardless of whether you’re using bleach or not.
Conclusion
Hemming your bootcut jeans is a rewarding DIY project that can save you money and ensure your favorite denim always looks its best. By following these clear, step-by-step instructions, you can confidently alter the length of your jeans to perfection. Remember that precision in measuring and careful sewing are key to achieving a professional outcome. Whether you choose to hand-sew or use a machine, the result will be jeans that fit impeccably, allowing your bootcut style to shine. So, don’t let slightly long jeans sit in your closet; grab your supplies and give them a new life!


