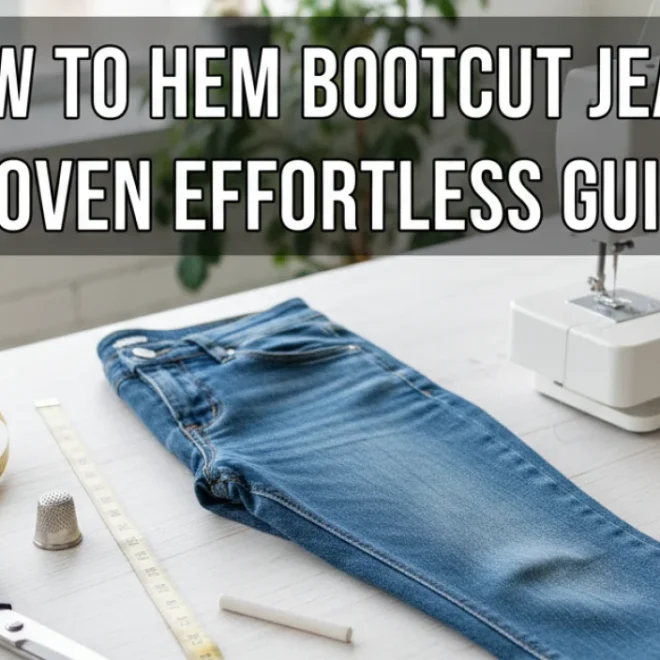
Never fear the dreaded too-long jeans again! Learn how to hem your bootcut jeans perfectly without a single stitch, transforming them into a flawless fit for any shoe in minutes. This easy guide ensures a neat, professional finish that’s both simple and effective.
Are your favorite bootcut jeans a little too long, dragging on the floor and getting scuffed? It’s a common frustration, but thankfully, you don’t need sewing skills to fix it. Achieving that perfect hemline is easier than you think, and it can be done right in your own home with minimal fuss. This guide will walk you through a simple, no-sew method that will leave your jeans looking like they were tailor-made for you. Get ready to revive your denim and step out with confidence!
Why Hemming Bootcut Jeans Matters
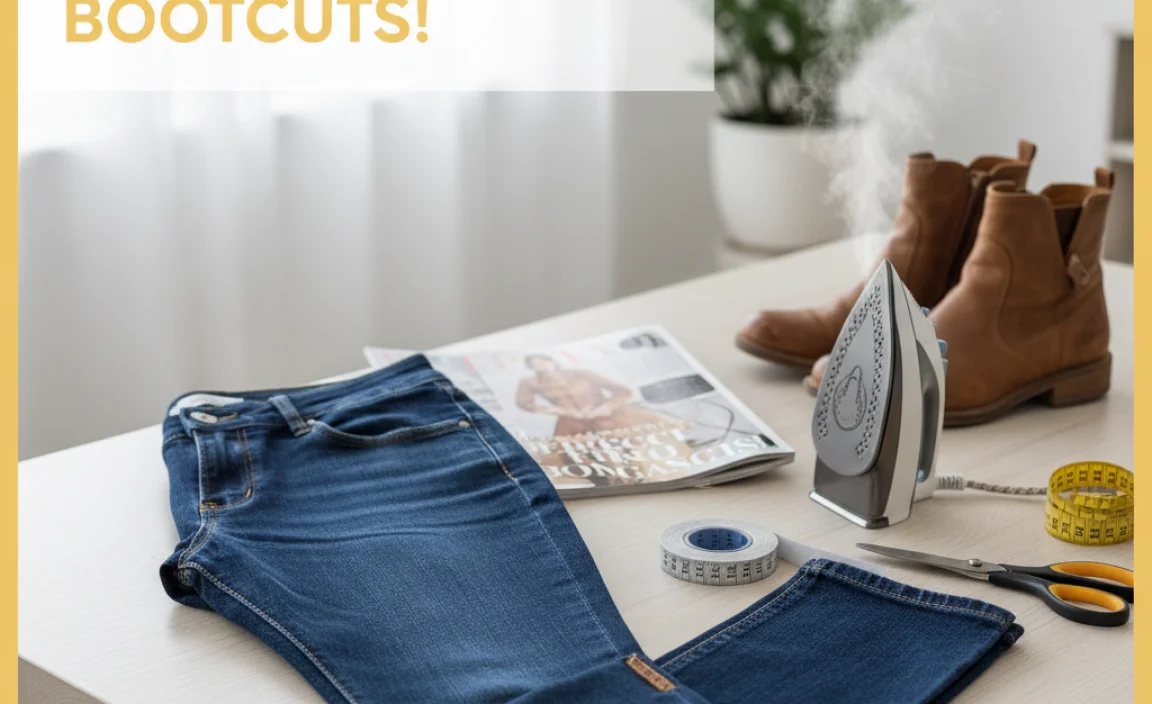
The right hemline on your bootcut jeans isn’t just about aesthetics; it’s crucial for both how the jeans look and how they wear. Too long, and they can trip you up, get dirty quickly, and look sloppy. Too short, and they lose the classic bootcut silhouette that’s so popular. For bootcut styles, the hem is designed to gracefully drape over your footwear, creating a balanced and elongated leg line. When hemmed correctly, bootcut jeans enhance your proportions and make your shoes pop, whether you’re wearing sneakers, boots, or heels. Getting this detail right makes a significant difference in your overall appearance and comfort.
Understanding the Bootcut Jean Silhouette
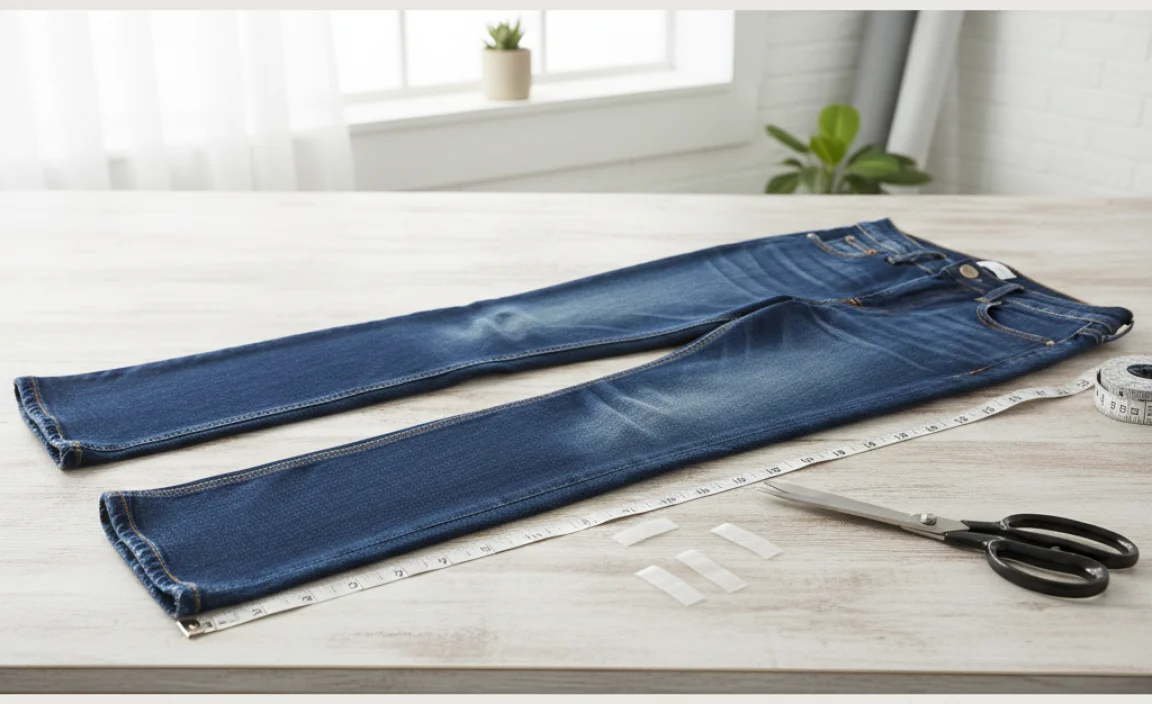
Before we dive into hemming, it’s helpful to understand what makes bootcut jeans unique. Unlike straight-leg or skinny jeans, bootcut jeans are designed with a slight flare at the ankle. This flare is intended to accommodate the shaft of a boot, but it also creates a flattering silhouette for various types of footwear. When hemming, your goal is to maintain this subtle flare while ensuring the bottom edge just skims the top of your shoe. The general rule of thumb is that the hem should be long enough to cover about half to three-quarters of your shoe’s sole, giving the appearance of a longer leg without the fabric bunching or dragging.
Tools You’ll Need for a No-Sew Hem
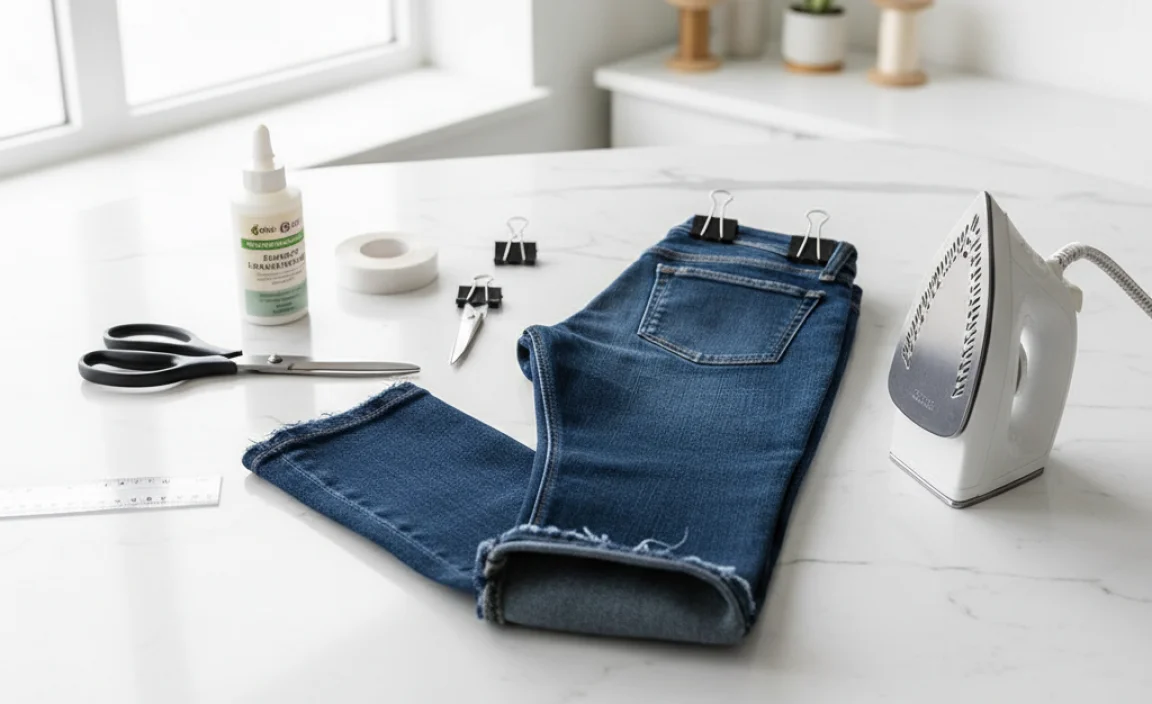
Gathering the right supplies is key to a successful no-sew hem. Fortunately, most of these items are readily available around your home or can be purchased affordably. Having these items prepared makes the process smooth and efficient.
- Fabric Scissors: Sharp scissors specifically for fabric will ensure clean cuts without fraying.
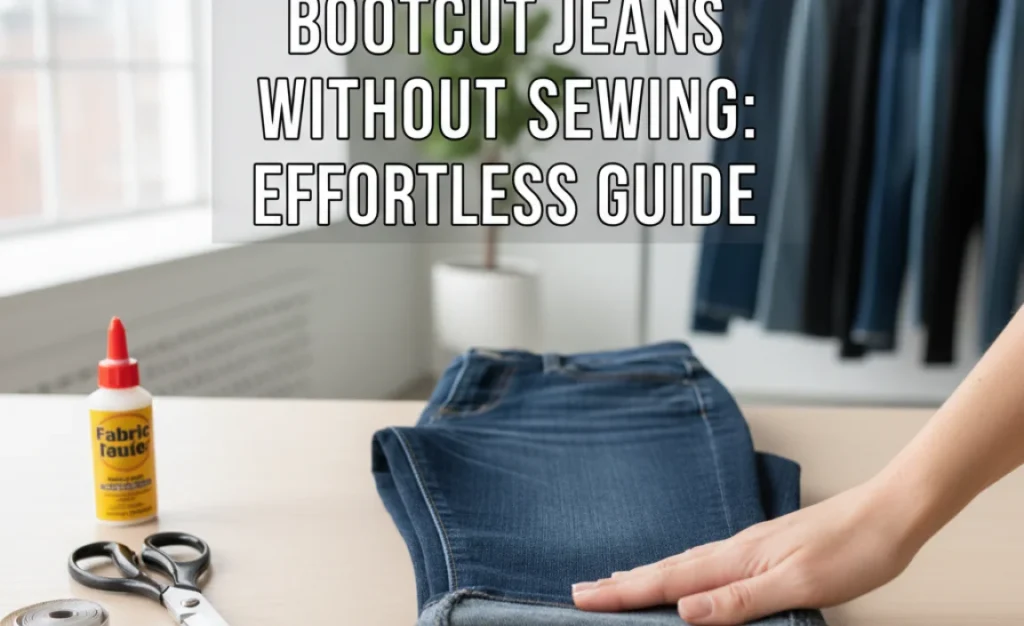
- Fabric Glue or Hem Tape: These are the stars of no-sew hemming. Choose a strong, flexible option that dries clear or blends in well with your denim. Iron-on hem tape is a popular choice for a strong hold.
- Measuring Tape or Ruler: Accuracy is important for an even hem.
- Fabric Chalk or Tailor’s Pencil: For marking your desired hem length. You can use a light-colored pencil or chalk.
- Straight Pins: To hold the hem in place while you work and ensure it stays even.
- Iron and Ironing Board: Essential if you’re using iron-on hem tape or want to create a crisp crease with fabric glue.
- Jeans to Hem: Of course!
Step-by-Step: How to Hem Bootcut Jeans Without Sewing
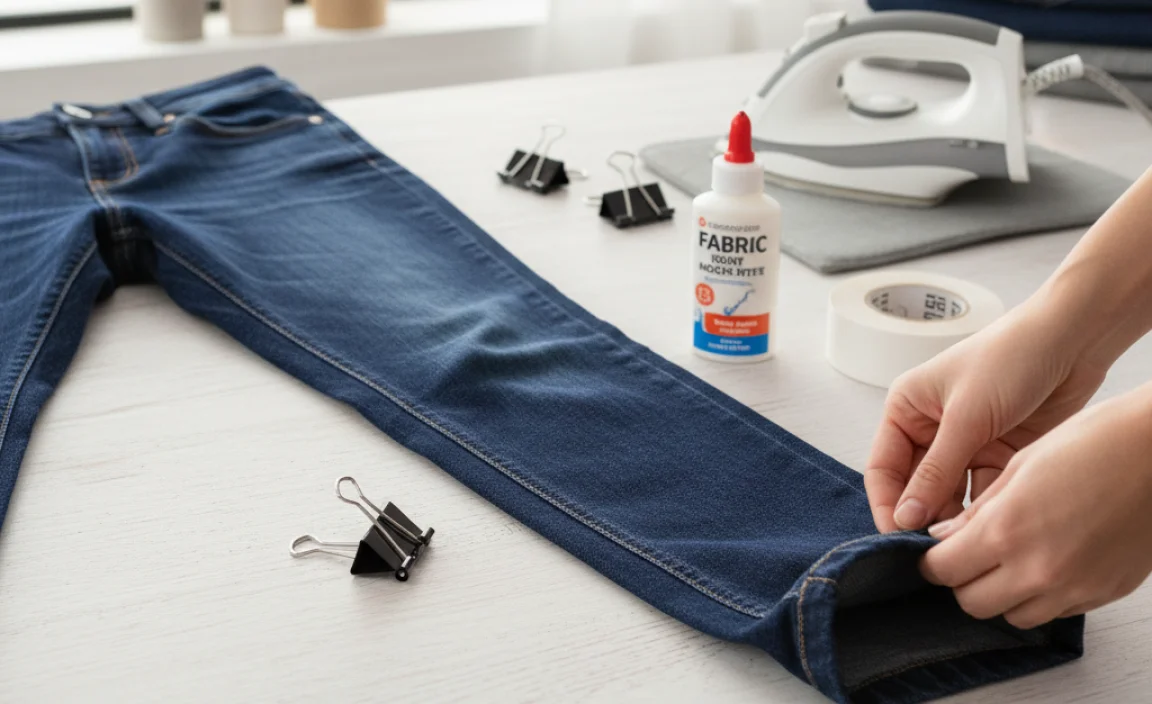
This method is straightforward and designed for ease. Follow these steps carefully to achieve a professional-looking hem.
Step 1: Preparation is Key – Wash and Wear Your Jeans
Always start with clean jeans. It’s also best to wear the shoes you intend to wear with your bootcut jeans when you’re measuring. This ensures the hem length will be perfect for your chosen footwear. Jeans can slightly change length after washing and drying, so starting with clean, dry denim is crucial for accurate measurements. Wear them as you normally would – not too tight, not too loose – to get a true sense of where the hemline should fall.
Step 2: Mark Your Desired Hem Length
Stand in front of a mirror wearing your jeans and your chosen shoes. Carefully observe where the bottom of your jeans falls. You want the hem to end just above the sole of your shoe, often about where the heel begins to curve up, or just enough to hover above the ground without dragging. Use your fabric chalk or tailor’s pencil to make a small mark on the inside seam of one leg, indicating the desired finished length. It’s often easier to mark a point slightly higher than you think you want, as you can always trim more fabric later, but you can’t add it back!
Consider the “break” you want: a slight break means the jeans barely touch the top of your shoe, while a full break has them draping more. For bootcut jeans, a slight to medium break is usually most flattering.
Step 3: Measure and Mark the Entire Hem
Once you have your starting mark, it’s time to ensure the hem is even all the way around. You can do this in a few ways:
- Using a Ruler: Place your ruler against the inside leg seam, aligning it with your initial mark. Measure up the desired amount (this is the amount of fabric you’ll be folding up). Mark this consistent height at several points around the leg.
- Folding and Marking: With the jeans still on, gently fold up the excess fabric along the inside seam until the bottom edge aligns with your desired finished length. Pin this fold in place with a few straight pins. Remove the jeans carefully and use this pinned fold as a guide to mark the hem line with chalk.
Repeat this entire process for the other leg, ensuring both marks are identical. When you lay the jeans flat, measure from the marked hemline to the original bottom edge on BOTH legs to confirm they are the same length. You’ll typically fold up about ¾ inch to 1 inch of fabric, depending on the desired finished hem width and the amount of fabric you need to remove.
For a more advanced measurement, you can try using a yardstick or a fabric ruler that can help you mark parallel lines evenly around the leg circumference. A quick check on reputable sewing resources like Threadcount’s guide to measuring for hemming emphasizes consistency and starting with good measurements.
Step 4: Trim the Excess Fabric
Now it’s time to cut. Lay your jeans flat on a clean surface. Carefully use your sharp fabric scissors to cut along the marked hemline. Make sure to cut through both layers of fabric. It’s best to cut just inside your chalk line, leaving a small margin. Remember, you can always trim more if needed, but you can’t reattach fabric. This is where sharp fabric scissors, like those used for quilting, can make a significant difference in preventing frayed edges.
Tip: If you’re unsure about cutting, you can always trim off a little less than you think you need initially. You can always trim again after a test fold.
Step 5: Prepare for the No-Sew Adhesion
Depending on your chosen adhesive (fabric glue or hem tape), the preparation will vary slightly.
For Fabric Glue:
- Turn your jeans inside out so the raw edges you just cut are exposed.
- Fold the raw edge up towards the inside of the jean leg by about ½ inch to 1 inch. This creates the folded hem edge that will become your new hemline.
- Crease this fold firmly.
Step 6: Apply Your Adhesive
This is where the magic happens, turning your raw edge into a neat hem without stitches.
Applying Fabric Glue:
- Apply a thin, even bead of fabric glue along the folded edge of the fabric on the inside of the jean leg. You want enough glue to create a strong bond, but not so much that it seeps through the denim and becomes visible.
- Carefully fold the hem up again, pressing the raw edge up against the inside of the jean leg. Make sure the fabric is smoothed out and free of wrinkles.
- Hold the hem in place firmly for a few minutes, or use straight pins to secure it while the glue begins to set, following the manufacturer’s instructions. Ensure the hem sits perfectly straight.
Applying Hem Tape:
- Turn your jeans inside out.
- Fold the raw edge up by the predetermined amount (usually ½ inch to 1 inch), creating the new hemline. Crease this fold well.
- Cut a piece of hem tape to fit the circumference of the hem.
- Peel the backing off one side of the hem tape and carefully adhere it to the inside of the folded hem, pressing firmly.
- Remove the backing from the other side of the hem tape.
- Carefully fold the hem up again, pressing the raw edge up against the inside of the jean leg, ensuring the tape adheres to the rest of the denim.
- Use straight pins to hold the hem in place temporarily.
For best results with fabric glue, check out resources like the Moda Fabric blog on using fabric glue for perfect hems, which offers tips on application and curing times.
Step 7: Iron and Set (Crucial for Durability)
This step is vital for creating a strong, long-lasting hem, especially when using hem tape. If you used fabric glue, ironing can help set it faster and permanently.
- Place your jeans flat on the ironing board, ensuring the folded hem is smooth and in the correct position.
- Using your iron on a medium-high setting (check your fabric glue or hem tape instructions for optimal temperature), press down firmly on the hem for at least 10-15 seconds.
- Work your way around the entire hem, ensuring even heat distribution.
- For extra durability, you can iron the inside of the hem as well.
Allowing the adhesive to cure properly will ensure your hem holds up through wear and washing. Always follow the specific curing instructions provided by the adhesive manufacturer. Some glues might require 24-72 hours to reach full strength.
Step 8: Final Check and Wear
Once the adhesive has set and cooled completely, turn your jeans right-side out. Try them on with your intended shoes. Check the hem for evenness and ensure they hang perfectly straight without dragging or bunching.
If everything looks great, congratulations! You’ve successfully hemmed your bootcut jeans without sewing. If a section feels a little loose or uneven, you can often reinforce it with an extra dab of glue or a small piece of hem tape. Now you can enjoy your perfectly fitting jeans!
Pros and Cons of No-Sew Hemming
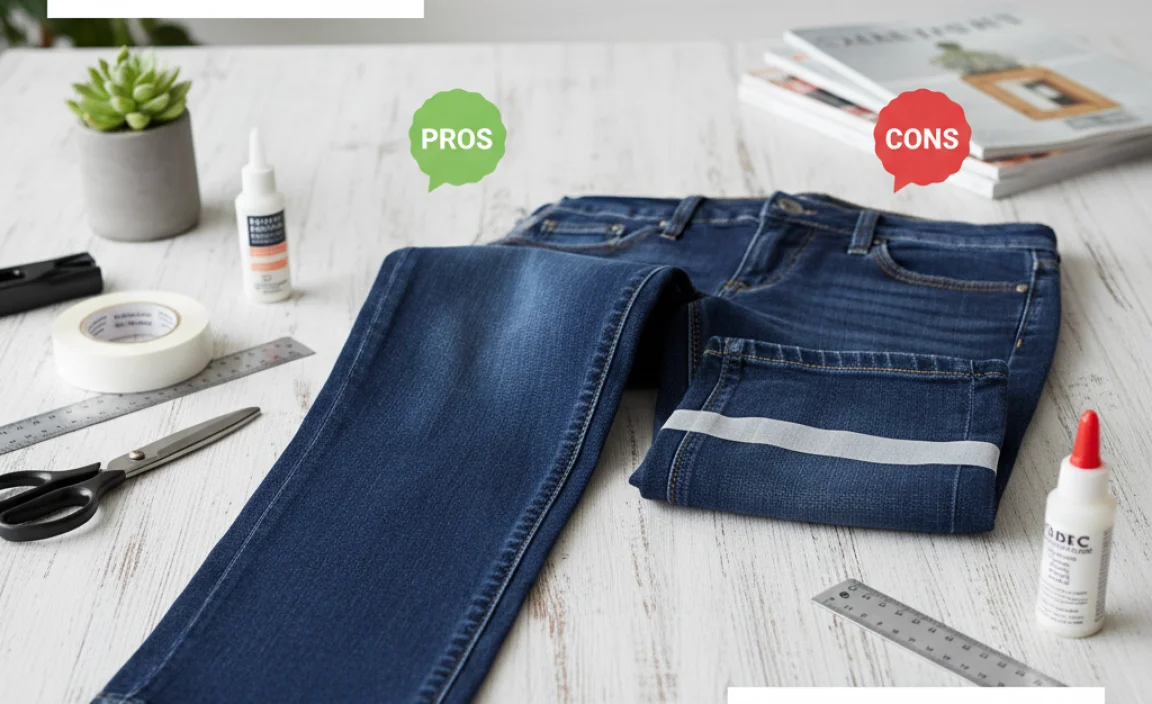
As with any method, no-sew hemming has its advantages and disadvantages. Understanding these can help you decide if it’s the right option for your project.
Pros Cons Speed: Quick and can be completed in under an hour. Durability: May not be as durable as a sewn hem, especially with frequent washing or heavy wear. Ease: Requires no sewing skills, making it accessible to everyone. Appearance: The hem may have a slightly thicker or less refined look compared to a sewn hem, depending on the adhesive used. Cost-Effective: Avoids the cost of professional alterations or buying new jeans. Adhesive Issues: Fabric glue or tape can sometimes stiffen the fabric, and they may eventually break down with excessive washing and drying. Customization: Easy to adjust the length as needed, even for temporary fixes. Potential Stains: Some fabric glues can leave a slight stiffness or slight discoloration if applied too heavily or if they are not clear-drying varieties. For those seeking a semi-permanent solution that mimics the look of a sewn hem, experimenting with different types of fabric tape and glues is recommended. Companies like Prym offer various hemming tapes designed for different fabric types and durability levels, often available through reputable craft and fabric supply stores.
Alternative No-Sew Hemming Methods
While fabric glue and hem tape are the most popular, a few other quick fixes can work in a pinch:
- Fabric Glue Pens: These offer more precision for gluing smaller areas or touch-ups.
- Fusible Webbing: Similar to hem tape but in a roll, it melts with heat to bond fabrics together. A sewing machine and fusible webbing work well, but it can also be ironed on.
- Temporary Fabric Adhesives: These are designed for quick fixes and may not last through multiple washes but are great for last-minute events.
For instance, the Joann Stores guide on fabric gluing highlights how to use fabric glue pens for detailed work, which could be useful for fine-tuning the edge of your hem.
Maintaining Your No-Sew Hem
To ensure your no-sew hem lasts as long as possible, follow these care tips:
- Gentle Washing: Wash your jeans inside out in cold water on a delicate cycle.
- Avoid High Heat Drying: Air drying is best. If you must use a dryer, use a low heat setting and remove them while still slightly damp. High heat can degrade the adhesive over time.
- Spot Cleaning: For small stains, try spot cleaning instead of a full wash.
- Check Periodically: Every few washes, check the hem for any signs of loosening and touch up with a little more adhesive if needed.
Following these simple steps will help preserve the integrity of your no-sew hem, keeping your bootcut jeans looking great for longer.
Frequently Asked Questions About Hemming Bootcut Jeans Without Sewing
Q1: Will a no-sew hem on bootcut jeans look professional?
Yes, with careful application of good quality fabric glue or hemming tape and proper ironing, a no-sew hem can look very neat and professional. It’s important to cut precisely and ensure the adhesive is applied evenly.
Q2: How much fabric should I fold up for the hem?
Typically, you’ll fold up between ¾ inch and 1 ½ inches of fabric. The exact amount depends on how much excess fabric you need to remove and the width you want your final hem to be. A wider hem usually looks more substantial.
Q3: Can I hem dark wash jeans without the glue showing?
Yes. Use a clear-drying fabric glue or hem tape designed for all fabric colors. Apply a thin, even layer, and make sure no excess seeps through to the right side of the fabric. Ironing helps set it invisibly.
Q4: How do I make sure the bootcut flare isn’t ruined when I hem?
The key is to measure and cut evenly around the entire leg circumference. When folding and attaching, ensure you maintain the natural curve of the bootcut opening. The hem should follow the existing curve of the fabric.
Q5: How long will a no-sew hem last?
The lifespan varies depending on the quality of the adhesive used, how often you wear and wash the jeans, and the washing method. A well-done no-sew hem can last for many washes, but a sewn hem is generally more durable for everyday heavy wear.
Q6: Can I adjust the hem if I get it wrong?
With fabric glue, it can be difficult to completely remove once set. Hem tape is often easier to carefully peel away and reapply, especially if you catch it before it’s fully fused with heat. It’s always best to double-check your measurements and folds before applying heat.
Conclusion
Mastering the art of hemming your bootcut jeans without sewing opens up a world of possibilities for keeping your favorite denim in perfect condition. You now have a reliable, straightforward method to achieve a flawless fit that enhances your style and suits any shoe. By following these steps, using the right tools, and paying attention to detail, you can confidently tackle this common clothing alteration yourself. So, the next time your bootcut jeans are a little too long, don’t hesitate to reach for your fabric scissors and glue. You’ve got this, and you’ll be enjoying perfectly hemmed jeans in no time. Happy hemming!</p


