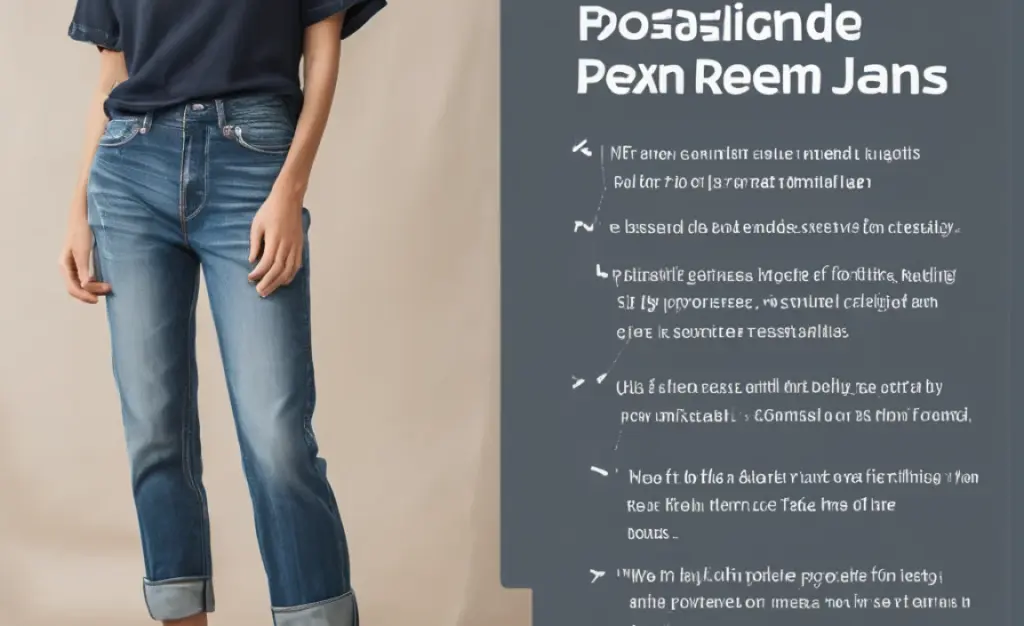
Hemming boyfriend jeans is a simple DIY project that can refresh your look. Follow these easy steps to get a perfect, professional finish at home in under an hour, giving your favorite jeans a tailored fit you’ll love.
Boyfriend jeans are a wardrobe staple, offering comfort and a relaxed vibe. But sometimes, that perfect pair might be just a little too long, making them drag on the ground or look less polished. Don’t let a few extra inches of denim cramp your style! Figuring out how to hem boyfriend jeans is a skill that can save you money and give you the confidence of a perfect fit. It’s easier than you might think, and the results are incredibly satisfying. This guide will walk you through the entire process, from gathering your supplies to achieving a neat, durable hem, ensuring your jeans look custom-made, just for you.
Why Hem Your Boyfriend Jeans?

There are several great reasons to take matters into your own hands and hem those slightly-too-long boyfriend jeans:
- Perfect Length: Achieve the exact inseam you desire, whether you prefer them to just graze your ankle or sit slightly higher.
- Prevent Damage: Cropped jeans prevent the hems from fraying or getting dirty from dragging on the floor, extending their lifespan.
- Style Versatility: A well-hemmed pair can be styled in more ways, looking sharp with sneakers or dressed up with heels.
- Save Money: Skip the tailor fees! Learning to hem yourself is an economical choice for keeping your jeans looking their best.
- Confidence Boost: Wearing clothes that fit perfectly instantly makes you feel more put-together and confident.
What You’ll Need: Essential Tools for Hemming

Before you start cutting, gather these basic supplies. Most are common household items, making this a project you can likely tackle right now.
Basic Sewing Kit:
- Fabric Scissors: Sharp scissors are crucial for a clean cut. Avoid using dull scissors, as they can snag and make the fabric uneven. For denim, heavier-duty scissors are best.
- Measuring Tape or Ruler: For accurate measurements.
- Fabric Chalk or Pencil: To mark your cut line. A disappearing fabric pen can also work.
- Straight Pins: To hold the fabric in place while you work.
- Sewing Machine (Recommended): For the most durable and professional-looking hem.
- Needle and Thread (If sewing by hand): Choose a thread color that matches your jeans.
- Iron and Ironing Board: For pressing seams flat.
- Seam Ripper: Useful for undoing existing seams if you need to re-create the original hem, or for any minor mistakes.
Optional, for an Authentic Look:
- Wrangler’s Guide to Denim Care: While not directly for hemming, understanding denim properties can be helpful. You can find great resources on denim care from manufacturers or textile sites.
- A few drops of mild detergent or clear dish soap (for achieving a naturally aged look on the cut edge, often referred to in DIY dyeing and distressing techniques, though not directly for the sewing part of hemming).
Step-by-Step Guide: How to Hem Boyfriend Jeans
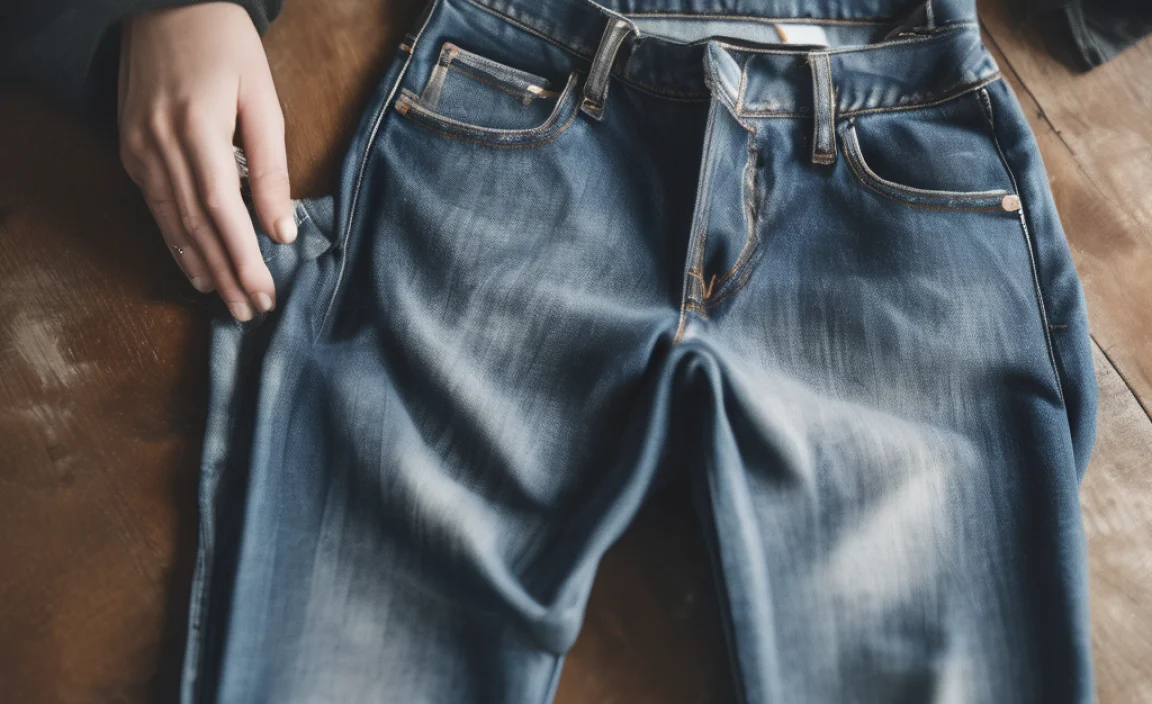
Let’s get started! This guide breaks down the process into simple, manageable steps. We’ll cover a basic, clean hem, and then touch on how to achieve a more distressed or original-looking hem.
Step 1: Determine the Desired Length
Put on your boyfriend jeans and the shoes you’ll typically wear with them. Stand in front of a mirror. Decide where you want the hem to fall. For boyfriend jeans, a common and stylish length hits just above the ankle bone or at the top of your shoes.
Use a measuring tape or ruler to measure from the crotch seam down to where you want the hem to be. Make a small mark with your fabric chalk or pencil at this point on the inseam (the inner leg seam).
Pro Tip: It’s always better to cut slightly longer than you think you need. You can always trim more off, but you can’t add it back!
Step 2: Mark the Cut Line
Once you’ve marked the desired finished length on one leg, you’ll need to mark the cutting line. This line should be below your finished length mark to account for the amount you’ll fold up. A standard double-fold hem for denim is usually about 1 to 1.5 inches (2.5 to 3.8 cm).
Measure 1 to 1.5 inches below your finished length mark. This is your cut line. Mark it clearly with your fabric chalk or pencil. Make sure the mark is parallel to the floor.
Repeat this measurement and marking process on the other leg, ensuring it’s exactly the same distance from the crotch seam as the first leg. It’s a good idea to also transfer the mark from the inseam to the outseam (the outer leg seam) to ensure a straight cut all the way around.
Tip: For maximum accuracy, you can lay the jeans flat and measure from the finished length mark straight down.
Step 3: Cut the Excess Denim
Lay your jeans flat on a clean, hard surface. Smooth out any wrinkles. Carefully use your sharp fabric scissors to cut along the marked cut line. Cut through both layers of the leg simultaneously, ensuring a straight and even cut all around.
Take your time with this step. A wobbly cut will be noticeable. If you’re unsure, you can always cut a little longer and refine the length later.
Step 4: Prepare for Hemming (The Fold)
Now, you’ll create the fold for your hem. For a clean, finished hem, you’ll typically do a double fold.
First Fold: Turn the jeans inside out. Fold the raw edge of the cut denim up by about 0.5 inches (1.25 cm) towards the inside of the pant leg. Press this fold firmly with your iron to create a crisp crease. This inhales the raw edge and prevents fraying.
Second Fold: Now, fold that first crease up again by the desired hem width – usually 1 inch (2.5 cm) for a sturdy denim hem. This will create a double-folded hem, enclosing the raw edge completely. Pin this fold securely in place all the way around, using straight pins every few inches to ensure it stays put.
Press this double fold again with your iron to set the shape. This makes it much easier to sew.
Step 5: Sew the Hem
Using a Sewing Machine (Recommended for Durability):
- Thread your sewing machine with a strong thread that matches your jeans (or a contrasting color for a design element).
- Set your machine to a straight stitch. A slightly longer stitch length (around 2.5-3 mm) is often good for denim to prevent it from tearing.
- Place the pinned hem under the presser foot.
- Start sewing about an inch before your first pinned seam, backstitching a couple of stitches to secure the beginning.
- Sew all the way around the leg, following the edge of the folded hem. Try to keep your stitching line straight and about 1/8 inch (3mm) from the folded edge.
- When you reach the beginning, backstitch a few stitches to secure the end.
- Trim any excess threads.
Sewing by Hand:
- Thread a needle with strong, matching thread, and knot the end.
- Use a backstitch for the strongest and neatest finish. Insert the needle from the inside along the fold, bring it up, then insert it back down a stitch’s length behind where it came up. Bring the needle up again a stitch length ahead of where you just went down, then insert it back down where you inserted the thread the first time. Continue this, keeping your stitches small and even.
- Alternatively, a blind hem stitch can be used for a nearly invisible finish, but it’s slightly less durable on thick denim.
- Continue stitching all the way around your pinned doubled hem.
- Once you’ve completed the circle, tie off the thread securely on the inside of the hem.
Step 6: Finishing Touches
Once sewn, remove all the pins. Turn the jeans right-side out. Give the hem a final press with your iron. You should have a clean, neat hem that looks like it came straight from the store.
Achieving an Authentic “Cut-Off” or Distressed Hem

If you love the look of a slightly frayed or original hem on your boyfriend jeans, the process is a bit different. This is where you might see mentions of things like baking soda, but it’s more for washing and distressing than the actual hemming technique.
Method 1: Re-attaching the Original Hem
This method is the most advanced in achieving an authentic look, as it reuses the original hem. It involves carefully cutting below the original hem, then resewing the original hem back onto the newly shortened jeans.
Tools Needed: Seam ripper, fabric scissors, measuring tape, pins, sewing machine or needle and thread.
- Measure and Cut: Determine your desired length and cut the jeans, leaving about 1.5 inches (3.8 cm) below the original hem.
- Rinse the Original Hem: Carefully use a seam ripper to detach the original hem from the pant leg. Be patient! You want to remove it as one continuous piece.
- Prepare the Jeans and Hem: Lay the jeans flat. You’ll be sewing the inside of the original hem piece to the raw edge of the shortened leg.
- Pinning: Align the raw edge of the pant leg with the seam line on the inside of the original hem piece. Pin them together securely, ensuring the original hem faces outwards.
- Sewing: Using a sewing machine, stitch along the original seam line where you removed the hem. If sewing by hand, use a strong stitch like a backstitch.
- Finish: Trim excess threads. You can then fray the edge slightly by encouraging loose threads to separate.
Method 2: Creating a Frayed Hem
This is a simpler approach for a distressed look.
Tools Needed: Fabric scissors, measuring tape, fabric chalk or pencil, pins, sewing machine or needle and thread, tweezers or a small brush for fraying.
- Measure and Cut: Determine your desired length and cut the jeans, leaving an extra 1 to 1.5 inches (2.5 to 3.8 cm) below where you want the finished hem to sit.
- The Fold: Turn the jeans inside out. Fold the raw edge up by about 1 inch (2.5 cm). Press this fold.
- Pin and Sew: Pin the fold in place. Stitch along the folded edge with your sewing machine or by hand, about 1/8 inch (3mm) from the folded edge.
- The Fray: Turn the jeans right-side out. Now, you have a folded hem. To create the fray, carefully snip the new hemline you just sewed, about 1/4 inch (0.6 cm) above the folded raw edge. Only cut through the outer layer of the fold, exposing the fabric beneath.
- Encourage Fraying: Gently pull at the threads with tweezers or a small brush to encourage them to fray. You can also wash and dry the jeans to help them fray naturally.
Note on “How to Hem Boyfriend Jeans with Baking Soda”: You might find instructions suggesting the use of baking soda or other household items for distressing denim. These methods are typically for creating faded washes or adding subtle texture during the washing process, not for physically sewing the hem. If you’re aiming for an aged look after hemming with a clean fold, a gentle wash cycle or light sanding can achieve it.
Table: Hemming Method Comparison
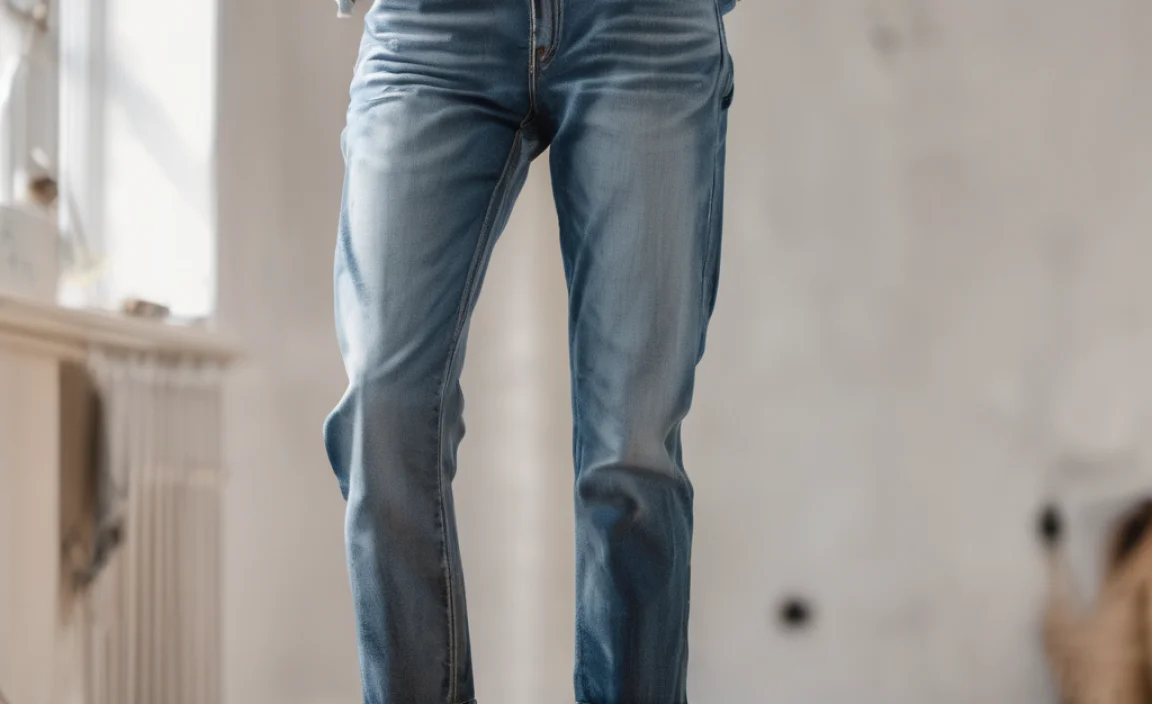
Here’s a quick look at the pros and cons of different hemming techniques for boyfriend jeans:
| Method | Pros | Cons | Best For |
|---|---|---|---|
| Clean Double Fold Hem | Durable, professional, won’t fray, versatile styling | Can look less casual than original hem | Everyday wear, all shoe types, polished look |
| Re-attached Original Hem | Most authentic look, preserves original finish | More time-consuming, requires careful seam ripping and re-sewing | Achieving a factory-authentic distressed look |
| Frayed Hem (New Fold) | Casual, trendy, easy to achieve | Can continue to fray over time, may require touch-ups | Relaxed, streetwear style |
| Raw Cut Hem (No Fold) | Extremely casual, edgy | Highest risk of fraying or unraveling, can look unfinished | Very casual outfits, if you don’t mind constant fraying |
Frequently Asked Questions (FAQ) About Hemming Boyfriend Jeans
Q1: How much length should I leave for hemming jeans?
For a clean double-fold hem, plan to add about 1 to 1.5 inches (2.5 to 3.8 cm) below your desired finished inseam to accommodate the fold. If you’re recreating an original hem, you’ll need a bit more, around 1.5-2 inches (3.8-5 cm).
Q2: Can I hem jeans without a sewing machine?
Absolutely! Sewing jeans by hand is very feasible, especially for a simple hem on boyfriend jeans. Using a strong stitch like a backstitch will ensure a durable result. It will take more time than using a machine, but the outcome can be just as neat.
Q3: How do I make my hem look like the original jean hem?
The best way is to carefully remove the original hem, cut the jeans to the desired length, and then re-sew the original hem back onto the leg. This preserves the factory-finished edge and stitching.
Q4: My jeans are really thick denim. How do I make it easier to sew?
Use a strong needle for your sewing machine or hand sewing – a denim needle is ideal. If using a machine, consider a longer stitch length to avoid splitting the threads. Pressing each fold firmly with an iron will also make a big difference in guiding the fabric under the needle.
Q5: How do I prevent my frayed hem from unraveling too much?
For an intentional fray, sew a stitch line about 1/4 inch (0.6 cm) above the raw edge before you start fraying. This acts as a stop line, preventing the fabric from unraveling further than that point. Washing the jeans will encourage fraying.
Q6: What’s the best way to measure for hemming?
Always wear the jeans and the shoes you intend to wear them with when measuring. Stand in front of a mirror and use a flexible measuring tape or ruler to measure from the crotch down to where you want the hem to fall. Mark this point on the inner seam (inseam).
Conclusion
Hemming your boyfriend jeans is a straightforward project that can significantly update your wardrobe and your confidence. Whether you opt for a crisp, clean finish or embrace a more casual, frayed edge, you now have the knowledge to achieve professional-looking results at home. With a few simple tools and our step-by-step guide, you can easily tailor your denim to perfection, ensuring your favorite jeans fit just right every time. Don’t hesitate to experiment; practice makes perfect, and soon you’ll be hemming all your denim with ease.


