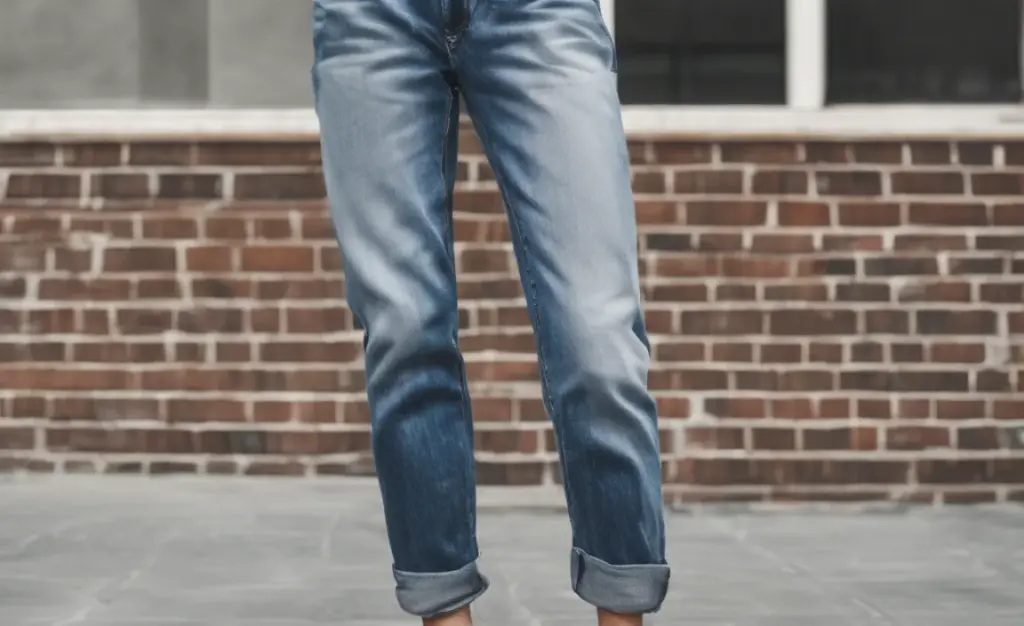
To hem boyfriend jeans, you’ll need basic sewing supplies like scissors, pins, and a sewing machine or needle and thread. Measure your desired length, fold and pin the fabric, and stitch for a clean, custom fit that keeps your favorite jeans looking sharp.
Tired of your favorite pair of boyfriend jeans pooling around your ankles or looking a bit too sloppy? You’re not alone. That perfect relaxed fit can sometimes turn into a tripping hazard or just feel… off. But before you stash them away, know this: hemming them yourself is totally achievable, even if you’re new to sewing. It’s about tailoring that effortless style to you. We’ll walk through it step-by-step, so you can rock your boyfriend jeans with confidence and a perfect break.
This guide will break down everything you need to know, from gathering your supplies to the final stitch. You’ll learn how to get that just-right length and a finish that looks professionally done. Get ready to give your denim a fresh, custom makeover.
Why Hem Your Boyfriend Jeans?
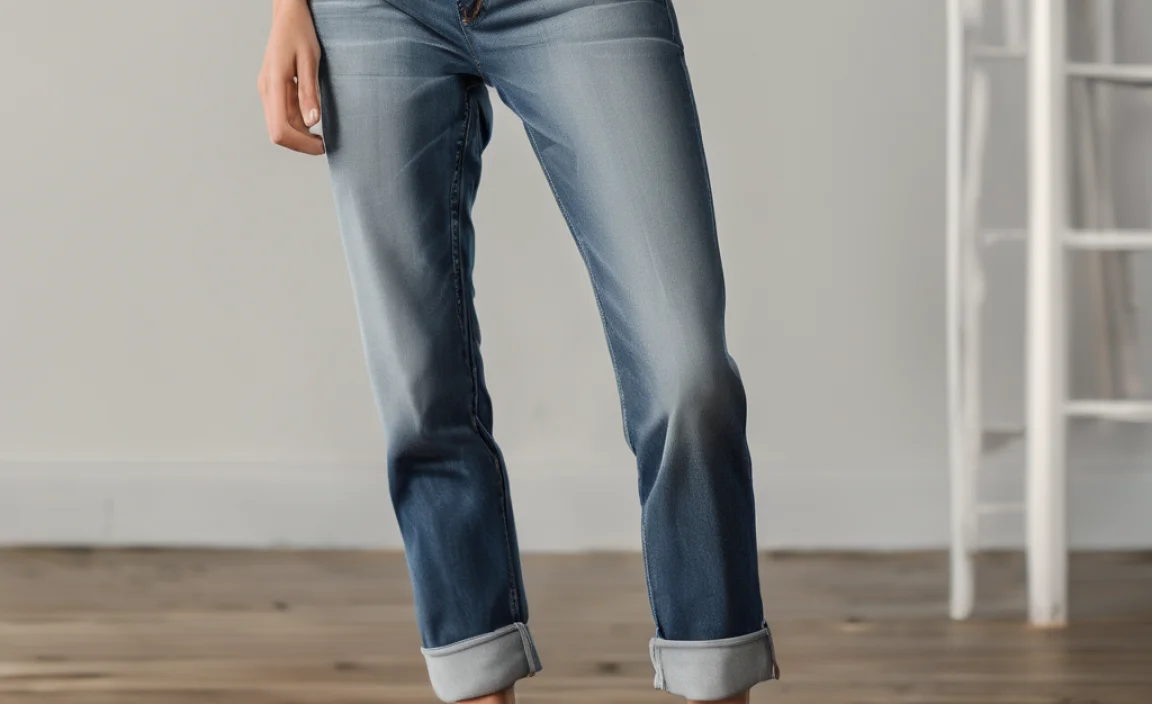
Boyfriend jeans are cherished for their comfortable, laid-back vibe. However, their often-longer inseam can present a few common issues:
- Improper Length: Jeans that are too long can bunch at the shoe, making your legs look shorter and the overall silhouette appear messy. They can also create a tripping hazard.
- Altered Silhouette: The relaxed fit of boyfriend jeans is key, but excessive fabric at the hem can overwhelm your frame, losing the intended stylish look.
- Worn Hems: Over time, the original hem can fray or become damaged, making your jeans look tired and less presentable.
- Customization Desire: You might love the fit and wash of a pair but wish they were just a few inches shorter to suit your height or preferred shoe style.
Hemming allows you to regain control over the proportion and polish of your jeans, ensuring they always look intentional and stylish, no matter the occasion.
Essential Tools for Hemming Boyfriend Jeans

Before you start cutting, make sure you have the right tools. These are the essentials that will make the process smooth and successful:
- Sharp Fabric Scissors: A good pair of sharp scissors is crucial for clean, precise cuts. Dull scissors can snag the fabric and create an uneven edge.
- Measuring Tape or Ruler: Essential for accurately measuring the desired length. A flexible measuring tape is ideal.
- Fabric Chalk, Pencil, or Removable Marker: For marking your cut line and fold lines. These can be easily removed after sewing.
- Straight Pins: To hold the fabric in place as you fold and prepare to sew.
- Sewing Machine (Recommended) or Needle and Thread: A sewing machine will provide a durable and neat stitch quickly. If you don’t have one, a needle and heavy-duty thread can work for a hand-sewn hem.
- Iron and Ironing Board: For pressing the fabric as you fold, which creates crisp lines and makes sewing much easier.
- Seam Ripper (Optional but helpful): To undo any mistakes or to carefully remove the original hem if you want to preserve its look.
- Your Boyfriend Jeans: Of course!
Step-by-Step Guide: How to Hem Boyfriend Jeans

Let’s get started! Follow these simple steps to achieve a perfectly hemmed pair of boyfriend jeans.
Step 1: Try On and Measure
This is the most critical step for getting the length right. Wear the shoes you typically intend to wear with your boyfriend jeans. Stand in front of a mirror and adjust the jeans so they are folded or cuffed to the length you desire. Once you’re happy with the length, here’s how to mark it:
- Mark the Fold: Using your fabric chalk or marker, make a small dot on the inside of the pant leg at the exact finished length you want.
- Mark the Cut Line: Decide how much fabric you want to fold up for the hem. A typical hem allowance for jeans is 1 to 1.5 inches. Add this amount below your finished length mark and make another dot. This is your cutting line. For example, if your desired finished length is at the mark, and you want a 1-inch hem, mark your cutting line 1 inch below that.
- Repeat for Both Legs: Ensure both legs are marked identically.
Step 2: Prepare for Cutting
Lay one pant leg flat on a clean, hard surface. Smooth out any wrinkles. Ensure the leg is straight and not twisted. You’ll use your marks to guide your cut.
Step 3: Cut the Excess Fabric
Using your sharp fabric scissors, carefully cut along the cutting line you marked in Step 1. Cut through both layers of the pant leg (front and back). Do this for both legs, ensuring you cut at the same length on each.
Pro Tip: If you want to preserve the original hem appearance, you can carefully use a seam ripper to detach the original hem. Then, you’ll fold up your new hem and reattach the original hem later. This is more advanced but yields a classic look.
Step 4: Create the First Fold (Hem Allowance)
Take the raw edge you just cut and fold it upwards towards the inside of the pant leg. Align the raw edge with your first marked line (the one indicating the finished length). Press this fold firmly with your iron. This creates a clean, even edge to work with.
Step 5: Create the Second Fold (The Actual Hem)
Now, take the folded edge from Step 4 and fold it upwards again. This second fold should be the width you decided on for your hem allowance (e.g., 1 or 1.5 inches). The goal here is to enclose the raw edge within this second fold. Press this fold down firmly with your iron. You should now have a clean, double-folded hem ready for sewing.
Visual Aid: Imagine folding the cut edge up by 1 inch, pressing it flat. Then, fold that entire folded section up by another 1 inch, and press again. The raw edge is now neatly tucked inside.
Step 6: Pin the Hem
Use straight pins to secure the folded hem in place. Place pins perpendicular to the folded edge, about every 2-3 inches. This keeps everything from shifting while you sew.
Step 7: Sew the Hem
This is where you’ll create the permanent stitch. You have a few options:
- Using a Sewing Machine:
- Thread your sewing machine with a thread color that matches your jeans, or choose a contrasting thread for a decorative effect.
- Set your machine to a straight stitch. A slightly longer stitch length (around 2.5-3 mm) is often good for denim.
- Start sewing from an inseam or side seam to hide the beginning of your stitch.
- Sew around the entire circumference of the hem, keeping your stitch line about 1/8 to 1/4 inch from the top folded edge.
- When you reach your starting point, backstitch for about half an inch to secure the stitch.
- Hand Sewing:
- Use a strong needle and a doubled-up thread that matches your jeans.
- You can use a whipstitch or a blind hem stitch. A blind hem stitch is ideal as it’s less visible from the outside.
- To do a blind hem: Make small stitches that catch only a thread or two of the jean fabric on the outside and then catch the folded hem fabric on the inside.
- Work your way around the hem securely.
- Preserving the Original Hem (Advanced): If you detached the original hem, you’ll now reattach it. Fold and press your new hem allowance as described above, but don’t sew it yet. Align the detached original hem around the bottom edge and use a sewing machine (or hand stitch) to connect it to the jean leg, ensuring the original stitch line is followed.
Step 8: Finishing Touches
Once you’ve sewn the hem, remove all the pins. Trim any loose threads. Give the hem a final press with your iron to set the stitch and ensure a crisp finish.
Important Note on Borax: The keyword “how to hem boyfriend jeans with borax” is an interesting one. Borax is a cleaning agent and often used as a laundry booster or in crafts. It has no direct application in the sewing process of hemming jeans. Perhaps there’s a misunderstanding, or it refers to a specific DIY fabric treatment for a particular distressed look, but for standard hemming, borax is not a required or useful ingredient.
Hemming Styles for Boyfriend Jeans
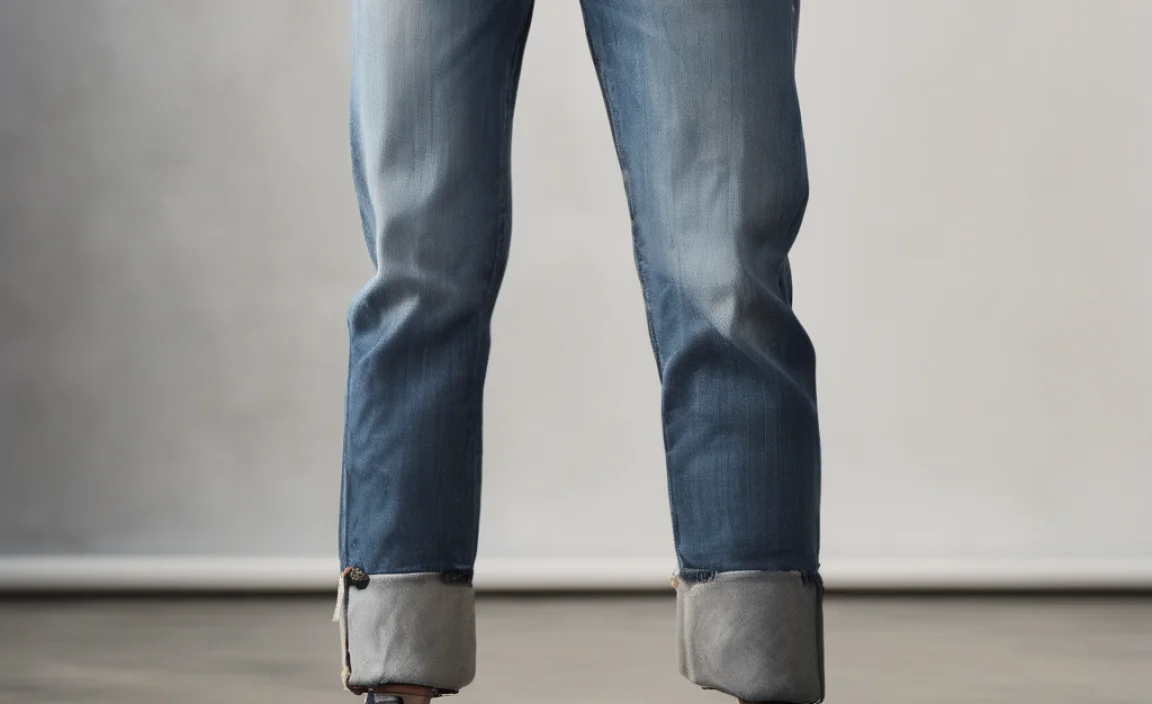
While a classic double-folfed hem is functional and neat, boyfriend jeans lend themselves to a few different hemming styles that can enhance their casual-cool aesthetic:
| Hemming Style | Description | Best For | How to Achieve |
|---|---|---|---|
| Classic Double Fold | A clean, finished hem where the raw edge is hidden by two folds. | Versatility; looks good with any shoe and for a polished casual look. | Follow the basic step-by-step guide above. |
| Single Fold (Raw Hem) | The raw, cut edge is folded up once and stitched in place, leaving the cut edge exposed. Often intentionally frayed. | Achieving a more distressed, undone look characteristic of some boyfriend styles. | Cut to desired length, fold up once (1-1.5 inches), press, pin, and stitch close to the raw edge. Wash and dry to encourage fraying. |
| Original Hem Preservation | Carefully detaching the factory hem and reattaching it to the shortened leg. Creates an authentic washed-and-worn look. | Maintaining the original wash, texture, and stitching of the jeans for an unbroken, authentic vintage feel. | Requires a seam ripper to detach the original hem, then shortening, and reattaching the original hem. (Advanced). |
| Cuffed Hem (Permanent) | A wider cuff is sewn into place permanently, mimicking a folded cuff. | Creating a permanent styled cuff that doesn’t unfurl, ideal for showing off ankle boots or sneakers. | Cut jeans longer than desired finished length. Fold up the desired cuff width (e.g., 3 inches) and press. Then fold up another 1-1.5 inches for the actual hem allowance. Stitch the inner hem, then stitch along the top edge of the cuff to secure it flat from the outside. |
Troubleshooting Common Hemming Issues

Even with careful steps, you might encounter a hitch. Here’s how to fix them:
- Uneven Hem Line: If your cut or folded line isn’t straight, don’t worry. You can often trim off the excess after sewing, or carefully unpick the stitches and re-fold. A sewing machine’s walking foot can help ensure even feeding of fabric.
- Stitches That Skip or Break: This usually means your needle is dull or bent, or the thread is too fine for denim. Use a new, sharp denim needle (size 90/14 or 100/16) and a strong polyester or cotton-wrapped polyester thread.
- Fabric Bunching at the Sewing Machine: Before sewing, ensure the fabric is lying flat and smooth under the presser foot. If using a heavy denim, a walking foot attachment for your sewing machine can help feed multiple layers evenly.
- Loose or Gappy Hem: If your stitches are too far apart or not tight enough, the hem might look loose. Try reducing your stitch length slightly. For hand-sewing, ensure your stitches are small and consistent.
Caring for Your Newly Hemmed Jeans
Once your boyfriend jeans are perfectly hemmed, proper care will keep them looking great:
- Washing: Turn your jeans inside out before washing. Wash in cold water on a gentle cycle. This helps preserve the color and prevent unnecessary fraying of the new hem.
- Detergent: Use a mild detergent. Avoid harsh bleaches or fabric softeners, as they can degrade the denim fibers over time.
- Drying: Air drying is best for denim. Hang them up to dry or lay them flat. If you must use a dryer, set it to low heat and remove them while still slightly damp. Over-drying can cause shrinkage and wear.
- Ironing: If necessary, iron your jeans on a medium heat setting. Pressing the hem from the inside after washing can help maintain its crispness.
FAQ: Hemming Boyfriend Jeans
Can I hem my boyfriend jeans without a sewing machine?
Yes, absolutely! You can achieve a strong and neat hem by hand using a needle and strong thread. A backstitch or a slip stitch (blind hem stitch) will work well. Just be patient and keep your stitches small and even for the best result.
How much fabric should I leave for the hem?
For most jeans, leaving 1 to 1.5 inches of fabric for the hem allowance is standard. This amount allows for a clean double fold that completely encloses the raw edge, providing durability and a neat finish.
What kind of needle and thread should I use for denim?
It’s highly recommended to use a denim needle (also called a jeans needle) for your sewing machine or hand sewing. These needles are thicker and stronger, designed to go through multiple layers of heavy fabric like denim without breaking or skipping stitches. Use a strong polyester thread, which is durable and less likely to snap than cotton thread on thick fabric.
How do I make sure the hem is the same length on both legs?
The best way is to try on the jeans with the shoes you’ll wear them with. Mark the desired finished length on one leg. Then, lay the jeans flat, align the waistband and inseam of both legs perfectly straight, and transfer that marked length to the other leg. Alternatively, measure the inseam from the crotch to the mark on the first leg and then measure the same distance on the second leg.
What is the difference between a raw hem and a traditional hem?
A traditional hem, like the double-folded one we described, encloses the raw edge of the fabric, creating a clean and finished look. A raw hem leaves the edge unfinished, often intentionally frayed, to give a more casual and distressed appearance. You achieve a raw hem by folding the fabric only once and stitching close to the raw edge, then allowing it to fray with wear and washing.
How can I achieve an “original hem” look if I’m shortening my jeans?
To achieve an original hem look, you’ll need to carefully detach the existing factory-made hem using a seam ripper. Then, shorten the jeans to your desired length. After that, you’ll reattach the original hem to the new, shorter length. This preserves the specific wash, distressing, and stitching of the original hem but is a more advanced technique.
Is there a way to make the hem wider or narrower?
Yes, you can adjust the hem width. A narrower hem (less than 1 inch) might look more subtle, while a wider hem (2 inches or more) can create a more pronounced band. Simply adjust your double-fold measurement accordingly. Be mindful that very wide hems might add bulk, and very narrow hems might not completely hide the raw edge if the fabric is thick.
Conclusion
Hemming your boyfriend jeans is a straightforward and rewarding DIY project that can significantly enhance how your favorite denim fits and looks. By following these detailed steps, you’ve learned how to accurately measure, cut, fold, and sew to achieve a custom length that perfectly suits your style and proportions. Remember, patience and the right tools – from sharp scissors to a reliable needle and thread – are your best allies. Whether you opt for a clean, classic hem or a more casual raw edge, the ability to tailor your jeans yourself gives you complete control over your look and extends the life of your beloved garments.
Don’t let ill-fitting jeans detract from your style. With this guide, you’re equipped to tackle any pair that needs a little adjustment. Enjoy the confidence that comes with perfectly fitting denim!


