Quick Summary: Learn how to hem boyfriend jeans easily and affordably! This guide provides simple, step-by-step instructions and budget-friendly tips to achieve a perfect, custom fit for your favorite jeans without needing a tailor. Get that stylish, casual look you love for less.
How to Hem Boyfriend Jeans: Genius Budget Style

Boyfriend jeans are a wardrobe staple, known for their relaxed fit and effortless cool. But sometimes, “boyfriend” fit means they’re just a little too long, leaving you with a bunchy hem that detracts from the intended style. Don’t let overly long jeans cramp your style or your budget! You don’t need to spend money at a tailor or buy a whole new pair to get the perfect length. This guide will show you how to easily hem your boyfriend jeans yourself, transforming them into a perfectly fitting, budget-friendly gem.
We’ll break down the process into simple, easy-to-follow steps. Whether you’re a sewing novice or just need a quick refresher, you’ll be able to achieve a professional-looking finish that feels custom-made. Get ready to refresh your denim collection with confidence!
Why Hemming Your Own Jeans is a Smart Move

Hemming your own jeans offers a fantastic blend of style, savings, and personalization. It’s a skill that pays off, especially with the ever-evolving trends in denim. Boyfriend jeans, in particular, benefit from a precise hem to truly achieve their laid-back yet stylish silhouette. A well-hemmed pair can elevate your entire look, making them seem more polished and intentional, rather than just oversized.
- Budget-Friendly: This is the most obvious benefit. Professional alterations can add up, especially if you have multiple pairs. Doing it yourself saves money that can be put towards other style finds.
- Custom Fit: Factory hems are designed for a general fit. Your body is unique! Hemming allows you to get that perfect length that flatters your legs and works with your favorite shoes.
- Style Control: Do you want a slightly cropped look for sneakers, or a just-grazing-the-shoe length for boots? You decide exactly how your hem will look.
- Revitalize Old Jeans: Those jeans that you love but are a bit too long? Hemming can give them a new lease on life, making them wearable and stylish again.
- Skill Building: Learning to hem is a practical skill that empowers you to make simple clothing adjustments.
Measuring What Matters: Getting the Perfect Length

Before you even think about cutting, accurate measurement is key. This step is crucial for a successful hem. You need to determine where you want the new bottom edge of your jeans to fall. Consider how you’ll typically wear your boyfriend jeans – with sneakers, sandals, heels, or boots? This will influence the ideal length.
Step 1: Try On Your Jeans
Put on the boyfriend jeans you want to hem. Wear them with the type of shoes you’ll most commonly pair them with. This is important because different shoe heights will change how your jeans fall. Stand in front of a mirror.
Step 2: Pin the Hem
Start at the side seam of one leg. Fold the excess fabric upwards, creating a fold where you want the new hem to be. Pin this fold in place. You can ask a friend to help you pin, or carefully use a mirror. Work your way around the leg, placing pins evenly about every 1-2 inches to hold the fabric securely. Ensure the hem looks even all the way around and that the fabric isn’t pulling or creating awkward folds.
Step 3: Check the Length
Once pinned, take a step back and look in the mirror. Does the pinned length look right? Adjust the pins as needed. Remember, you’re aiming for the desired hemline. If you’re unsure, it’s often better to leave them a little longer; you can always trim more fabric later if needed. A common goal for boyfriend jeans is to hit just above the ankle for a modern look.
Step 4: Mark the Hemline
With the jeans still on and pinned, use a fabric marker or chalk to draw a line along the bottom edge of the pinned fold. This line is where you’ll cut. Once you’re satisfied with the placement, carefully remove the jeans. You can then use the marked line to make sure the other leg matches perfectly. For extra precision, you can lay the jeans flat and measure from the waistband down to the mark on each leg to ensure symmetry.
Gathering Your Supplies: What You’ll Need

Having the right tools makes the job much easier and ensures a cleaner finish. You probably have most of these items around your house already, making this a truly budget-friendly project.
- Boyfriend Jeans: Of course!
- Sharp Fabric Scissors: Regular scissors can be used, but fabric scissors make cleaner cuts and are gentler on the fabric.
- Pins: Straight pins to hold the hem in place while you measure and cut.
- Fabric Marker or Chalk: For marking your cut line. A washable tailor’s chalk is ideal.
- Measuring Tape or Ruler: To ensure even lengths on both legs.
- Sewing Machine (Optional): For a durable, professional-looking stitch.
- Thread: Choose a color that matches your jeans as closely as possible.
- Needle: If you’re sewing by hand.
- Iron and Ironing Board: To press the hem for neatness.
The Two Main Hemming Styles for Boyfriend Jeans

There are several ways to hem your jeans, but for boyfriend jeans, two methods stand out for ease and style: the simple folded hem and the cuffed hem. We’ll cover both, focusing on the most straightforward approach for beginners.
Method 1: The Simple Folded Hem (The No-Fuss Approach)
This is the most common and straightforward method. You’ll be creating a clean, finished edge by folding the fabric twice before sewing. This method is excellent for a smooth, uninterrupted line that complements the relaxed fit of boyfriend jeans.
Step-by-Step: Simple Folded Hem
- Prepare Your Jeans: Lay your jeans flat on a clean surface. Ensure they are smooth and free of wrinkles.
- Mark and Cut: Based on your measurements from the previous steps, use your fabric marker to draw a clear cutting line. You’ll need to decide how much fabric to keep for the hem. A good rule of thumb is to keep at least 1.5 to 2 inches of fabric below your marked hemline for folding. Cut along this line. For instance, if your desired finished hem length is at the 28-inch mark, and you want a 1-inch hem, you’ll cut at the 29-inch mark.
- Create the First Fold: Take the raw edge of the cut denim and fold it upwards by about 1/2 inch. Press this fold firmly with your iron. This helps to create a neat edge and prevents fraying.
- Create the Second Fold: Now, fold the fabric up again, this time by the desired finished hem width (e.g., 1 inch, 1.5 inches). The raw edge should now be enclosed within this second fold. Press this second fold with the iron to create a crisp, flat hem.
- Pin the Hem: Secure the folded hem in place with pins, spacing them about 1-2 inches apart. Ensure you are pinning through all layers of the fabric for a stable hem.
- Sew the Hem:
- By Machine: Set your sewing machine to a straight stitch. If your jeans have contrasting stitching at the original hem, consider using a matching color thread. Stitch as close to the inner folded edge (the edge closest to the leg opening) as possible. Sew all the way around the leg opening. Backstitch at the beginning and end to secure the stitches.
- By Hand: Use a needle and thread to create a strong, inconspicuous stitch. A running stitch or a whip stitch can work well. Aim for small, even stitches.
- Finish: Trim any excess threads. Lightly press the new hem with your iron. Try on your perfectly hemmed jeans!
Method 2: The Cuffed Hem (For a Casual Vibe)
Boyfriend jeans are often worn cuffed. This method creates a more casual, laid-back look, and it’s incredibly simple. You can even un-cuff them if you wish!
Step-by-Step: Cuffed Hem
- Measure and Mark: Similar to the folded hem, determine your desired final length with shoes on. Mark this line.
- Cut the Excess Fabric: Cut off the excess fabric below your marked line. For a cuff, you’ll need about 2 to 4 inches of fabric, depending on how wide you want your cuff to be and how tall you are. If you want a 2-inch cuff, you’ll need at least 4 inches of fabric below your desired final length.
- Fold Up Once: Fold the raw edge of the denim upwards by 1/2 inch, just like in the folded hem method. Press with your iron. This creates a clean edge for the cuff.
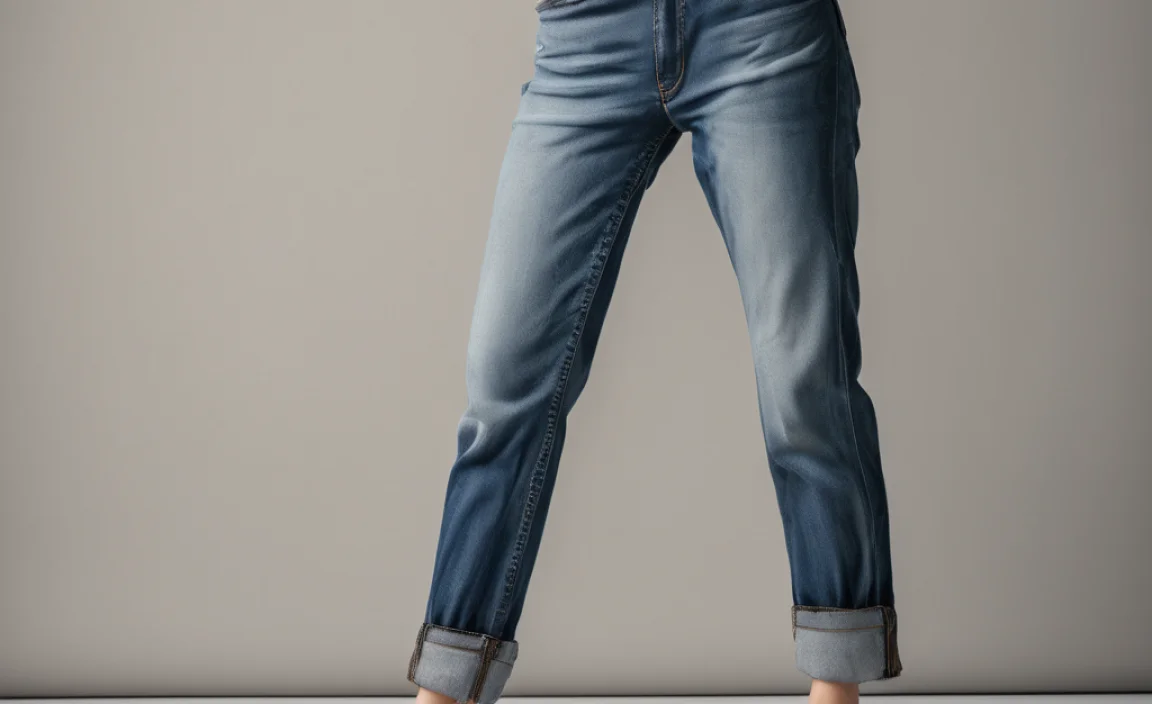
- Create the Cuff: Now, fold the fabric up again by the desired cuff width (e.g., 2 inches). Press this fold firmly with your iron. You should have a neat, substantial cuff showing on the outside of the leg.
- Secure the Cuff: This is where it differs. For a permanent cuff, you’d sew it as you would a folded hem. However, for a casual, adjustable cuff, you might not need to sew at all. The fabric’s weight often holds it in place. If you find it unraveling or shifting too much, you can strategically place a few small stitches on the inside of the hem to keep the cuff from falling down. Stitch only at the side seams or inseam for less visibility.
- Adjust as Needed: The beauty of a cuffed hem is its versatility. You can easily adjust the height of the cuff by unfolding and refolding.
Keeping Those Original Hems: The “Authentic” Look
Many people love the look of the original hem on their jeans, with its double stitching and slightly worn appearance. If you want to preserve this, you can use a technique that detaches and reattaches the original hem. This is slightly more advanced but yields a very authentic result.
Step-by-Step: Reattaching Original Hems
- Prepare Your Jeans: Lay your jeans flat. Using a seam ripper, carefully detach the original hem from the leg of the jean. Work slowly to avoid damaging the fabric or the original stitching. You’ll be removing the hem allowance, which is the fabric that was originally folded up inside.
- Measure and Cut the Leg: Once the hem is detached, you’ll have a raw edge. Re-measure to find your desired finished length and cut off the excess fabric from the leg.
- Reattach the Original Hem: Align the detached original hem with the new raw edge of the jean leg. The original folded edge of the hem should align with the new raw edge you just cut.
- Sew It Back On: Use your sewing machine to stitch around the circumference of the leg, reattaching the original hem. You’ll be sewing through the original hem’s seam allowance and the new cut edge of your jean leg. Stitch as close to the original stitching as possible for a seamless look. A double needle on your sewing machine can replicate the original double-stitch effect effectively.
- Finish: Trim threads and press the hem.
Choosing the Right Thread and Stitch
The thread and stitch type you choose can greatly impact the final appearance of your hemmed jeans. For boyfriend jeans, you want a hem that looks intentional and holds up well to wear.
Thread Considerations:
- Color Matching: For a clean, minimalist look, use a thread color that matches your jeans as closely as possible. This makes the stitching almost disappear into the denim.
- Contrast Stitching: Many denim brands use contrast stitching (often gold or orange) for their hems, adding a signature look. If your jeans have this, try to match that color for an authentic feel.
- Strength: Denim is a heavy fabric, so opt for a strong, durable all-purpose polyester thread. You can also find specialized “jean thread” which is thicker and more robust.
Sewing Machine Stitch Types:
-
Straight Stitch: This is the most common stitch and works well for basic hemming. Set your stitch length to a medium-long (around 2.5-3mm) for a strong, flexible stitch on denim. Always backstitch at the beginning and end of your seam to prevent it from unraveling.
-
Double Needle Stitch: This is the gold standard for hemming jeans if you have a double needle for your sewing machine. It creates two parallel lines of stitching on the top and a zigzag stitch on the underside, mimicking the look of original factory hems. You’ll typically use one of the original hem’s thread colors on the top needles and a matching thread on the bobbin. If your machine doesn’t have a zigzag stitch on the underside, use a regular bobbin thread. Consult your sewing machine manual for how to install and use a double needle.
External Link: For a detailed guide on using a double needle and its benefits for hemming, consult Singer’s official guide on using a double needle.
Hand Sewing Stitches:
-
Running Stitch: A simple in-and-out stitch. It’s fast but can stretch out over time. Ensure you keep your stitches small and even.
-
Backstitch: This stitch creates a strong, continuous line that resembles machine stitching. It’s more time-consuming but very durable.
-
Whip Stitch (or Overcast Stitch): This stitch goes over the raw edge and is good for securing a folded hem. It helps prevent fraying and creates a neat finish on the inside.
Troubleshooting Common Hemming Issues
Even with the best intentions, you might run into a few snags. Here’s how to troubleshoot:
- Uneven Hem: If your hem looks wobbly or uneven after sewing, it’s usually due to inaccurate marking or cutting. For a quick fix, you can try to trim it again, carefully measuring from your sewn line. For a more significant issue, you might have to unpick the stitching and re-hem. Using a ruler and chalk to draw a perfectly straight line before cutting is crucial.
- Fabric Bunching/Pulling: This can happen if your sewing machine tension is off, or if you’ve stretched the fabric while sewing. If using a machine, check your tension settings. For both machine and hand sewing, try to avoid pulling or stretching the denim as you sew; let the machine feed the fabric, or guide it gently with your hands.
- Fraying Edges: If you didn’t fold the fabric enough or if the fabric is prone to fraying, you might see loose threads. If you opted for a simple fold, ensure the inner fold is deep enough to enclose the raw edge. If fraying is still an issue, you can use pinking shears for the raw edge before folding, or apply a fabric fray sealant.
- Stitching Not Holding: Ensure you’re using a strong thread and that your stitches are close together. For machine sewing, a slightly longer stitch length than normal can be more forgiving with thick denim, but don’t make it too long. For hand sewing, the backstitch is your most durable option.
Budget-Friendly Denim Care Tips
To keep your boyfriend jeans (and all your denim) looking their best, a little care goes a long way. These tips will help your jeans last longer and stay stylish.
| Tip | Why it Helps | Budget Impact |
|---|---|---|
| Wash Less Frequently | Washing degrades fabric fibers and color over time. Denim often only needs washing when visibly dirty or smelly. | Saves water and electricity, extends garment life. |
| Wash Inside Out | Protects the outer surface from abrasion and fading, preserving color and finish. | Maintains appearance, delaying need for replacement. |
| Use Cold Water | Hot water can shrink denim and cause colors to fade faster. Cold water is gentler on fibers. | Energy saving, color preservation. |
| Air Dry (Away from Direct Sun) | Machine dryers are harsh and contribute to wear and tear. Direct sun can bleach denim. Laying flat or hanging preserves shape. | Prevents damage, color fading, and shrinkage. |


