Quick Summary: Learn how to hem boyfriend jeans by hand for a perfect, personalized fit. This easy, no-sew method or simple stitch takes minutes, saving you tailoring costs and giving your favorite jeans a fresh, stylish look without a sewing machine.
How to Hem Boyfriend Jeans By Hand: Effortless Style
Tired of your boyfriend jeans looking a little too long, swallowing your shoes, or just not hitting the sweet spot on your ankle? You’re not alone. That perfectly relaxed fit can sometimes leave you with a hemline that’s just… off. But a trip to the tailor isn’t always necessary, and wrestling with a sewing machine can be daunting if you’re new to it. The good news? You can achieve a neat, stylish hem right at home, by hand, with just a few simple tools and a little patience. This guide will walk you through two easy methods, so you can get that custom fit and boost your confidence in your favorite denim.
We’ll cover everything from preparing your jeans to achieving a clean finish, whether you prefer a quick no-sew option or a durable, hand-stitched hem. Let’s give your boyfriend jeans the polished look they deserve!
Why Hem Your Boyfriend Jeans?
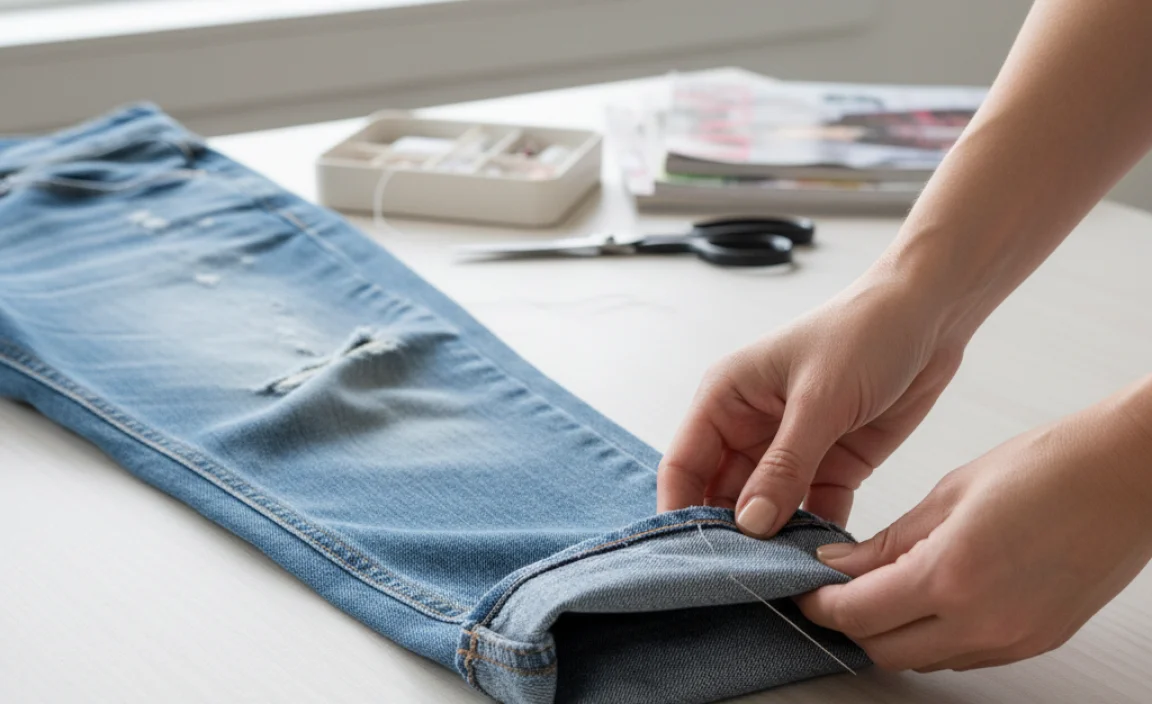
Boyfriend jeans are celebrated for their relaxed, comfortable fit and effortlessly cool vibe. However, their “one-size-fits-all” sizing can often mean the length isn’t quite right for everyone. A hem that’s too long can make you appear shorter, overwhelm your frame, or simply look sloppy. Conversely, a hem that’s too short can disrupt the intended silhouette. Getting the hem length just right is key to maximizing the style potential of your boyfriend jeans, ensuring they complement your proportions and the shoes you choose to wear.
Beyond aesthetics, a proper hem can also prevent fraying and further wear on the fabric. Properly finished jeans look more polished and can actually extend the life of your garment. Think of hemming as a simple way to tailor your favorite pair for a look that feels custom-made, without the custom price tag.
Assessing Your Ideal Hem Length
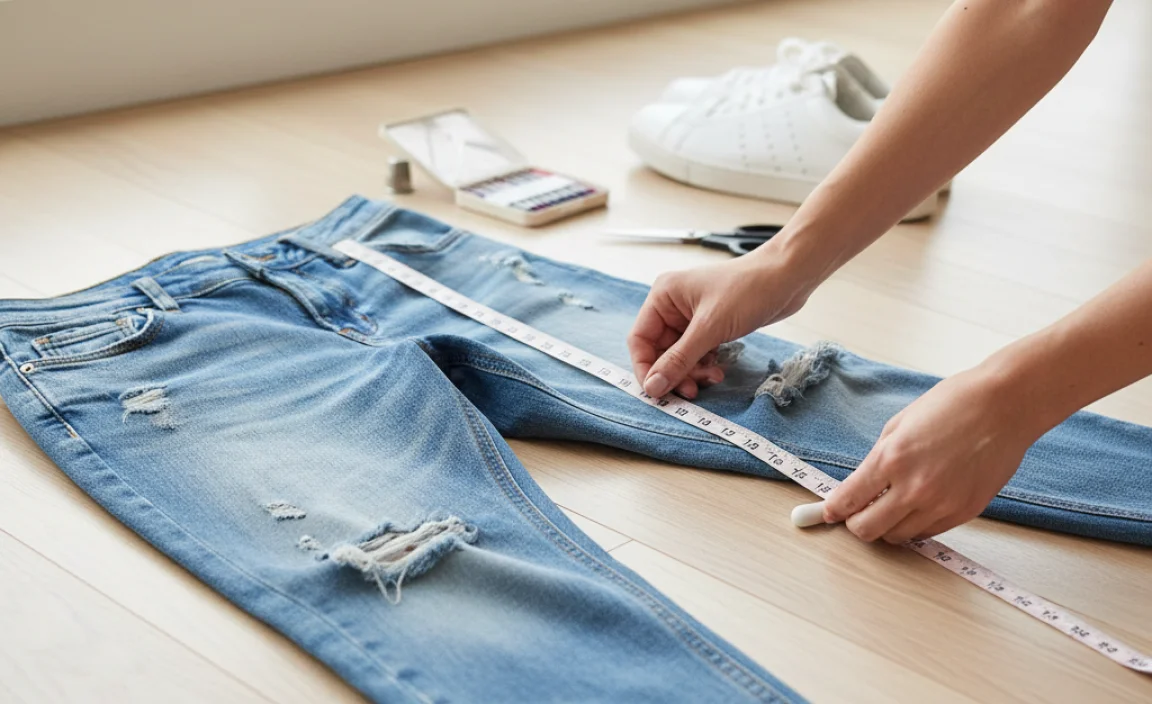
Before you grab your scissors, it’s crucial to determine where you want the new hem to fall. Try on your boyfriend jeans with the shoes you typically wear them with. This is a vital step because the shoe height can significantly change where the hem looks best.
- Consider the Shoe: Are you wearing sneakers, boots, or heels? The hemline should ideally hit just above or at the top of your shoe.
- Visualize the Break: For boyfriend jeans, a common and flattering look is a slight break just above the shoe, or a hem that grazes the top. You don’t necessarily want them pooling on the floor.
- Marking the Spot: Once you’ve decided on the length, use pins or chalk to mark the desired hemline. If you’re unsure, start by marking a little longer and you can always shorten them further.
Method 1: The No-Sew Fusible Hem (Quick & Easy)
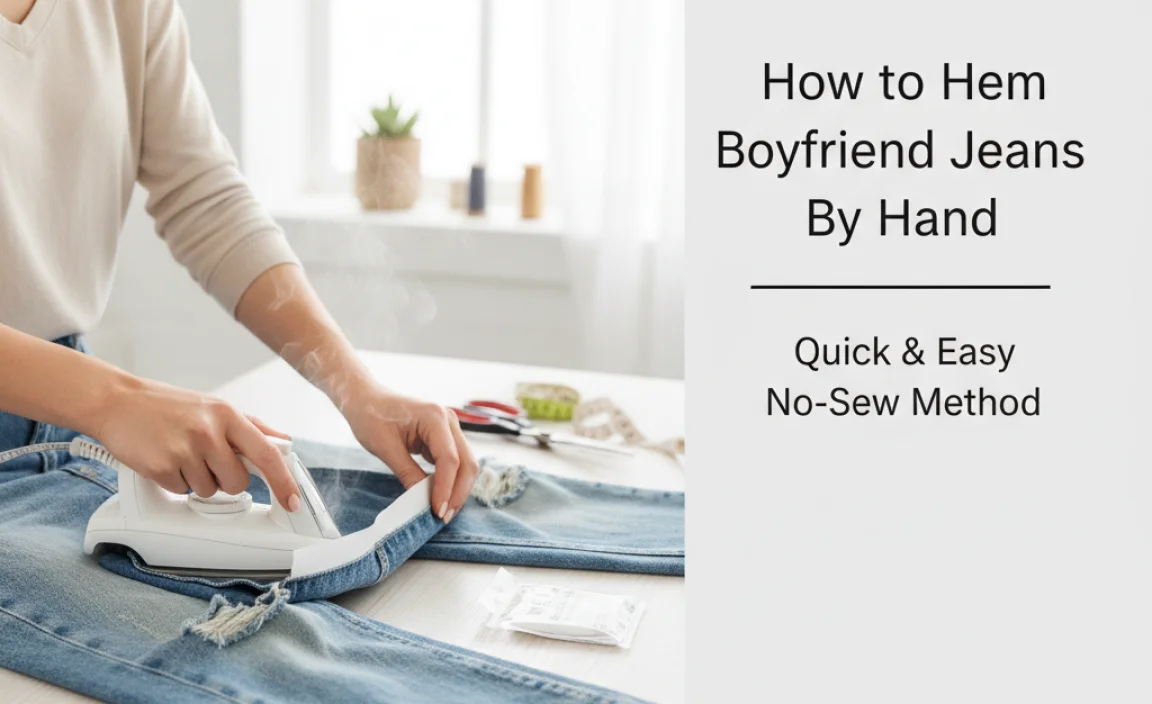
This method is perfect for those who want a quick fix or are new to any kind of fabric manipulation. It uses fusible hem tape and an iron to create a clean, permanent hem without a single stitch.
What You’ll Need:
- Your boyfriend jeans
- Fabric scissors
- Measuring tape or ruler
- Fabric chalk or a washable marker
- Iron-on hem tape (available at craft or fabric stores)
- Iron and ironing board
- A flat, hard surface (like a table)
- Optional: Straight pins
Step-by-Step Guide:
- Prepare Your Jeans: Wash and dry your jeans as you normally would, but do not iron them. Lay them flat on a hard surface.
- Determine and Mark the Cut Line: Try on your jeans with your chosen shoes. Pin or chalk the desired new hem length on the outside of each leg. Remember to account for the amount of fabric you’ll fold up for the hem (usually 1 to 2 inches). Mark this line clearly.
- Measure and Mark for Fold: Remove the jeans. Lay them flat again. Measure from the marked hemline down to the original hem. You’ll need to fold up at least this amount, plus an extra inch for the hem tape to adhere properly. Mark a second line, the “fold line,” parallel to your hemline, at this total distance from the bottom. For instance, if your jeans currently have a 1-inch cuff, and you want to shorten them by 2 inches, you’ll mark your new hemline, then measure down about 3 inches from that new hemline to create your fold line.
- Cut Off Excess Fabric: Carefully cut along the “fold line” you just marked. This removes the excess fabric. Ensure both legs are cut evenly.
- Prepare Your Iron-On Hem Tape: Cut a piece of iron-on hem tape long enough to go around one leg opening.
- Apply the Hem Tape:
- Fold the bottom raw edge of the jean leg up to meet your marked hemline. This should be about 1-2 inches, depending on your fold line measurement. Press this fold with your iron to create a crisp crease.
- Unfold the hem. Lay the iron-on hem tape along the crease you just made, ensuring it covers the raw edge of the fabric.
- Place the folded fabric back over the hem tape, aligning the raw edge with your creased hemline. The hem tape should be sandwiched between the two layers of fabric.
- Iron the Hem: Heat your iron to the setting recommended for denim or the temperature specified on the hem tape packaging (usually a medium-high heat). Place the ironed section onto your ironing board, ensuring the hem tape is on the inside. Press the iron firmly onto the hem for the duration recommended by the hem tape manufacturer (typically 10-15 seconds). Do this around the entire circumference of the leg opening.
- Repeat for the Other Leg: Follow steps 5-7 for the other jean leg, making sure to match the length precisely.
- Final Check: Turn the jeans right-side out. Check that the hem is secure and looks even. You can go over it one more time with the iron to ensure good adhesion, especially along the edges.
Pros of the No-Sew Method:
- Extremely fast and requires no sewing skills.
- Great for making quick adjustments or for temporary hemming.
- Provides a clean, flat finish.
Cons of the No-Sew Method:
- May not be as durable as a stitched hem, especially after many washes.
- The iron-on tape can sometimes be felt through the fabric.
- Occasional peeling can occur over time, requiring reapplication.
For a more permanent and professional look, especially on heavier denim, a hand-stitched hem might be a better choice. This leads us to our next method.
Method 2: The Hand-Stitched Hem (Durable & Classic)
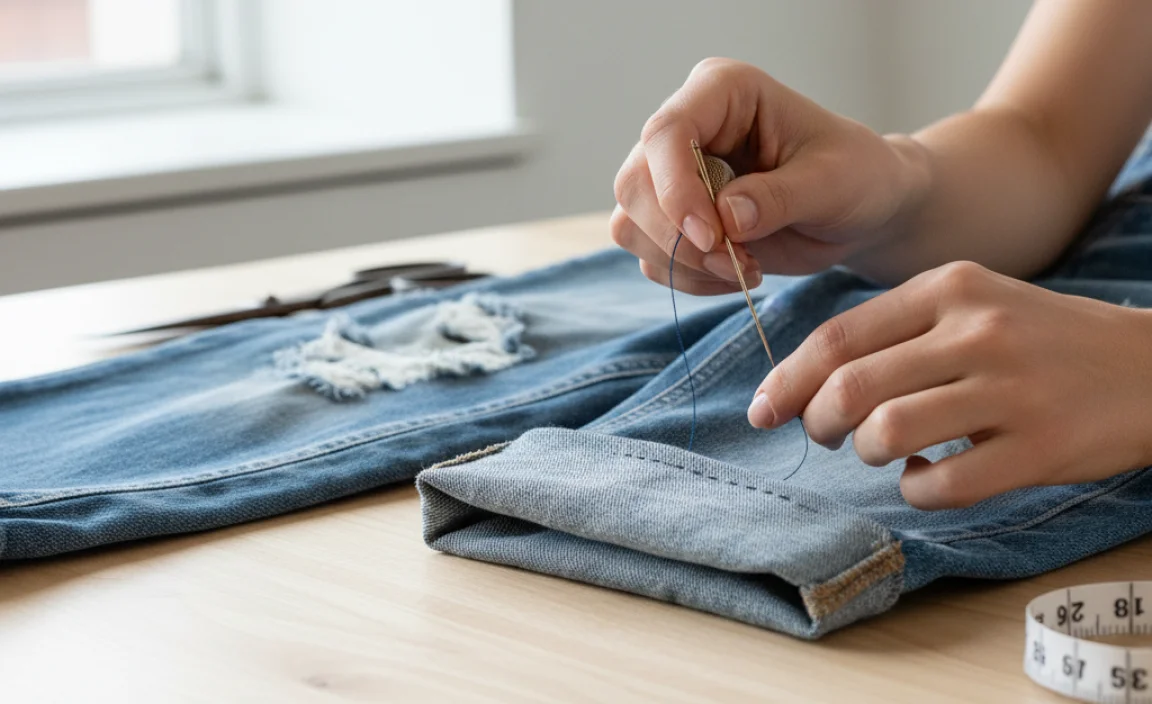
A hand-stitched hem offers a more traditional and durable finish. It’s a skill that’s surprisingly easy to learn and provides a professional look that can withstand frequent wear and washing. For boyfriend jeans, a common technique is to preserve the original hem if possible, or create a new, neat fold.
What You’ll Need:
- Your boyfriend jeans
- Fabric scissors
- Measuring tape or ruler
- Fabric chalk or a washable marker
- Thread that matches your jeans (or a contrasting color for a stylistic choice)
- A sewing needle
- Straight pins
- Seam ripper (if you want to reattach the original hem)
Step-by-Step Guide:
- Prepare Your Jeans: Wash and dry your jeans. Lay them flat.
- Determine and Mark the Cut Line: Try on your jeans with your shoes. Mark your desired hem length with pins or chalk. Remember to account for the fabric you’ll fold up. We recommend a fold of 1 to 1.5 inches for a clean finish.
- Measure and Mark for Fold: Take off the jeans. Lay them flat. Measure from the marked hemline down to the original hem. You’ll need to fold up at least this amount, plus 1 inch for the new hem. For example, if you want your new hem to be 2 inches above the original hem, you’ll fold up 3 inches of fabric (2 inches for the fold + 1 inch to fold over). Mark your “fold line” parallel to the marked hemline at this distance from the bottom edge.
- Cut Off Excess Fabric: Cut along the “fold line.” Ensure both legs are even.
- Hemming Options: Preserving the Original or Creating a New Fold:
Option A: Preserving the Original Jean Hem (Recommended for Authentic Look)
- Carefully use a seam ripper to remove the stitching of the original hem. Take care not to damage the fabric. You’ll end up with a beautifully frayed or weathered edge.
- Lay the jeans flat and unfold the original hem.
- Measure and mark your new desired length. You will need to reattach the original hem above this new line. You’ll need about 1 to 1.5 inches of new fabric for the fold to secure the original hem. If the original hem itself is wider than that, you may need to trim it slightly.
- Fold up the raw edge of the jean leg to the new hemline (e.g., 1 to 1.5 inches from the bottom). Press this fold.
- Position the original hem (the part you unpicked) onto the folded edge of the leg, aligning the top edge of the original hem with the crease you just made. Pin it securely.
- Use a needle and matching thread to hand-stitch the original hem back into place. A blind stitch or a whip stitch works well here. For the blind stitch, aim to catch just a thread or two of the jean fabric on the inside of the leg for each stitch, and then go through the bulk of the original hem to secure it. This makes the stitches almost invisible from the outside.
Option B: Creating a New, Clean Fold Hem
- Fold the bottom raw edge of the jean leg up to meet your marked hemline (e.g., 1 to 1.5 inches). Press this fold firmly.
- Fold the fabric up again so the raw edge is now hidden inside the fold and the top of the fold meets your marked hemline. Press this second fold firmly. You should now have a clean double-folded hem.
- Pin the hem in place securely.
- Thread your needle with matching thread. Make a knot at the end of the thread.
- Using a blind stitch (also called a hem stitch), carefully sew along the folded edge. For a blind stitch, catch just a thread or two of the visible fabric on the inside of the leg with your needle with each stitch. Then, insert the needle into the fold of the hem and bring it out again a short distance away. This will create an almost invisible stitch line on the outside.
- Sewing the Hem: Take small, consistent stitches. For the blind stitch, aim for stitches about 1/4 to 1/2 inch apart. For a whip stitch (more visible but very secure), take slightly smaller stitches. Ensure your stitches are catching enough fabric to be secure but not so much that they are easily seen from the outside, especially if aiming for an invisible hem.
- Finish the Thread: Once you’ve sewn all the way around, tie off your thread securely on the inside of the hem with a knot. Trim any excess thread.
- Repeat for the Other Leg: Ensure the lengths are identical by measuring against the first leg you hemmed.
- Final Press: Turn the jeans right-side out and give the hem a good press with your iron to ensure it lies flat and neat.
Pros of the Hand-Stitched Method:
- Highly durable and long-lasting.
- Looks professional and can be nearly invisible.
- Preserving the original hem gives an authentic, worn-in look.
- Adaptable to different fabric weights and styles.
Cons of the Hand-Stitched Method:
- Takes more time and patience than the no-sew method.
- Requires basic hand-sewing skills.
- If you don’t preserve the original hem, it won’t have that slightly frayed, “worn” look inherent to many boyfriend jeans.
Tools of the Trade: What to Keep Handy
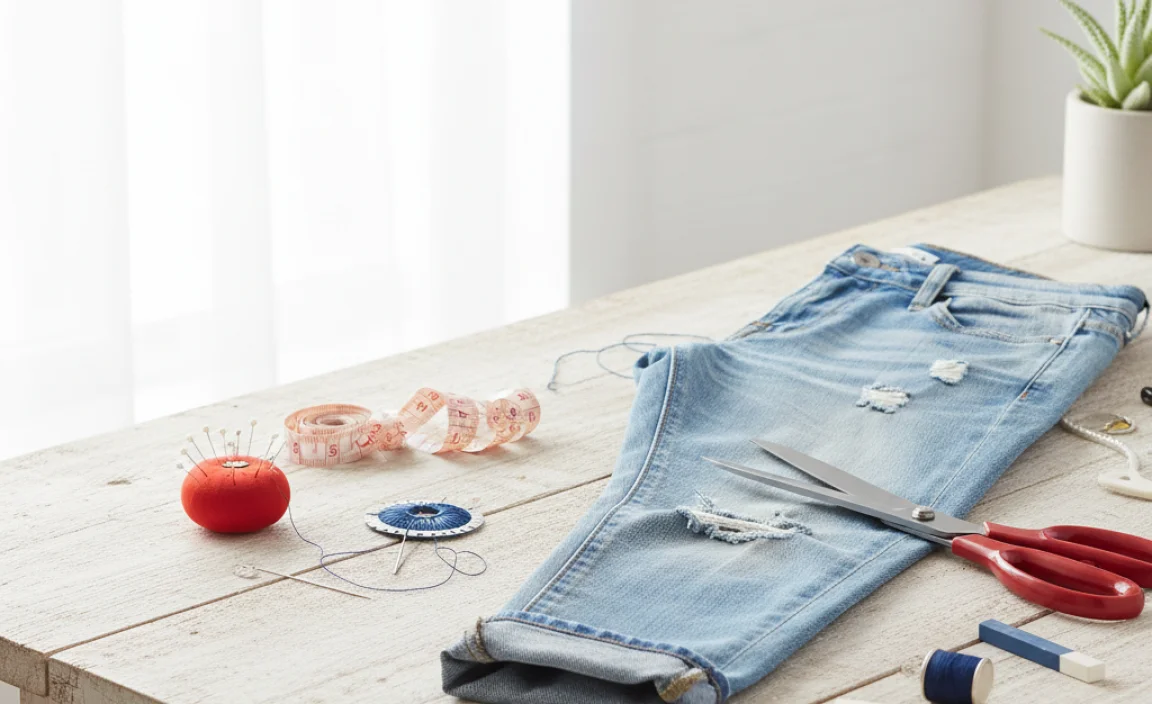
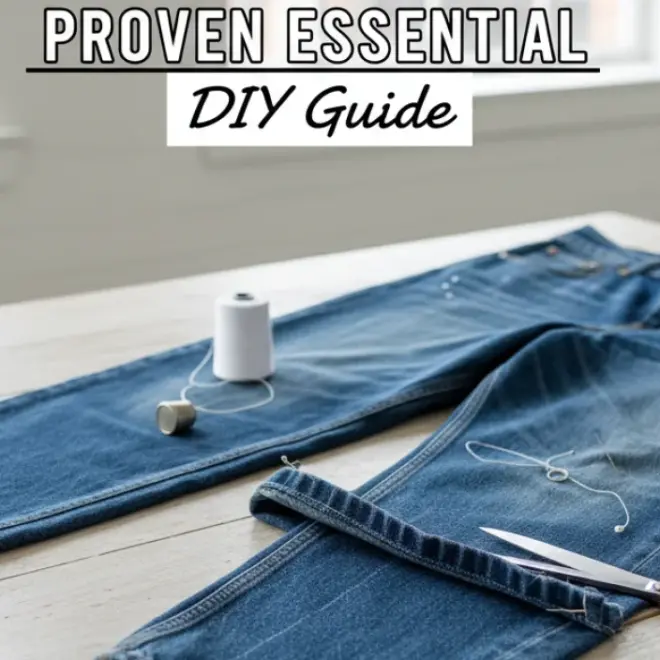
Having the right tools makes any DIY project smoother. For hemming jeans by hand, here are the essentials you’ll want to have ready:
| Tool | Purpose | Why it’s Important |
|---|---|---|
| Fabric Scissors | Cutting fabric accurately. | Sharp scissors prevent fraying and ensure a straight cut, which is key for a neat hem. Standard household scissors can work in a pinch, but dedicated fabric scissors are best. You can find good options from brands like Fiskars or Gingher. |
| Measuring Tape or Ruler | Measuring fabric length and fold lines. | Ensures consistent and precise hemming on both legs. Accuracy here prevents one leg from being noticeably longer or shorter than the other. |
| Fabric Chalk or Washable Marker | Marking cut lines and fold lines on the fabric. | Provides clear guidelines you can see while working. These markings wash out or disappear on their own, unlike permanent markers. |
| Straight Pins | Holding fabric in place while you work. | Keeps your folded hem secure and in position before and during stitching, ensuring accuracy. |
| Sewing Needle | For hand-stitching the hem. | A sharp needle will pass through denim more easily. Choose a size appropriate for denim; a slightly thicker needle might be needed. |
| Thread | To secure the hem. | Matching the thread color to your jeans creates an invisible hem. Contrasting thread can be a stylistic choice. For denim, a strong polyester thread is recommended. Some crafters opt for specialized denim thread for extra durability. |
| Iron and Ironing Board | To press creases and fuse hem tape (for no-sew method). | A well-pressed crease makes folding and sewing much easier and neater. Proper heat is crucial for the fusible hem tape to adhere effectively. Look for irons with adjustable temperature settings for different fabrics. |
| Seam Ripper (Optional) | To remove original stitches if preserving the original hem. | Allows for a clean removal of the factory hem, making it easier to reattach it at the new length. |
| Iron-on Hem Tape (for No-Sew Method) | Adhesive tape to bond fabric layers without sewing. | A product like “Hem Tape” or “Stitch Witchery” from companies like Dritz is widely available and reliable for quick hems. Always check the product’s instructions for correct heat and application. |
Tips for a Perfect Hem
Heirloom clothing and garment construction experts often share insights that can elevate even the simplest DIY project. Here are a few tips to ensure your hand-hemmed boyfriend jeans look professionally done:
- Consistency is Key: Always measure and cut both legs to the exact same length. When pinning or stitching, take consistent stitch lengths and spacing.
- Work on a Flat Surface: Lay your jeans flat to ensure you’re not stretching the fabric unevenly and that your markings and cuts are accurate.
- Ironing is Your Friend: Pressing your folds firmly before stitching makes a huge difference in the neatness of your final hem.
- Thread Choice Matters: For an invisible hem, use a thread that closely matches your jeans. If you’re aiming for a visible, contrasting hem stitch (often seen on designer jeans), a thicker, sturdy thread like embroidery floss or a specific denim thread can add a stylish detail. Check out resources from organizations like the National Agricultural Library for information on textile properties and care, which can indirectly inform fabric handling.
- Practice Makes Perfect: If you’re nervous, try hemming an old pair of pants first, or practice stitching on a scrap piece of denim.
- Account for Denim’s Weight: Denim can be thick. Make sure your needle is strong enough and your stitches are secure enough to hold the weight of the fabric.
- Consider the Original Hem: If your boyfriend jeans have a specific wash, fray, or detail at the hem, trying to preserve it can maintain the overall aesthetic of the jeans. This is often the most authentic way
.lwrp.link-whisper-related-posts{
margin-top: 40px;
margin-bottom: 30px;
}
.lwrp .lwrp-title{}.lwrp .lwrp-description{
}
.lwrp .lwrp-list-container{
}
.lwrp .lwrp-list-multi-container{
display: flex;
}
.lwrp .lwrp-list-double{
width: 48%;
}
.lwrp .lwrp-list-triple{
width: 32%;
}
.lwrp .lwrp-list-row-container{
display: flex;
justify-content: space-between;
}
.lwrp .lwrp-list-row-container .lwrp-list-item{
width: calc(25% – 20px);
}
.lwrp .lwrp-list-item:not(.lwrp-no-posts-message-item){max-width: 150px;
}
.lwrp .lwrp-list-item img{
max-width: 100%;
height: auto;
object-fit: cover;
aspect-ratio: 1 / 1;
}
.lwrp .lwrp-list-item.lwrp-empty-list-item{
background: initial !important;
}
.lwrp .lwrp-list-item .lwrp-list-link .lwrp-list-link-title-text,
.lwrp .lwrp-list-item .lwrp-list-no-posts-message{}@media screen and (max-width: 480px) {
.lwrp.link-whisper-related-posts{}
.lwrp .lwrp-title{}.lwrp .lwrp-description{
}
.lwrp .lwrp-list-multi-container{
flex-direction: column;
}
.lwrp .lwrp-list-multi-container ul.lwrp-list{
margin-top: 0px;
margin-bottom: 0px;
padding-top: 0px;
padding-bottom: 0px;
}
.lwrp .lwrp-list-double,
.lwrp .lwrp-list-triple{
width: 100%;
}
.lwrp .lwrp-list-row-container{
justify-content: initial;
flex-direction: column;
}
.lwrp .lwrp-list-row-container .lwrp-list-item{
width: 100%;
}
.lwrp .lwrp-list-item:not(.lwrp-no-posts-message-item){max-width: initial;
}
.lwrp .lwrp-list-item .lwrp-list-link .lwrp-list-link-title-text,
.lwrp .lwrp-list-item .lwrp-list-no-posts-message{};
}


