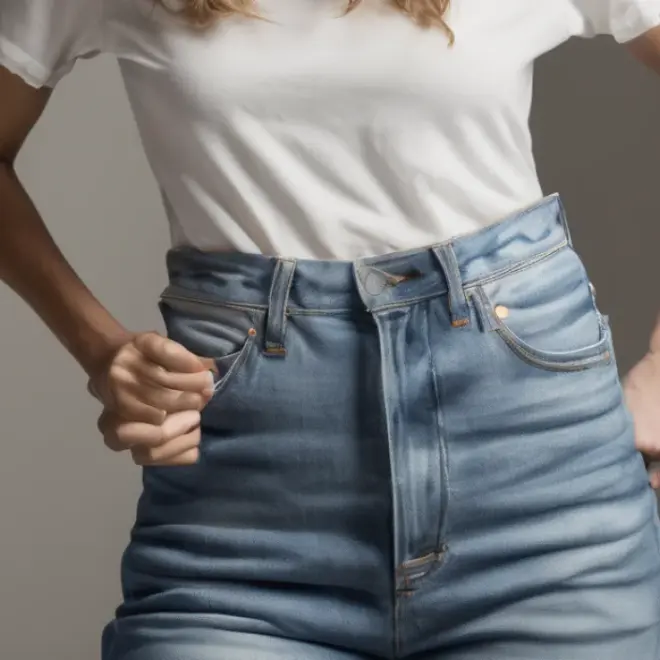
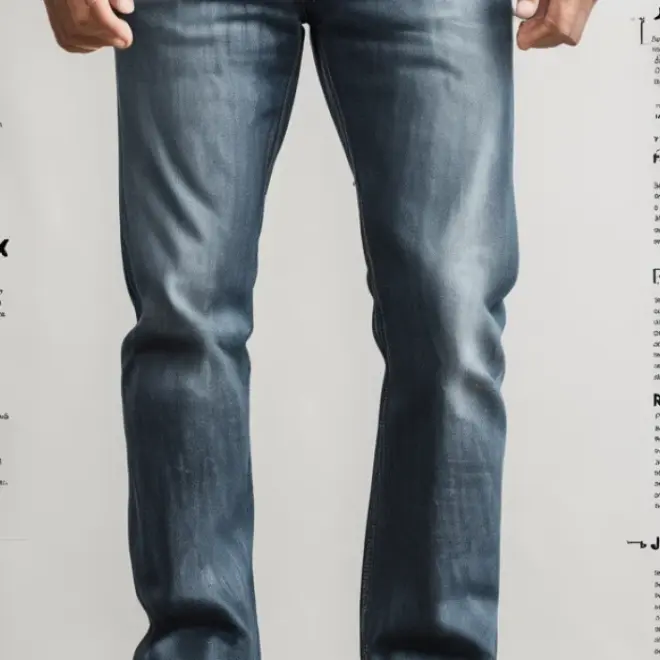
Quick Summary: Learn how to hem boyfriend jeans at home easily! This guide shows you simple, no-fuss methods to get the perfect length and look for your favorite jeans, giving them a fresh, stylish fit without a trip to the tailor.
Boyfriend jeans are wonderfully comfortable and stylish, but they can sometimes be a bit too long, leaving you with a slouchy look that isn’t quite right. Don’t let jeans that are almost perfect sit in your closet! Learning how to hem boyfriend jeans yourself is a game-changer. It’s a straightforward skill that saves you money and frustration, putting you in control of your style. We’ll walk through easy methods that require minimal tools, so you can achieve a polished, personalized fit in no time. Get ready to give your favorite denim a new lease on life.
Why Your Boyfriend Jeans Need a Hem
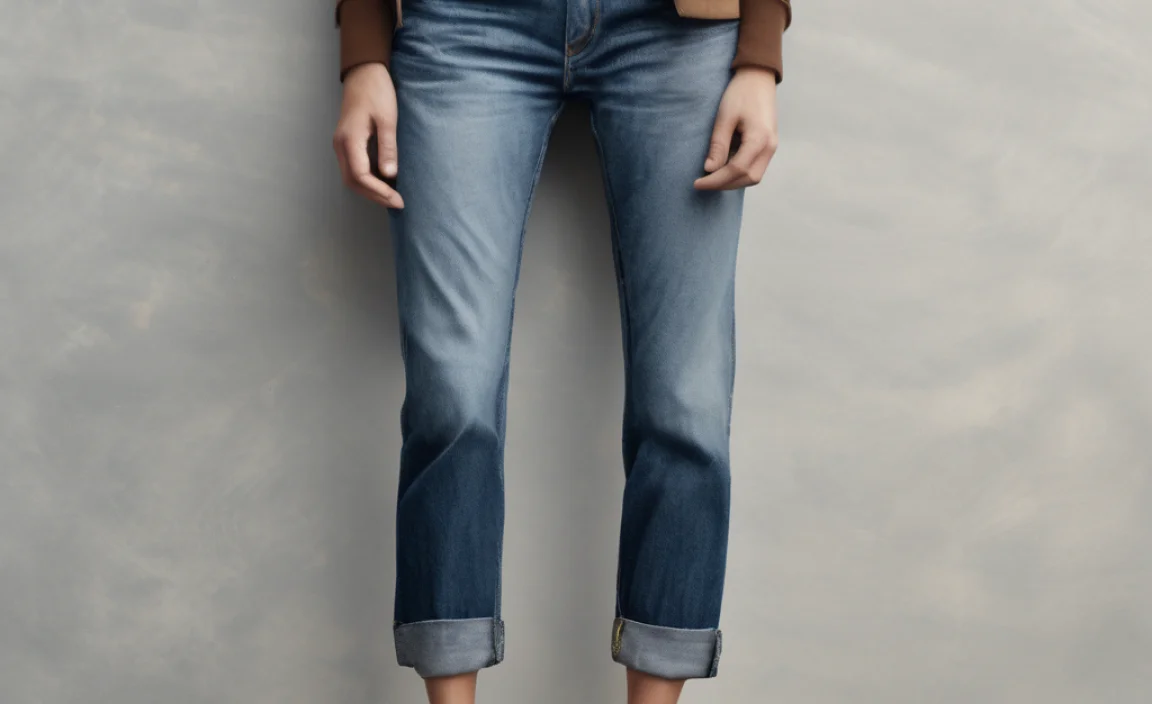
Boyfriend jeans are designed for a relaxed, slightly oversized fit, which is part of their charm. However, this relaxed fit can sometimes translate into being too long, especially if you’re on the shorter side or prefer a more put-together silhouette. Jeans that are too long can drag on the ground, get caught in your shoes, and make your outfit look unintentionally boxy instead of effortlessly cool. A well-done hem can instantly elevate the look of your jeans, making them appear more tailored and flattering. It’s a simple adjustment that makes a huge difference in how your jeans fit and how you feel wearing them.
Choosing Your Hemming Method

There are several ways to hem your boyfriend jeans, each with its own benefits. For an “effortless” approach, we’ll focus on techniques that are beginner-friendly and require common household items or easily accessible craft supplies. The best method for you will depend on the look you’re going for and the tools you have available.
Method 1: The No-Sew Iron-On Hem
This is perhaps the quickest and easiest way to get a clean hem without any stitching. It’s perfect for those who want immediate results or are hesitant about sewing.
What You’ll Need:
- Your boyfriend jeans
- Iron-on hem tape (available at fabric stores or online, look for a strong, washable type)
- Scissors
- Measuring tape or ruler
- Iron and ironing board
- Pencil or chalk for marking
Step-by-Step: The No-Sew Iron-On Hem
- Prepare Your Jeans: Wash and dry your jeans as you normally would. This is important because fabric can shrink. Lay your jeans flat on a hard surface.
- Determine the Desired Length: Try on your jeans with the shoes you typically wear with them. Have a friend help you pin them or carefully mark where you want the new hem to fall. You can also lay them flat and measure from the crotch down to your desired length for each leg. Aim to mark slightly longer than the final desired length to account for the hem fold.
- Mark Your Hem Line: Using a pencil or chalk, mark a clear line where you want the bottom of your jeans to end.
- Measure and Cut: Fold the bottom of each jean leg up so that the raw edge meets your marked line. Then, fold it up again by about 1/2 to 1 inch to create a double fold. This second fold will hide the raw edge. Measure from the bottom folded edge up to the new desired length and mark your cutting line. You want enough fabric to fold over the hem tape and then fold again to create your desired hem thickness. A good rule is to add about 1.5 to 2 inches beyond your desired finished length for a clean, folded-over hem. Cut off the excess fabric, ensuring both legs are as even as possible.
- Apply the Hem Tape: Lay one jean leg flat with the inside facing up. Fold the bottom edge up about 1/2 inch, and press with the iron to create a crease. Unfold. Place the iron-on hem tape along the crease. Fold the hem up again, enclosing the hem tape. Press firmly with the iron according to the hem tape manufacturer’s instructions. Typically, this involves steam and pressure for a specific amount of time.
- Repeat and Check: Repeat the process for the other leg. Once cooled, turn the jeans right-side out and check the hem. Ensure it’s securely attached and lays flat.
Pros and Cons of No-Sew Hemming
| Pros | Cons |
|---|---|
| Very fast and easy | May not be as durable as sewing |
| No sewing skills required | Can sometimes create a slightly stiffer hem |
| Great for quick fixes and beginners | May not withstand very frequent washing or heavy wear as well |
| Resistant to fraying once applied | Can sometimes peel over time with washing and wear if not applied correctly |
Method 2: The Simple Fold and Stitch (Hand Sewing)
If you have a needle and thread, you can achieve a very neat and durable hem by hand. This method is still beginner-friendly and offers a more permanent solution.
What You’ll Need:
- Your boyfriend jeans
- Needle and thread (matching your jean color or a contrasting one for a deliberate look)
- Scissors
- Measuring tape or ruler
- Straight pins
- Pencil or chalk for marking
Step-by-Step: The Simple Fold and Stitch (Hand Sewing)
- Prepare Your Jeans: As with the no-sew method, wash and dry your jeans first. Lay them flat.
- Determine and Mark Length: Try on your jeans with the shoes you’ll wear and mark your desired hem length. For a clean finish, you’ll be folding the hem twice. A common approach is to fold up about 1/2 inch, then fold up another 1 to 1.5 inches to hide the raw edge. So, you’ll need to add about 1.5 to 2 inches to your desired finished length. Mark this final length on the outside of the jeans.
- Cut Excess Fabric: Remove the jeans and lay them flat. Fold up the bottom edge of one leg to create the first crease (about 1/2 inch). Press it down. Then, fold it up again to hide the raw edge, aligning it with your marked cutting line. Secure this fold with straight pins all along the leg. Cut off any excess fabric that extends beyond your second fold.
- Prepare for Stitching: Thread your needle with a strong thread, knotting the end. You can use a single or double strand for more durability.
- Sew the Hem: Using a simple stitch like a running stitch or a blind stitch is best. For a blind stitch (also called a ladder stitch or slip stitch), take a small amount of fabric from the jean’s main body on one pass, and then a small amount from the folded hem on the next. This hides the stitches beautifully. Work your way around the entire leg, keeping your stitches small and consistent. Use your pins to guide you and ensure the fabric stays flat.
- Finishing Touches: Once you’ve stitched all the way around, tie a secure knot close to the fabric and trim any excess thread. Repeat for the other leg, making sure it matches the first.
Pros and Cons of Simple Hand Sewing
| Pros | Cons |
|---|---|
| Durable and long-lasting | Takes more time than no-sew methods |
| Can be virtually invisible with a blind stitch | Requires basic hand-sewing skills |
| Great control over the stitch and finish | May require practice to achieve a perfectly even hem |
| Doesn’t require special tools like a sewing machine | Can be tiring for long seams or many garments |
Method 3: The Machine Stitch Hem
If you have a sewing machine, this is a quick and professional way to hem your jeans. It’s ideal for a permanent alteration and a very clean finish.
What You’ll Need:
- Your boyfriend jeans
- Sewing machine (with a denim needle if possible)
- Thread (matching or contrasting)
- Scissors
- Measuring tape or ruler
- Straight pins
- Pencil or chalk for marking
- Seam ripper (optional, for removing original hem if you want that look)
Step-by-Step: The Machine Stitch Hem
- Prepare Your Jeans: Wash and dry your jeans. Lay them flat.
- Determine and Mark Length: Try on your jeans with appropriate shoes. Mark your desired final hem length. For a clean, folded hem that mimics most store-bought jeans, you’ll want to fold up about 1/2 inch and then another 1 to 1.5 inches. So, add about 1.5 to 2 inches to your desired final length. Mark this cutting line on the outside of the jeans.
- Cut Excess Fabric: Fold the bottom edge of one jean leg up about 1/2 inch and press to create a crease. Then, fold it up again to hide the raw edge, aligning it with your marked cutting line. Pin securely in place. Cut off excess fabric extending beyond this second fold.
- Set Up Your Sewing Machine: Thread your sewing machine with your chosen thread. If you have a denim needle, use it as it’s designed to go through thicker fabrics easily. Set your stitch length to a medium setting (around 2.5-3mm).
- Sew the Hem: Place the pinned jean leg under the sewing machine’s presser foot, aligning the edge with the needle. Start sewing about an inch from the inseam to give yourself room to tie off the beginning stitch properly. Sew around the entire hem, keeping your stitch line straight and consistent. For a professional look, try to sew as close to the inner folded edge as possible.
- Finishing: When you reach the starting point, backstitch for about an inch to secure the thread. Remove the jean leg from the machine. Tie off any loose threads. Repeat for the other leg, ensuring it matches.
- Optional: Distressing the Hem: If you want to re-create the slightly frayed or worn hem look that boyfriend jeans often have, you can carefully use a seam ripper to loosen the threads at the bottom of your new machine-stitched hem or even gently pull out some threads. This is a more advanced technique but can give a great authentic look. You can find detailed tutorials on distressing denim hems from reputable sources like this experienced denim tailor on YouTube.
Pros and Cons of Machine Stitching
| Pros | Cons |
|---|---|
| Fastest and most durable finished hem | Requires a sewing machine |
| Professional and clean appearance | Requires basic sewing machine operation skills |
| Ideal for frequent wear and washing | Less forgiving for mistakes than hand-sewing |
| Can be easily customized with decorative stitches | Can be tricky to maneuver bulky denim on some machines |
Tips for a Perfect Boyfriend Jean Hem
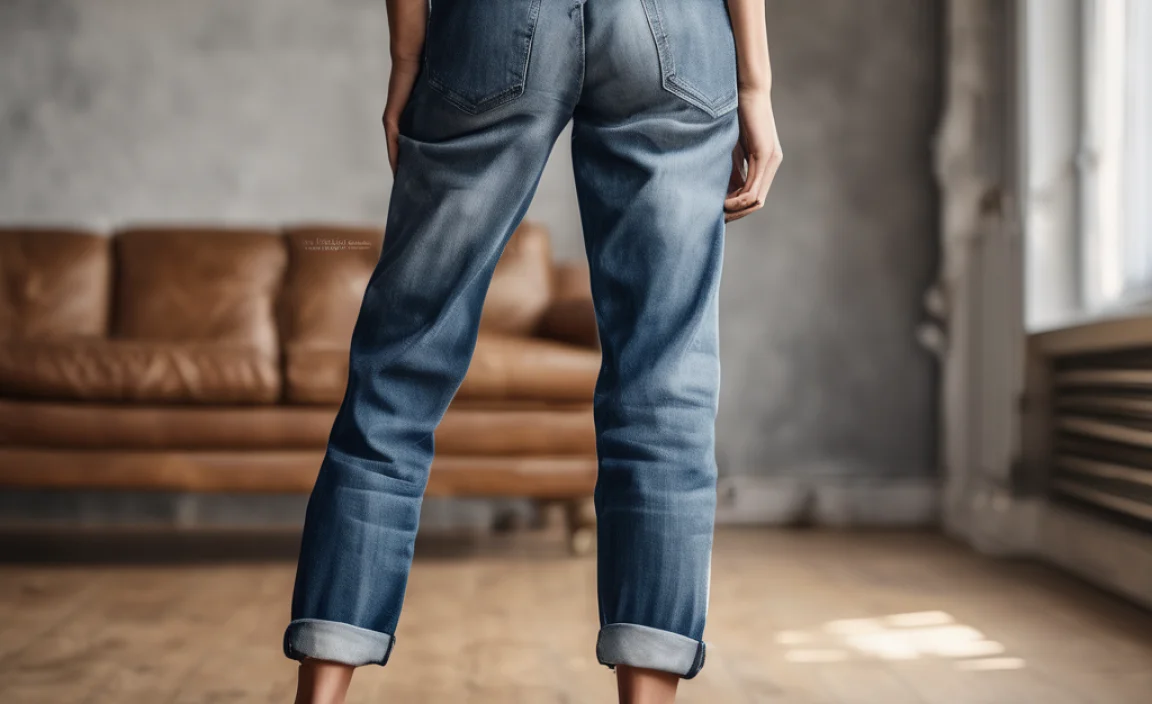
Beyond the basic steps, a few extra tips can ensure your hemming project turns out looking professionally done:
- Measure Twice, Cut Once: This old adage is especially true for hemming. Always re-check your measurements before cutting.
- Account for Fabric Thickness: Boyfriend jeans are often made of a thicker denim. This means your folds might take up more fabric than you expect, and it can be harder to push through a sewing machine. Be patient!
- Consider the Original Hem: If you want your jeans to look exactly as they did before, but just shorter, you can carefully unpick the original hem using a seam ripper and then re-attach it at your desired shorter length. This is known as “letting down” a hem or, in this case, “raising” it by re-applying the old hem. This is a more advanced technique and requires careful handling to avoid damaging the fabric.
- Match Your Thread Wisely: For an invisible hem, use thread that matches your jeans perfectly. If you want to make a style statement, a contrasting thread color can look very cool, especially on hems that are meant to be slightly frayed or decorative.
- Ironing is Key: Even if you plan to sew, pressing your folds with an iron before stitching makes a world of difference in achieving a crisp, clean line.
- Practice on Scrap Fabric: If you’re new to sewing or using iron-on tape, try it out on a scrap piece of similar fabric first to get a feel for the technique and ensure it holds.
- Maintain the “Boyfriend” Vibe: Boyfriend jeans are meant to be relaxed. Don’t hem them so tightly they lose their characteristic shape. The goal is to shorten them, not to make them skinny jeans.
Understanding Fabric and Fit
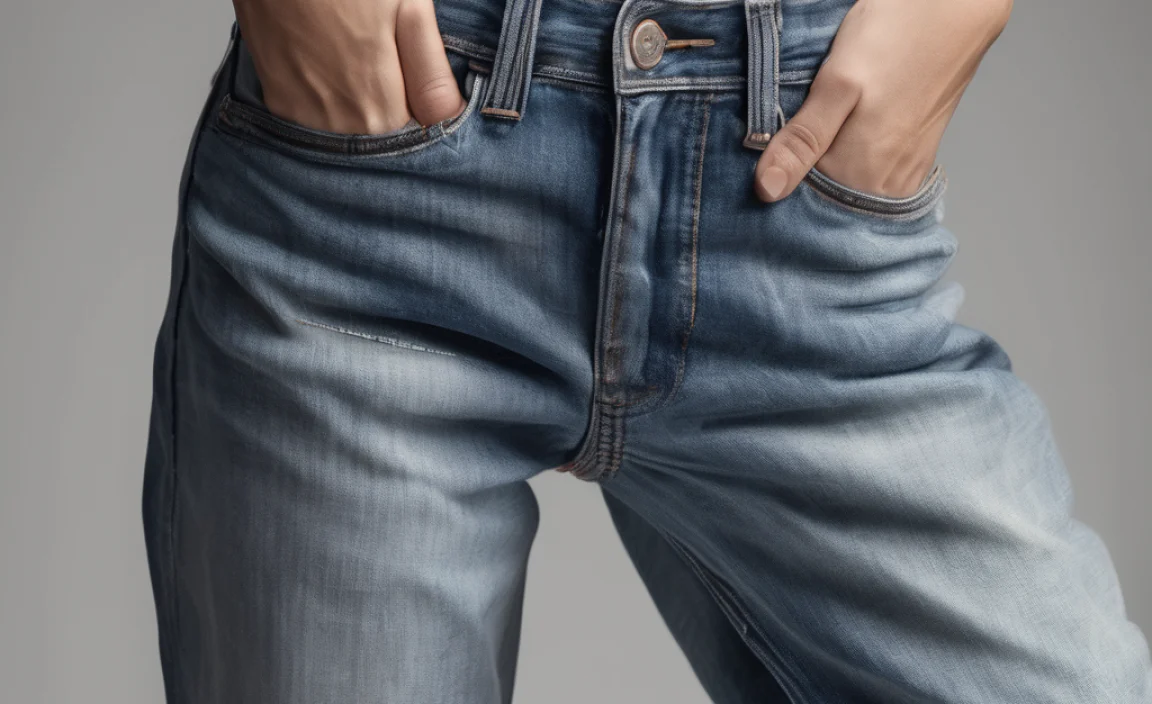
The type of denim and how your boyfriend jeans are cut will influence how you should hem them. Most modern boyfriend jeans are made from 100% cotton denim or a cotton blend with a small percentage of elastane for stretch. This gives them their structure. However, the weave and weight of the denim can differ.
Stretch Denim: If your boyfriend jeans have a significant amount of stretch (more than 2-3% elastane), they might behave slightly differently when hemming. They can be more prone to stretching out as you work with them. Be gentle and try to keep the fabric stable.
Fit Quirks: The beauty of boyfriend jeans is their slightly varied fit from brand to brand. Some are straighter, some are more tapered towards the ankle, and some have a higher rise. When hemming, always consider the overall shape of the leg and how your chosen hem will interact with it. You also want to ensure that both legs are hemmed to the exact same length, which can be tricky if the jeans have an asymmetrical cut or if the original hem wasn’t perfectly even. A good tip is to measure from the crotch seam down to the desired hem length on both legs, as this is usually a more consistent measurement than measuring from the waistband.
For those interested in the science behind fabric and its properties, understanding denims’ weave structure and fiber content will help in making more informed decisions when altering clothing. Resources like Denim’s Warp and Weft from TextileDaily can offer deeper insights into how denim is constructed.
Frequently Asked Questions (FAQ)
Here are answers to some common questions about hemming boyfriend jeans:
Q1: How much length should I add when hemming?
A1: For a clean, folded hem, plan to add about 1.5 to 2 inches to your desired finished length to accommodate a double fold (a 1/2 inch fold and a 1 to 1.5 inch fold). If you are re-using an original hem or creating a wider cuff, you’ll need more fabric.
Q2: Can I hem jeans without cutting them?
A2: Yes! The no-sew iron-on hem requires no cutting of the main fabric, only the removal of excess length if it’s too long before folding. You can also achieve a no-cut hem by folding the jeans up multiple times and securing them with fabric glue, though this is less durable.
Q3: What is the best stitch for hemming jeans by hand?
A3: For an invisible hem, the blind stitch (or slip stitch) is ideal. For a more visible, decorative stitch, or for stronger reinforcement, the running stitch can be used, but stitches will be more apparent on the right side.
Q4: How do I make sure both legs are the same length?
A4: The best way is to measure from the crotch seam down to your desired hem line on both legs. Laying the jeans flat and carefully aligning the inseams and outseams before marking also helps. Always double-check by comparing the finished hems side-by-side.
Q5: My jeans are stretchy. Does that change how I hem them?
A5: Slightly. Stretch denim can be more prone to stretching as you work. Be gentle, avoid pulling the fabric, and consider using a ballpoint or stretch needle if machine sewing to prevent


