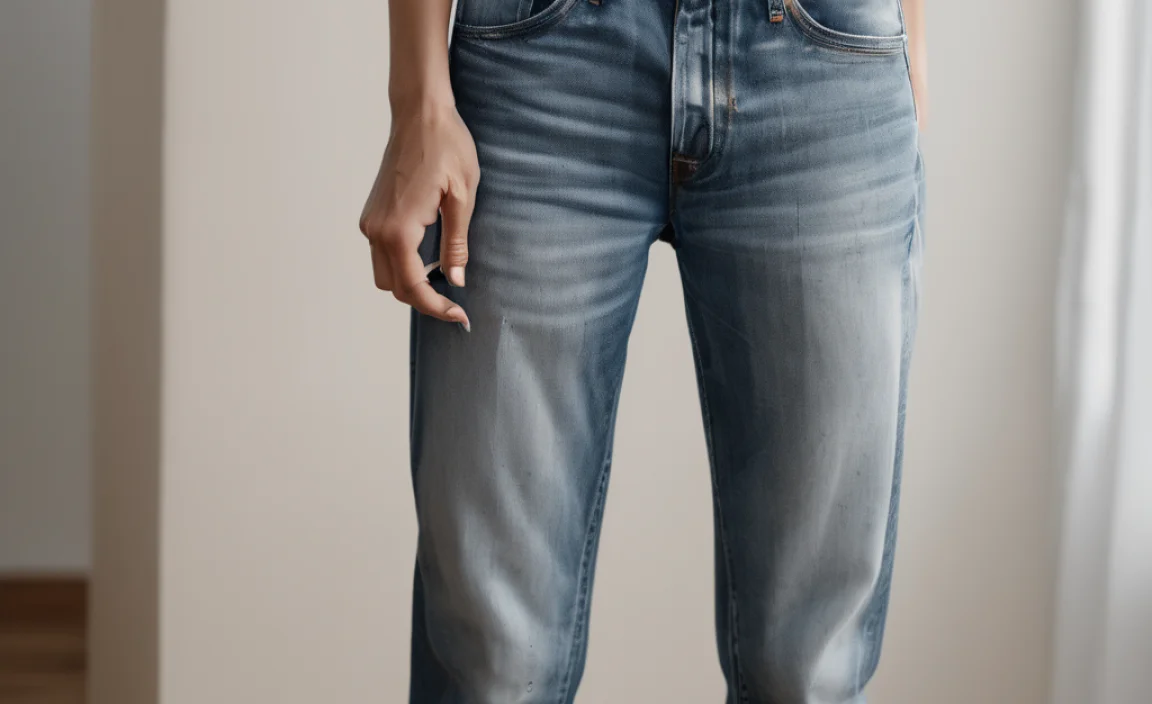
Quick Summary: Hemming boyfriend jeans is easy! Our proven guide, using common household items like a sewing machine or needle and thread and a bit of Oxyclean for a faded look, shows you exactly how to get the perfect length and style. Achieve a custom fit and a stylish, lived-in look without a trip to the tailor.
How to Hem Boyfriend Jeans: The Proven Oxyclean Guide for a Perfect Fit
Are your favorite boyfriend jeans a little too long? It’s a common frustration, but don’t worry! Getting that perfect, custom hem is simpler than you think. We’ll walk you through everything, step-by-step, so you can achieve a flawless finish and a look that’s uniquely yours. Forget expensive alterations; you can do this yourself with a few basic tools and a touch of style know-how. We’ll even show you how to use Oxyclean to achieve that sought-after lived-in denim fade.
Why Hemming Your Boyfriend Jeans Matters

Boyfriend jeans are designed to be relaxed and a bit slouchy, but when they’re too long, they can look sloppy rather than stylish. An ill-fitting hem can overwhelm your frame, make your legs appear shorter, and just generally spoil the intended silhouette. Hemming them correctly ensures they sit perfectly on your shoes or ankles, enhancing your outfit and giving you a polished, put-together look, even with a casual style. It’s about making your clothes work for you, not the other way around.
Gathering Your Supplies: What You’ll Need

Before we start cutting, let’s make sure you have everything at hand. Having all your supplies ready will make the hemming process smooth and efficient. You don’t need fancy equipment; most of these are likely already in your home.
Essential Tools for Hemming
- Your Boyfriend Jeans: The star of our show. Make sure they are clean.
- Fabric Scissors: Sharp scissors are crucial for a clean cut. Dull scissors can snag and leave a ragged edge.
- Measuring Tape or Ruler: For precise measurements.
- Fabric Marker or Chalk: To mark your desired hemline. Test it on an inconspicuous area first to ensure it wipes off easily.
- Pins: To hold the fabric in place while you work.
- Iron and Ironing Board: For pressing seams crisply.
- Sewing Machine (Optional): For a faster, more durable stitch. If you don’t have one, hand-sewing is perfectly fine.
- Needle and Thread (if hand-sewing): Choose a thread color that matches your jeans as closely as possible. Denim thread is ideal if you have it.
- Oxyclean (Optional, for fading): This is your secret weapon for achieving a natural, sun-faded look on the cut edge.
- Bucket or Basin (if using Oxyclean): For the soaking process.
- Gloves (if using Oxyclean): To protect your hands.
Step-by-Step Guide to Hemming Your Boyfriend Jeans

Let’s get to it! Follow these simple steps to achieve a perfect hem. We’ll cover both machine and hand-sewing methods.
Step 1: Try On and Mark Your Desired Length
This is the most critical step for getting the right fit. Put on your boyfriend jeans and the shoes you typically wear with them. Stand in front of a mirror. You want the hem to fall where you like it – whether that’s just above the ankle, at the ankle bone, or slightly longer to cuff. Use your fabric marker or chalk to make small dots on the inside of the leg to indicate where you want the new hem to be. It’s often best to mark one leg and then use that as a guide for the other.
Pro Tip: Remember that you’ll be folding the fabric up, so mark the final desired length. If you want the hem to end at, say, 2 inches below your knee, mark there. Don’t forget to account for the fold you’ll create.
Step 2: Measure and Mark the Cut Line
Once you’re happy with the placement, take the jeans off. Lay them flat on a clean surface, like a table or the floor. Smooth out the fabric. Using your measuring tape or ruler, measure the distance from your marked dot down to the original hem. This is typically where you’ll want to cut. Now, carefully mark a straight line across the leg at this new hem point. Repeat this process precisely on the other leg, ensuring the markings are symmetrical.
Consider the Fold: You need extra fabric for the actual hem fold. A common fold is about 1/2 inch to 1 inch. So, if you mark your desired finished length, add another 1/2 to 1 inch below that mark for where you will cut. This extra inch will be folded up to create the new finished hem edge.
Step 3: Cut Off Excess Fabric
With your marked lines clear, it’s time to cut. Use your sharp fabric scissors to carefully cut along the line you marked. Cut through both layers of the denim at once if the leg is laid flat. Take your time to ensure a straight, clean cut. This is the point of no return, so be confident in your measurements!
Step 4: Prepare for the Fold
Now you have a raw, cut edge. You need to create the new hem. There are a few ways to do this, but a simple double fold is standard:
- First Fold: Fold the raw edge upwards by about 1/2 inch. Press this fold firmly with your iron. This will create a clean, neat edge and hide the raw cut.
- Second Fold: Fold this new folded edge up again by another 1/2 inch to 1 inch, depending on how wide you want your finished hem to be. Press this second fold very well. Pin the hem in place all the way around the leg opening.
The goal is to have a clean, flat hem that looks as professional as possible. The ironing in this step is crucial for sharp lines.
Step 5: Sewing the Hem
Option A: Using a Sewing Machine
- Thread your sewing machine with a needle and thread that matches your denim.
- Place the folded and pinned hem under the presser foot.
- Start sewing, following the edge of the folded hem. Keep your stitches close to the bottom edge of the folded fabric.
- Sew all the way around the leg opening. When you reach the beginning, overlap your stitches by about an inch and backstitch to secure the seam.
- Remove any pins as you sew.
Option B: Hand Sewing (The Blind Hem Stitch)
This method creates a nearly invisible stitch. If you want a more visible seam for a casual look, a simple running stitch is also fine. For a blind hem:
- Thread your needle and tie a knot at the end.
- Start on the inside of the hem. Pick up a tiny thread from the leg of the jeans, then move to the folded hem, taking a small stitch through the fold.
- Alternate between picking up a tiny thread from the jean leg and a small stitch through the folded hem.
- Keep your stitches small and consistent. The goal is for the stitches to be almost invisible from the outside.
- Work your way around the entire leg opening, ensuring the hem lays flat.
- When you reach the beginning, tie off your thread securely on the inside of the hem.
For a Casual, Visible Stitch: You can use a simple running stitch or even a decorative stitch if you have a sewing machine, running it along the bottom edge of the folded hem. This can add to the distressed look.
Step 6: The “Oxyclean” Fading Technique (Optional)
This is where you can add that authentic, well-worn look to the raw edge of your newly hemmed jeans. It mimics the natural fading that occurs from wear and washing on a cut hem.
- Mix the Solution: In a bucket or basin, mix about 1/4 to 1/2 cup of Oxyclean with a gallon of warm water. Follow the instructions on your specific Oxyclean product for general laundry use, but you’ll want a moderately concentrated solution.
- Submerge the Hem: Carefully submerge only the newly hemmed edge of your jeans into the Oxyclean solution. You can also soak the entire bottom portion of the leg if you want a more pronounced gradient effect. Make sure the cut edge is thoroughly saturated.
- Wait and Check: Let the hem soak for about 15-30 minutes. Keep an eye on the color – you’re looking for a subtle lightening. The longer it soaks, the more the color will lift. Denim varies, so it’s better to check frequently to avoid over-bleaching.
- Rinse Thoroughly: Once you’ve achieved your desired fade, carefully remove the jeans and rinse the soaked area under cold running water until all traces of the Oxyclean solution are gone.
- Wash and Dry: Launder your jeans as usual to remove any remaining residue and to set the newly faded look. They can then be air-dried or tumble-dried.
Important Note on Bleaching: Oxyclean is a powerful oxygen-based cleaner. While generally color-safe, it’s always best to test on an inconspicuous area of your jeans or use it sparingly for the first time. This technique is best for classic blue denim. Avoid using on colored or black denim unless you are intentionally trying to lighten those colors.
Step 7: Final Press and Inspection
Once your jeans are hemmed and, if you used it, the Oxyclean fade is complete and the jeans are washed, give the hems a final press with your iron. This will give them a crisp, finished look. Inspect your work – check for any loose threads, uneven stitching, or any other imperfections. Trim any stray threads.
Comparing Hemming Methods: Hand vs. Machine

Choosing between hand-sewing and using a sewing machine depends on your time, skill level, and the desired outcome. Here’s a quick comparison:
| Feature | Hand Sewing | Sewing Machine |
|---|---|---|
| Speed | Slow and time-consuming | Fast and efficient |
| Durability | Can be durable if done properly, but more prone to wear over time | Very durable, strong stitches that last |
| Appearance | Can achieve a very neat, nearly invisible stitch (blind hem) or a visible, quirky stitch. Requires practice for neatness. | Consistent, professional-looking stitch. Straight stitches are standard. |
| Ease of Use for Beginners | More accessible if you have no machine access, but can be fiddly. | Requires learning basic machine operation, but often more forgiving for straight lines. |
| Ideal Use Case | When a machine isn’t available, for fine detail, or for a “perfectly imperfect” custom look. | For quick, strong, and uniform hems, especially on thicker fabrics like denim. |
Styling Your Newly Hemmed Jeans

Now that your boyfriend jeans fit perfectly, let’s talk style! A well-hemmed pair opens up a world of styling possibilities. Ensure your hem sits at a flattering point on your leg, which can drastically change how your shoes and overall outfit look.
- With Sneakers: A slightly cropped hem that hits just above the ankle bone is perfect for showcasing your favorite sneakers, making them look fresh and modern.
- With Ankle Boots: If you prefer wearing ankle boots, hem your jeans so they either just skim the top of the boot or can be comfortably cuffed over it without bunching.
- With Heels: For a dressier look, hemming them to fall precisely at the top of a heel can elongate your legs beautifully.
- The Cuff: Even after hemming, you can still cuff your jeans if the fabric allows and you like that look. A clean hem makes for a neater cuff.
- Embrace the Fade: If you used the Oxyclean method, your raw edge now has a subtle, authentic fade. This adds character and pairs well with casual tops, t-shirts, and denim jackets.
Troubleshooting Common Hemming Issues
Even with clear instructions, sometimes things don’t go exactly as planned. Here are a few common issues and how to fix them:
- Jeans are Uneven: This can happen if you didn’t lay them flat or mark carefully. The best fix is to re-measure, mark carefully, and re-cut and re-hem. It’s better to have two perfectly hemmed legs than two uneven ones.
- Stitches are Loose or Ticky: If machine sewing, check your tension settings. For hand sewing, use smaller stitches and ensure you’re pulling the thread taut. If the hems are already sewn, you can try to go over them again with your machine or hand-sew carefully to secure any loose areas.
- Raw Edge Fraying Too Much: If you did the Oxyclean soak and it frayed more than you like, you can carefully trim away any excessively long threads. For a cleaner finish on future projects, you might try a zigzag stitch along the raw edge before folding, or using pinking shears for a slightly less aggressive fray.
- Hem is Too Tight or Bunchy: This often happens if the fabric wasn’t pressed well during the folding stage, or if you folded too much fabric. Carefully unpick the stitching, re-press, and re-fold, ensuring an even amount of fabric is used for the fold and that it lays flat.
Frequently Asked Questions about Hemming Boyfriend Jeans
Q1: How much fabric should I leave for the hem?
A1: For a standard hem, leave at least 1 inch of fabric below your desired finished length. This allows for a 1/2-inch double fold, which creates a neat and durable finish.
Q2: Can I hem jeans without a sewing machine?
A2: Absolutely! Hand-sewing with a needle and thread, especially using a blind hem stitch, can produce very professional results. It just takes a bit more time and patience.
Q3: How do I get the “faded hem” look without Oxyclean?
A3: You can achieve a similar fade by washing your jeans multiple times after hemming, or by gently rubbing the cut edge with fine-grit sandpaper or a pumice stone. However, Oxyclean offers a more controlled and even lightening.
Q4: What’s the best way to ensure my hem is straight?
A4: Laying the jeans flat, smoothing out the fabric, and using a ruler or measuring tape to mark consistently from the inseam and outseam. Marking on the inside of the leg can also help keep the line true.
Q5: My boyfriend jeans are stretchy. Will this method still work?
A5: Yes, hemming stretchy denim also works. You might want to use a ballpoint needle on your sewing machine if you have one, and be careful not to stretch the fabric too much as you sew. Hand-sewing is also very forgiving with stretch denim.
Q6: How do I hem jeans to look like they were never altered?
A6: To make it look like an original hem, you can try to re-attach the original hem by carefully unpicking it, shortening the leg, and then re-sewing the original hem back on. This is more advanced but preserves the original factory-made edge. For a standard hem, carefully matching thread color and using neat stitches is key.
Conclusion
Hemming your boyfriend jeans is a straightforward and rewarding DIY project. By following these steps, you can easily transform a pair of jeans that are just a little off into your perfectly fitting favorites. Whether you opt for a neat, machine-stitched hem or a subtle, hand-sewn finish, and whether you choose to add a touch of custom fade with Oxyclean or leave them as they are, you’ve gained a valuable skill. Don’t let ill-fitting denim hold you back; with a little effort, you can achieve custom-length jeans that look stylish and feel comfortable. Enjoy your newly perfected denim!


