Quick Summary
Learn how to hem boyfriend jeans easily with this guide. Perfect for beginners, you’ll discover simple steps to achieve a clean, professional look for your favorite relaxed-fit denim, whether you prefer a machine or hand-sewn finish, ensuring your hems are just right without complex tailoring.
How to Hem Boyfriend Jeans: An Essential Guide
Are your favorite boyfriend jeans a little too long, making them bunch around your ankles or look a bit sloppy? You’re not alone! Getting the perfect length on jeans, especially the more relaxed boyfriend style, can be tricky. But don’t worry, you don’t need to be a sewing expert to fix it. This guide will walk you through exactly how to hem your boyfriend jeans, step-by-step. We’ll cover everything you need, from measuring to finishing touches, so you can confidently achieve a polished look that feels just right.
This process is simpler than you might think, and by the end, you’ll have a perfectly tailored pair of jeans ready to go. Let’s get started and give those jeans a tidy new hem!
Why Hem Your Boyfriend Jeans?
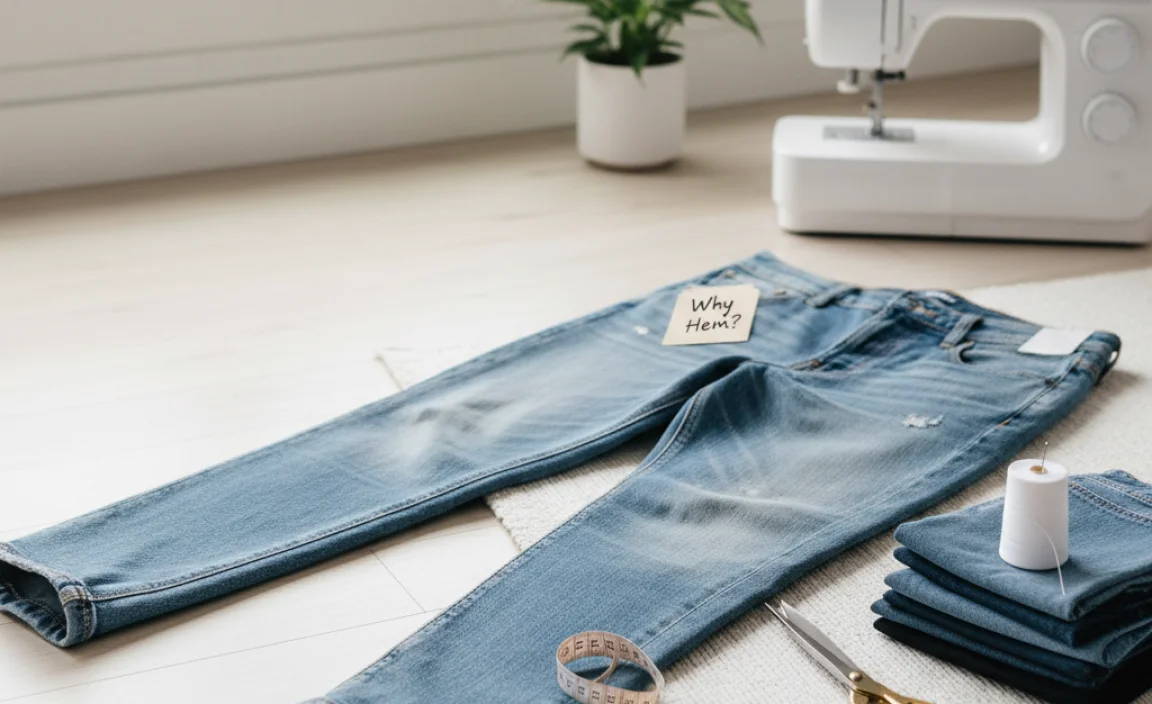
Boyfriend jeans are loved for their comfort and casual, slightly oversized fit. However, their laid-back silhouette can sometimes be compromised by an hem that’s too long. An ill-fitting hem can:
- Make you look shorter than you are.
- Cause the jeans to drag on the ground, leading to premature wear and tear.
- Create an unintended “sloppy” or unkempt appearance rather than a stylishly relaxed one.
- Interfere with the intended drape and how the jeans sit over your shoes.
Hemming them yourself not only solves these issues but also offers a sense of accomplishment and allows for customization. You can decide precisely where you want the hem to fall, ensuring they perfectly complement your favorite footwear.
What You’ll Need: Essential Tools and Supplies
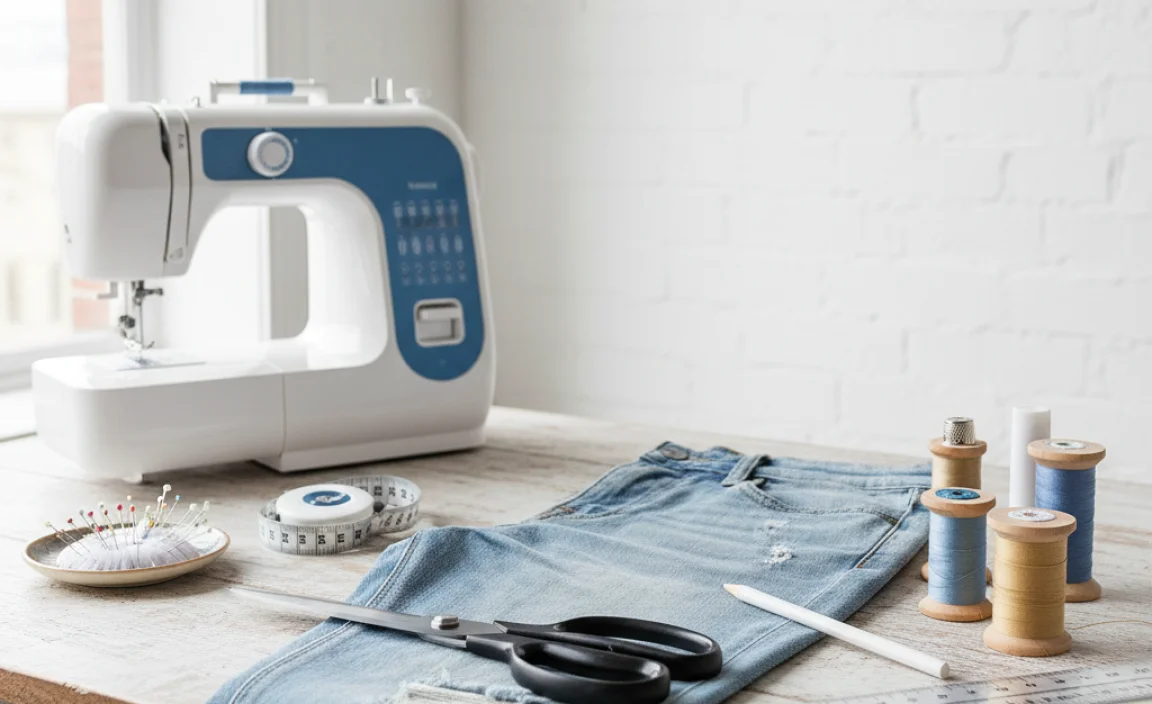
Before you begin, gather these simple items. Having everything ready will make the hemming process smooth and hassle-free.
| Item | Description | Why It’s Important |
|---|---|---|
| Your Boyfriend Jeans | The pair you wish to hem. | The star of the show! |
| Fabric Scissors | Sharp scissors specifically for fabric. | Clean cuts prevent fraying and ensure a neat finish. Regular household scissors can snag fabric. |
| Measuring Tape or Ruler | A flexible tape measure or a stiff ruler. | Crucial for accurate measurements to get the right length. |
| Fabric Chalk or Disappearing Ink Pen | A tool to mark your fabric. | For marking the cut or fold line discreetly. |
| Pins | Straight pins or sewing pins. | To hold the folded hem in place before sewing. |
| Thread | Matching or contrast thread, depending on your desired look. | To secure the hem. Matching thread is standard for an invisible finish. |
| Sewing Machine (Optional but Recommended) | A standard home sewing machine. | For a fast, strong, and professional-looking stitch. |
| Needle (for hand sewing) | A sharp, medium-sized sewing needle. | If you choose to hand-sew the hem. |
| Iron and Ironing Board | For pressing seams and hems. | Helps create crisp folds and a professional finish. |
| Seam Ripper (Optional) | A small tool with a hook. | Useful if you need to remove the original hem and reattach it for a distressed look. |
Step-by-Step Guide: How to Hem Boyfriend Jeans
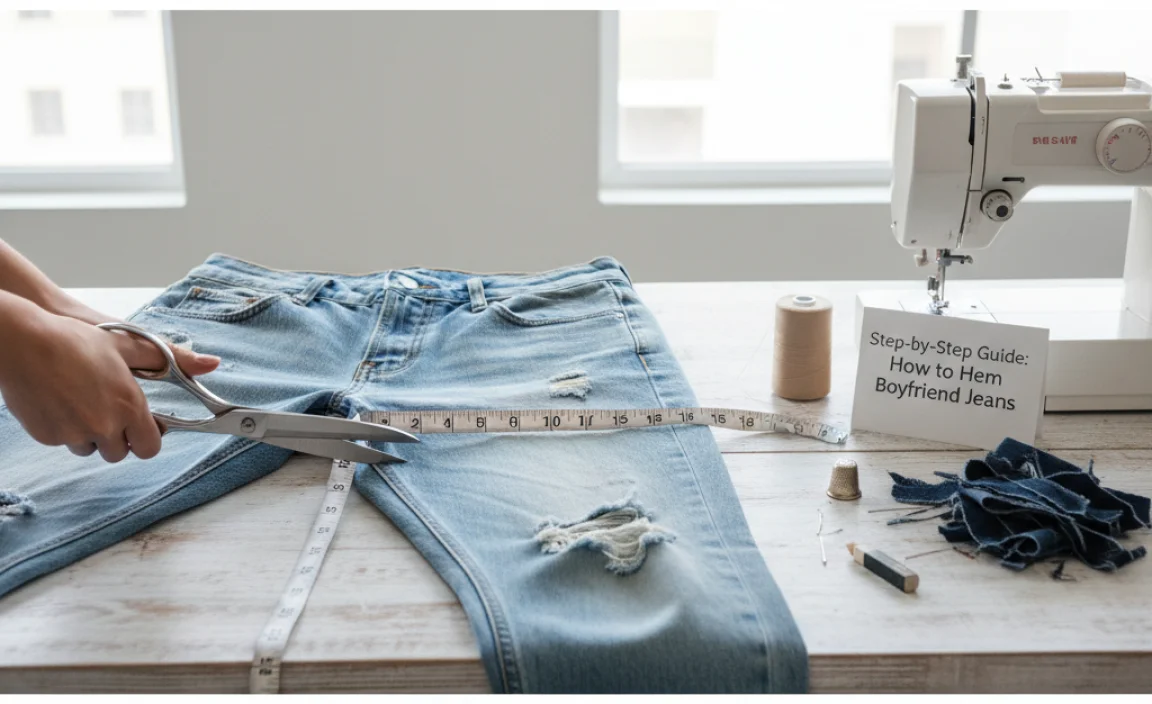
Let’s get those jeans hemmed! This guide assumes you want to create a clean, finished hem. We’ll cover using a sewing machine, which is the most common and durable method.
Step 1: Try On Your Jeans and Determine the Desired Length
Put on the boyfriend jeans you want to hem. Wear the exact type of shoes you usually wear with them. This is important because different shoe heights can change how the hem of your jeans falls. Stand naturally in front of a mirror. Decide where you want the bottom of the hem to end. Popular options for boyfriend jeans include:
- Just above the ankle bone.
- At the top of your shoe.
- Slightly cropped, for a more fashion-forward look.
Once you’ve decided, use a pin (or have a friend help you) to mark where you want the new hem to be. Do this on both legs, ensuring they are at the same height.
Step 2: Measure and Mark Your Cut Line
Take off the jeans and lay them flat on a clean surface, like a table or the floor. Ensure one leg is smooth and unwrinkled. You’ll be working with the outer seam of the leg.
Calculate Hem Allowance: You need to add extra fabric for the actual hem fold. For most denim, a double fold of about 1 inch (2.5 cm) total is ideal (each fold being about 1/2 inch). So, add 1 to 1.5 inches (2.5 to 3.8 cm) below your desired finished hemline. This will be your cutting line.
Marking with a Ruler:
Using your measuring tape or ruler and fabric chalk/pen, measure down from the pinned mark on the outer seam. Mark this new length, which is your cutting line. For example, if your pin is at 30 inches and you want a 1.5-inch hem allowance, your cutting line will be at 31.5 inches from the top of the waistband.
Marking the Entire Leg:
Carefully transfer this measurement around the entire leg opening. You can use a ruler to ensure the line is parallel to the original hem, or if you have a friend, they can help hold the measuring tape around the leg while you mark. Repeat this for the other leg, being meticulous to make sure both legs are marked at the exact same measurement from the top of the waistband.
Step 3: Cut Off the Excess Fabric
Now, it’s time to cut. Using your sharp fabric scissors, carefully cut along the marked cutting line you just made. Cut through both layers of the fabric for each leg opening. Be sure to cut straight and evenly all the way around. If your jeans have a special cuff you want to preserve, you might consider using a seam ripper to take the original hem out first, and then adjust its length before reattaching it. For this guide, we’re focusing on creating a new, clean hem.
Step 4: Prepare the New Hem (First Fold)
With the excess fabric cut off, it’s time to create your new hem.
Take the cut edge of one leg and fold it upwards towards the inside of the leg by about 1/2 inch (1.25 cm). This is your first fold. Use your fabric chalk or disappearing ink pen to mark this fold line if needed.
Press this fold firmly with your iron. This creates a crisp crease that will help guide your next step and ensures a neat finish.
Step 5: Prepare the New Hem (Second Fold)
Now, fold the fabric upwards again. The size of this second fold will depend on how much hem allowance you decided upon in Step 2 and how wide you want your finished hem to be. If you planned for a 1.5-inch total hem allowance and did a 0.5-inch first fold, your second fold will be 1 inch. Fold the newly creased edge up and over the first fold. This encloses the raw edge of the fabric inside the hem.
Pin this second fold securely in place all the way around the leg opening. Place pins about every 1-2 inches (2.5-5 cm). Ensure the pins go through all layers of fabric to hold the hem firmly. Press this new folded hem with your iron to set the shape. This is your finished hemline, ready for sewing.
Step 6: Sewing the Hem (Machine Sewing)
Machine Setup:
Thread your sewing machine with thread that matches your jeans. A universal needle (size 80/12 or 90/14) is usually a good choice for denim. Set your machine to a straight stitch. A stitch length of 2.5 to 3.0 mm is typically suitable for denim. If your machine has a buttonhole or zigzag stitch option, you can use a narrow zigzag stitch to finish the raw edge before folding, but for a clean hem, we’re folding it in first.
Sewing the Hem:
Place the pinned hemmed leg under the sewing machine’s presser foot. Align the edge of the hem so that your needle will sew about 1/8 inch (3 mm) away from the folded edge, catching both layers of fabric. Lower the presser foot and begin sewing.
Go slowly, especially as you approach the side seams or any thicker areas. You may need to manually turn the handwheel to get over bulky seams. A walking foot can be very helpful for sewing through thick layers of denim evenly, but it’s not strictly necessary. Continue sewing all the way around the leg opening until you meet your starting point. Backstitch a few stitches at the beginning and end to secure the thread.
Finishing:
Trim any excess threads. For an even more professional look, you can trim the seam allowance from the inside of the hem (the part that’s sewn) down to about 1/4 inch (6 mm) to reduce bulk. You can also finish this raw edge with a serger or a zigzag stitch on your sewing machine if you haven’t already enclosed it.
Step 7: Sewing the Hem (Hand Sewing Option)
If you don’t have a sewing machine, you can hand-sew your hem. Thread your needle with matching thread, knotting one end. Use a stitch like the blind hem stitch or an even hemming stitch for a nearly invisible finish.
Fold and pin your hem as described in Steps 4 and 5.
Begin stitching about 1/8 inch from the folded edge. For a blind hem stitch, pick up just a thread or two from the jean fabric for every inch you pass through the folded hem. This hides the stitch on the outside.
Continue around the entire leg, keeping your stitches small and even. Knot and trim the thread securely at the end. While more time-consuming, hand-sewing can produce beautiful results too.
Step 8: Final Touches
Once you’ve sewn the hem on both legs, snip off any loose threads. Give the hem a final press with your iron. This will make the new hem lay flat and look crisp. Try on your jeans one last time to admire your work!
Optional: Recreating the Original Distressed Hem
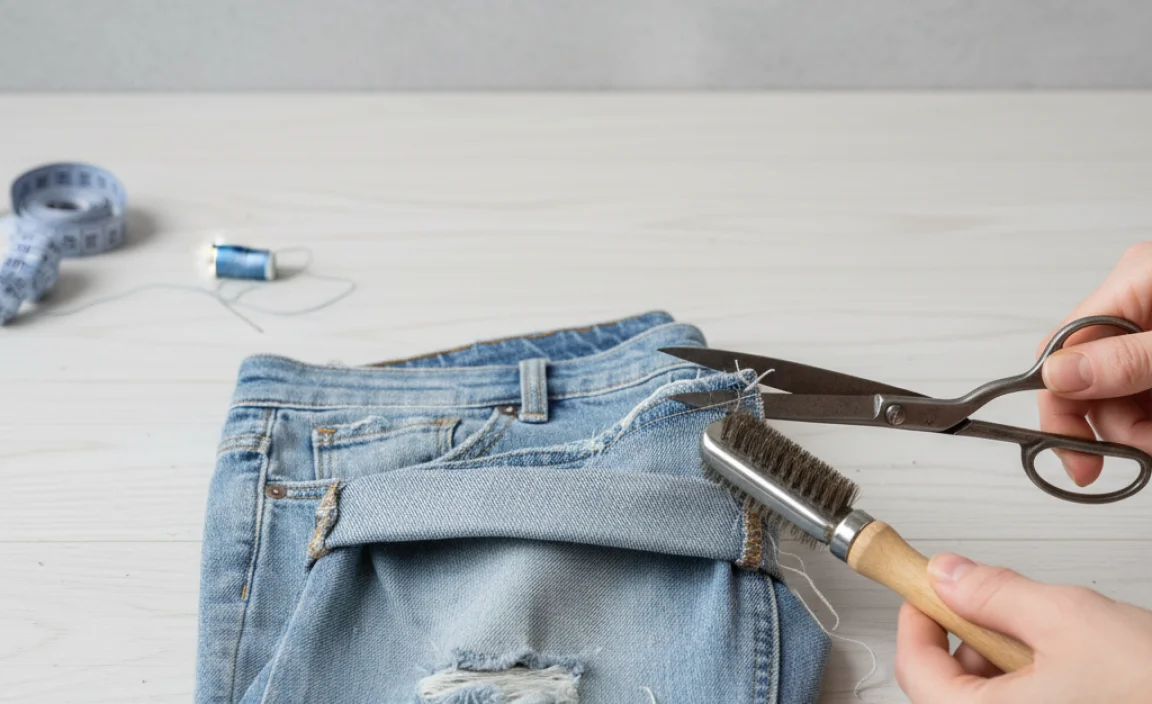
If you love the frayed or distressed look of your original boyfriend jeans hem, you can recreate it. This requires a few extra steps:
- Remove Original Hem: Lay the jeans flat and carefully use a seam ripper to remove the original stitching of the hem. Gently pull the threads away.
- Decide on New Length: Try on your jeans and decide where you want the new hem to fall after the fringe. Mark this point.
- Cut Above Mark: Cut off the excess fabric below your new length mark, leaving about 1 to 2 inches (2.5 to 5 cm) of fabric from the original hemline. You’ll use this to create the fringe.
- Create Fringe: Fold this remaining fabric up once, about 1/2 inch (1.25 cm), and press it. Then fold it up again by about 1 inch (2.5 cm). Pin in place.
- Sew Close to Fold: Using your sewing machine (or hand sewing), sew a straight stitch very close to the top folded edge of this new hem, about 1/8 inch down. This secures the folded part.
- Distress: Now, take a seam ripper or tweezers and gently pull threads from the bottom edge of the folded hem. Pull threads horizontally and vertically to create a frayed effect. You can also use scissors to snip threads for a more controlled look. The longer you pull and tease, the more distressed it will become.
- Wash and Dry (Optional): For a more natural, worn-in fringe, you can wash and dry the jeans. This will soften the fringe and make it look more authentic.
For more on distressing denim, explore resources like College Fashionista’s guide on DIY distressed denim.
Choosing the Right Thread and Stitch
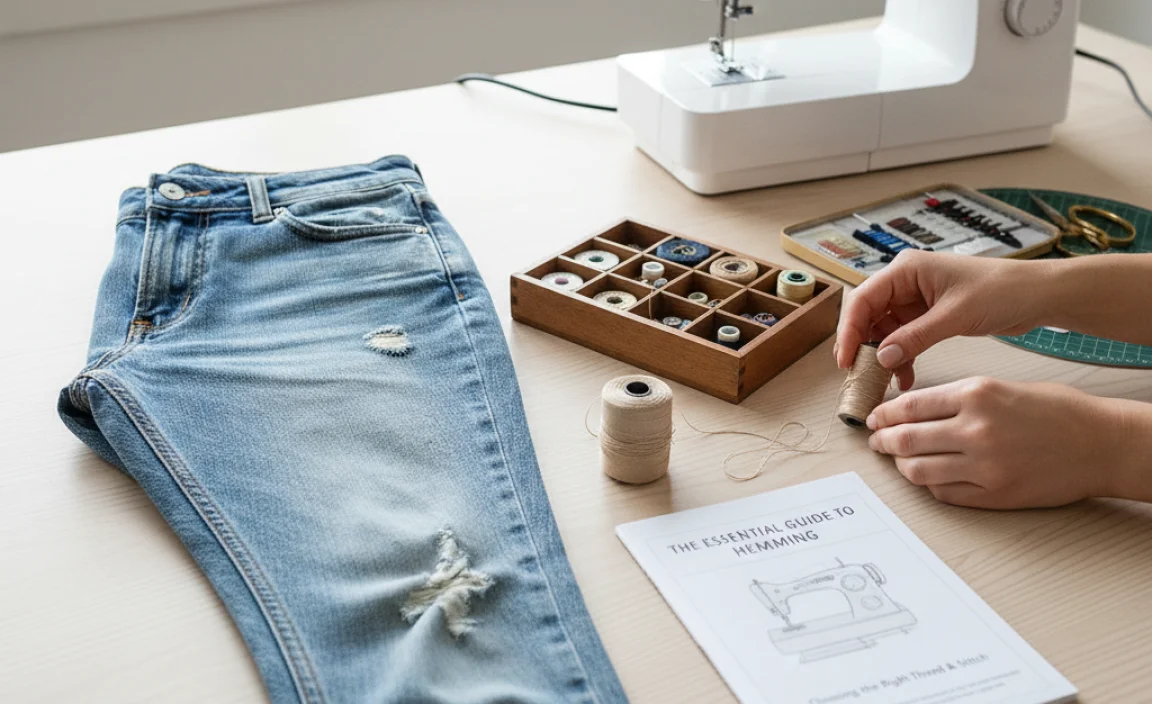
The thread and stitch you choose can significantly impact the final look of your hem. Here’s a quick breakdown:
Thread Color:
- Matching Thread: For a virtually invisible hem, use a thread colour that matches your jeans exactly. This is the most common choice for a clean, polished look.
- Contrast Thread: Using a contrasting thread colour (like gold or orange for blue jeans) can create a decorative topstitch effect. This is often done on the outside of the hem for a more visible, stylistic choice.
Stitch Type:
- Standard Straight Stitch: The most straightforward and durable stitch for hemming denim with a machine. Sew close to the inner folded edge.
- Blind Hem Stitch: Ideal for an invisible hem when hand-sewing or if your machine has this function. It catches minimal fabric from the garment’s leg, making the stitches unnoticeable from the outside.
- Narrow Zigzag Stitch: Can be used to finish the raw edge of the fabric before folding, or sometimes used as the primary stitch on the outside for a decorative, sturdy hem.
Understanding the best practices for denim care can also ensure your new hem lasts. The Federal Trade Commission (FTC) offers general advice on clothing care that can be applied here.
Troubleshooting Common Hemming Issues
Even with the best intentions, you might run into a snag. Here are solutions to common problems:
| Problem | Solution |
|---|---|
| Uneven Hemline After Cutting | Don’t panic! Try to even out the cut as much as possible. When folding, use your iron to create a perfectly straight fold line. If it’s significantly uneven, you might need an extra 1/2 inch to 1 inch allowance to re-cut and re-mark. |
| Skipped Stitches on the Machine | Ensure your needle is sharp and appropriate for denim. Check that your machine is correctly threaded. Sometimes, sewing too fast over bulky seams can cause skipped stitches. Go slower and use your handwheel. |
| Fabric Bunching or Puckering After Sewing | This often happens if the tension on your sewing machine is too high, or if you pulled the fabric while sewing. Try adjusting your machine’s tension (consult your manual). Ensure you’re not stretching the denim as you feed it through the machine. Pressing the hem thoroughly before and after sewing helps. |
| The Hem Stitch is Visible on the Outside | If you used a standard straight stitch and it’s noticeably showing on the outside, try switching to a blind hem stitch if possible. If not, aim to move your stitch line slightly further from the edge of the folded hem on your next attempt. For a quick fix, you can also hand-sew on the inside to secure the raw edge better. |
| Hem Too Tight or Constricting | This usually means too much fabric was folded. You may need to unpick the hem, adjust your fold to be slightly less wide, and re-sew. Always measure carefully and consider how much fabric the fold will take up. |
Frequently Asked Questions (FAQ)
Q1: How much fabric should I leave for hemming boyfriend jeans?
A1: For a clean, double-folded hem on boyfriend jeans, leave about 1 to 1.5 inches (2.5 to 3.8 cm) of fabric below your desired finished length. This allows for a 0.5-inch first fold and a 0.5 to 1-inch second fold to enclose the raw edge.
Q2: What’s the best way to hem jeans if I’m a beginner?
A2: For beginners, using a


