


Quick Summary: Learning how to hem boyfriend jeans is simple and transforms their look. You can easily shorten them to your perfect length at home with basic tools, achieving a custom fit without needing a professional. This guide provides clear steps for a neat, lasting hem.
How to Hem Boyfriend Jeans: The Essential Guide
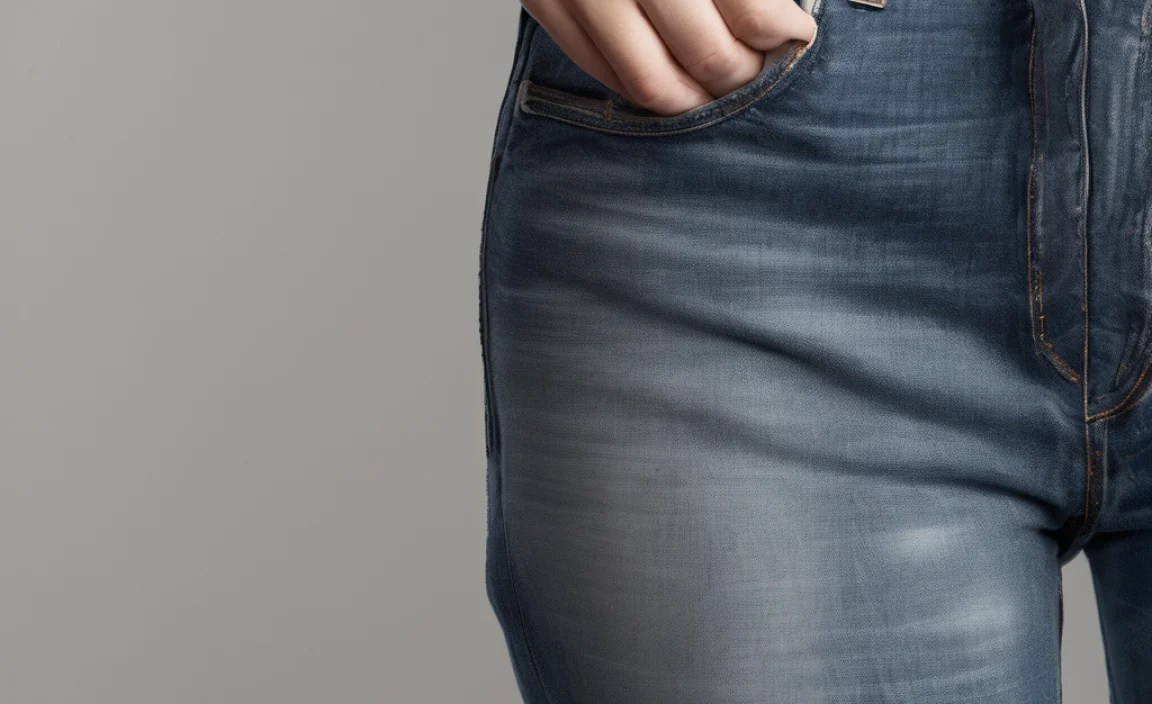
Boyfriend jeans are a wardrobe staple, offering comfort and a relaxed style. But what happens when they’re just a little too long? That bunching at the ankle can disrupt the desired look, making them feel sloppy instead of chic. Don’t worry, you don’t need to be a sewing expert to fix this. With a few basic supplies and this step-by-step guide, you can easily shorten your boyfriend jeans to the perfect length, giving them a fresh, custom fit. Let’s get started on making those jeans work for you.
Why Hemming Your Boyfriend Jeans Matters

The beauty of boyfriend jeans lies in their laid-back vibe. However, an ill-fitting hem can undermine this intentionally relaxed style. When jeans are too long, they can:
- Bunch awkwardly around your ankles, making your legs look shorter.
- Drag on the ground, leading to fraying and premature wear.
- Make your footwear less visible, impacting the overall outfit aesthetic.
- Feel cumbersome and less comfortable due to excess fabric.
Hemming them yourself is a practical skill that saves money and allows you to achieve a perfect fit tailored precisely to your height and preferred footwear. It’s about taking control of your style and ensuring your favorite jeans always look their best.
Gathering Your Essential Tools
You don’t need a fancy sewing machine for this project. The beauty of hemming boyfriend jeans is its accessibility. Here’s a straightforward list of what you’ll need:
| Tool | Description |
|---|---|
| Measuring Tape or Ruler | For accurate length measurement. A flexible sewing tape measure is ideal, but a rigid ruler works too. |
| Fabric Scissors | Sharp scissors specifically for cutting fabric. Kitchen scissors or dull craft scissors can lead to uneven edges. |
| Fabric Marker or Chalk | To mark your cut line and hemline. Test on an inconspicuous area first to ensure it washes out. |
| Pins | To hold the fabric in place while you measure and sew. Straight pins are best. |
| Iron and Ironing Board | To press creases and ensure a neat finish. Essential for a professional look. |
| Sewing Needle | A standard sewing needle for hand-stitching. If you plan to use a machine, ensure it’s set up for denim. |
| Thread | Matching thread color to your jeans or contrasting thread for a stylistic detail. Denim thread is recommended if available. |
| Seam Ripper (Optional) | If you need to remove an existing hem to maintain the original look. |
Step-by-Step Guide to Hemming Boyfriend Jeans

Let’s break down the process into simple, manageable steps. We’ll focus on a clean, durable hem that looks like it was done professionally.
Step 1: Decide on Your Desired Length
This is the most crucial first step. Try on your boyfriend jeans with the shoes you plan to wear them with most often. Stand in front of a mirror and decide where you want the hem to hit. Do you want them to just skim the top of your shoes? A little higher to show off your ankle? Make a mental note, or even better, use a pin to mark your target length on the side seam.
Consider the style of boyfriend jeans. Some are meant to be cropped, while others just need a slight trim. For a classic boyfriend jean, a length that hits just at or slightly above the ankle bone often works best, allowing them to fall naturally without bunching.
Step 2: Measure and Mark Your Cut Line
Lay your jeans flat on a smooth surface, like a table or the floor. Smooth out any wrinkles. Now, measure from the marked spot on the side seam down to the existing hem. Double this measurement to account for both the length you want to cut off and the amount you’ll need for your new hem allowance. A common hem allowance for denim is about 1 to 1.5 inches.
Using your fabric marker or chalk, draw a straight line across the leg of the jeans, parallel to the original hem, at your calculated cut-off point. Repeat this on the other leg, ensuring the measurement is identical so the jeans are even. For extra accuracy, measure from the crotch seam down to your marked line on both front and back panels for total consistency.
Step 3: Cut Off the Excess Fabric
With your fabric scissors, carefully cut along the line you marked. Take your time to ensure a straight cut. If your jeans have a thick, rolled hem that you want to replicate, you might need to use a seam ripper to carefully undo the original stitching first. Store the cut-off fabric in case you need it for any other small projects.
If you want to achieve a frayed hem look, you can skip this step and directly move to creating the fray, or cut slightly higher and then manually fray the edge.
Step 4: Prepare the New Hem
Here’s where you prepare the fabric for the new fold. This method will create a clean, finished hem. It’s important to create a narrow hem to avoid adding too much bulk, which can look unflattering on boyfriend jeans.
Option A: Fold Twice Method (Recommended for a clean finish)
- Turn the jeans inside out.
- Fold the raw edge up towards the inside of the jean leg by about ½ inch. Press this fold firmly with your iron to create a crease.
- Fold the creased edge up again, this time by about 1 to 1.5 inches (depending on how wide you want your final hem). Press firmly with the iron to create a second, crisp crease. This double fold encases the raw edge, preventing fraying and giving a neat finish.
Option B: Single Fold Method (Quicker, but may fray)
- Turn the jeans inside out.
- Fold the raw edge up by about 1.5 to 2 inches. Press firmly with your iron to create a crisp crease. This method is faster but leaves a raw edge visible on the inside, which may fray over time.
Ensure the folded hem is even all the way around the leg. If you removed an existing hem, you might need to measure how much fabric was originally used for the hem to guide your folding. For a more polished look, consider pressing the hem flat with an iron to ensure sharp creases.
Step 5: Pin the Hem in Place
Once you have folded and pressed your hem, it’s time to secure it with pins. Starting from the side seam, insert pins perpendicular to the folded edge, spacing them about 1 to 2 inches apart. These pins will hold the hem in place while you stitch, preventing it from shifting. Make sure the pins go through all the layers of fabric you’ve folded.
Ensure you are pinning the hem on the wrong side (inside) of the jeans. If you’re going for a subtle, almost invisible hem, you might need to be more precise with your pinning to ensure the folded edge lies flat and neat.
Step 6: Hand Stitch or Machine Sew the Hem
Now it’s time to make the hem permanent. You have two main options:
Hand Sewing:
- Thread your needle with a length of matching thread (about 18-24 inches). Knot the end securely.
- Working from the inside of the jean leg, start stitching slightly below the folded edge.
- Use a strong, almost invisible stitch like a blind hem stitch or a small running stitch. For a blind hem stitch, catch just a few threads of the outer fabric with each stitch, then move the needle back into the folded hem to make a longer stitch. This makes the stitches very hard to see from the outside.
- Continue stitching all the way around the hem, removing pins as you go.
- When you reach the beginning, secure the thread with a knot and trim any excess.
Machine Sewing:
- Set up your sewing machine with a denim needle and matching thread.
- Place the pinned hem under the sewing machine foot, aligning the raw edge of the folded hem with the presser foot.
- Start sewing about ½ inch before your starting point, backstitching to secure the beginning of your seam.
- Sew all the way around the hem, following the folded edge. Continue sewing about ½ inch past your starting point and backstitch again to secure the end.
- Trim any excess thread.
For hand sewing, using a doubled thread will make your stitches stronger. If you’re machine sewing, a longer stitch length (around 2.5-3mm) is usually best for denim to prevent it from tearing along the seam.
Step 7: Final Touches and Pressing
Once the stitching is complete, remove all the pins. Turn your jeans right side out. You should see a neat, finished hem. Use your iron and ironing board to press the new hem firmly. This step is crucial for giving your jeans a polished, professional look. Press from the outside of the leg, focusing on the seam of the new hem.
If you opted for the double-fold method, the raw edge is hidden inside, and you should have a clean, sharp line. If you chose a single fold or a frayed hem, this pressing will set the shape nicely.
Creating a Frayed Hem (Optional)

If you prefer a more casual, distressed look, you can create a frayed hem. This works best if you cut above the original hem while keeping the leg intact, or if you carefully remove the original hem with a seam ripper.
- Cut your jeans to the desired length, leaving about 1 to 1.5 inches of fabric below your final mark.
- Fold this excess fabric up once, by about ½ inch, and press it to create a crease. This fold will help control how much it frays.
- Fold it up a second time to meet the original hemline position, or slightly above. Press firmly.
- Now, instead of sewing, you will carefully pull threads. Using tweezers or your fingers, start pulling out individual vertical threads from the folded edge. Work your way around the entire circumference of the leg.
- As you pull threads, the horizontal threads will loosen and create a fringe. You can achieve more or less fraying depending on how many threads you pull and how much you wash and wear the jeans afterwards.
- To set the fray and prevent it from unraveling too much, you can use a fabric sealant like Fray Check along the inside of the fold, just above where you want the fray to stop. This seals the threads and prevents excessive unraveling.
Washing your jeans after creating a frayed hem will naturally enhance the distressed look. Be prepared for some additional fraying in the wash.
Different Hem Styles for Boyfriend Jeans

Beyond the standard hem, there are a few variations you can try to suit your personal style and the overall look of your boyfriend jeans:
| Hem Style | Description | Best For |
|---|---|---|
| Standard Clean Hem | A double-folded, stitched hem that provides a neat, finished edge. | All styles, for a polished and durable finish. |
| Rolled Cuff Hem | The fabric is folded up multiple times to create a visible cuff. This is often achieved by shortening the jeans and then cuffing them strategically, or by creating a shorter fixed cuff. | Casual looks, can be adjusted to show off footwear or add a stylistic element. |
| Frayed Hem | Raw edges with threads intentionally pulled to create a distressed, casual look. | Relaxed, edgy styles. Requires careful finishing to prevent excessive unraveling. |
| Raw Hem (No Roll) | The fabric is cut and left as a raw edge without folding or stitching. This is the most distressed option but can unravel significantly. | Very casual, high-fashion distressed looks. Often requires a fabric sealant. |
| Contrast Stitch Hem | Using a thread color that stands out against the denim for the stitching. | Adding a subtle design detail, especially to clean or rolled hems. |
Troubleshooting Common Hemming Issues
Even with the best intentions, you might encounter a few hiccups. Here’s how to handle them:
- Uneven Hemline: If you notice one leg is shorter or the hem isn’t straight after cutting, don’t despair. You can often adjust by trimming a little more off the longer side or re-folding and re-pinning to correct the line before sewing. For a quick fix after sewing, you can try to subtly roll or cuff to even things out.
- Thread Snapping: If your thread keeps breaking, especially when machine sewing, your needle might be blunt or the wrong type for denim. Ensure you’re using a strong needle designed for heavy fabrics like denim. You can find guidance on needle types from manufacturers like Schmetz Needles.
- Stitches Pulling or Puckering: This can happen if your thread is too tight or your stitch length is too short. Try loosening your top tension slightly on a sewing machine, or use slightly longer stitches if hand sewing.
- Fabric Frays Too Much: If you created a frayed hem and it’s unraveling excessively, carefully applying a fabric sealant like Fray Check (mentioned earlier) along the inside top edge of the fray will help stabilize it.
- Hem Too Bulky: If the folded hem feels too thick, you might have folded too much fabric. For future projects, aim for a narrower hem allowance (e.g., 1 inch total for a double fold). For the current pair, if it’s severely bulky, you might need to unpick and re-fold with less fabric.
Frequently Asked Questions About Hemming Boyfriend Jeans
Q: How much fabric should I leave for a hem?
A: For a clean, stitched hem on boyfriend jeans, leave about 1 to 1.5 inches of fabric below your desired finished length. This gives you enough to fold twice and sew securely.
Q: Can I hem boyfriend jeans without a sewing machine?
A: Absolutely! Hand-sewing with a strong needle and thread is very effective for hemming denim. A blind hem stitch creates a nearly invisible finish.
Q: How do I ensure both legs are the same length?
A: Lay your jeans flat and measure from the crotch seam down to your marked hem line on both the front and back panels of each leg. This ensures evenness across the entire circumference.


