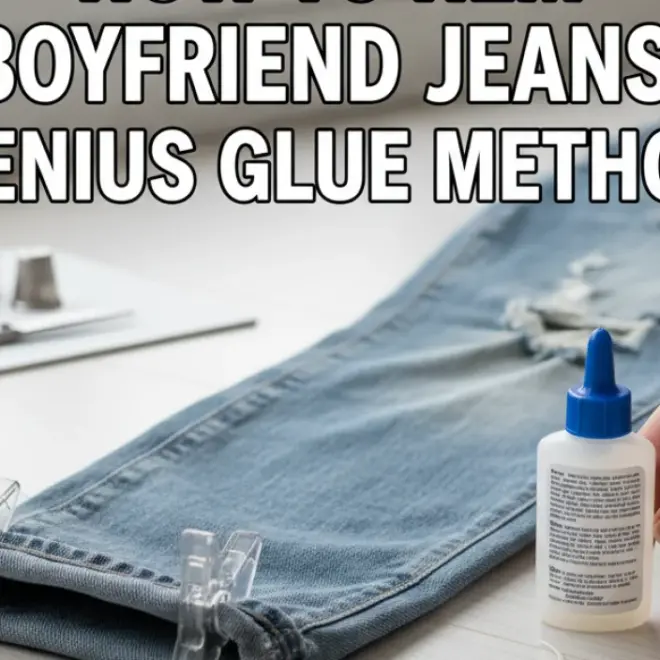
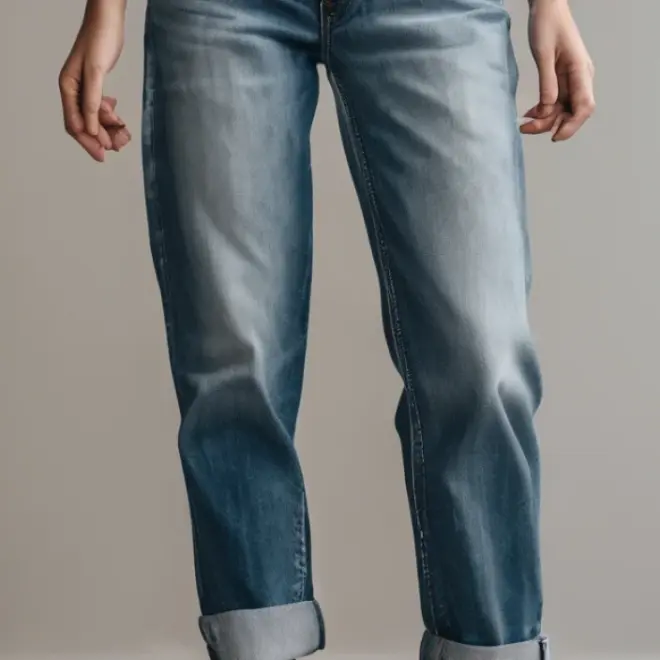
Hemming your boyfriend jeans is a simple way to achieve a custom fit and a polished look, ensuring they sit perfectly at your ankle for any occasion. This guide provides easy, step-by-step instructions for a flawless finish.
Boyfriend jeans are a wardrobe staple, offering comfort and a relaxed style. But when they’re a little too long, they can look sloppy instead of chic. You might wonder if you need to be a sewing expert or own a fancy machine. The good news is, you don’t! This guide breaks down exactly how to hem your favorite boyfriend jeans quickly and easily, even if you’ve never sewn before. We’ll go through everything you need, from measuring to the final stitch, so you can get that perfect cropped look with confidence.
Why Hemming Boyfriend Jeans is Essential
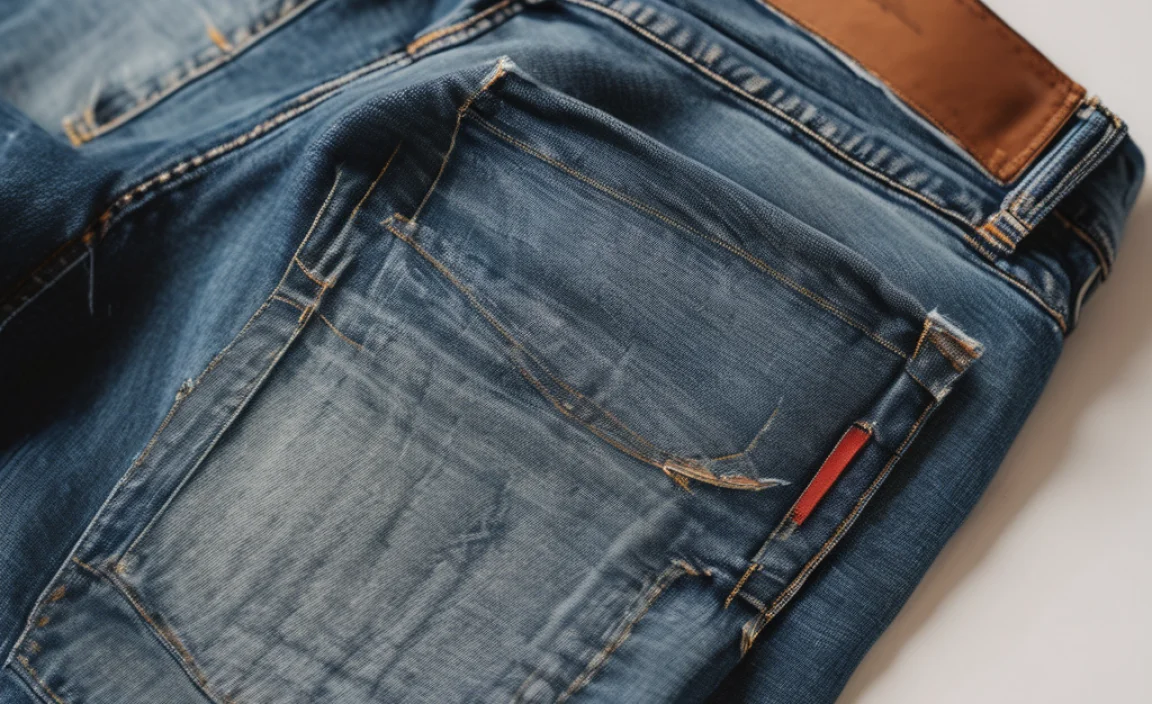
The beauty of boyfriend jeans lies in their laid-back charm, but this charm can quickly turn into an unflattering slouch if the length is wrong. A hemline that’s too long can make your legs appear shorter and your outfit look unkempt. Achieving the right length is crucial for:
- Improving Silhouette: A well-hemmed jean visually elongates your legs and creates a more balanced proportion with your overall outfit.
- Enhancing Style Versatility: Whether you want to show off your favorite sneakers, stylish boots, or sleek sandals, the correct hemline makes styling effortless.
- Preventing Unwanted Fraying: If your jeans are too long, the fabric can drag on the ground, leading to premature wear and tear, and unsightly fraying.
- Achieving a Custom Fit: While “boyfriend” implies a relaxed fit, the length should still be tailored to your specific height for maximum style impact.
Tools You’ll Need for Effortless Hemming

Gathering the right supplies makes the process smooth and successful. Here’s what you’ll need:
- Fabric Scissors: Sharp scissors specifically for fabric will ensure clean cuts.
- Measuring Tape or Ruler: For precise measurements.
- Fabric Chalk or a Removable Fabric Pen: To mark your cut line.
- Pins: To hold the fabric in place while you work.
- Iron and Ironing Board: To press creases and help with fabric manipulation.
- Needle and Thread: Choose a thread color that matches your jeans closely, or opt for a contrasting color for a visible stitch detail if desired.
- Seam Ripper (Optional but helpful): For removing the original hem if you want a clean finish.
Choosing the Right Hem Length
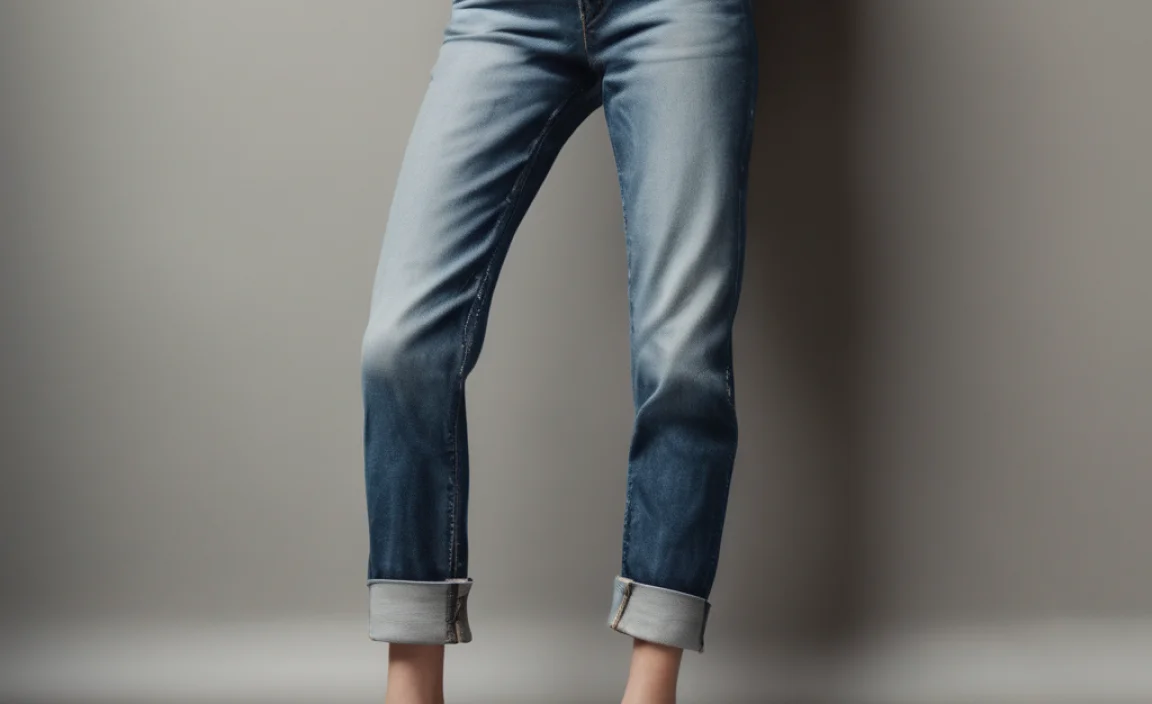
The ideal hem length for boyfriend jeans depends on your personal style and the type of shoe you plan to wear. Consider these common lengths:
| Hem Style | Approximate Length from Inseam | Best For | Look |
|---|---|---|---|
| Ankle Crop | 1-2 inches above the ankle bone | Sneakers, loafers, ankle boots | Modern, casual, shows off footwear |
| Slight Crop | At the ankle bone | Most shoes, versatile | Clean, polished, everyday |
| Shorter Crop | 2-3 inches below the knee | Sandals, espadrilles, playful styles | Edgy, summery, statement-making |
When in doubt, start by marking a slightly longer length. You can always trim more off, but you can’t add fabric back.
Step-by-Step Guide: How to Hem Boyfriend Jeans
Let’s get those jeans to fit perfectly. Follow these simple steps for a professional-looking hem.
Step 1: Try Them On and Mark the Desired Length
Put on the boyfriend jeans and the shoes you typically wear with them. Stand in front of a mirror. Decide where you want the hem to fall. Use fabric chalk or a pen to mark the exact spot on one leg. It’s helpful to make a small horizontal dash.
Tip: It’s easier to get an even hem if you try them on with shoes that have a heel height similar to your usual footwear.
Step 2: Measure and Mark the Second Leg
Take off the jeans. Lay them flat on a clean surface. Measure from the marked spot on the first leg down to the original hem. Transfer this measurement to the second leg, ensuring it’s parallel to the cuff. Mark the desired hem length on the second leg as well. If you want a clean, factory-like hem, measure an additional 1-1.5 inches down from your desired finished length for the seam allowance and cut line. This extra fabric will be folded up or sewn.
Expert Insight: For a perfectly even hem, you can fold the jeans in half lengthwise, aligning the inseam and the outseam, and then mark the length. This assumes the original leg is cut evenly.
Step 3: Cut the Excess Fabric
Using your sharp fabric scissors, carefully cut along the marked line for your cut line (which includes your seam allowance if you added one). Try to make the cut as straight as possible. If you plan to keep the original hem for a cuffed look, you’ll need to remove the original stitching first using a seam ripper, then adjust the length and re-sew.
Step 4: Prepare the Hem for Sewing
Option A: Simple Fold (No-Sew or Minimal Stitch)
If you opted for just folding up the fabric one time (about 1 inch) without a cutting for seam allowance, press this fold with your iron to create a crisp crease. You can then do a quick hem stitch by hand or machine, or even use a strong fabric glue, being careful not to add too much bulk.
Option B: Clean Hem with Seam Allowance
If you cut with a seam allowance (e.g., 1-1.5 inches), fold the raw edge up towards the inside of the jean by about 1/2 inch and press with the iron. Then, fold it up again by the remaining amount (e.g., 1/2 to 1 inch) so that the raw edge is completely enclosed. Press this second fold firmly to create a neat hem. Pin the folded hem in place all the way around.
Step 5: Sew the Hem
Hand Sewing: Use a needle and thread starting from the inside of the hem. You can use a hemming stitch (also called a blind stitch) which is nearly invisible from the outside. Catch just a thread or two of the jean fabric on the outside with each stitch, and then go back into the folded hem. Try to space your stitches evenly and pull the thread taut but not so tight that it puckers the fabric.
Machine Sewing: If you have a sewing machine, you can use a straight stitch or a zigzag stitch along the top edge of the folded hem. If your jeans have a contrast stitch on the original hem, try to match it. Ensure you use a needle appropriate for denim. For a more durable finish, a double stitch can be beneficial for jeans.
No-Sew Hem (Temporary): If you need a quick fix and don’t have sewing supplies, you can use a strong fabric glue or iron-on hem tape. Follow the product instructions carefully, ensuring the fold is pressed neatly before application. This is often less durable than sewing.
Step 6: Finish and Press
Once you’ve sewn the hem, remove all the pins. Turn the jeans right-side out. Gently pull on the hem to ensure it lies flat. Give the hem a final press with the iron. This sets the stitches and gives your jeans a clean, finished look. If you removed the original hem and want to recreate the slightly worn, frayed look of the original cuff, you can gently pull some threads from the newly sewn hem, or use a seam ripper to slightly unravel the outer edge of the seam.
Pro-Tip: If you want an intentionally frayed hem, you’ll want to cut at your desired length and then gently pull threads from the cut edge to create the fringe. You can then secure the very top of the fringe with a few small stitches to prevent it from unraveling further up the leg.
Variations: Achieving Different Hem Looks
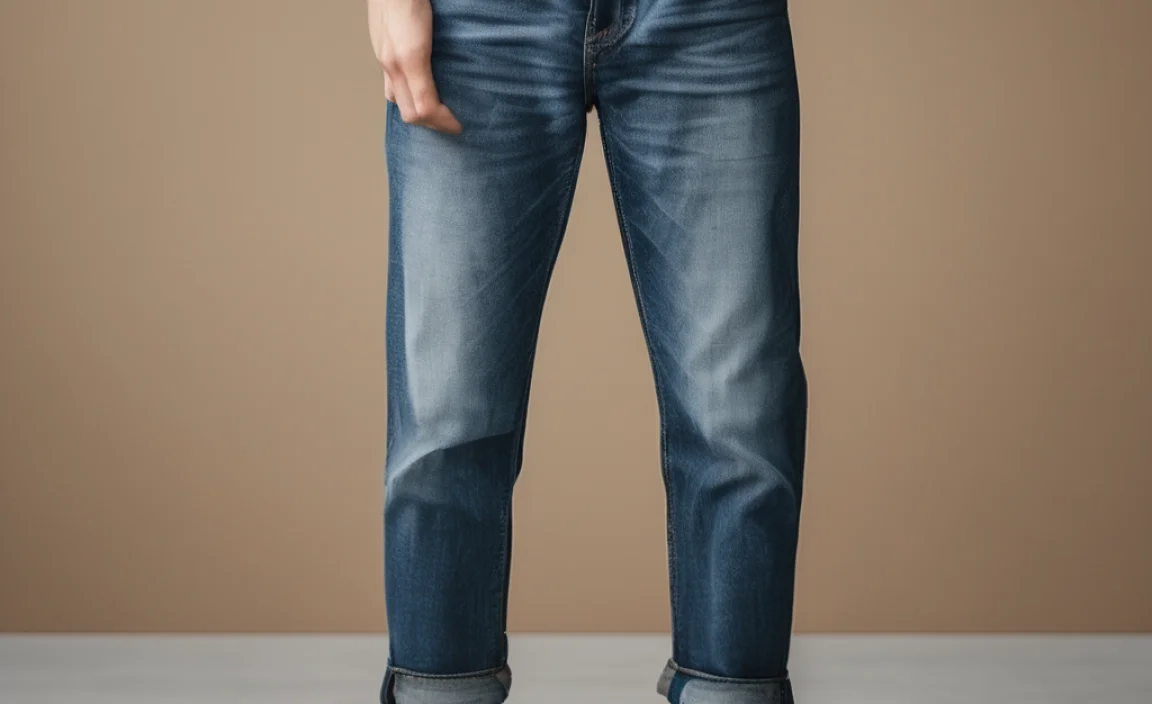
Hemming isn’t just about length; it’s about style. Here are a couple of popular variations:
The Raw Hem
This is a popular, edgy look that requires minimal sewing. After cutting your jeans to the desired length, you can simply leave the edge raw. To give it a slightly more intentional look and prevent excessive fraying, you can:
- Gently pull out some vertical threads from the cut edge to create a fringe.
- Add a few small, discreet stitches along the top of the fringe to stop it from unraveling too far up the leg.
- Wash the jeans once or twice to encourage natural fraying.
The raw hem adds character and a touch of undone chic, perfect for a relaxed vibe.
The Cuffed Hem
This classic look involves folding the hem up. For boyfriend jeans, a slightly wider cuff often works best. You can either:
- Permanent Cuff: Measure your desired finished length, add the cuff width (e.g., 2-3 inches) plus a small seam allowance, cut, fold the excess for seam allowance, stitch it neatly, then fold the cuff up twice to your desired width and press. Secure the cuff by hand-stitching discreetly on the inside.
- Temporary Cuff: Simply fold the bottom of the jean up twice to create your desired cuff width. If the fabric is thick, one fold might suffice. Press firmly with an iron. This is great for experimenting with lengths or for a quick fix.
A cuffed hem can highlight your shoes and add a tailored touch even to relaxed-fit jeans.
Maintaining Your Hemmed Jeans
To keep your newly hemmed boyfriend jeans looking their best and the hem intact, follow these care tips:
- Washing: Turn jeans inside out before washing. Use cold water and a gentle cycle. This helps preserve the color and the stitches. For raw hems, washing can encourage more fraying.
- Drying: Air dry your jeans whenever possible. Hang them from the waistband or lay them flat. If you must use a dryer, use a low heat setting and remove them while slightly damp to prevent shrinkage and excessive wrinkling.
- Ironing: If you need to iron the hem, do so from the inside to avoid creating a shine on the outer fabric. For raw hems, ironing isn’t typically necessary and can disrupt the frayed look.
- Mending: Periodically check your hem for any loose threads or stitches. Make quick repairs as needed to prevent further unraveling or damage.
Troubleshooting Common Hemming Issues
Even with careful planning, you might encounter a few snags. Here’s how to fix them:
Issue: Hem is uneven.
Solution: If the unevenness is slight, you can sometimes trim a little more off the longer side to even them up. For a more significant issue, you might need to unpick the hem and re-measure and re-cut. Always check with shoes on for the most accurate fit.
Issue: Stitching is puckering or loose.
Solution: If your stitches are puckering, your thread might be too tight, or your tension on the sewing machine is off. Try loosening your thread or adjusting machine tension. For loose stitches, you might be catching too much fabric or not pulling the thread taut enough. For hand sewing, try smaller, more consistent stitches.
Issue: Fabric is too thick to fold neatly.
Solution: For very thick denim, a single fold might create too much bulk. You can opt for a simpler hem by folding just once and securing it with a strong stitch or even fabric glue along the fold. Alternatively, a raw hem is a great solution for thick denim, as it avoids bulk altogether. You can also consider a cleaner, narrower hem on the inside if you don’t plan on folding a wider hem.
Issue: Original hem thread is different.
Solution: If you want a factory-like finish and your original hem had contrast stitching, you can try to match it with a contrasting thread. If you’re hand-sewing and don’t want to deal with matching difficult colors, using a thread that closely matches the denim color will be the least noticeable.
FAQ: Your Hemming Questions Answered
Q1: Do I need a sewing machine to hem jeans?
A1: No, you don’t need a sewing machine. Jeans can be neatly hemmed by hand using a needle and thread. For a quick fix, fabric glue or iron-on hem tape can also work, though they may be less durable.
Q2: How much fabric should I leave for the hem allowance on jeans?
A2: For a clean, folded hem, leave about 1 to 1.5 inches of fabric below your desired finished length. This allowance is folded up twice to create a neat, doubled edge.
Q3: Can I hem jeans without cutting them?
A3: Yes, you can create a temporary or permanent cuff by folding the existing hem up. For a more secure and neat permanent cuff, you would typically need to remove the original stitching, adjust the length, and re-sew.
Q4: What is the best way to hem jeans without a sewing machine?
A4: The best non-machine method is hand-sewing using a blind stitch or hemming stitch, which creates a nearly invisible finish. Fabric glue or hem tape are faster alternatives but might show more or be less durable.
Q5: How do I make sure my hem is straight?
A5: Try the jeans on with your shoes and mark the length. Lay the jeans flat, fold them in half lengthwise matching seams, and measure from your mark to ensure evenness on both sides. Using tailor’s chalk or a washable marker for precise lines is also crucial.
Q6: My jeans are stretchy denim. How does that affect hemming?
A6: Stretchy denim can be trickier as it might stretch out of shape while you’re sewing. Be gentle when handling the fabric, and consider using a ballpoint needle if machine sewing, as recommended by sewing experts at Better Homes & Gardens. A slight tugging on the fabric while sewing can cause puckering.
Conclusion
Hemming your boyfriend jeans is a straightforward process that can significantly enhance their look and your overall style. By following these simple steps, gathering the right tools, and paying attention to detail, you can achieve a professional-looking finish that perfectly complements your figure and footwear. Whether you prefer a clean, finished edge, a trendy raw hem, or a classic cuff, the power to customize your denim is well within your reach. Don’t let ill-fitting jeans detract from your style; take a little time to hem them properly and enjoy the confidence that comes with perfectly tailored denim.


