Quick Summary: Hemming dad jeans with fabric glue is a fast, no-sew way to get the perfect fit. This guide shows you how to use fabric glue to achieve a clean, durable hem that looks professional, saving you time and hassle without needing any sewing skills.
How to Hem Dad Jeans with Genius Fabric Glue: A No-Sew Secret
Love the relaxed, stylish fit of dad jeans but wish they were just a little bit shorter? You’re not alone. Finding the perfect length can be tricky, and traditional hemming with a sewing machine can feel daunting. But what if I told you there’s a simple, almost magical way to get that custom fit using just fabric glue?
This method is fantastic for beginners and experienced DIYers alike. We’re talking about a strong, flexible bond that holds up wash after wash, all without a single stitch. Imagine transforming your favorite pair of slightly-too-long jeans into your go-to denim in under an hour. Let’s get those jeans fitting just right!
Why Fabric Glue is Your New Best Friend for Hemming Jeans
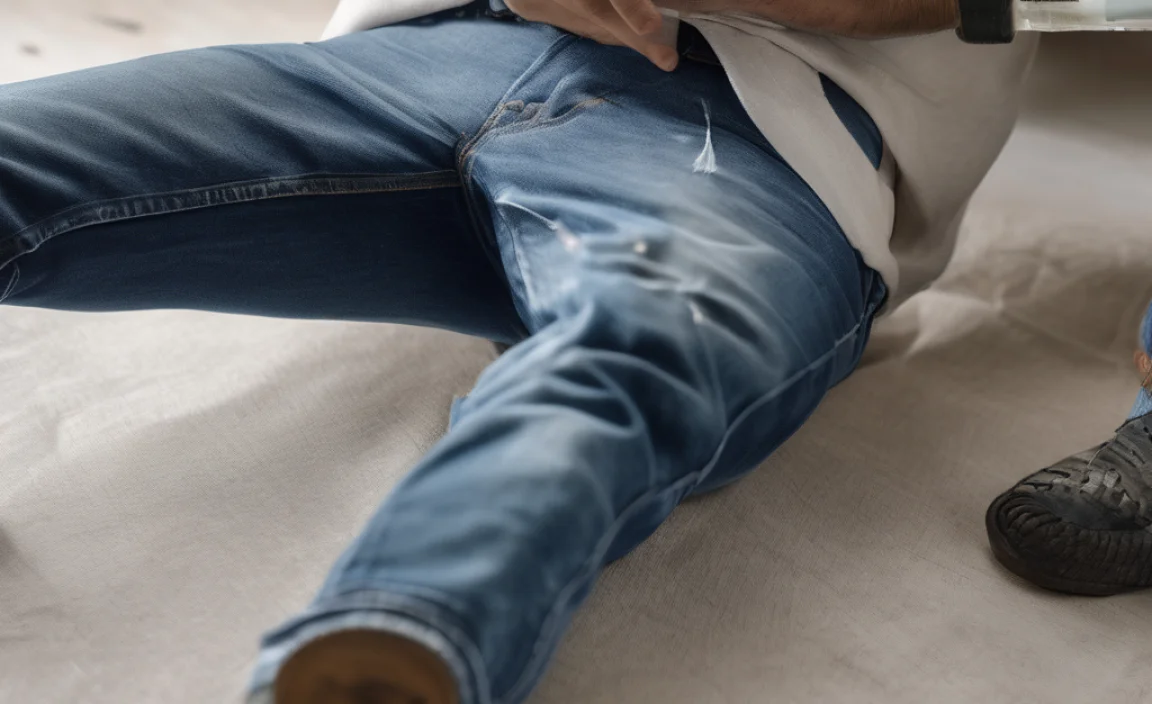
Sewing machines can be intimidating, and hand-sewing can take ages. Fabric glue offers a brilliant alternative. It’s designed to bond fabric permanently, creating a flexible and durable seam. For dad jeans, which often have a looser weave and thicker denim, fabric glue is surprisingly effective.
Key Benefits of Using Fabric Glue:
- Speed: It’s incredibly fast compared to sewing.
- Simplicity: No sewing skills required – perfect for beginners.
- Durability: Modern fabric glues are designed to withstand washing and wearing.
- Clean Finish: When applied correctly, the hem looks neat and professional.
- Cost-Effective: Cheaper than paying for alterations or buying new jeans.
What You’ll Need: Your No-Sew Hemming Toolkit
Gathering your supplies before you start makes the process smooth and stress-free. Here’s what you’ll need:
- Your Dad Jeans: The star of the show!
- Fabric Glue: Look for a reputable brand specifically designed for fabrics. Brands like Aleene’s Fabric Fusion, Gorilla Fabric Glue, or Dritz Fabric Glue are excellent choices. Check reviews for washability and flexibility.
- Fabric Scissors: Sharp scissors are crucial for a clean cut.
- Measuring Tape or Ruler: For accurate measurements.
- Fabric Marker or Tailor’s Chalk: To mark your hemline.
- Iron and Ironing Board: To press the hem in place and activate some glues.
- Cardboard or Plastic Sheeting: To insert inside the jean leg to prevent glue from seeping through.
- Optional: Pins or Clips: To temporarily hold the hem in place while the glue dries.
Step-by-Step Guide: Hemming Dad Jeans with Fabric Glue
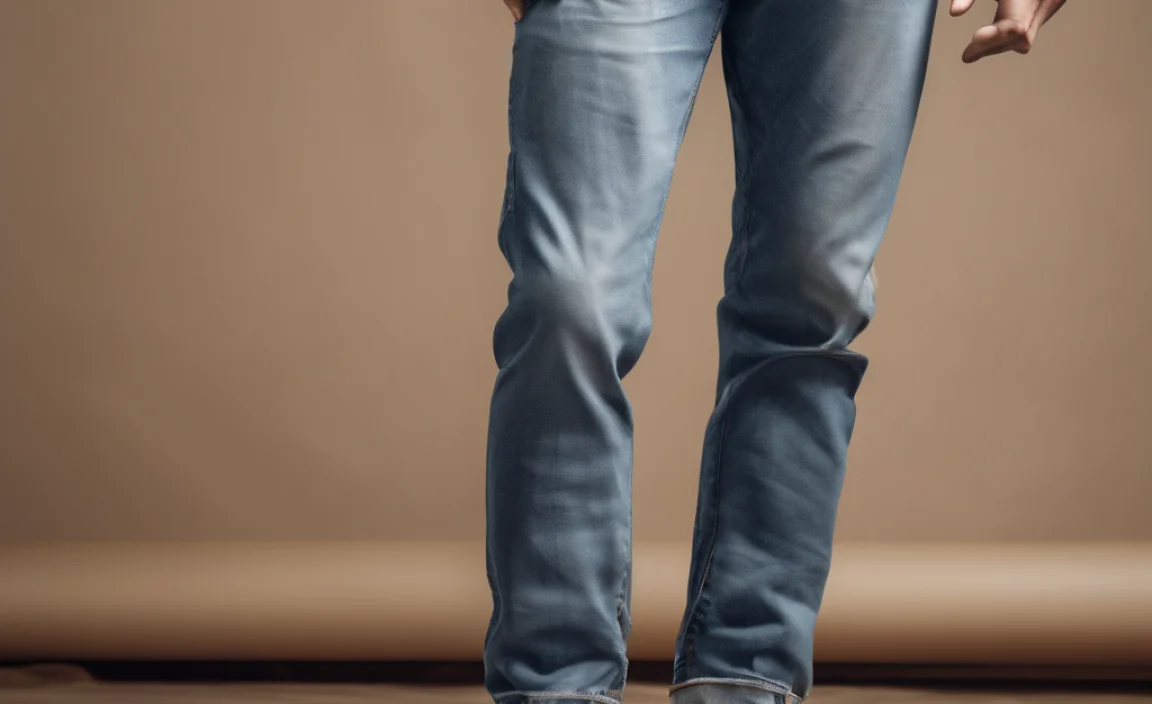
Follow these simple steps, and you’ll have perfectly hemmed dad jeans in no time.
Step 1: Measure Twice, Cut Once (or Glue!)
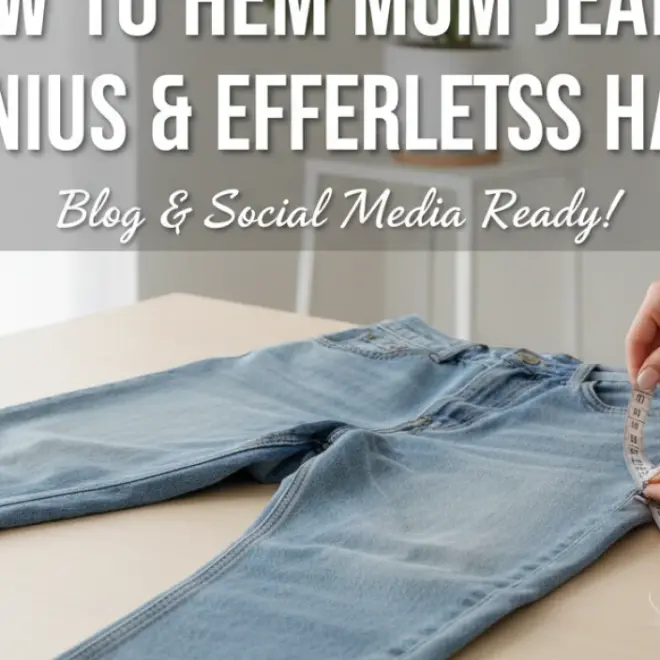
Put on your dad jeans and stand in front of a mirror. Decide where you want the hem to fall. Use your measuring tape or ruler to measure from the bottom of the jean cuff up to your desired hemline. Mark this point on one of the legs. It’s helpful to have a friend assist with this or to take a photo to double-check your measurements.
Once you have your mark, take off the jeans. Lay them flat on a hard surface. Use your fabric marker or tailor’s chalk to draw a straight line across the leg at your marked measurement. Make sure this line is parallel to the original hem.
Step 2: Cut Off the Excess Fabric
This is where sharp scissors are essential. Carefully cut along the chalk line you just drew. Try to make the cut as straight as possible. You want to remove the bagian of the jean leg that is too long.
Tip: If you’re unsure about cutting, you can always trim a little less and then cut more if needed. It’s better to have slightly too much fabric than too little.
Step 3: Prepare the Jean Leg for Gluing
Now, it’s time to create the new hem. Fold the raw edge of the cut fabric upwards by about 1/2 inch (1.5 cm) towards the inside of the jean leg. Press this fold firmly with your iron. This creates a clean, folded edge.
Next, fold it up again. The second fold should be slightly larger, usually about 1 inch (2.5 cm), to create a double-folded hem. This gives a thicker, more substantial finish, mimicking a traditional hem and providing a good surface for the glue. Press this second fold firmly with your iron.
Insert a piece of cardboard or plastic sheeting inside the jean leg. This is crucial to prevent the fabric glue from seeping through to the other side of the denim, which could create a stiff or unsightly mark. Ensure the cardboard lies flat against the inside of the hem you just pressed.
Step 4: Apply the Fabric Glue
Carefully unfold the second, wider fold (the one you just pressed up to about 1 inch). You should see a crease line from your pressing. Apply a thin, even bead of fabric glue along this crease, directly onto the wrong side of the denim. Don’t apply too much; a little goes a long way. You want enough glue to coat the fabric edge but not so much that it oozes out.
If you’re using a glue that requires heat activation, check the product instructions. Some glues are activated by heat after application, while others bond as they dry.
Step 5: Re-fold and Secure the Hem
Now, carefully re-fold the hem, lining up the top edge of the fold with the original crease you pressed. Press down firmly to ensure good contact between the glued surfaces. The inside of the jean leg should now have a new, clean hem roughly 1/2 inch wide.
If you have fabric clips or pins, you can use them to hold the hem in place while the glue sets. Place them at intervals along the hem to keep it secure.
Step 6: Press with Heat (If Required) and Let it Cure
If your fabric glue requires it, this is where the iron comes in again. Place a pressing cloth (like a thin piece of cotton fabric) over the hem. Iron over the hem on both the inside and outside of the jean leg. Use the heat setting recommended by the glue manufacturer (usually a medium to high setting, depending on the fabric of your jeans).
Refer to the fabric glue manufacturer’s instructions for the recommended ironing time and temperature. For example, Aleene’s Fabric Fusion often recommends pressing for 30-60 seconds per section.
Once the glue has been applied and any necessary heat has been applied, it’s time for the crucial curing period. Fabric glue needs time to fully bond and reach its maximum strength. This can take anywhere from a few hours to 24-72 hours, depending on the product. It’s best to let the jeans sit undisturbed during this time. Avoid wearing them or washing them until the glue has fully cured.
Step 7: Inspect and Finish
After the curing period, gently remove any pins or clips. Inspect your new hem. It should be firm, neat, and securely attached. If any small sections seem loose, you can very carefully apply a tiny bit more glue and re-press as needed, allowing it to cure again. Your dad jeans are now ready to wear!
Comparing Hemming Methods for Dad Jeans
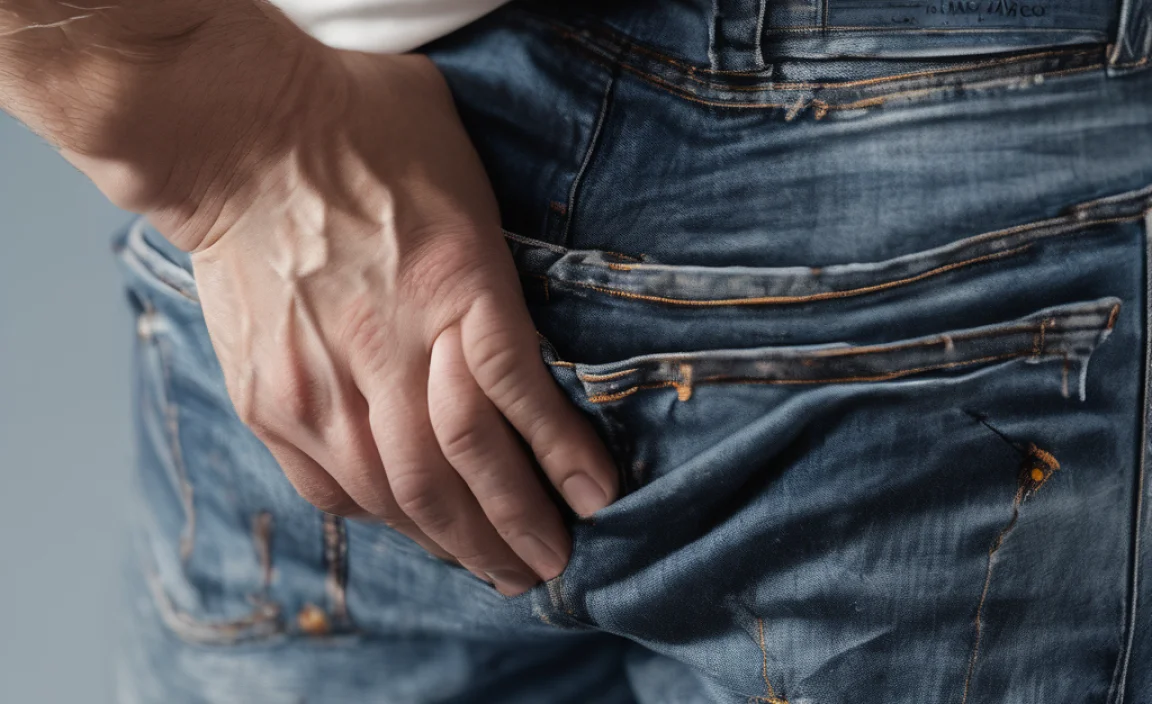
When it comes to customizing the length of your favorite denim, several options are available. Understanding the pros and cons of each can help you choose the best method for your needs.
| Method | Pros | Cons | Best For |
|---|---|---|---|
| Sewing Machine | Most durable and professional-looking finish; can handle heavy denim well. Creates a traditional, strong seam. | Requires a sewing machine and basic sewing skills; can be time-consuming; potential for skipped stitches or unevenness if inexperienced. | Permanent alterations, achieving a factory-like finish, for those comfortable with sewing. |
| Hand Sewing | Accessible for beginners, no special equipment needed beyond needle and thread. Allows for precise control. | Very time-consuming; can be difficult to achieve a perfectly straight or durable hem on thick denim; requires patience. | Small adjustments, quick fixes, when perfection isn’t the primary goal. |
| Fabric Glue | Fastest no-sew option; easy for beginners; requires minimal supplies; good for achieving a clean look quickly. | Durability can vary by brand and application; might become stiff if too much glue is used; requires proper curing time; may not hold up as well to very rough wear or frequent heavy washing as sewing. | Beginners, quick DIY projects, those who want a professional look without sewing, temporary hemming. |
| Hemming Tape (Iron-On) | No-sew, relatively quick; creates a temporary or semi-permanent hem; easy to use with an iron. | Can sometimes peel after washing or wear, especially with heavy denim; creates a less substantial hem than glue or sewing. | Temporary hemming, quick fixes, lighter-weight fabrics. |
External Resource: For general fabric handling tips and understanding different fabric types, consult resources like the National Park Service’s guide on fabric types.
Tips for Success and Longevity
To ensure your fabric-glued hem stays looking great, follow these extra tips:
- Read the Glue Instructions Carefully: Every fabric glue is slightly different. Pay close attention to application, drying times, curing times, heat requirements, and washing instructions. This is crucial for success.
- Work in a Well-Ventilated Area: Many fabric glues have fumes, so a well-lit and airy space is recommended.
- Test the Glue First: If you have scraps of the same denim fabric, test the glue on them to get a feel for how much to use and how it dries.
- Don’t Rush the Curing Process: This is perhaps the most critical step for durability. Resist the urge to wear or wash your jeans too soon.
- Washing Recommendations: When it’s time to wash, turn your jeans inside out. Use a gentle cycle with cold water and mild detergent. Line drying is always best for extending the life of any glued or sewn hem. Avoid high heat in the dryer as it can weaken the glue over time.
- Repairing a Loose Hem: If a section does come undone, don’t worry! Clean the area, apply a small amount of fresh glue, and re-press and re-cure.
Troubleshooting Common Issues
Even with the best intentions, things can sometimes go awry. Here are solutions to common problems:
- Glue Seeping Through: Ensure you’ve used adequate cardboard or plastic sheeting inside the leg. If glue has seeped, try to gently peel it off while it’s still slightly tacky, or carefully trim away any hardened excess from the outside once dry.
- Hem Feels Stiff: This is often a sign of too much glue. Try to gently bend and work the hem repeatedly to soften it. For future hemming, use a thinner bead of glue.
- Hem Comes Undone After Washing: This usually means the glue wasn’t fully cured, too little glue was used, or the wrong type of glue was selected. Try re-gluing, ensuring proper curing.
- Uneven Hemline: For future reference, ensure precise measurements and straight cutting lines. If it’s slightly uneven, you might be able to carefully trim a tiny bit more off and re-do the hem.
Frequently Asked Questions About Hemming with Fabric Glue
Q1: How long does fabric glue usually take to dry and cure?
Drying time is typically a few hours, but full curing can take 24 to 72 hours. Always check the specific product instructions, as this can vary significantly between brands and formulations.
Q2: Will the fabric glue be visible on dark denim?
If applied thinly and neatly along the inside fold, the glue should not be visible on dark denim, especially after it dries clear or becomes transparent. Over-application is the main culprit for visibility.
Q3: Can I hem colored jeans or jeans with a specific wash using fabric glue?
Yes, fabric glue generally works well on various denim washes and colors. Always test on an inconspicuous area first if you’re concerned about the glue affecting the dye or finish.
Q4: Is a fabric-glued hem as strong as a sewn hem?
A properly applied and cured fabric glue hem is very strong for everyday wear and regular washing. However, for extremely heavy-duty use or frequent rigorous activity, a sewn hem is generally considered more durable over the very long term.
Q5: What if I want to undo the hem later?
Some fabric glues can be softened with heat or specific removers, but it’s not always guaranteed. Fabric glue creates a permanent bond. If you anticipate wanting to change the length again, sewing or temporary hemming methods might be better.
Q6: Can I use fabric glue on the original hem of dad jeans to shorten them?
While possible, it’s often tricky and can result in an unfinished look because you lose the original “distressed” or finished edge. It’s generally recommended to cut the jeans and create a new hem with fabric glue for a cleaner result, as detailed in this guide.
Q7: Do I need special fabric glue for denim?
Most strong fabric glues designed for permanent bonding will work on denim. Look for glues that specifically mention ability to bond thick fabrics and flexibility after drying. Brands listed earlier are typically good choices.
Conclusion: Confidently Hem Your Dad Jeans
Transforming your dad jeans into the perfectly fitting pair you’ve envisioned is entirely achievable with the simple power of fabric glue. You’ve learned how to mark, cut, fold, and adhere your way to a flawless, no-sew hem. This method not only saves you time and money but also empowers you to take control of your wardrobe with confidence.
Remember to follow the steps carefully, pay attention to the glue’s instructions, and most importantly, allow adequate curing time. Soon, you’ll be sporting your (now perfectly hemmed!) dad jeans with pride, knowing you achieved that custom fit all by yourself. Happy hemming!


