Quick Summary: Hemming dad jeans by hand is a simple DIY project. With a few basic tools and this straightforward guide, you can easily adjust the length for a perfect fit, saving time and money without needing to visit a tailor.
How To Hem Dad Jeans By Hand: An Essential Guide
Dad jeans, beloved for their relaxed fit and comfortable style, can sometimes be a little too long. Don’t let a lengthy inseam keep you from rocking this retro favorite. Instead of paying for alterations or buying new jeans, you can easily hem them yourself right at home. This guide will walk you through every step, making it simple and stress-free, even if you’ve never sewn before. Get ready to give your favorite pair of dad jeans a custom fit!
Why Hem Your Dad Jeans?
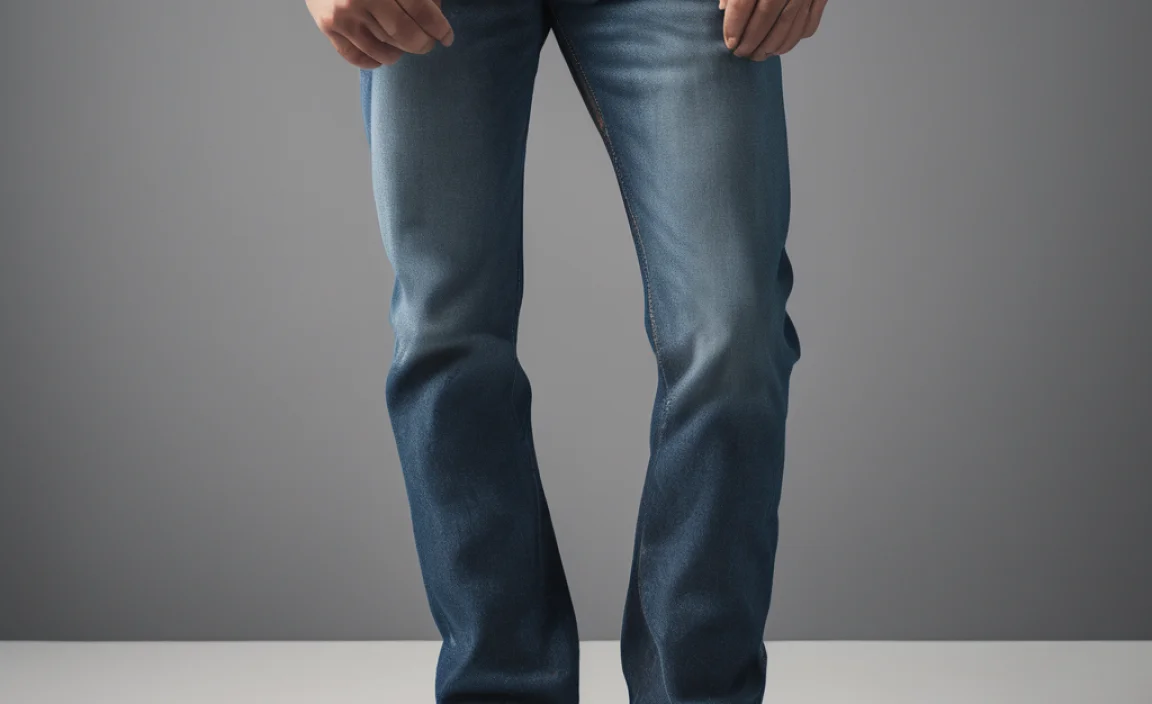
Ill-fitting jeans, especially those that are too long, can make an outfit look sloppy. Dad jeans, by their nature, are meant to be relaxed, but if the hem drags on the ground, it can look unkempt and even be a tripping hazard. Hemming them yourself offers several key advantages:
- Perfect Fit: Achieve the exact inseam length you desire.
- Cost-Effective: Save money compared to professional tailoring fees.
- Time-Saving: No need to schedule appointments or wait for services.
- Customization: Control the look of the hem – cuffed, raw, or a clean finish.
- Preserve Style: Maintain the original look and feel of your dad jeans.
What You’ll Need: Your Hemming Toolkit

Before you begin, gather these essential tools. You likely already have most of them in your home!
Essential Tools for Hand Hemming Jeans
| Tool | Description & Purpose |
|---|---|
| Sharp Fabric Scissors | For precise cutting. Dull scissors can snag fabric and create a ragged edge. |
| Fabric or Measuring Tape | To accurately measure the desired length. |
| Fabric Chalk or Civil Pen | To mark your cut line clearly on the denim. |
| Straight Pins | To hold the fabric in place while you sew. |
| Sewing Needle | A standard, sharp needle suitable for denim. Consider a slightly curved needle for easier manipulation. |
| Thread | Choose a strong thread that matches or complements your jeans. A denim-specific thread is a good option. |
| Iron and Ironing Board | To press seams and create crisp edges for easier sewing. |
| Seam Ripper (Optional) | Useful if you want to remove the original hem to replicate its look. |
| Ruler or Straight Edge | To ensure your cut line is perfectly straight. |
Preparing Your Dad Jeans
Proper preparation is key to a successful hem. Follow these steps:
- Wash and Dry Your Jeans: Always start this process with clean, fully dried jeans. This ensures the denim is in its final state, as washing can cause shrinkage.
- Try Them On: Put on the jeans and wear them with the shoes you typically pair them with. This is crucial for determining the correct length.
- Determine Desired Length: Stand in front of a mirror. Carefully observe where the hem of your jeans is hitting your shoe or the floor. You want the hem to sit just at the top of your shoe, or slightly above, to avoid the “pooling” effect.
- Mark the New Hemline: Using your fabric chalk or pen, make a small mark on the inside leg of one jean where you want the new hem to be. Repeat on the other leg, ensuring the marks are at the exact same height. For a precise line, you can measure from the crotch down to your desired mark on both legs to confirm they match.
- Consider Hem Allowance: Decide how much fabric you want to fold up for the new hem. A standard hem allowance for jeans is about 1 to 1.5 inches. Mark this additional line below your first marking, parallel to it. This is where you will cut.
- Cut the Excess Fabric: Lay your jeans flat on a stable surface. Using sharp fabric scissors, carefully cut off the excess fabric along the lower marking (your hem allowance line). Try to make as straight a cut as possible. Do this for both legs. Many people prefer to leave the original hem intact and create a new hem above it, especially for a more authentic look. If you wish to remove the original hem for reuse or a cleaner finish, use a seam ripper to carefully unpick the threads and then smooth out the fabric.
The Hand-Sewing Method: Step-by-Step
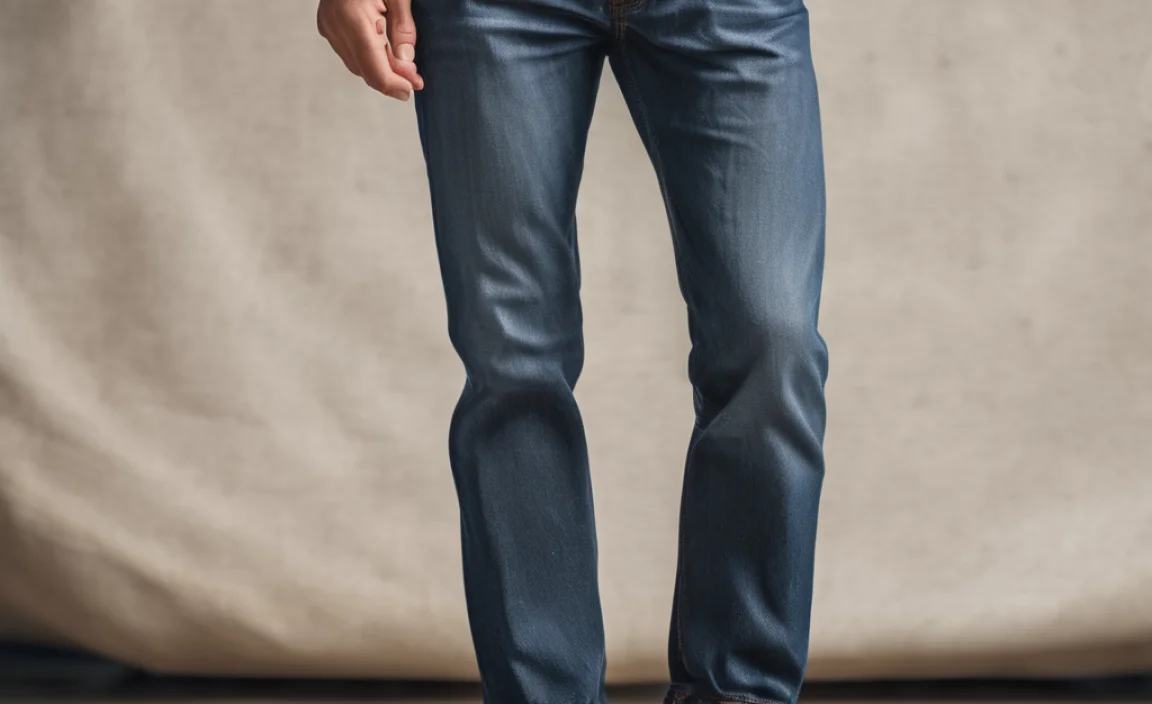
Now for the actual sewing. We’ll focus on a simple, clean hem that’s perfect for beginners. This method creates a durable and neat finish.
Simple Folded Hem Technique
- Fold and Press the Hem: Take the marked edge of one jean leg and fold about 1/2 inch of the raw edge inward. Press this fold firmly with your iron. This creates a crisp edge.
- Fold Again: Fold the edge over a second time, enclosing the raw edge. The amount you fold should correspond to your previously determined hem allowance, minus the first fold. For example, if you planned a 1.5-inch hem allowance, you’d fold 0.5 inches, then fold the remaining 1 inch to meet it. Press this second fold firmly. The goal is to create a clean, double-folded edge that won’t fray.
- Pin in Place: Secure the folded hem with straight pins. Place pins perpendicular to the folded edge, about every 1-2 inches, ensuring they go through all layers. The pins should be placed on the outside of the folded hem for easy removal as you sew.
- Thread Your Needle: Cut a piece of thread about 18-24 inches long. Thread it through your needle and tie a knot at the very end. A double knot is recommended for extra security.
- Begin Sewing: Start at one of the side seams of the jean leg, just below your last pin. Insert the needle from the outside of the folded hem upwards through the fabric. Pull the thread through until the knot stops it.
- The Blind Stitch (or Hemming Stitch): This stitch is ideal because it’s nearly invisible from the outside.
- Take a very small stitch on the folded edge of the hem, only catching a thread or two of the denim fabric.
- Then, move the needle a short distance (about 1/4 to 1/2 inch) along the folded edge and bring the needle back up from the fold.
- Next, take another tiny stitch on the main body of the jean, catching only a thread or two directly opposite where your needle emerged from the fold.
- Continue this sequence: small stitch on the folded hem, then a small stitch on the main jean body. Keep your stitches small and consistent for a neat finish.
- Sew Around the Leg: Continue sewing, carefully removing pins as you reach them, until you have gone all the way around the jean leg.
- Finish the Stitch: When you reach your starting point, make a few small, tight stitches in the same spot to secure the thread. Then, gently pull the needle through and make a small knot close to the fabric. Trim any excess thread.
- Repeat for the Other Leg: Turn the jeans over and repeat steps 1-8 for the second leg, ensuring the hem length and appearance match the first.
- Press Again: Once both legs are hemmed, give the new hems a final press with the iron to ensure they lay flat and look crisp.
Alternative Hemming Styles

While a clean, folded hem is practical, dad jeans also lend themselves well to a few other stylish hem finishes.
1. The Raw Hem
This creates a distressed, casual look. It’s the easiest finish as it requires no folding or extensive sewing.
- Cut your jeans to the desired length, leaving a bit extra if you want the hem to fray naturally.
- Create vertical snips every 1/2 inch along the cut edge, about 1 inch deep. This encourages fraying.
- Wash and dry the jeans. The cut edges will naturally fray and unravel.
- To stop excessive fraying, you can sew a straight stitch just above the frayed edge.
2. Replicating the Original Hem
This style is great for preserving the authentic look of your jeans.
- Carefully use a seam ripper to unpick the original hem. Keep the original hem band intact.
- Cut your jeans to your desired length, leaving enough fabric to reattach the original hem band.
- Fold the raw edge of the jean leg inwards by about 1/2 inch and press.
- Align the original hem band with this folded edge, right sides together. Pin securely.
- Using a needle and thread, carefully sew the hem band back onto the jean leg, as close to the original stitching line as possible. This requires a bit more precision. A sewing machine is often easier for this method, but it can be done by hand with patience.
Tips for Success and Longevity
Here are some extra tips to ensure your hand-hemming project goes smoothly and your new hems look great for a long time.
- Practice First: If you’re nervous, practice your stitch on a scrap piece of denim or an old garment before working on your dad jeans.
- Use a Thimble: A thimble can protect your finger and help you push the needle through the thick denim more easily.
- Stitch Length Matters: Small, consistent stitches look the most professional. Aim for about 1/8 inch to 1/4 inch between stitches.
- Thread Strength: Denim is a heavy fabric. Use a strong, durable thread. Gutermann thread is a popular choice for denim. You can find quality sewing threads at retailers like Joann Fabric and Craft Stores, a reputable source for sewing supplies.
- Ironing is Your Friend: Don’t skip the ironing steps! Pressing creates clean lines that make sewing much easier and result in a neater finish.
- Check Alignment: As you sew, periodically check that the folded hem is even all the way around.
- Consider Stitching Color: You can match the thread color exactly, or use a contrasting color for a decorative effect, especially on raw hems or if you’re aiming for a DIY aesthetic.
Common Pitfalls and How to Avoid Them
Even with the best intentions, beginners can encounter a few common issues. Here’s how to tackle them.
Potential Problems and Solutions
| Problem | Solution |
|---|---|
| Uneven Hemline | Measure carefully and mark your cut line precisely. Lay the jeans flat and use a ruler to ensure the cut is straight. If the stitch is uneven, focus on taking consistent small stitches. |
| Fraying Raw Edges (if not desired) | If you didn’t intend a raw hem and it’s fraying too much, you can carefully stitch a line just above the fraying with your needle and thread, or use fray-check liquid. For folded hems, ensure the raw edge is fully enclosed by the second fold. |
| Stitches Showing Too Much | Ensure you are using a blind stitch (catching only a thread or two of the main fabric) and keeping stitches small on the folded hem. A matching thread color will also help them blend in. |
| Jeans Still Too Long After Hemming | This requires unpicking the stitches and re-hemming with a higher fold. Next time, measure more conservatively or allow for a second fitting before cutting. The U.S. Consumer Product Safety Commission (.gov) offers resources on proper garment fitting and safety, which includes ensuring clothing is not too long and can be a useful reference for understanding fit. CPSC.gov |
| Wrinkled or Puckered Hem | Ensure you are pressing each fold with enough heat and steam from your iron. Smooth the fabric taut as you pin and sew. |
Frequently Asked Questions (FAQ)
Q1: Can I hem dad jeans without sewing?
A1: Yes, you can use fabric glue or iron-on hemming tape for a quick fix, but these methods may not be as durable or neat as hand-sewing, especially for denim which undergoes a lot of stress. For dad jeans, hand-sewing offers the best balance of ease and longevity.
Q2: How much length should I remove from my dad jeans?
A2: This depends on your personal preference and the shoes you wear. A good starting point is to have the hem fall just at the top of your shoes. Try them on with your favorite footwear and mark where you want the new hem to sit.
Q3: What kind of needle and thread should I use for denim?
A3: Use a strong, sharp needle. A “denim” or “jeans” needle is designed for thicker fabrics. For thread, opt for a heavy-duty polyester or cotton thread. Colors that match your jeans are common, but contrasting colors can add a visible DIY touch.
Q4: Can I hem skinny jeans the same way as dad jeans?
A4: The basic hand-hemming technique is the same. However, dad jeans are often made of thicker denim and have a looser fit, meaning you have more fabric to work with. The key is to ensure your stitch is neat and secure, regardless of the jean style.
Q5: How do I prevent my hand-sewn hem from unraveling?
A5: Double-folding the hem (folding the raw edge up twice) and securing it with a strong stitch, like a blind stitch, will prevent unraveling. Make sure to knot your thread securely at the beginning and end of your sewing line.
Q6: What is the best way to measure for hemming?
A6: Wear the jeans and the shoes you plan to wear them with. Stand in front of a mirror and have someone else mark the desired length with a ruler, or use a measuring tape yourself to mark the spot from the crotch down to where you want the hem to fall.
Conclusion
Hand-hemming your dad jeans might seem daunting at first, but as you can see, it’s a very achievable DIY project. By following these clear, step-by-step instructions, you’ve learned how to accurately measure, prepare your denim, and execute a neat and durable hem entirely by hand. You now possess the skills to give your favorite relaxed-fit jeans a perfect customized length, enhancing both their look and your comfort. This simple alteration not only saves you money but also empowers you to maintain your wardrobe with confidence. So grab your needle and thread, and enjoy the satisfaction of a perfectly hemmed pair of dad jeans!


