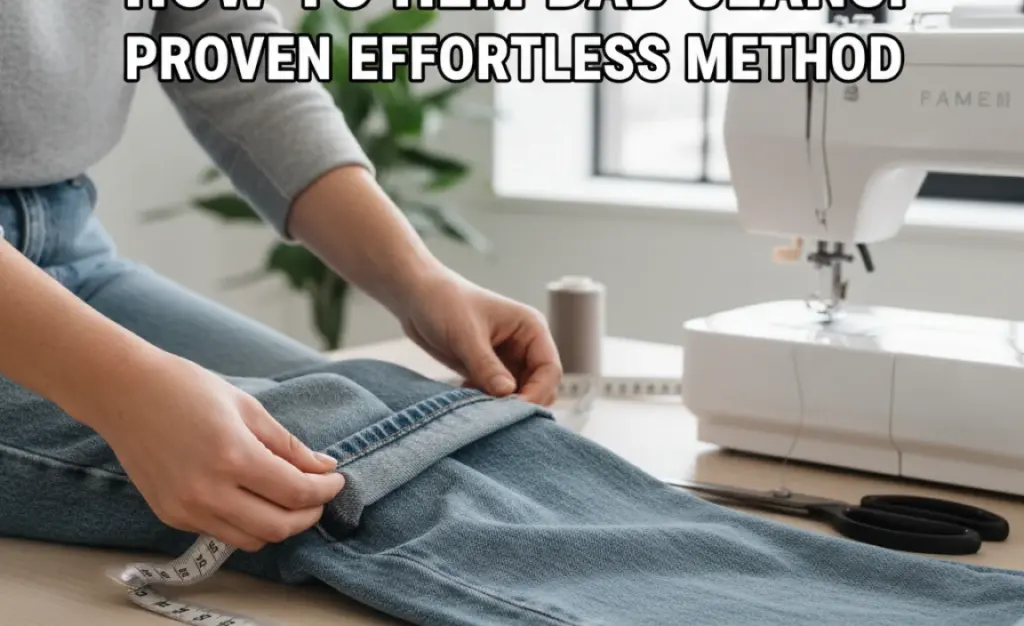
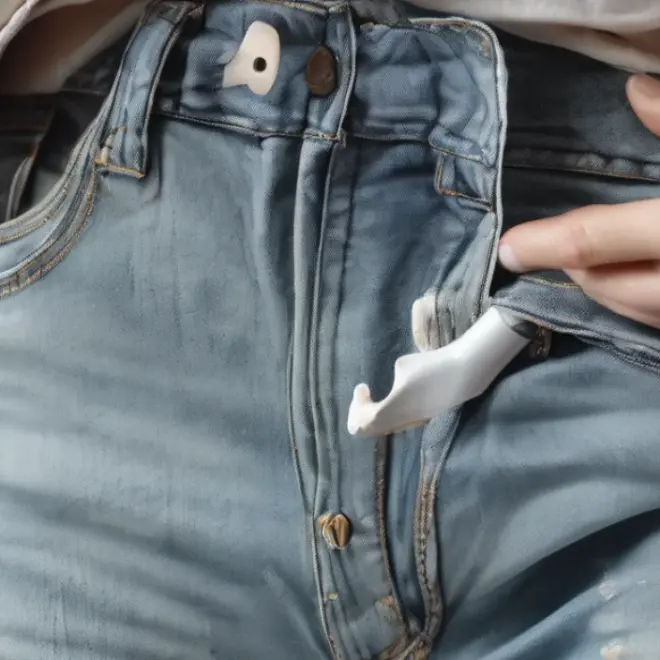
Hemming dad jeans effortlessly means easily adjusting their length for a perfect fit, whether by traditional sewing, no-sew methods, or clever DIY tricks – all achievable at home with simple tools and clear steps. Get ready for jeans that finally fit right!
Dad jeans, with their relaxed fit and often longer inseams, are a wardrobe staple for comfort and style. But for many, the perfect dad jeans can become a tripping hazard or just look a bit too… dad-like, thanks to an overly long hem. Don’t let a too-long inseam keep you from rocking this comfy trend. You don’t need a complicated sewing machine or a trip to the tailor. This guide will walk you through proven, effortless methods to hem your dad jeans at home, ensuring they fit you perfectly and look just right.
We’ll cover everything from quick no-sew options to a more permanent, neat finish. You’ll learn what tools you’ll need, how to measure correctly, and step-by-step instructions that even a beginner can follow with confidence. Let’s get those jeans fitting like they were made for you!
Why Hemming Dad Jeans is Essential

Dad jeans are designed for comfort and a laid-back style. However, their classic loose fit and longer rise can sometimes translate to an excessively long inseam. This can lead to a few common issues:
- Ill-fitting Silhouette: Jeans that are too long can bunch up around the ankles, creating an unstructured and sometimes sloppy look. Taller individuals might not have this problem, but for many, the standard length needs adjustment.
- Safety Hazards: Excess fabric dragging on the floor can be a tripping hazard, especially when walking or going up and down stairs.
- Worn-Out Cuffs: Constantly stepping on the hem can cause premature fraying and wear, shortening the lifespan of your favorite denim.
- Wasted Tailoring Costs: If you’ve been avoiding hemming because you think it’s expensive, you’re in luck! Simple hemming techniques can save you money.
The good news is that achieving the perfect length for your dad jeans is surprisingly straightforward. Whether you prefer a quick fix or a more polished outcome, there’s a method for you.
What You’ll Need: Tools for Hemming
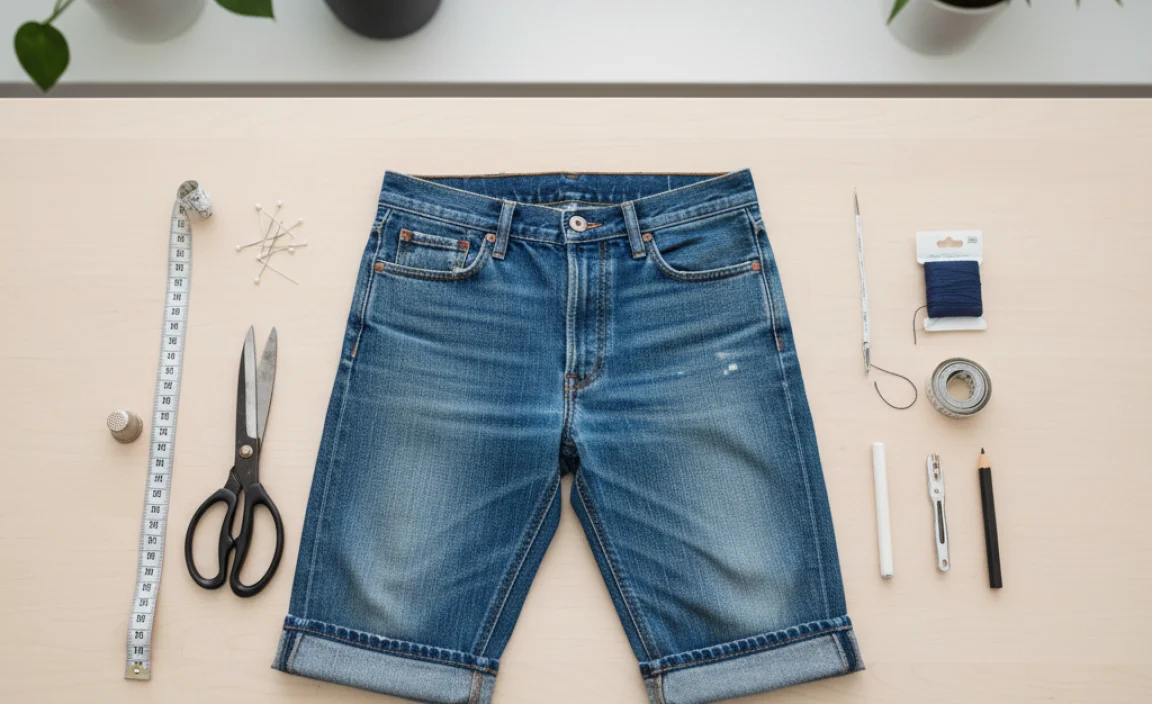
The tools required depend on the hemming method you choose. Here’s a breakdown of common items you might need:
For Most Hemming Methods:
- Measuring Tape: Essential for accurate length measurement. A soft, flexible tape measure is ideal.
- Fabric Scissors: Sharp scissors specifically for fabric ensure clean cuts and prevent fraying.
- Fabric Marker or Chalk: For marking where you’ll cut or fold the denim.
- Iron: Crucial for setting creases and activating hemming tape.
- Ironing Board: Provides a stable surface for pressing.
For No-Sew Hemming:
- Hemming Tape (Fusible Webbing): This is a heat-activated adhesive strip that fuses fabric layers together when ironed. Look for brands like Dritz Stitch Witchery or Wonder Under.
- Iron-On Patches: Sometimes used as a more decorative and robust no-sew fix, especially for thicker denim or if you want a custom look.
For Traditional Sewing (Hand or Machine):
- Sewing Machine (Optional): Speeds up the process and provides a more durable stitch.
- Needle and Thread: If hand-sewing, choose a strong thread that matches your jeans.
- Straight Pins: To hold the fabric in place while sewing.
Understanding Your Jeans: Key Measurements
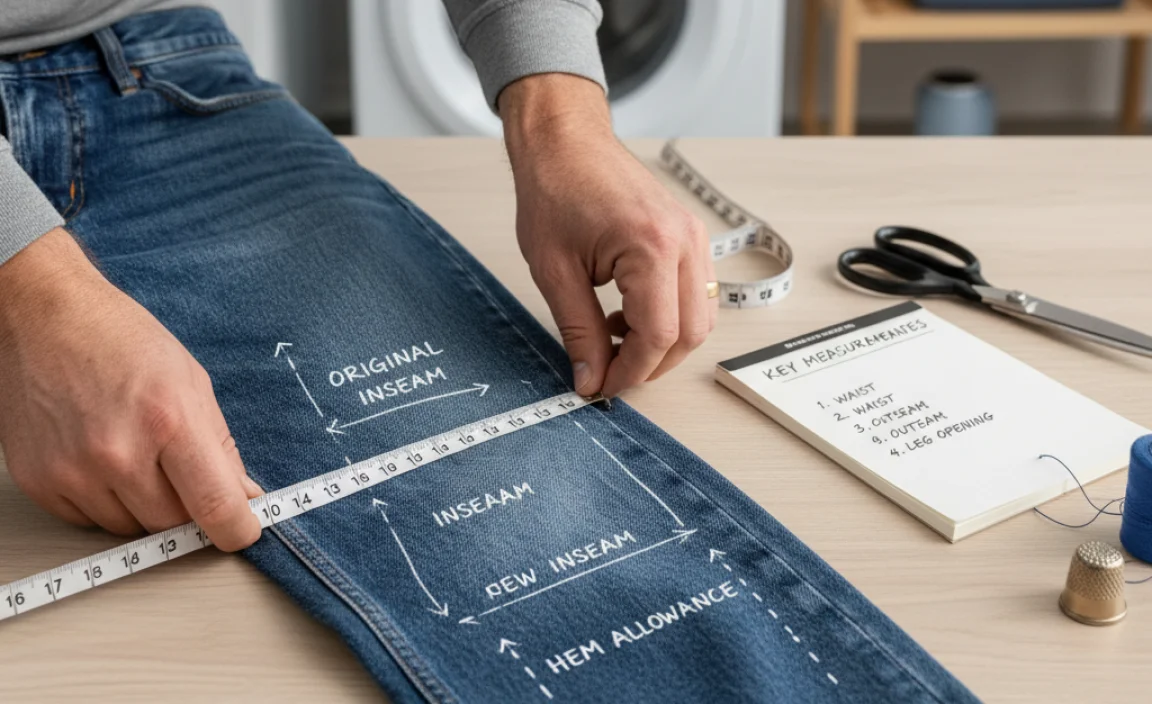
Before you start cutting, understanding how to measure correctly is paramount. The most important measurement for hemming is the inseam.
Inseam: This is the length from the crotch seam to the bottom hem of your pants.
How to Measure Your Inseam:
- Lay your dad jeans flat on a smooth surface.
- Smooth out any wrinkles.
- Locate the crotch seam (where the two seams of the legs meet at the front).
- Measure from this crotch seam straight down the inner leg to the existing hem.
- Record this measurement. This is your current inseam length.
Pro Tip: If you’re unsure of your desired final length, try on the jeans with the shoes you’ll most likely wear them with. Then, mark where you want the hem to fall naturally. Ensure you account for any folds you’ll make to shorten them.
Method 1: The Effortless No-Sew Hem (Hemming Tape)
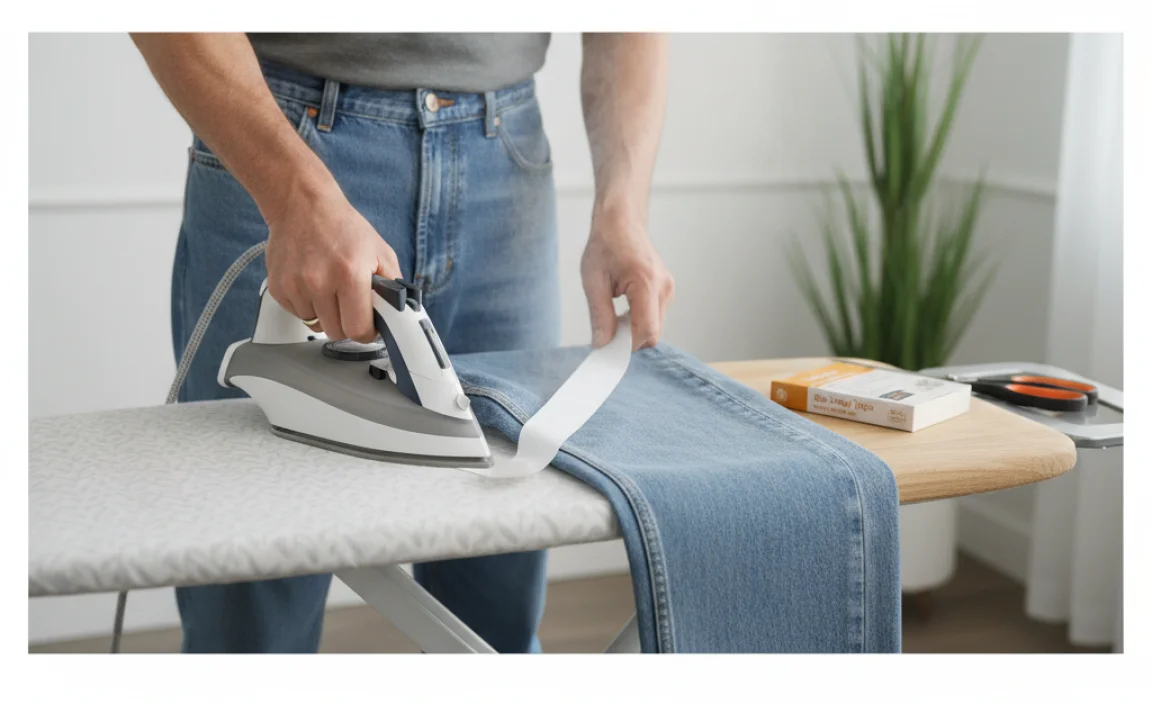
This is the quickest and easiest method, perfect for beginners or when you need a fast fix. It creates a clean, permanent hem without any sewing.
Step-by-Step Guide:
- Prepare Your Jeans: Wash and dry your dad jeans to remove any pre-treatments or stiffness that might interfere with adhesion. Lay them flat.
- Measure and Mark: Decide on your desired length. Lay the jeans flat and measure the inseam from the crotch to where you want the new hem to be. Mark this point with your fabric marker or chalk.
- Determine Fold Amount: You’ll need to fold the excess fabric up. A standard hem is usually about 1/2 inch to 1 inch. Add this fold amount to your desired length and mark that as your cut line if you’re removing excess fabric, or double it if you’re folding the fabric twice for a more structured hem. For most dad jeans, a single fold of about 1-1.5 inches is ideal to maintain a natural hang.
- Trim Excess Fabric (Optional but Recommended): If you have a lot of excess fabric, it’s often best to trim it. Measure from your desired new hemline and cut straight across the leg. Leave about 1 inch of extra fabric below your marked new hemline.
- Apply Hemming Tape: With the jeans still inside out, take the bottom edge and fold it up to meet your marked new hemline. Press this fold firmly with your iron. Now, place a strip of hemming tape inside the folded edge, ensuring it lies flat against the fabric.
- Iron and Fuse: Following the instructions on your hemming tape package (a common setting is medium-high heat, no steam), press the iron firmly over the folded section. Hold the iron in place for the recommended time (usually 5-10 seconds per section), ensuring the tape adheres to both layers of denim. Work your way all around the hem.
- Let It Cool: Allow the hem to cool completely before turning the jeans right-side out. This helps the bond set.
- Check Your Work: Once cooled, turn your jeans right-side out. Check that the hem is secure and lies flat. If any areas are not sticking, re-apply the iron.
Wear Guide: This no-sew hem is durable and looks very similar to a traditional hem from the outside. It’s perfect for casual wear and won’t add bulk.
Method 2: The No-Sew Hem (Iron-On Patches)
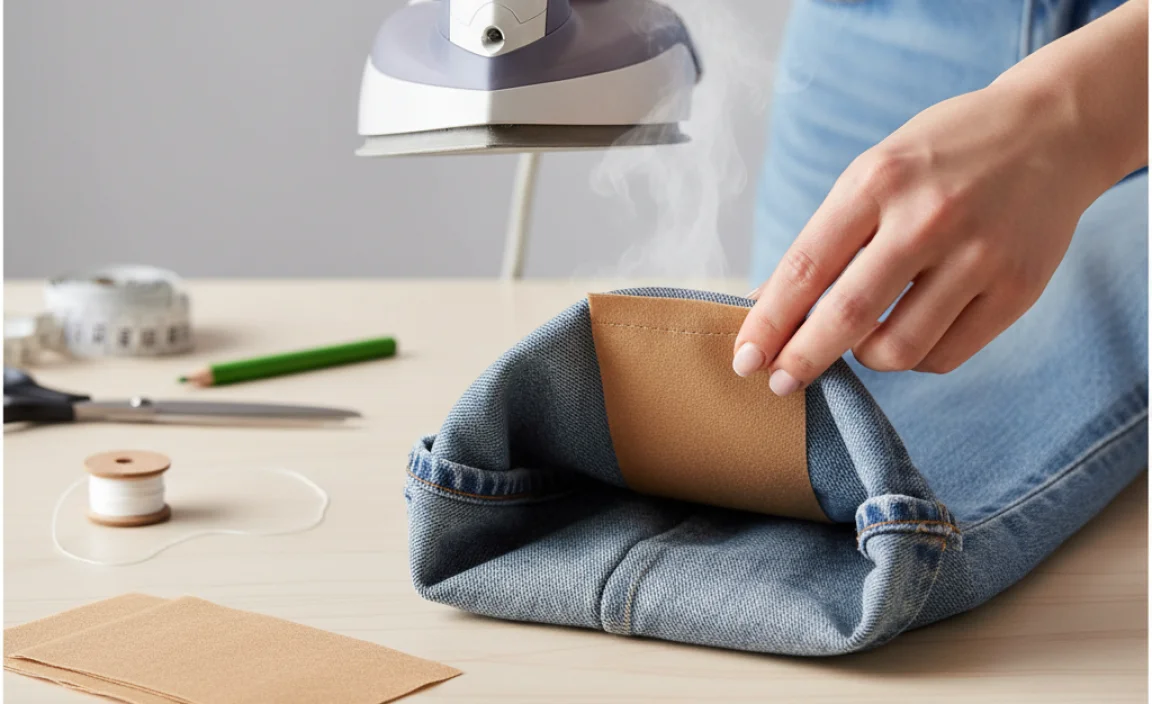
Using iron-on patches can be an alternative no-sew method, especially if you want to add a bit of color or reinforce the hem. It’s particularly fun if you’re looking to customize your dad jeans. For a clean hem, you’ll be using the patch as the adhesive.
Step-by-Step Guide:
- Prepare Jeans and Patch: Wash and dry your jeans. Lay them flat. Cut your iron-on patch to the desired size. You’ll want it wide enough to cover the folded hem once your jeans are prepared.
- Measure and Mark: Determine your desired final length. Measure from the crotch down the inner leg to this point and mark it with a fabric marker.
- Fold and Press: Fold the excess fabric up to your marked line. Press this fold firmly with an iron. For a cleaner finish, you might fold again, creating a double hem, or trim excess fabric first, leaving about 1 inch to fold.
- Position the Patch: Turn the jeans inside out. Place the iron-on patch on the inside of the folded hem, covering the raw edge and adhering to the folded fabric. Ensure it’s centered and lying flat.
- Iron to Fuse: Following the patch manufacturer’s instructions, use your iron (usually medium-high heat, no steam) to press the patch firmly onto the denim. Hold the iron in place for the recommended duration, moving it only as needed to cover the entire patch. The heat will activate the adhesive on the patch, bonding it to the fabric.
- Cool and Check: Let the hem cool completely before turning the jeans right-side out. Inspect to ensure the patch has adhered properly and the hem is secure.
Fact: This method can add a bit more body to the hem than traditional hemming tape. Ensure your patch is flexible enough if you want a natural drape.
Method 3: The Classic Hand-Sewn Hem
For a truly custom fit and a durable finish, hand-sewing is a rewarding option. It requires patience but offers a clean look that blends seamlessly with your existing jeans.
Step-by-Step Guide:
- Prepare Your Jeans: Wash and dry your dad jeans. Lay them flat.
- Measure and Mark: Decide on your final inseam length. Measure from the crotch down the inner leg to where you want the new hem to be. Mark this point.
- Create the Hem Allowance: You’ll need to fold the excess fabric up. Fold the excess fabric up from the bottom edge to meet your marked line. Press this fold well with an iron. For a more professional finish, fold again to encase the raw edge – this is called a double-fold hem. The width of this folded hem allowance should be appropriate for your jeans; typically 1 to 1.5 inches for dad jeans.
- Pin the Hem: Secure the folded hem in place with straight pins. Place pins horizontally along the folded edge, about every 2-3 inches.
- Thread Your Needle: Choose a strong thread that matches your jeans’ color. Thread your needle and tie a sturdy knot at the end.
- Sew the Hem: Begin sewing from an inconspicuous spot (like the inseam). Use a blind stitch (also known as a blind hem stitch or slip stitch) for the neatest finish.
- Take a tiny stitch through the folded hem allowance.
- Then, catch a single thread from the main body of the jean fabric just below the fold.
- Pull the thread through, keeping stitches small and close together.
- Repeat this process, moving your needle in and out, catching just one thread of the main fabric and then a bit of the folded hem.
External Link: For visual guidance on the blind stitch, check out this tutorial from the Sewing Channel on YouTube. (Note: This is a reputable resource for learning sewing techniques.)
- Finish the Stitching: Continue until you’ve gone all the way around the leg. When you reach your starting point, secure the thread with a few small knots and trim any excess.
- Press and Inspect: Remove the pins and press the hem firmly with your iron. Turn the jeans right-side out and check for a neat, secure finish.
Pro Tip for Hand-Sewing: If you want to simulate the look of a factory hem with the original frayed edge, carefully detach the original hem, cut your jeans to the desired length, and then reattach the original hem using a stronger stitch like a straight stitch or a zig-zag stitch on your sewing machine if available.
Method 4: The Sewing Machine Hem
If you have a sewing machine, hemming dad jeans becomes even faster and more professional-looking.
Step-by-Step Guide:
- Prepare Your Jeans: Wash and dry your dad jeans. Lay them flat.
- Measure and Mark: Determine your desired final inseam length. Measure from the crotch down the inner leg and mark this point.
- Create the Hem Allowance: Fold the excess fabric up to your marked line. Press with an iron. For a clean, durable hem, create a double-fold hem by folding the fabric again. This usually involves folding over about 1/2 inch first, pressing, then folding again by 1/2 inch to 1 inch to create the final hem width. Trim any bulk if necessary.
- Pin the Hem: Secure the folded hem with straight pins, placing them horizontally every few inches.
- Set Up Your Machine: Thread your sewing machine with a strong thread that matches your jeans. Use a denim needle if you have one, as it’s designed for thicker fabrics. Select a straight stitch.
- Sew the Hem: Place the pinned jeans under the presser foot, aligning the edge of the folded hem with the needle. Sew around the entire opening of the leg, guiding the fabric to keep the stitching straight and evenly spaced from the folded edge. Backstitch at the beginning and end to secure the stitches.
- Press and Finish: Remove the pins and press the hem flat with your iron.
Fact: Using a denim needle and a strong polyester thread is advisable for sewing denim to prevent breakage and ensure a durable stitch. Many sewing machines come with specific ‘denim’ settings for optimal results.
Table: Hemming Method Comparison
Choosing the right hemming method depends on your available tools, time, and desired finish. Here’s a quick comparison:
| Method | Difficulty | Time Required | Durability | Appearance | Best For |
|---|---|---|---|---|---|
| No-Sew (Hemming Tape) | Very Easy | 15-30 minutes | Good | Clean, can be indistinguishable from sewn if done well | Quick fixes, beginners, no sewing skills |
| No-Sew (Iron-On Patches) | Easy | 20-40 minutes | Very Good | Clean, can add decorative element | Adding reinforcement, custom looks, quick fixes |
| Hand-Sewn | Moderate | 1-2 hours | Excellent | Neat, clean, professional (especially with blind stitch) | Long-lasting hems, beginners wanting a sewn look, no machine |
| Sewing Machine | Easy-Moderate | 30-60 minutes | Excellent | Neat, professional, factory-like | Users with sewing machines, beginners to experienced, durable hems |
Troubleshooting Common Hemming Issues
Even with simple methods, you might encounter a few hiccups. Here’s how to fix them:
- Uneven Hem: If your hem appears wobbly or uneven after hemming, it’s usually due to uneven folding or pinning. For no-sew methods, you might need to carefully unpick and re-apply. For sewn hems, you may need to re-stitch. Next time, ensure you meticulously measure and press the initial fold before pinning or applying tape.
- Hem Falling Down: This is more common with no-sew methods if the heat wasn’t applied evenly or for long enough. Reheat the area with your iron, ensuring good contact. For sewn hems, check if your stitch is strong enough or if threads are breaking.
- Fraying Edges: If you’re aiming for a raw-edge hem look, some fraying is expected. If it’s excessive, you can use a fabric sealant (like Fray Check) or a zig-zag stitch on the raw edge to control it.
- Wrinkles from Ironing: Always use a pressing cloth (a thin piece of cotton fabric) between your iron and the denim, especially on darker washes, to prevent shininess or scorching. Make sure your iron isn’t set too high and use little to no steam unless the hemming product requires it.
Frequently Asked Questions (FAQ)
Q1: How do I know how much fabric to cut or fold off my dad jeans?
A: Put on the jeans with the shoes you plan to wear. Mark where you want the hem to end. Then, measure from this mark down to the original hem. That’s how much excess fabric you have. You’ll typically want to fold up about 1 to 1.5 inches for a nice, clean hem on dad jeans.


