Quick Summary: Hemming dad jeans is a simple DIY project that instantly elevates your style. This guide provides clear, step-by-step instructions for perfectly tailoring your favorite pairs, ensuring a polished look without needing professional alterations or harsh chemicals.
How to Hem Dad Jeans: The Proven & Effortless Guide
Dad jeans – they’re comfortable, on-trend, and oh-so-versatile. But sometimes, the perfect pair can feel a little… long. Instead of letting them puddle around your ankles or stuffing them into boots, you can easily adjust the length yourself. This might sound daunting, but with a few simple tools and this straightforward guide, you’ll be hemming your dad jeans like a pro in no time. Get ready to give your favorite denim the custom fit it deserves!
We’ll walk through everything you need to know, from measuring to the final stitch. You’ll learn how to get that ideal break on your jeans, making them look intentionally styled, not just ill-fitting. Let’s get started and transform your denim.
Why Hemming Dad Jeans Matters
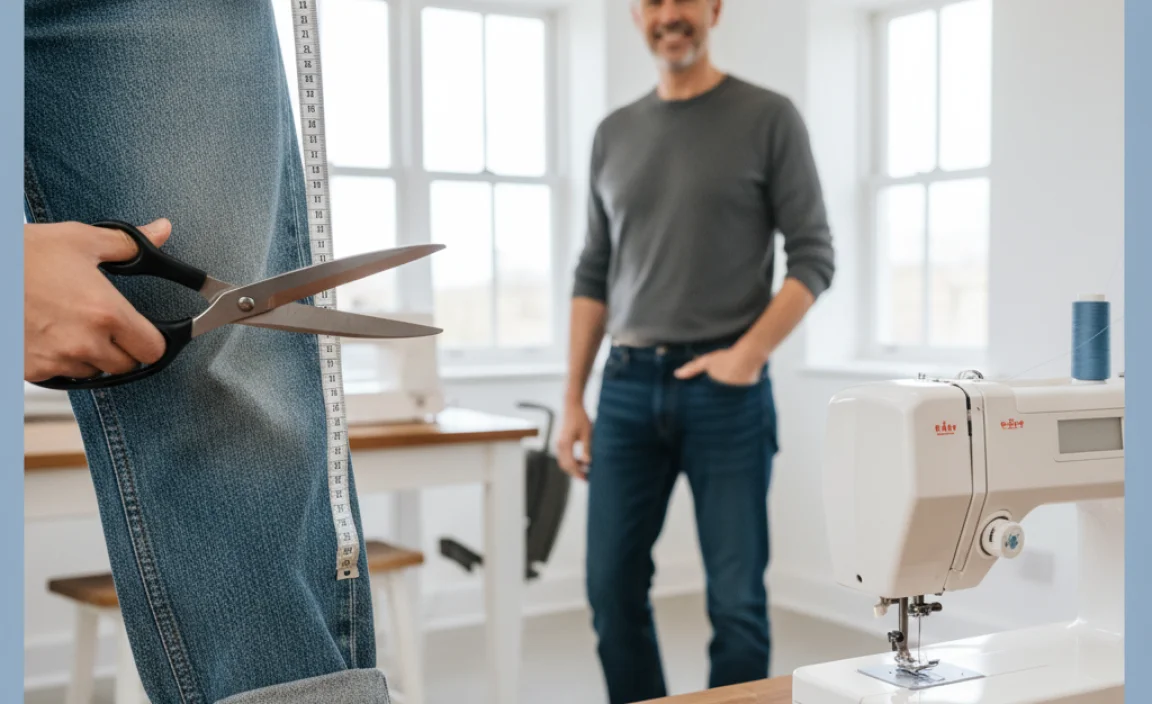
The right hem length can make a significant difference in how your jeans look and feel. For dad jeans, which often have a relaxed, straight, or slightly tapered leg, a well-executed hem ensures they sit perfectly with your footwear of choice. Too long, and they can look sloppy; too short, and they lose their intended silhouette. Proper hemming creates a clean line, enhances the overall style of your outfit, and can even make your legs appear longer and more proportioned.
Think about it: a perfectly hemmed pair of jeans instantly looks more put-together. It shows attention to detail and a respect for your wardrobe. Plus, learning to hem your own clothes is a practical life skill that saves money and gives you complete control over your style. This guide is designed for anyone, whether you’ve never sewn a stitch before or just need a refresher.
Tools You’ll Need for Hemming
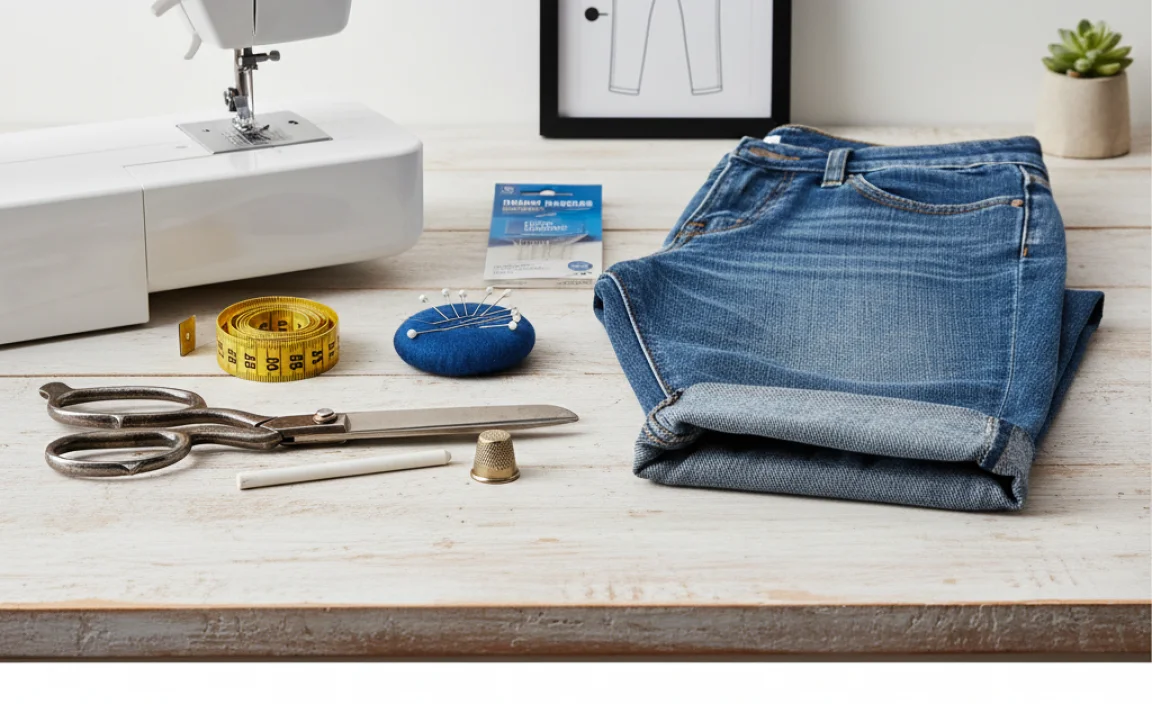
Gathering the right supplies is the first step to a successful hemming project. You don’t need a fancy sewing machine, though it can speed things up. Here’s what you’ll want to have on hand:
- Fabric Scissors: Sharp scissors specifically for cutting fabric are crucial for clean edges.
- Measuring Tape or Ruler: For accurate length measurements.
- Fabric Chalk or Washable Marker: To mark your desired hemline.
- Pins: To hold the fabric in place while you sew.
- Needle and Thread: Choose a thread color that matches your jeans, or opt for a contrasting color if you want the stitching to be a design element. For durability, a strong polyester thread is recommended.
- Iron and Ironing Board: To press seams and create crisp folds.
- Seam Ripper (Optional but helpful): To carefully remove the original hem if you want to maintain the original look.
- Sewing Machine (Optional): If you have one, it can make the sewing process faster and more uniform.
Step-by-Step Guide to Hemming Dad Jeans
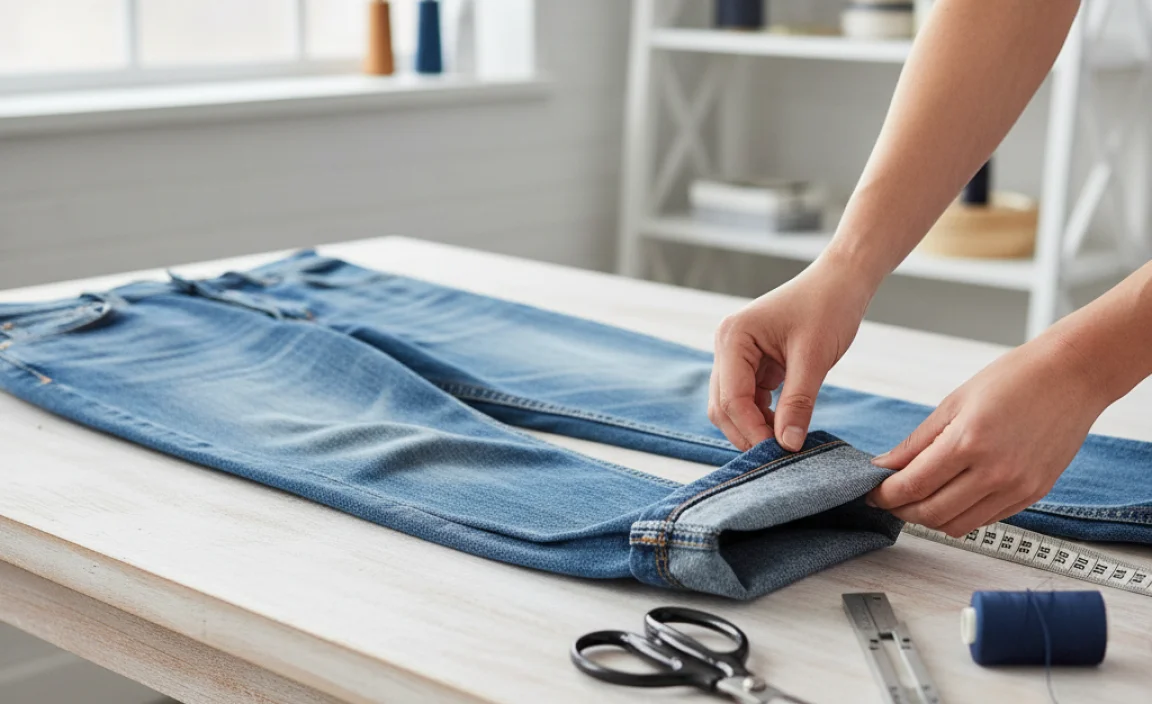
Let’s break down the process into simple, manageable steps. Measure twice, cut once is the golden rule here!
Step 1: Try On Your Dad Jeans
Put on the dad jeans you wish to hem. Wear them with the shoes you typically pair with this style of denim. This ensures your measurement is accurate for how the jeans will actually be worn.
Step 2: Determine Your Desired Length
Stand in front of a mirror. Look at how the jeans fall on your shoes. Decide where you want the hem to end. Common lengths include:
- Full Break: The hem extends slightly over the top of your shoe.
- Half Break: The hem rests on the top of your shoe.
- Slight Break: The hem just touches the top of your shoe without significant creasing.
- No Break: The hem ends right at the top of your shoe.
- Cropped: The hem ends well above the shoe, often at the ankle or mid-calf.
For dad jeans, a slight break or no break often looks the most intentional and stylish. Pin the jeans at your desired length while wearing them. If you’re having trouble seeing the line, ask a friend to help you pin or mark it.
Step 3: Mark the Hemline
Once you’ve pinned both legs to your satisfaction, carefully take off the jeans. Lay them flat on a clean surface, like a table or the floor. Smooth out the fabric to remove wrinkles. Using your fabric chalk or washable marker, mark a clear line along the pinned edge on the inside of the leg. For consistency, you can also measure from the waistband down to your desired finished length on both the front and back of each leg and connect the dots.
Pro Tip: Add an extra 1 to 1.5 inches (2.5 to 3.8 cm) below your marked line for your hem allowance. This extra fabric will be folded twice to create a clean, sturdy hem. This makes the total length you’ll be cutting off the original length plus your hem allowance.
Step 4: Cut Off the Excess Fabric
Using your sharp fabric scissors, cut along the marked hem allowance line. Try to make the cut as straight and even as possible. If you removed the original hem, you can use that as a guide for where to cut. Remember, it’s better to cut a little less than you think you might need, as you can always trim more later if necessary. You cannot add fabric back once it’s cut!
Step 5: Prepare the New Hem
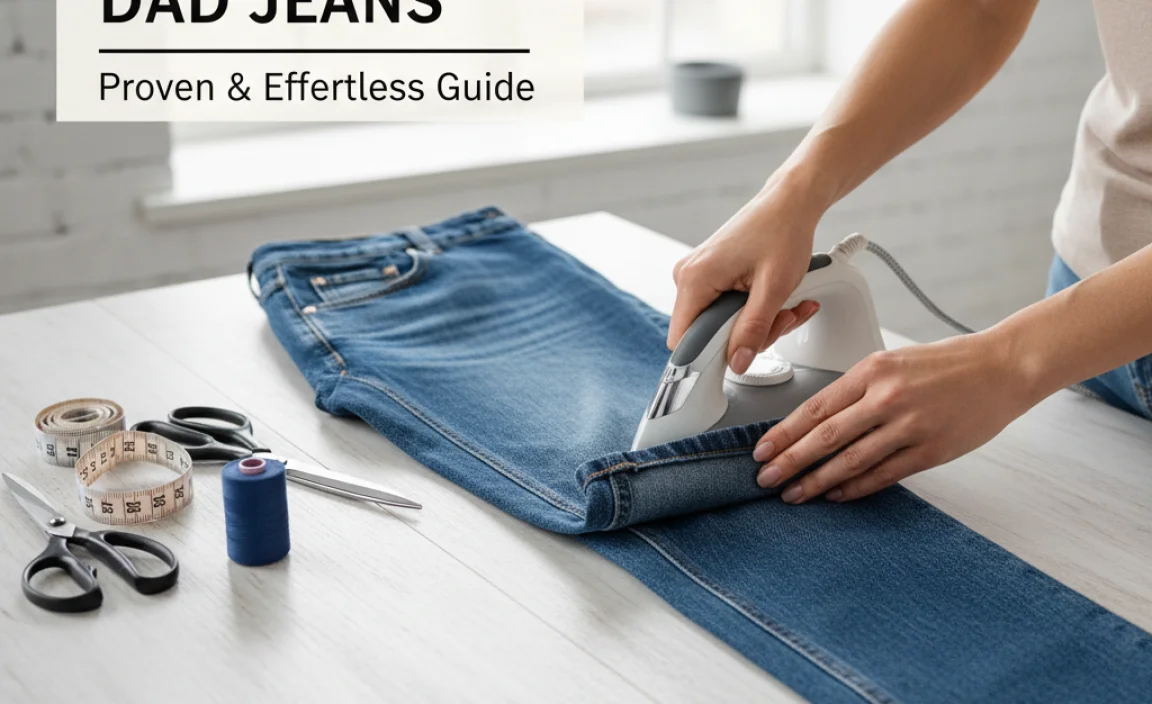
Now, take the raw edge of the fabric you just cut and fold it inward towards the inside of the jeans, aligning it with your original marked hemline. This creates your first fold. Press this fold firmly with your iron. Then, fold the fabric over again by another 1 to 1.5 inches (2.5 to 3.8 cm) – the same amount you added for your hem allowance. This second fold encloses the raw edge and creates a clean, double-folded hem. Press this second fold firmly with your iron as well. This creates a neat, finished edge that won’t fray.
Step 6: Pin the Hem in Place
Once the double fold is pressed, pin the hem securely in place. Place pins perpendicular to the folded edge, about every 2-3 inches (5-7.5 cm). Ensure the pins go through all layers of the fabric to keep everything stable for sewing.
Step 7: Sew the Hem
This is where you’ll permanently secure your new hem. You have a few options:
Option A: Sewing by Hand
If you’re sewing by hand, use a strong, double-threaded needle. A basic “running stitch” or a “backstitch” will work well for durability. The backstitch is stronger and looks more like machine stitching. Work your way around the entire circumference of the hem. Try to make your stitches small and even for a neat appearance. Aim to catch just enough fabric from the original jean leg to secure the hem without it being too visible from the outside.
Option B: Sewing by Machine
Set up your sewing machine with a needle appropriate for denim and matching thread. Drop the presser foot over the pinned hem and begin sewing. Use a straight stitch. Sew as close to the inner folded edge as possible, all the way around the leg opening. Backstitch at the beginning and end of your seam to secure it. Ensure your stitch length is appropriate for denim—a slightly longer stitch (around 2.5-3 mm) can work well.
Step 8: Finishing Touches
Once you’ve sewn all the way around, carefully remove all the pins. Trim any loose threads. If you want a super crisp finish, give the hem a final press with your iron. Try on your newly hemmed dad jeans to admire your work!
Recreating the Original Jean Hem
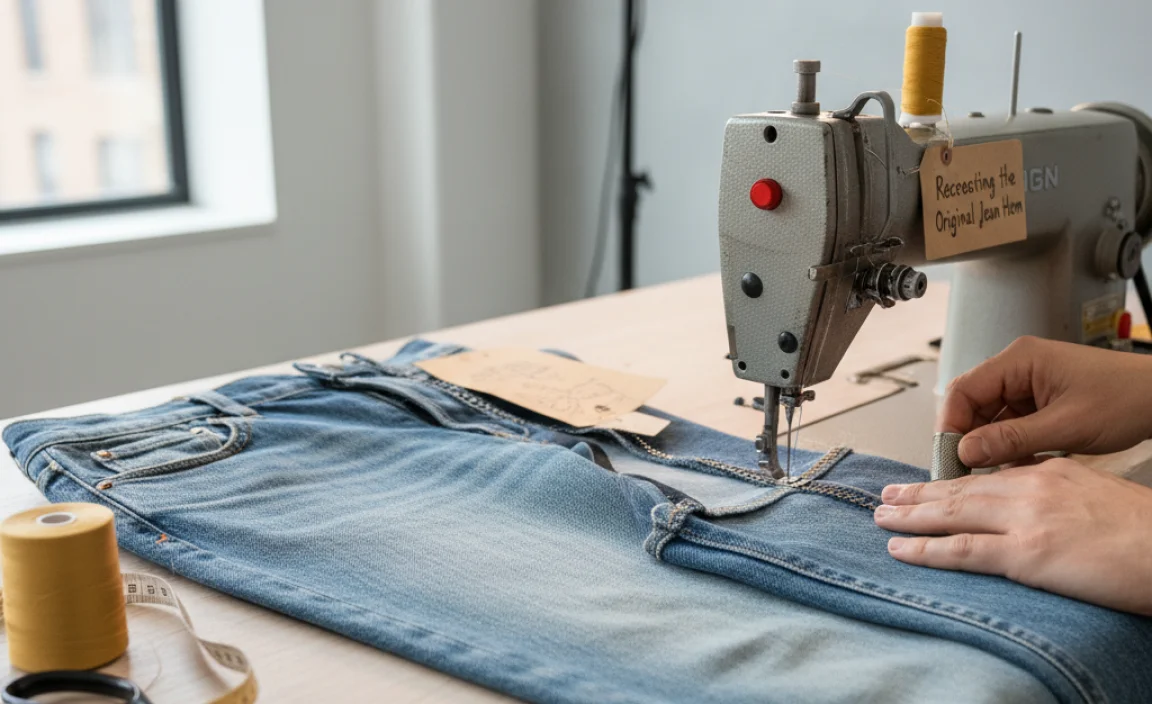
Dad jeans, especially vintage or popular brands, often have a distinctive “chain stitch” hem with a slightly frayed or worn appearance on the original cuff. If you want to replicate this look, the process is a bit more involved but yields a very authentic result.
Tools for Recreating Original Hem
- All the tools from above, PLUS:
- Seam Ripper: Essential for carefully removing the original hem.
- Serger or Overlocker (Optional): For a professional-looking finish on the raw edge inside the new hem, though not strictly necessary for a DIY approach.
- A small brush or sandpaper (optional): For distressing the new hem if desired.
Steps to Recreate Original Hem
- Remove Original Hem: Carefully use a seam ripper to detach the original hem from the leg. Be patient; don’t cut the fabric of the jean leg itself. Unpick the stitching all the way around.
- Press and Salvage Original Hem: Once the hem is detached, press it flat. You’ll notice it has a thicker, sometimes slightly frayed edge, and often a distinct stitching pattern (like a chain stitch). If the original hem is in good condition, you can repurpose it.
- Measure and Cut: Try on your jeans and mark your desired length as before. Measure the original hem’s width (usually 1 to 1.5 inches). Add this measurement PLUS your desired new hem allowance (e.g., 0.5 inches for overlap) to your marked desired length. Cut off the excess fabric.
- Prepare the New Hem: Fold up the raw edge about 0.5 inches (1.25 cm) to the inside, press. Then, fold up again so the raw edge is neatly enclosed within this fold. The total fold depth should be roughly the width of your original hem. Press this thoroughly.
- Attach Original Hem: Position the salvaged original hem around the bottom of your newly folded hem allowance. The raw edge of the original hem should align with the bottom edge of your folded hem, and the top of the original hem should be snug against the leg of the jean. Pin it securely in place.
- Sew the Original Hem: This is the trickiest part. You’ll need to sew very close to the top edge of the attached original hem, catching it and the jean leg underneath. A sewing machine with a walking foot is helpful here, or proceed slowly with a straight stitch. The goal is to mimic the originalstitch line as closely as possible. If you want the authentic look, aim for a “chain stitch” effect if your machine has it, or a very neat, dense straight stitch.
- Trim and Finish: Trim any excess threads. You can gently fray the edge of the newly attached hem with a small brush or fine-grit sandpaper if you want that perfectly worn-in look.
For more precise guidance on recreating specific stitching techniques like chain stitching, resources like ThreadCount’s guide to denim sewing techniques can offer valuable insights into professional finishing.
Hemming Dad Jeans Without Bleach
The keyword “how to hem dad jeans without bleach” is important because many people want to alter their clothing without using harsh chemicals. This guide already focuses on mechanical hemming, so no bleach is involved in the cutting and sewing process. The goal is to achieve a clean, professional-looking hem that enhances the jeans’ style, not to alter the denim’s color.
If you’re concerned about maintaining the original color and look of your dad jeans, simply follow the steps outlined above. The raw edge created by cutting will be enclosed within the double-fold hem, preventing fraying and preserving the fabric’s intended appearance. If you desire a more distressed or aged look after hemming, you could explore gentle distressing techniques, but bleaching is completely unnecessary for a stylish, well-hemmed pair of jeans.
Choosing the Right Hem Style for Dad Jeans
Dad jeans typically have a relaxed, classic silhouette. The best hem style complements this without overpowering it.
Common Dad Jean Hem Styles
| Hem Style | Description | Best For |
|---|---|---|
| Standard Double Fold Hem | A clean, simple fold of 1-1.5 inches, folded twice. Edges are enclosed. | Most casual jeans, versatile for different shoes. Offers a neat, modern look. |
| Original Hem Reattachment | Salvaging and reattaching the original factory hem. | Vintage jeans or when you want to preserve the exact original look and feel. |
| Rolled or Cuffed Hem | Folding the hem up multiple times to create a visible cuff. | Can add a stylish touch, especially when paired with sneakers or boots. Works well for cropped lengths. |
| Raw Hem (if you want to remove original hem) | Cutting off the hem and leaving the edge to fray naturally. | More of a modern, edgy look. Requires careful trimming and potentially sealing the edge to prevent excessive fraying. Best on sturdy denim. |
For dad jeans, the standard double fold or reattaching the original hem are often the most fitting choices for a classic and polished appearance.
Hemming with and without a Sewing Machine
The method you choose primarily affects the speed and the uniformity of your stitching.
Sewing Machine vs. Hand Sewing for Hemming
| Feature | Sewing Machine | Hand Sewing |
|---|---|---|
| Speed | Much faster, especially for longer seams. | Slower, more time-consuming. |
| Stitch Consistency | Highly uniform and consistent stitches. Professional appearance. | Can be less consistent depending on skill level. Unique, artisanal look. |
| Durability | Very durable, especially with strong thread and appropriate stitch (e.g., backstitch simulation). | Durable if done correctly with strong thread and backstitches. |
| Ease of Use | Requires setup and basic knowledge of machine operation. | Accessible with minimal tools, can be done anywhere. |
| Cost | Initial investment in a machine. | Minimal cost for needle and thread. |
| Best for | Beginners wanting quick, neat results; frequent alterations. | Occasional hemming, delicate fabrics, portability, or when a specific aesthetic is desired. |
Ultimately, both methods can yield excellent results. If you’re new to sewing, starting with hand sewing can be a great way to understand the process before moving to a machine. For dad jeans, a strong, straight stitch from a machine or a solid backstitch by hand will provide the necessary durability.
Frequently Asked Questions About Hemming Dad Jeans
Q1: How do I know where to cut my jeans if I don’t want to shorten them too much?
A1: Always try on your jeans with the shoes you plan to wear them with. Pin them to your desired length while wearing them. Then, carefully mark the hemline with chalk or a marker, adding about 1 to 1.5 inches (2.5-3.8 cm) below that for your hem allowance. It’s safer to cut less initially; you can always trim more if needed.
Q2: Can I hem my dad jeans without fraying the bottom edge?
A2: Yes. The best way is to use the double-fold hem method described in this guide. You fold the raw edge up twice, enclosing it within the hem. This creates a clean, finished edge that won’t fray. If you want a raw hem look, you’d intentionally leave the edge unfinished, but this will fray over time.
Q3: What is the best thread to use for hemming denim?
A3: A strong polyester thread is generally recommended for denim as it’s durable and less likely to break. You can choose a thread color that matches your jeans for an invisible finish or a contrasting color to make the stitching a visible design detail. A heavy-duty or denim-specific thread will provide extra strength.
Q4: My sewing machine skips stitches on denim. What can I do?
A4: Ensure you are using a denim or heavy-duty needle that is sharp and the correct size (e.g., size 90/14 or 100/16). Check that your thread is suitable for denim and that the machine is correctly threaded. Slow down your sewing speed, especially across thicker seams. Sometimes adjusting the tension can help.
Q5: How much longer should I make my jeans when marking the hem?
A5: For a neat, standard double-fold hem, plan to add between 1 to 1.5 inches (2.5 to 3.8 cm) below your desired finished length. This allows


