Quick Summary: Hem your dad jeans without sewing using fabric glue, hemming tape, or simply folding and pressing. This effortless guide provides proven methods to achieve a neat, custom fit quickly and easily, perfect for anyone wanting a no-sew solution for perfectly cropped denim.
How To Hem Dad Jeans Without Sewing: Proven Effortless Guide
That perfect pair of dad jeans can be a wardrobe staple, but what happens when the length just isn’t right? You love the fit, the wash, and the overall vibe, but they’re just a tad too long. Don’t fret! You don’t need a sewing machine or advanced needlework skills to get that ideal hem. This guide will walk you through simple, effective methods for hemming your dad jeans without a single stitch.
We’ll cover everything from fabric glue to hemming tape, giving you the confidence to tackle this common denim dilemma. Get ready to give your favorite jeans a fresh, customized look that feels just right. Let’s get started!
Why Hemming Dad Jeans Matters
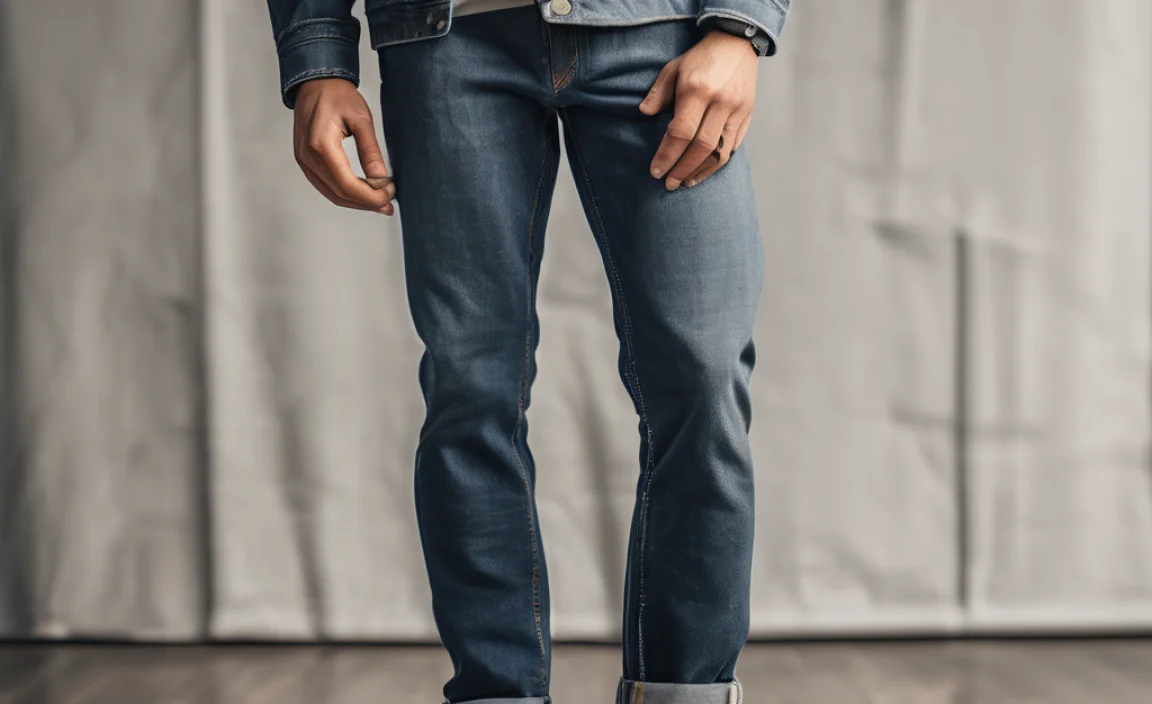
Dad jeans, with their relaxed fit and often longer inseam, are a fantastic choice for comfort and style. However, a hem that’s too long can drag on the floor, look sloppy, and even wear out faster. A well-hemmed pair, on the other hand, can elevate your entire look, making your jeans appear more intentional and stylish. It’s about achieving that perfect proportion for your footwear and your body type. Thankfully, achieving this polished finish is simpler than you might think, especially when you skip the sewing needle.
The No-Sew Hemming Toolkit
Before we dive into the methods, let’s gather what you’ll need. Most of these options require just a few common household items or readily available craft supplies.
Essential Tools:
- Your dad jeans
- A pair of sharp fabric scissors (or good quality sharp scissors)
- Measuring tape or a ruler
- Fabric chalk or a washable marker
- Iron and ironing board (essential for most methods)
- Optional: Clamps or binder clips, a cutting mat
Method 1: Fabric Glue – The Strong & Simple Fix
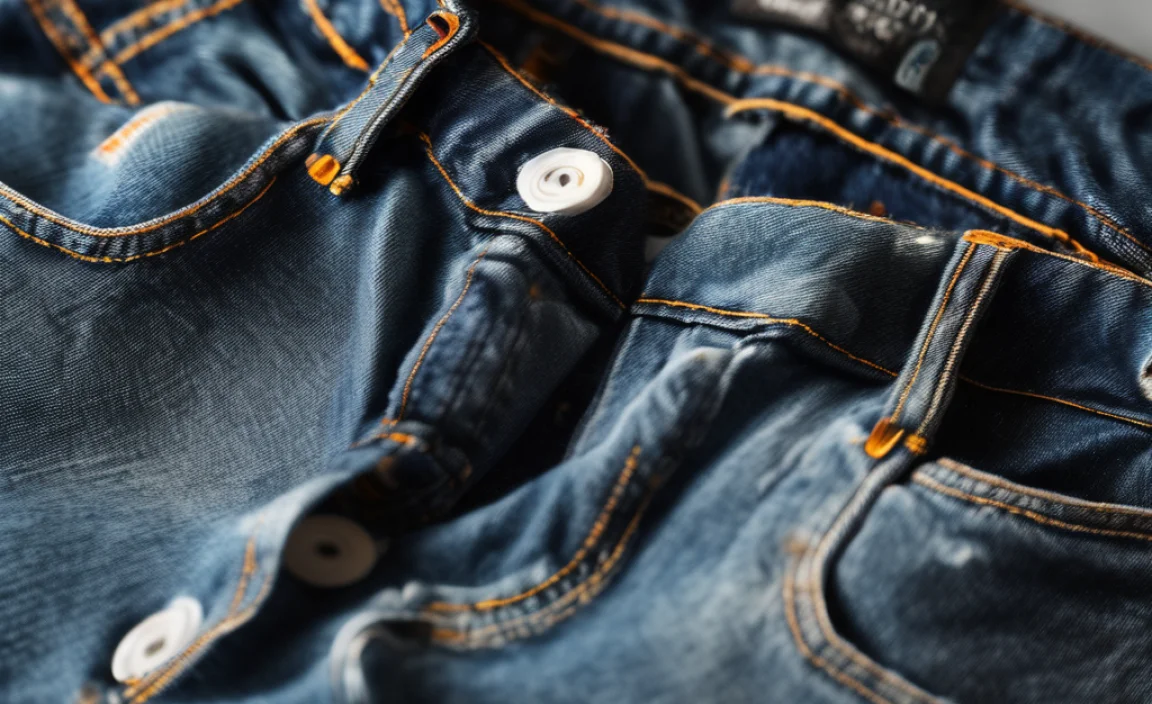
Fabric glue is your best friend for a quick, permanent no-sew hem. It creates a strong bond that holds up well to washing and wearing, making it a reliable choice.
What You’ll Need:
- Your dad jeans
- Fabric glue (choose one specifically designed for fabric, especially denim)
- Fabric chalk or washable marker
- Measuring tape or ruler
- Iron and ironing board
- Clamps or binder clips (optional, but helpful)
Step-by-Step Guide:
- Prepare Your Jeans: Wash and dry your dad jeans. This removes any sizing or finishes that might interfere with the glue’s adhesion.
- Determine Your Desired Length: Put on your jeans and decide where you want the hem to fall. Use the measuring tape and chalk to mark the desired length on both legs. Try them on with the shoes you typically wear to ensure the length is perfect. It’s often best to mark slightly longer than you think you need, as you can always trim more.
- Measure and Mark the Hemline: Take off your jeans. Measure from the marked desired length down to where you want the new hem to be. Add about 1 to 1.5 inches for the fold, depending on how wide you want the hem band to be. Mark this new hemline on the inside of the jeans.
- Create the First Fold: Fold the bottom of the jean leg up along the new hemline you just marked. Press this fold flat with your iron. This creates a crisp edge to work with.
- Apply the Fabric Glue: Open up the fold you just created. Apply a thin, even bead of fabric glue along the raw edge of the fabric (the part that was originally the bottom of the jean leg). Don’t glob it on; a steady line is best. A bead about 1/4 inch from the raw edge is usually sufficient.
- Fold and Secure: Fold the fabric up again, this time aligning the raw edge with the first fold line you pressed. The glued edge should now be pressed against the inside of the folded fabric. Gently press the seam together.
- Set the Glue: This is where clamps or binder clips can be very helpful. Clip along the inside seam to hold the folded fabric securely in place while the glue dries. Check the fabric glue’s instructions for drying time – this can vary from a few minutes to a few hours. Many fabric glues require heat to set permanently. If yours does, place a pressing cloth over the glued area and iron according to the glue manufacturer’s instructions. Referencing a guide to fabric glues can help you choose the best product and learn its specific setting requirements.
- Repeat for Both Legs: Once the glue is dry and set, repeat the process for the other jean leg.
- Check and Trim (Optional): Once dry, try on your jeans. If you need to trim any excess fabric from the folded hem for a cleaner finish, you can do so now.
Tip: For a cleaner finish, you can trim off any excess fabric from the raw edge before folding it up for the final time. Ensure you leave enough fabric for a secure overlap with the glue.
Method 2: Hemming Tape (Fusible Webbing) – The Iron-On Professional Look

Hemming tape, also known as fusible webbing, is an excellent no-sew solution that provides a structured, professional-looking hem. It uses heat from an iron to bond fabric layers together.
What You’ll Need:
- Your dad jeans
- Hemming tape/fusible webbing (available at craft stores)
- Fabric chalk or washable marker
- Measuring tape or ruler
- Iron and ironing board
- A pressing cloth (a thin piece of cotton fabric or parchment paper works)
Step-by-Step Guide:
- Prep Your Jeans: As always, start with clean, dry jeans.
- Mark Your Length: Decide on your desired inseam and mark it clearly on the inside of each jean leg.
- Measure and Mark the Hemline: Measure from your desired length down to create your hem allowance. A 1- to 1.5-inch allowance is typical for a clean, structured hem. Mark this line with your chalk.
- Cut the Hem Allowance: Fold the bottom of the jean leg up along the marked hem allowance line. Press this fold firmly with your iron to create a sharp crease.
- Cut the Hemming Tape: Unfold the hem allowance. Measure the circumference of the jean leg at the folded edge and cut a piece of hemming tape to that length. Trim it a little shorter than the circumference to ensure even distribution.
- Position the Hemming Tape: Lay the jean leg flat, with the folded hem allowance facing up. Place the hemming tape precisely along the raw edge of the fabric, ensuring it sits within the folded section.
- Iron and Fuse: Place the pressing cloth over the area where the hemming tape is. Following the hemming tape manufacturer’s instructions (this is crucial as heat and time vary), press firmly with your hot iron. Move the iron slowly over the entire taped section to ensure a good bond. You’re essentially melting the adhesive on the tape to bond the two layers of fabric.
- Let it Cool: Allow the area to cool completely before moving the fabric. This is important for the bond to set properly.
- Repeat for Both Legs: Once cooled, repeat the process for the other leg.
Tip: Some hemming tapes are double-sided. In this case, you’ll place the tape, iron one side, then peel off the backing and iron the hem in place. Always read the specific product instructions.
Method 3: The Simple Fold & Press – Quickest Fix
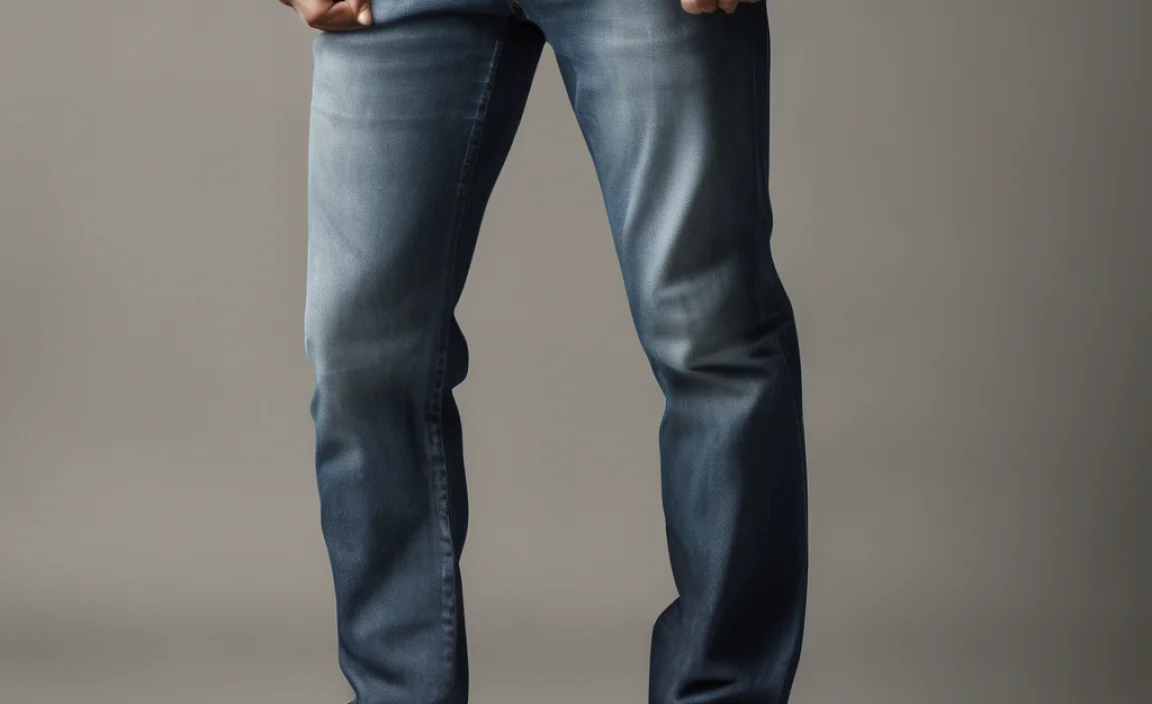
This is the simplest method and works best if you want a temporary hem or if your denim has a nice drape and holds a crease well. It’s ideal for a quick fix before an event or for experimenting with different lengths.
What You’ll Need:
- Your dad jeans
- Measuring tape or ruler
- Iron and ironing board
- Fabric chalk or washable marker (optional)
Step-by-Step Guide:
- Determine Desired Length: Try on your jeans and mark where you want them to end.
- Mark Hemline: Take them off and measure from your mark to where you want the new hem to sit.
- Fold and Press: Fold the excess fabric up along your marked line. Press firmly with your iron to create a sharp, visible crease. You can fold up once or twice depending on how much fabric you want to conceal and how thick you want the hem band to appear.
- Secure (Optional): For a more secure fold, you can use a few small stitches of thread by hand on the inside to tack the hem in place, or a tiny dab of fabric glue at the side seams. For a truly no-sew, no-adhesive option, rely on the strength of the crease and perhaps some subtle hemming clips on the inside if needed.
Tip: This method is temporary. The crease will likely fall out after washing or significant wear, so it’s best for short-term styling or for jeans you don’t wash frequently.
Method 4: Denim Patches & Stitches – For a Fashion-Forward Look
While this technically involves stitches, it’s a decorative element rather than a structural hem. If you’re comfortable with a needle and thread or have a sewing machine, you can add decorative stitching or iron-on patches to create a unique hemline. This is less about precise measuring and more about creative expression.
What You’ll Need:
- Your dad jeans
- Fabric scissors
- Measuring tape
- Fabric chalk
- Iron-on patches or decorative trim (ribbon, lace, etc.)
- Fabric glue or iron (depending on patch/trim type)
- Sewing needle and thread, or sewing machine (optional, for added durability or decorative stitching)
Step-by-Step Guide:
- Hem to Desired Length: First, hem your jeans using one of the no-sew methods above (fabric glue or hemming tape is recommended for a clean base). Ensure the hem is secure and at the perfect length.
- Prepare Patches/Trim: If using iron-on patches, follow their specific instructions for application. If using trim, cut the desired length.
- Attach Patches: Position iron-on patches around the circumference of the hemmed area. Use a pressing cloth and a hot iron to fuse them securely. For fabric trim, you can use fabric glue along the top edge of the trim and press it onto the jean hem, then secure with an iron.
- Add Decorative Stitching (Optional): Once patches or trim are attached, you can add decorative stitching around the edges with a sewing machine or by hand for extra flair and durability.
Tip: Consider the overall style of your dad jeans. Distressed jeans might look great with frayed patches, while cleaner styles could suit elegant lace or metallic trims.
Pros and Cons of No-Sew Hemming
Like any DIY method, no-sew hemming has its advantages and disadvantages. Understanding these can help you choose the best approach for your needs.
| Method | Pros | Cons |
|---|---|---|
| Fabric Glue | Strong, permanent bond. Relatively easy to apply. Good for denim. | Can be stiff if too much is used. Requires careful application for neatness. May leave a slight visible line if not perfectly aligned. |
| Hemming Tape (Fusible Webbing) | Creates a neat, structured hem. Professional-looking finish. Strong bond when applied correctly. | Requires careful ironing; incorrect heat/time can lead to a weak bond or scorch marks. Can sometimes peel over time if not ironed thoroughly. |
| Simple Fold & Press | Extremely fast and easy. No extra materials needed besides an iron. Good for temporary fixes or experimenting. | Temporary—will likely fall out after washing or heavy wear. Crease may not be sharp enough for some styles. |
| Patches/Decorative Trim | Adds personality and style. Can cover minor imperfections. Fun creative outlet. | Not a traditional hem; primarily decorative. Requires additional materials. Can alter the original look of the jeans significantly. |
Caring for Your No-Sew Hemmed Jeans
To ensure your no-sew hem lasts as long as possible, proper care is key. The methods using fabric glue or hemming tape are generally durable, but a little extra attention can go a long way.
- Washing: Always turn your jeans inside out before washing. Use a gentle cycle with cold water. This helps to protect the glued or fused seams.
- Drying: Air drying is the best option for no-sew hems. Avoid high heat in the dryer, as this can weaken the adhesive or cause the fabric to become too rigid. If you must use a dryer, opt for a low-heat setting or tumble dry low, and remove them while slightly damp.
- Ironing: If your jeans need pressing after washing, be cautious around the hem area. Use a medium heat setting, and consider using a pressing cloth to protect the glued or fused seam.
- Avoid Harsh Chemicals: Bleach and strong detergents can degrade adhesives over time. Stick to mild laundry detergents.
For more insights on denim care, understanding the composition of your jeans can be helpful. For example, knowing if your denim has stretch fibers can influence how it behaves during washing and drying.
Troubleshooting Common No-Sew Hemming Issues
Even with the best intentions, you might encounter a minor hiccup. Here’s how to tackle them:
- Hem Falling Down: This usually means the adhesive wasn’t strong enough or didn’t cure properly. For fabric glue, you might need to reapply and ensure it’s fully dry. For hemming tape, re-iron the area, ensuring you’re using the correct heat and pressure, and allow it to cool completely. You can also try reinforcing with a few discreet stitches on the inside if the adhesive fails completely.
- Uneven Hem: Miscalculating your measurements or not folding straight can lead to an uneven hem. If it’s only slightly off, you can often trim the excess. If it’s significantly uneven and you’ve already applied the adhesive, you might need to carefully remove the adhesive (this can be tricky and may damage the fabric, so proceed with caution), re-cut, and re-apply.
- Stiff Hem Area: Using too much fabric glue can make the hem stiff and uncomfortable. Try to use just enough to create a bond. If it’s already done, you can try gently working the fabric with your hands to soften it, or even carefully applying a fabric softener solution to the area (test on an inconspicuous spot first).
- Visible Glue/Tape Lines: Ensure you apply glue neatly and within the folded edge. For hemming tape, make sure it’s fully enclosed within the fabric layers and completely fused. A pressing cloth can help prevent any residue transfer from the iron.
Frequently Asked Questions (FAQ)
Q1: Can I really hem jeans without sewing at all and have it look good?
Yes! With the right products like fabric glue or hemming tape, and careful application, you can achieve a neat, durable, and professional-looking hem that holds up to washing and wearing.
Q2: How do I know how much fabric to fold up for the hem?
Measure from your desired final length down. Add about 1 to 1.5 inches for a standard hem allowance. This extra fabric is what you’ll fold and adhere. You can refer to the original hem of your jeans as a guide for width.
Q3: Which no-sew method is best for denim?
Both fabric glue and hemming tape are excellent for denim. Hemming tape often gives a crisper, more structured finish, while fabric glue can be more forgiving and easier to work with for beginners. The simple fold-and-press is best for temporary styling.
Q4: How long will a no-sew hem last?
A well-applied fabric glue or hemming tape hem can last for a very long time, often as long as the jeans themselves, provided you follow proper washing and drying care instructions (like washing inside out on a cold cycle and air drying).
Q5: What if I mess up and the hem looks bad?
For minor mistakes like slight unevenness, you can often trim. If the adhesive isn’t holding


