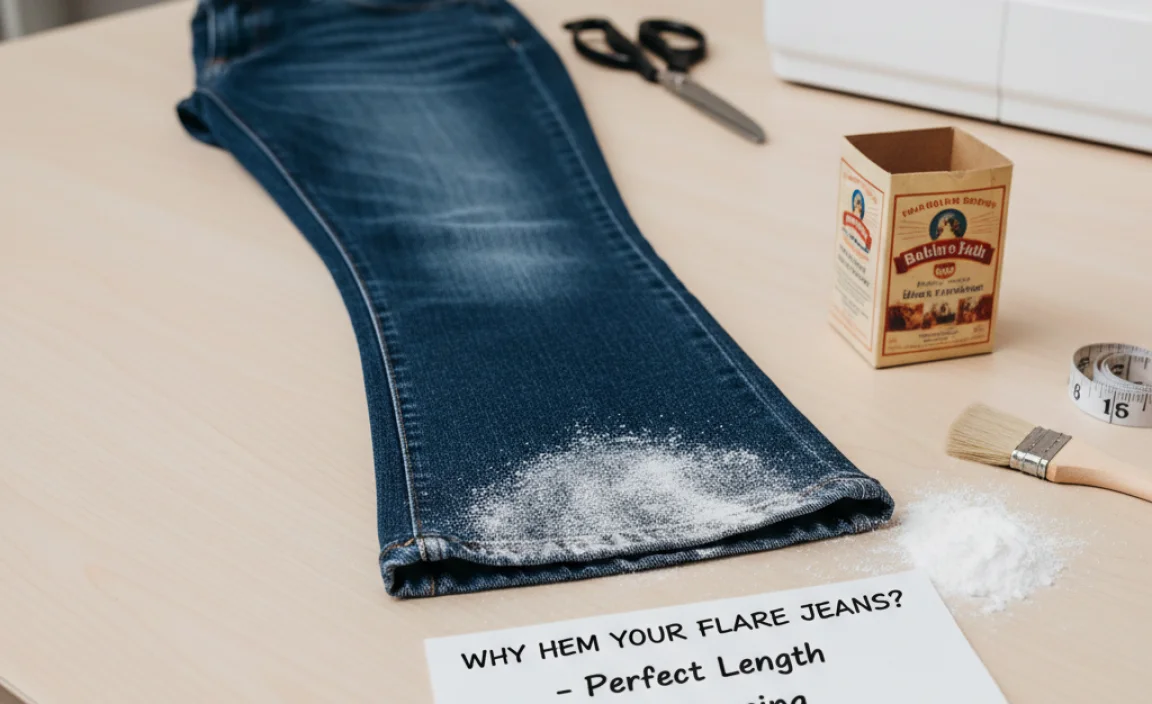
To hem your flare jeans using the baking soda method, pre-wash them to account for shrinkage. Mix baking soda with water to create a paste, apply it to the denim where you’ll make the cut, let it dry, then cut and hem for a clean, finished edge that resists fraying.
Your favorite pair of flare jeans might be a little too long, causing them to drag on the ground. Don’t worry! You don’t need to be a sewing expert to fix this common fashion frustration. This guide will show you a surprisingly simple trick using an everyday kitchen staple – baking soda. We’ll walk you through everything step-by-step, so you can get that perfect hem length and keep your jeans looking great. Get ready to transform your denim!
Why Hem Your Flare Jeans?

A well-hemmed pair of jeans makes a world of difference. When your jeans are the correct length, they look neater, more polished, and you avoid tripping over excess fabric. For flare jeans, the hem length is especially crucial. Too long and they’ll drag, get damaged quickly, and make your silhouette look unbalanced. Too short, and they lose that desired flare effect. Achieving the right length ensures they drape perfectly over your shoes, creating that stylish, elongating look we all love.
The “Baking Soda Secret” Explained
You might be wondering, what’s the secret and why baking soda? It’s not about magically transforming your denim, but rather a clever technique to prepare the fabric for cutting. Denim, especially a raw or unfinished hem, can be prone to excessive fraying and unraveling when cut. Applying a paste made from baking soda and water to the intended cut line creates a temporary stiffening agent. This makes the fibers more stable, allowing for a cleaner cut and a more controlled, less chaotic amount of fraying if that’s the look you’re going for. It’s a simple hack that mimics some of the conditioning you’d find in commercial fabric stiffeners, but with readily available household items.
What You’ll Need

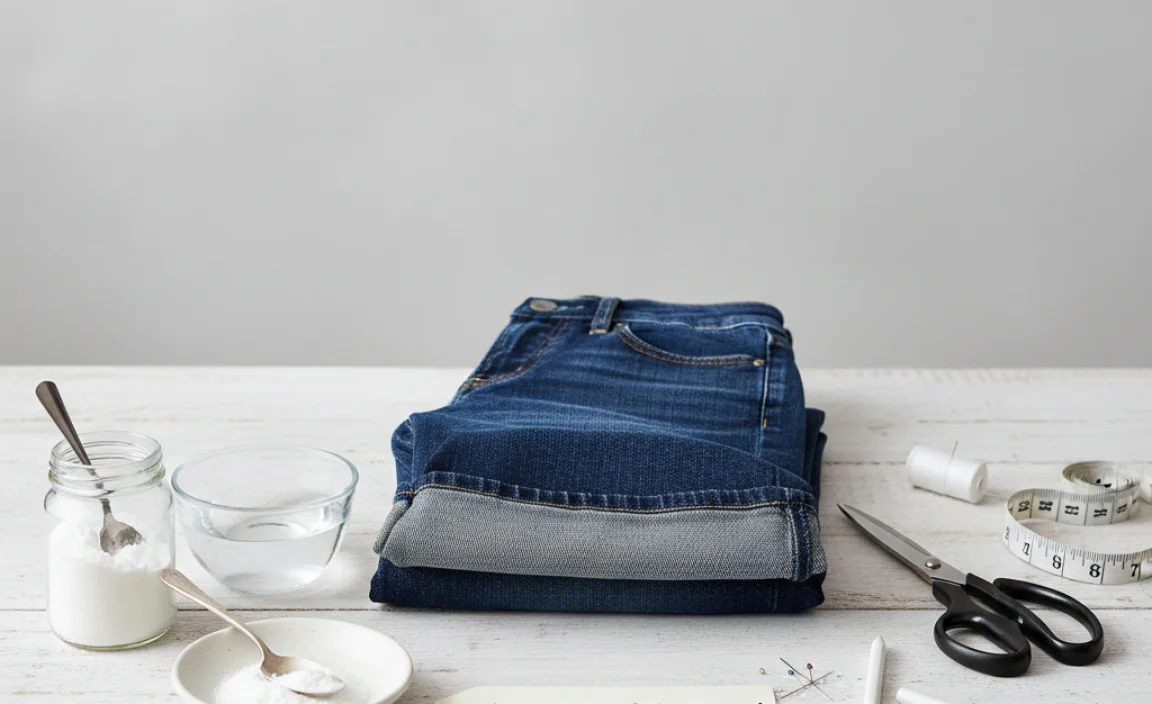
Gathering a few simple items will make the process smooth sailing. You likely have most of these already in your home.
Your Flare Jeans: The stars of the show! Make sure they are clean and dry before you begin.
Baking Soda: The key ingredient for our secret.
Water: To create the paste.
A Small Bowl: For mixing the paste.
Measuring Tape: Essential for accurate length.
Fabric Scissors: Sharp scissors designed for fabric will give you the cleanest cut. Dull scissors can cause jagged edges. Check out a guide on choosing the right fabric scissors for more insights.
Tailor’s Chalk or a Removable Fabric Marker: To mark your cutting line.
Pins: To hold the hem in place once you’ve determined the length.
A Straight Edge or Ruler: To ensure a straight cutting line.
Optional: A Sewing Machine or Needle and Thread: If you plan to create a clean, finished hem rather than a frayed edge.
Optional: Iron and Ironing Board: For pressing creases or a neat hem.
Step-by-Step Guide: Hemming Your Flare Jeans

Let’s get down to business. Follow these steps carefully for a professional-looking hem.
Step 1: Prepare Your Jeans and Determine the Length
First, wash and dry your flare jeans. This is a crucial step because denim can shrink. You want to hem them to their final length after any washing so they don’t end up too short later.
Try on your jeans with the shoes you plan to wear them with most often. This is vital for flare jeans to ensure they drape correctly. Have a friend help you mark the desired length, or stand in front of a mirror. You want the hem to hit just above the sole of your shoe, so they skim the ground without dragging.
Use your tailor’s chalk or fabric marker to make a small dot where you want the bottom of the hem to be. Do this on the outer seam of each leg. Repeat for the inner seam, ensuring they are even.
Step 2: Mark Your Cutting Line
Once you have your dots, lay one leg of the jeans flat on a clean surface. Use your ruler or straight edge to draw a straight line connecting the dots. This is your cutting line. For flare jeans, this line will naturally be angled due to the widening of the leg. Make sure the line runs parallel to the actual hem you are cutting off, maintaining the jean’s original shape as much as possible.
It’s a good idea to also mark where you want the new hem to finish if you’re planning a traditional folded hem. Pin the excess fabric up to determine this, then mark your cutting line just below that intended fold.
Step 3: The Baking Soda Application
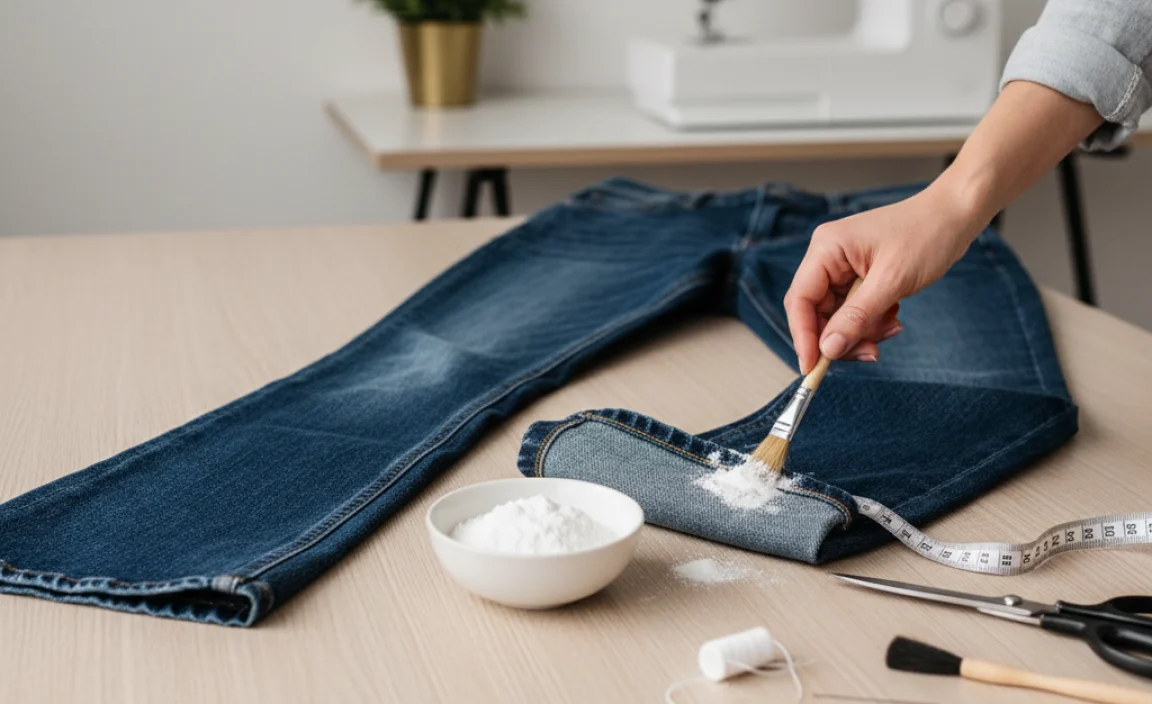
In your small bowl, mix about two parts baking soda to one part water. Stir until you have a thick, paste-like consistency. It shouldn’t be too runny. Make sure you have enough paste to cover the line you’ll be cutting.
Carefully apply the baking soda paste directly onto the chalk line you marked on the outside of the denim. You want a solid coating along the entire line. This paste will help to stiffen the denim fibers right at the point of the cut, reducing excessive fraying and making the cut cleaner.
Step 4: Let It Dry
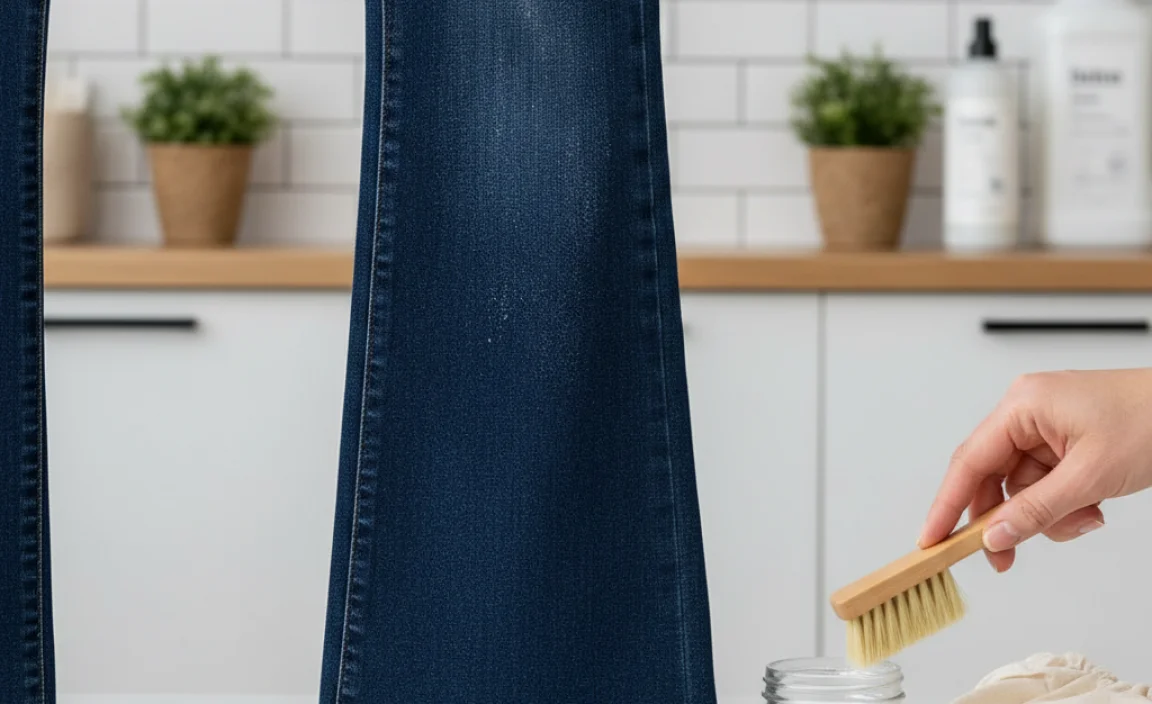
Allow the baking soda paste to dry completely. This can take anywhere from 30 minutes to a few hours, depending on humidity and how thick you applied the paste. You’ll know it’s dry when it’s a chalky white, powdery residue. You can gently brush off any excess dry powder, but the stiffening effect will remain.
Step 5: Make the Cut
Once the paste is dry, it’s time to cut. Using your sharp fabric scissors and following your marked line precisely, carefully cut through the denim. Move slowly and steadily for the cleanest possible result. The baking soda should make the fabric feel a bit firmer and easier to cut cleanly.
Pro Tip: If you are aiming for a frayed hem, you might cut slightly above your marked chalk line. The baking soda will still help control the initial fray, and you can then encourage more fraying later if needed.
Step 6: Hemming Options
Now that your jeans are cut to length, you have a few options for finishing the hem.
Option A: The Raw/Frayed Hem (The Natural Look)
This is where the baking soda method truly shines if you want a controlled fray. After cutting, you’ve already established your new hemline. To encourage fraying:
- Gently rub the cut edge with your fingers or a stiff brush.
- Wash the jeans again, perhaps with a cup or two of a mild fabric softener, which can help loosen the threads further.
- Dry them in the dryer.
The baking soda helped prevent an uncontrolled cascade of loose threads, giving you a more uniform and intentional frayed look.
Here’s a quick look at the pros and cons of a raw hem:
| Pros | Cons |
|---|---|
| Stylish and trendy | Can continue to fray over time |
| Easy and quick to achieve | May require occasional trimming |
| Minimal sewing required | Not suitable for all fabric types or occasions |
Option B: The Clean Finished Hem (The Classic Look)
If you prefer a neat, traditional hemline, you’ll need to fold and secure the raw edge.
- Fold the raw edge up by about 1/2 inch and press it flat with an iron.
- Fold it up again by about 1 inch (or whatever finished hem width you prefer) and press again. This creates a double-folded hem for durability and a clean finish.
- Pin the hem in place.
- Using a sewing machine, stitch as close to the inner folded edge as possible. A straight stitch is common, but you can also use a double needle for a professional “jean stitch” look.
- If you don’t have a sewing machine, you can hand-stitch. Use a sturdy thread and a backstitch or a whipstitch for a secure hold.
This method requires a bit more precision but results in a durable, classic hem that won’t fray.
Consider these points for a clean finished hem:
Clean Finished Hem Considerations:
- Requires Sewing Skills: Basic sewing knowledge is needed, either by machine or hand.
- Durability: This is generally the most durable option.
- Appearance: Creates a polished, finished look that is versatile.
- Shrinkage: Always pre-wash to avoid unexpected shrinkage after hemming.
Frequently Asked Questions about Hemming Flare Jeans
Have more questions? We’ve got answers.
Q1: Can I really use baking soda to hem jeans?
Yes! Baking soda mixed with water creates a temporary stiffening paste. Applying it to the cutting line helps stabilize denim fibers, leading to a cleaner cut and more controlled fraying if you want that look. It’s a simple, accessible hack.
Q2: How much shrinkage should I expect from my flare jeans?
Denim shrinkage can vary significantly depending on the fabric composition and how it was manufactured. Generally, expect between 3-5% shrinkage in length after the first wash and dry cycle. Always wash and dry your jeans before hemming to account for this.
Q3: What’s the best way to ensure my flare jeans hem is even?
The most accurate way is to try them on with your intended shoes and have someone mark the length. If that’s not possible, use a mirror and a measuring tape. Measure the inseam from the crotch to the floor, then transfer that measurement to both legs, ensuring you’re consistent. Laying the jeans flat and using a laser level or a long ruler can also help maintain an even line.
Q4: How do I make sure the cut is straight?
Sharp fabric scissors are key. Use a ruler or tailor’s chalk to draw a clear, straight cutting line before you begin. Go slow and steady when cutting. The baking soda paste should help provide a guide and slight resistance for a cleaner cut.
Q5: Will the baking soda stain my jeans?
No, the baking soda should wash out completely. Once dry, you can brush off most of the powdery residue. After the cut, any remaining residue will be gone after the next wash and dry cycle, especially if you opt for a fraying hem or if you’re doing a clean finish where you’ll wash them again.
Q6: My jeans are high-waisted flares. Does that change anything?
The process for hemming remains the same regardless of rise. The key is ensuring the length is correct when worn with your desired shoes, and that the hemline follows, and complements, the flare of the leg. Always start with washing and drying.
Q7: What if I don’t want my jeans to fray at all?
If you prefer a completely clean, non-fraying hem, you’ll want to use Option B: the Clean Finished Hem. This involves folding the fabric up twice and sewing it securely. The baking soda hack is still useful here as it helps make that initial cut cleaner, but the subsequent folding and stitching will prevent any fraying.
Maintaining Your Hemmed Jeans

Once you’ve achieved that perfect hem on your flare jeans, a little care goes a long way.
Washing Wisely: Wash your jeans less frequently to preserve their color and fit. When you do wash them, turn them inside out and use cold water on a gentle cycle. This helps protect the fibers and any finished hem you’ve created.
Drying Smart: Air-drying is always the best option for denim. Hang them to dry, preferably away from direct sunlight, which can fade the fabric. If you must use a dryer, use a low-heat setting and remove them while slightly damp to prevent over-drying and shrinkage.
Storage: Fold your jeans neatly or hang them on wide, padded hangers to avoid creating creases or distorting the flare.
* Dealing with Fraying (if desired): If you went for a frayed hem and it starts fraying more than you’d like, you can easily trim away excess threads with scissors. For excessive fraying that’s coming undone, you might consider a small stitch line just above the fray to act as a stopper.
Conclusion
Hemming your flare jeans doesn’t have to be a daunting task. With a little preparation and the surprisingly effective baking soda secret, you can achieve a perfectly tailored length that enhances both the look and feel of your favorite denim. Whether you prefer a stylish raw edge or a crisp, clean finish, these steps provide a clear, actionable path to success. By following this guide, you’ve not only fixed a common wardrobe issue but also gained a simple, valuable skill. Now go enjoy your perfectly hemmed flare jeans!
.lwrp.link-whisper-related-posts{
margin-top: 40px;
margin-bottom: 30px;
}
.lwrp .lwrp-title{
}.lwrp .lwrp-description{
}
.lwrp .lwrp-list-container{
}
.lwrp .lwrp-list-multi-container{
display: flex;
}
.lwrp .lwrp-list-double{
width: 48%;
}
.lwrp .lwrp-list-triple{
width: 32%;
}
.lwrp .lwrp-list-row-container{
display: flex;
justify-content: space-between;
}
.lwrp .lwrp-list-row-container .lwrp-list-item{
width: calc(25% – 20px);
}
.lwrp .lwrp-list-item:not(.lwrp-no-posts-message-item){
max-width: 150px;
}
.lwrp .lwrp-list-item img{
max-width: 100%;
height: auto;
object-fit: cover;
aspect-ratio: 1 / 1;
}
.lwrp .lwrp-list-item.lwrp-empty-list-item{
background: initial !important;
}
.lwrp .lwrp-list-item .lwrp-list-link .lwrp-list-link-title-text,
.lwrp .lwrp-list-item .lwrp-list-no-posts-message{
}@media screen and (max-width: 480px) {
.lwrp.link-whisper-related-posts{
}
.lwrp .lwrp-title{
}.lwrp .lwrp-description{
}
.lwrp .lwrp-list-multi-container{
flex-direction: column;
}
.lwrp .lwrp-list-multi-container ul.lwrp-list{
margin-top: 0px;
margin-bottom: 0px;
padding-top: 0px;
padding-bottom: 0px;
}
.lwrp .lwrp-list-double,
.lwrp .lwrp-list-triple{
width: 100%;
}
.lwrp .lwrp-list-row-container{
justify-content: initial;
flex-direction: column;
}
.lwrp .lwrp-list-row-container .lwrp-list-item{
width: 100%;
}
.lwrp .lwrp-list-item:not(.lwrp-no-posts-message-item){
max-width: initial;
}
.lwrp .lwrp-list-item .lwrp-list-link .lwrp-list-link-title-text,
.lwrp .lwrp-list-item .lwrp-list-no-posts-message{
};
}


