Learn how to hem flare jeans yourself to save money and achieve a perfect fit. This guide provides simple, budget-friendly steps for a professional-looking result.
Jeans that are too long can be a real pain, especially those stylish flare jeans. They can drag on the ground, get dirty, and make your favorite shoes look less than fabulous. But taking them to a tailor can get expensive, and sometimes you just want a quick fix. Good news! You absolutely can hem your flare jeans at home, and it’s much simpler than you might think. This guide will walk you through everything you need, step-by-step, so you can get that perfect length for less. Ready to revive your denim? Let’s get started.
Why Hemming Flare Jeans Yourself is a Smart Move
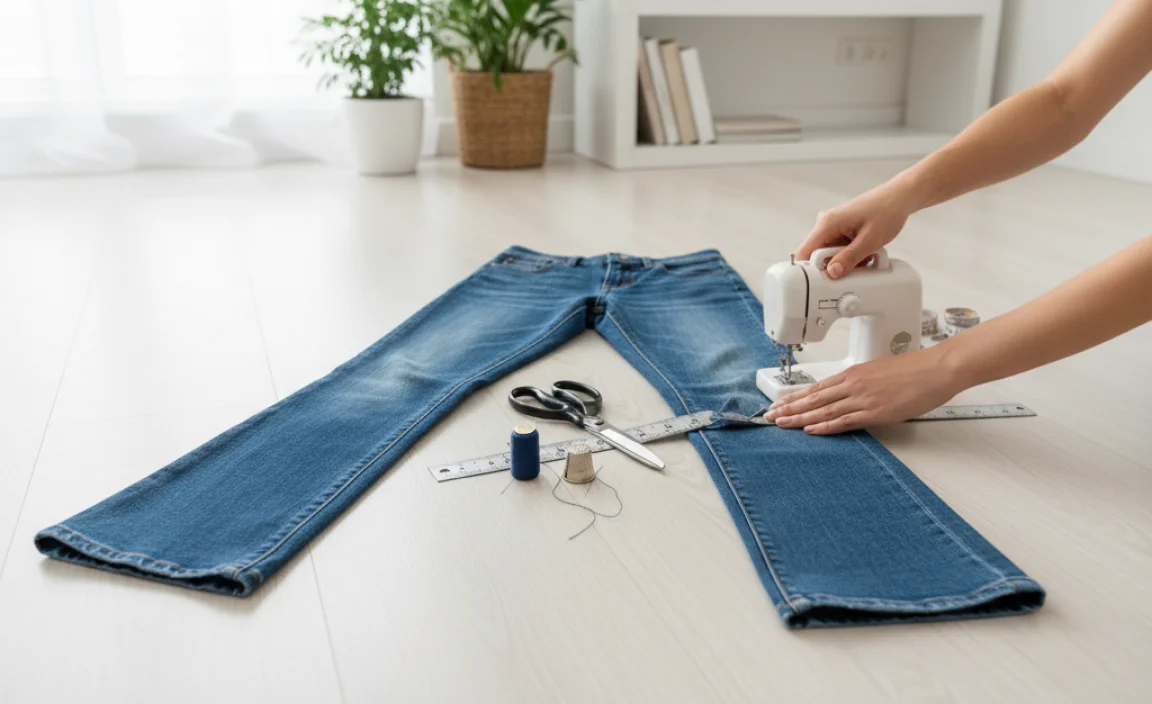
Hemming your own jeans isn’t just about saving a few bucks; it’s about taking control of your style and your budget. Flare jeans, with their wider leg opening, can be a bit trickier to hem compared to straight-leg styles, but the principles are the same. When done correctly, it looks just as good as a professional job, and you get the satisfaction of knowing you did it yourself.
Tools You’ll Need for a Budget Hem
Gathering the right tools is the first step to a successful hem. Don’t worry, you probably already have most of these things or can find them easily and affordably.
- Fabric Scissors: Sharp scissors are crucial for a clean cut. Don’t use your kitchen scissors!
- Measuring Tape or Ruler: For accurate measurements.
- Fabric Marker or Chalk: To mark your desired hemline.
- Pins: To hold the fabric in place while you work.
- Sewing Machine (Optional but Recommended): For a sturdy, professional-looking hem. If you don’t have one, hand-sewing is possible for a quick fix.
- Thread: Choose a color that matches or complements your jeans.
- Iron and Ironing Board: To press your hem for neatness and a crisp finish.
- Seam Ripper (Optional): Useful if you need to remove the original hem.
Understanding Your Jeans and the Hemming Process
Before you grab scissors, take a moment to assess your jeans.
- Fabric Type: Most jeans are denim, but the weight and stretch can vary. Heavier denim is easier to hem than very stretchy materials.
- Original Hem: Flare jeans often have a distinctive original hem with a bit of fraying or a thicker double stitch. You’ll want to decide if you want to replicate this look or create a simple, clean hem. For a true “budget genius” look, keeping the original hem is recommended.
- Leg Shape: The flare means the hem circumference is larger than at the knee. This is important to consider when marking your new length. A hem that looks good on the floor might be too high when you’re standing straight because the fabric hangs differently when bunched.
Step-by-Step Guide: How to Hem Flare Jeans for a Budget
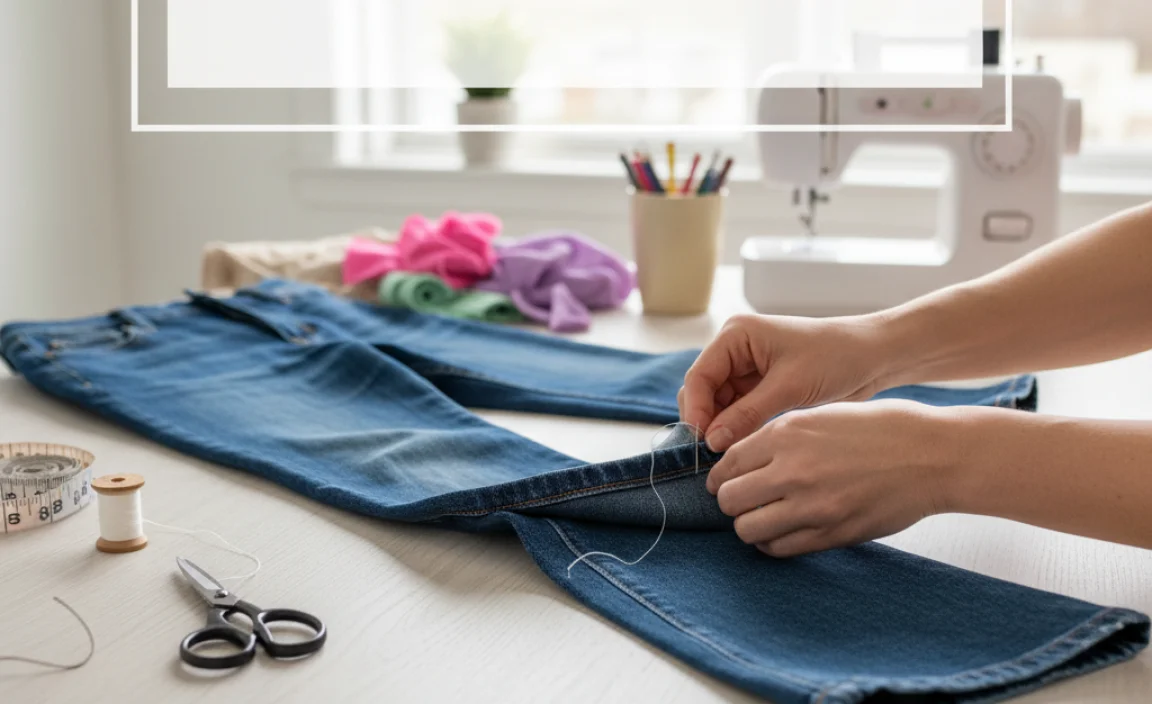
This guide focuses on keeping the original hem for that authentic look and avoiding the cost of new thread or a more complex sewing machine setup.
Step 1: Try On and Mark Your Length
This is the most critical step. Wear the shoes you plan to wear with your flare jeans most often.
- Put on your jeans and stand in front of a mirror.
- Check the length. Do you want them to just skim the top of your shoes, or is there a specific point you prefer?
- Have a friend help you, or carefully use a ruler and your toe to gauge where the hem should sit. If the jeans are very long, you might want to pin them up temporarily to get a feel for the new length before marking.
- Using your fabric marker or chalk, carefully mark a line where you want the new hem to fall. For a “budget genius” approach that keeps the original hem, you’ll mark slightly below where you want the final length to be, to account for the original hem’s width. A good rule of thumb is to mark where the bottom of the original hem currently sits, or about 1/2 inch below your desired final length.
Step 2: Prepare the Jeans for Cutting
Once you’ve marked your desired length, it’s time to get ready to cut.
- Lay your jeans flat on a table or the floor.
- Smooth out the fabric to remove any wrinkles.
- Ensure the marked line is even all the way around both legs. If you marked one leg, carefully measure and transfer that mark to the other leg, making sure it’s symmetrical.
- Check that the jeans are lying flat and the fabric isn’t pulled or bunched.
Step 3: Cutting the Excess Fabric (If Necessary)
If you’re keeping the original hem, you’ll only be cutting off a small amount. If you’re creating a clean hem, you’ll cut off more. For the “budget genius” method aiming to preserve the original hem:
- Measure from your marked line down to the bottom edge of your original hem.
- You will cut off the fabric below this marked line. A common amount to trim to preserve the original hem stitch is about 1/2 inch to 1 inch, depending on how wide the original hem is.
- Use your sharp fabric scissors to make a clean cut along the marked line. Try to cut as straight as possible.
If you don’t want the original hem and are creating a new one:
- Measure down from your marked line about 1 to 1.5 inches. This will give you fabric to fold for a new hem.
- Cut off the excess fabric below the 1 to 1.5 inch mark.
Step 4: Attaching the Original Hem (The Budget Genius Way)
This technique involves re-attaching the original Jean’s hem to the shortened jean leg.
- Carefully use a seam ripper to detach the original stitched hem from the bottom of the jean leg, if it’s not already removed. You only need to remove the stitching that holds the hem up. You’ll want to keep the finished edge of the hem intact.
- Turn the jean leg inside out.
- Slide the shortened jean leg opening over the detached original hem piece, aligning the raw edges. The raw edge of the jean leg should meet the raw edge of the detracted hem piece.
- Pin the two raw edges together securely. Make sure the fabric is still flat and the pins are close together to ensure a neat seam.
- Using your sewing machine with a sturdy stitch (like a straight stitch or a denim stitch), sew along the pinned edge, about 1/4 inch to 1/2 inch from the raw edge. Go slowly, especially around any thick seams or denim layers common in flare jeans. If hand-sewing, use a strong backstitch.
- Once sewn, inspect the seam. If it looks good, you can optionally topstitch over the original stitching line or slightly below it to further secure the hem and give it a more finished look, mimicking the original construction.
Step 5: Creating a Simple New Hem (Alternative Method)
If you’ve opted to create a new, clean hem and cut off more fabric in Step 3:
- Turn the jean leg inside out.
- Fold the raw edge up towards the inside of the jean leg by about 1/2 inch. Press this fold firmly with your iron.
- Fold the edge up again by another 1/2 inch to 1 inch, encasing the raw edge within the fold. Press this second fold very firmly. This creates a clean, double-folded hem.
- Pin the folded hem in place, ensuring it’s even and flat.
- Using your sewing machine, sew along the top edge of the folded hem. Use a thread color that matches your jeans. A straight stitch is usually sufficient. For a durable finish, you can stitch twice – once close to the folded edge and once closer to the leg seam.
- If hand-sewing, use a strong blind hem stitch or a small, even whipstitch.
Step 6: Final Touches and Pressing
No matter which method you used, the final steps are crucial for a professional look.
- Turn your jeans right-side out after sewing.
- Try them on to check the length and look.
- Use your iron and ironing board to press the hem flat. This makes a huge difference in how neat and finished your work looks. For the original hem method, press the original hem down and outward as it would naturally sit. For a new hem, press the folded hem flat.
- If you want a slightly frayed look on a new hem, you can carefully unravel a small portion of the newly created hem’s bottom edge after pressing.
Maintaining Your Hemmed Jeans
To keep your newly hemmed jeans looking great and ensure the hem stays put after washing, follow these simple tips:
- Wash Inside Out: Always wash your jeans inside out. This protects the outer fabric from abrasion and helps preserve the color and any special finishes.
- Cold Water Wash: Use cold water. It’s better for the fabric, uses less energy, and helps prevent shrinkage or color fading.
- Gentle Cycle: Opt for your washing machine’s gentle or delicate cycle. This reduces stress on the seams and fabric.
- Air Dry: The best way to dry jeans is to air dry them. Hang them by the waistband or lay them flat. Avoid high heat in a dryer, as it can cause shrinkage, damage elastic (if present), and weaken the fibers over time. If you must use a dryer, use the lowest heat setting and remove them while slightly damp to finish air drying.
- Check the Hem Periodically: Especially with heavier wear, it’s a good idea to check your hem every few months to ensure stitches are still secure.
Pros and Cons of Hemming Flare Jeans Yourself
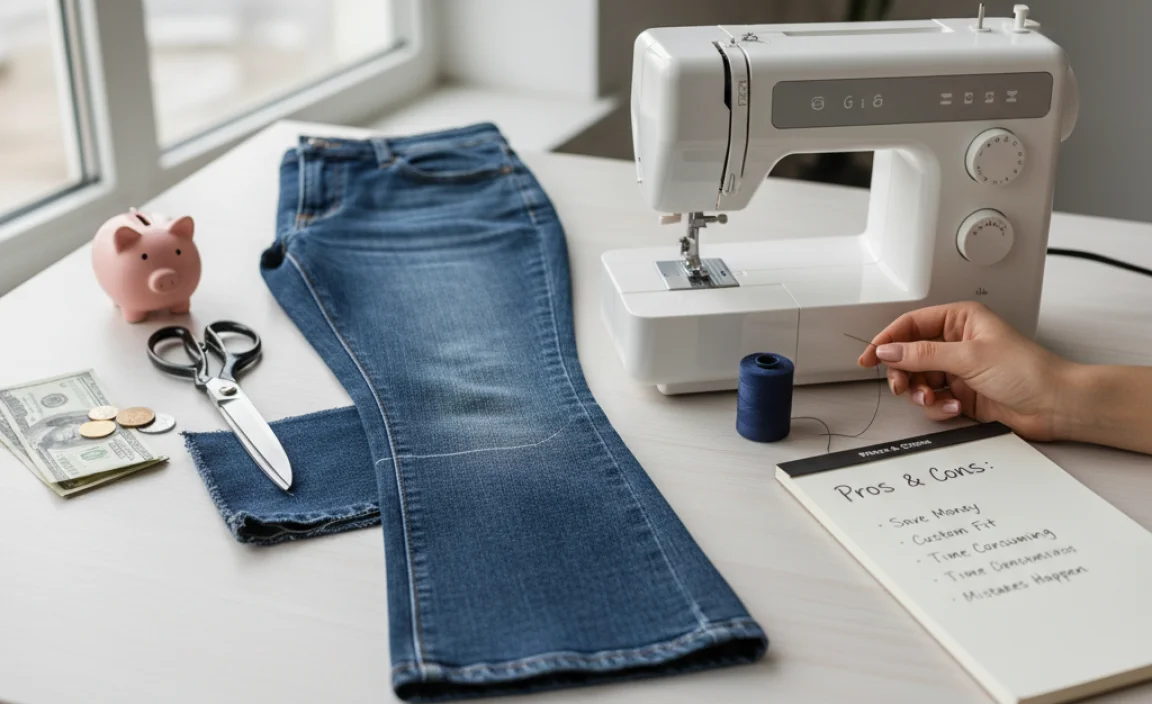
While hemming at home is a fantastic skill to learn, like any DIY project, it has its advantages and disadvantages.
| Pros | Cons |
|---|---|
| Significant cost savings compared to professional tailoring. | Can be time-consuming, especially for beginners. |
| Allows for precise control over the exact length for your preferred shoes (great for heel heights!). | Requires basic sewing skills and tools, which might involve an initial small investment. |
| Empowers you to fix your wardrobe instantly without waiting. | Risk of cutting incorrectly or sewing unevenly, leading to a less-than-perfect finish if not careful. |
| Preserves the original hem detail if you choose that method, maintaining the jeans’ original look and feel. | May not achieve the same professional, factory-perfect finish as a skilled tailor, especially for complex designs or very delicate fabrics. |
| Boosts confidence and self-sufficiency in clothing care and alterations. | Can be challenging on very thick, multi-layered denim or stretchy materials that tend to roll or pucker easily. |
Frequently Asked Questions About Hemming Flare Jeans
This section aims to answer common beginner questions.
Q1: Can I hem flare jeans without a sewing machine?
Yes, absolutely! While a sewing machine offers durability and a professional finish, you can hem flare jeans by hand. Use a strong stitch like a backstitch for durability. For a quick fix, a simple whipstitch can work, but it might not hold up as well to frequent washing. It’s easiest to preserve the original hem when hand-sewing.
Q2: How much fabric should I leave for hemming flare jeans?
If you’re keeping the original hem, you’ll only be trimming 1/2 inch to 1 inch of excess fabric below the original hemline, depending on its width. If creating a new, clean hem, leave about 1 to 1.5 inches of fabric below your marked final length to allow for a double fold of 1/2 inch to 3/4 inch each. This provides enough material for a neat, professional-looking fold.
Q3: What’s the best way to mark the hemline on flare jeans?
The best tool is a fabric marker or tailor’s chalk. Ensure your jeans are laid flat and smoothed out before marking. Have someone help you or use your own judgment while wearing shoes you’ll typically pair with the jeans. Mark small dots or a thin line all the way around the leg. For the most accurate marking, consider using a piece of cardboard to create a template that ensures an even hem height around the entire circumference, especially with the curve of the leg.
Q4: Will hemming change the way my flare jeans hang?
Yes, hemming will shorten the length, which can slightly alter how the flare appears. However, if you hem them to the correct length that perfectly skims your shoes, the flare should enhance your silhouette beautifully. The flare itself is determined by the cut of the jean from the knee down, not just the length of the hem. A proper hem will make the flare look its best by preventing it from dragging and becoming misshapen.
Q5: How do I prevent my jeans from looking “high-water” after hemming?
The key to avoiding a “high-water” look is precise measurement with the right footwear. Always try on your jeans with the shoes you intend to wear with them before marking your hemline. For long jeans, measure from the floor up to your desired height with the shoes on. For a slight break on the shoe, aim for the hem to just graze the top of your shoe. The flare can sometimes make jeans appear shorter than they are, so take your time with this step.
Q6: What if my flare jeans have a special distressed or frayed hem?
If your flare jeans have a factory-made distressed or frayed hem, the best “budget genius” approach is to try and preserve it. This usually involves carefully removing the stitching that holds the hem up (using a seam ripper), shortening the leg, and then re-attaching the original hem piece. This process mimics the original look. If you cut that off, replicating a natural-looking fray at home can be tricky and might not look as authentic.
Conclusion
Mastering how to hem flare jeans yourself is a real win for your wallet and your wardrobe. It transforms those slightly-too-long pairs into perfectly fitting favorites without a trip to the tailor. By using these straightforward steps and focusing on preserving the original hem for that authentic denim charm, you’ve unlocked a budget-savvy skill that pays off every time you pick out an outfit. Remember to measure carefully, take your time, and trust your ability to achieve a great result. Now go forth and conquer that denim pile – your feet (and your bank account) will thank you!


