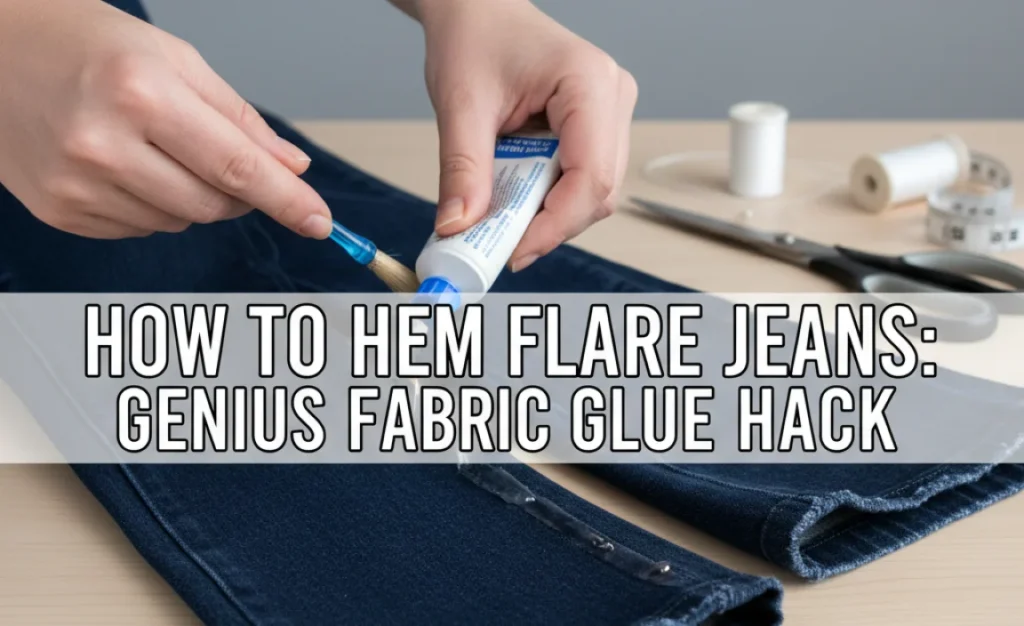
Quick Summary: Learn how to expertly hem flare jeans using fabric glue for a quick, no-sew, and durable finish. This beginner-friendly hack saves time and avoids the need for special sewing skills, giving your favorite jeans a perfect, custom fit.
How to Hem Flare Jeans: The Genius Fabric Glue Hack
Ever bought a pair of fantastic flare jeans, only to find they’re a touch too long? It’s a common frustration that can leave your pants dragging and looking less than polished. The good news is you don’t need to be a sewing expert with a fancy machine to fix it. We’re going to show you a super-easy, no-sew method using fabric glue that will have your flare jeans fitting perfectly in no time. Get ready to transform your wardrobe without a single stitch!
Why Fabric Glue is Your New Best Friend for Denim Hemming
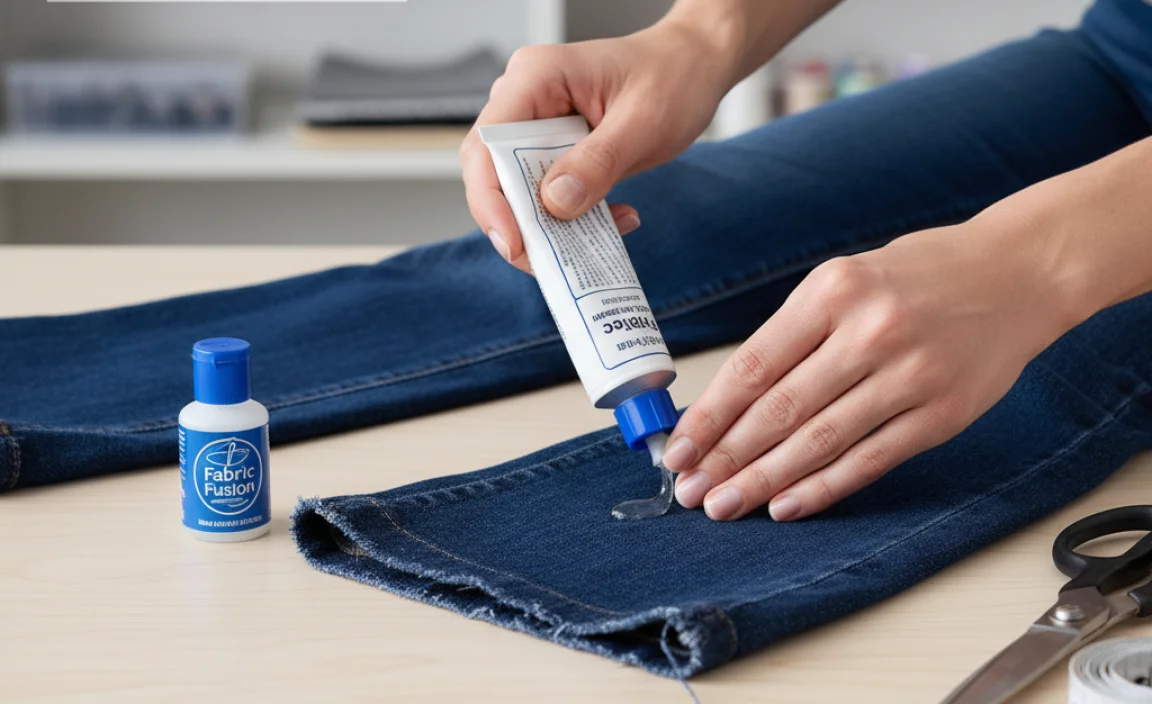
Sewing can feel daunting, especially for beginners. Threads can fray, seams can pucker, and getting a straight line can be a challenge. Fabric glue offers a brilliant alternative. It’s designed to create a strong, flexible bond between fabric layers, making it ideal for denim. Unlike regular glue, fabric glue is created to withstand washing and wearing, ensuring your hem stays put. This method is also incredibly fast, allowing you to hem your jeans in minutes, not hours.
For denim specifically, a strong fabric glue provides a durable hem that mimics a traditional sewn seam without the fuss. It’s especially useful for the unique structure of flare jeans, where a precise hem is key to achieving that iconic silhouette.
Gather Your Supplies: Everything You Need for a Flawless Hem
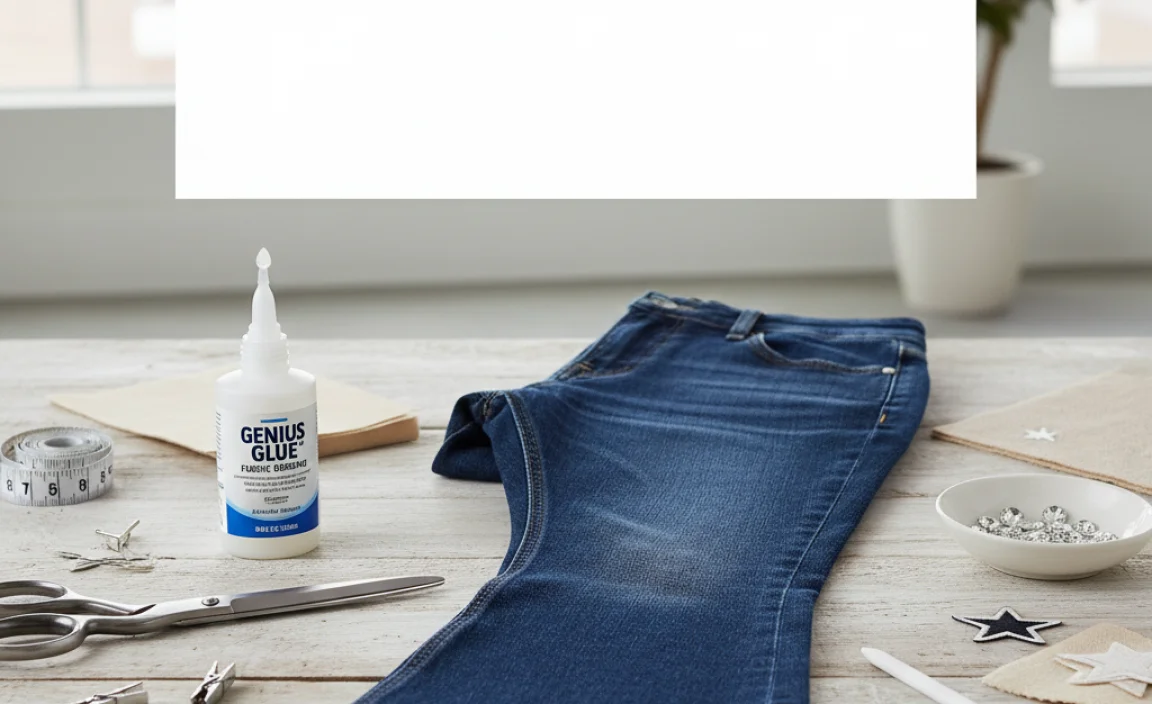
Before you start, make sure you have everything ready. This will make the process smooth and stress-free. Think of it like setting up your workspace; having tools handy prevents interruptions.
- Flare Jeans: Your favorite pair that needs hemming.
- Fabric Glue: Look for a permanent, washable fabric glue specifically designed for clothing. Brands like Aleene’s Fabric Fusion, Dritz Washable Fabric Glue, or Gorilla Fabric Glue are excellent choices.
- Fabric Scissors: Sharp scissors will ensure a clean cut.
- Measuring Tape or Ruler: For accurate measurements.
- Fabric Marker or Chalk: To mark your desired hemline.
- Iron and Ironing Board: For pressing the hem and activating some glues.
- Cardboard or Thick Paper: To place inside the jean leg to prevent glue from seeping through.
- Clamps or Heavy Books: To hold the hem in place while the glue dries.
- Optional: Masking tape can be helpful for holding the initial fold.
Step-by-Step Guide: Hemming Flare Jeans with Fabric Glue
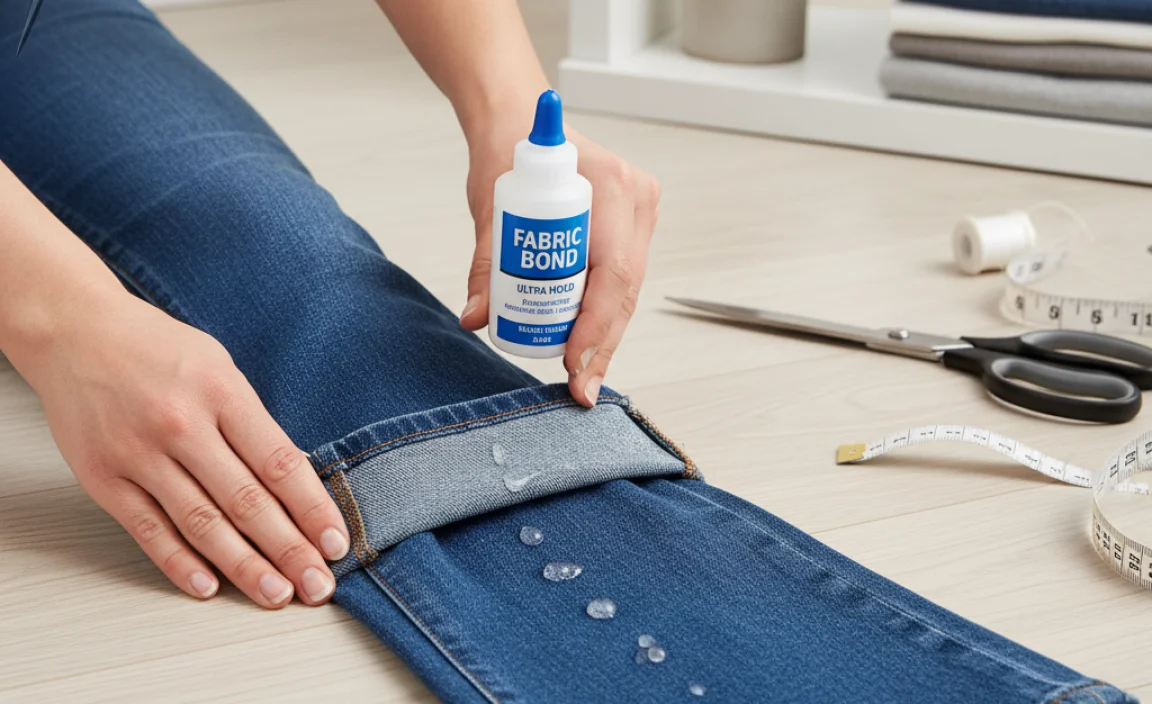
Follow these simple steps to achieve a professional-looking hem on your flare jeans. We’ll break it down so it’s easy to manage, even if you’ve never done this before.
-
Prepare Your Jeans
Start by trying on your flare jeans and deciding on the correct length. Stand in front of a mirror with the shoes you plan to wear with the jeans. Use your fabric marker or chalk to mark where you want the hem to fall. It’s generally best to mark a little longer than you think you need, as you can always trim more, but you can’t add it back.
-
Mark the Hemline
Take off the jeans and lay them flat on a clean surface. Measure from the marked point downwards to establish your cutting line. A general rule of thumb for flare jeans is to let them hover just slightly above the ground, or just touching the top of your shoes. For a more precise measurement, you can use a ruler from the crotch seam down to your marked hem point and replicate it on the other leg.
-
Cut the Excess Fabric
Using your sharp fabric scissors, carefully cut off the excess denim. Aim for a straight line. Remember, you’ll be folding this hem up, so factor in about 1 to 1.5 inches for your fold allowance. You can use masking tape along your marked cutting line as a guide if you find it difficult to cut a straight line. Double-check your measurements before you cut!
-
Fold and Press the First Hem
Turn your jeans inside out. Fold up the raw edge of the denim by about 0.5 inches and press it firmly with your iron. This creates a clean edge to work with and helps the fabric lie flat. This initial fold provides a neat base for your main hem.
-
Fold and Press the Main Hem
Now, fold up the hem again, this time by the amount you want your finished hem to be (usually between 1 and 1.5 inches). Make sure this fold is even and straight all the way around the leg. Press this fold firmly with your iron. If you’re using a permanent fabric glue that requires heat to activate, follow the product’s instructions carefully at this stage. Your jeans should now look like they have a hem, though it’s not yet secured.
Tip: For flare jeans, pay extra attention to ensure the fold is consistent with the flare. The curve can sometimes make it tricky, so take your time to get it even around the entire leg opening.
-
Insert the Cardboard
Slide a piece of cardboard or thick, flat paper inside the jean leg. This is crucial to prevent the fabric glue from seeping through to the other side of the denim, which would create an unsightly mess.
-
Apply the Fabric Glue
Carefully run a bead of fabric glue along the inside edge of the folded-up hem. Aim to apply it evenly, about 1/8 to 1/4 inch up from the bottom edge of the fold that’s against the main jean leg. Make sure there’s enough glue to create a strong bond, but not so much that it oozes out.
Some fabric glues recommend specific application methods, like dotting them along the seam or applying a continuous line. Always refer to your specific product’s instructions. For instance, some brands suggest applying glue to one surface and pressing the other onto it.
External Link: For more information on fabric types and how they react to adhesives, you can consult resources like the National Park Service’s textile conservation guide, which offers insights into fabric handling and care.
-
Press and Secure the Hem
Once the glue is applied, carefully press the folded hem down onto the glue. You want to ensure good contact between the fabric layers where the glue is applied. This is where clamps or heavy books come in handy. Use them to hold the hem firmly in place all around the leg opening. This pressure is vital for creating a strong, lasting bond as the glue dries.
-
Allow the Glue to Dry
Let the glue dry completely according to the product’s instructions. This usually takes several hours, but some glues recommend a 24-hour cure time for maximum strength. Resist the temptation to rush this step; a fully cured bond is essential for durability.
-
Check and Finish
Once dry, remove the clamps or books. Carefully unfold the jean leg to check your hem. Tug gently to ensure it’s secure. If needed, you can add a few more small dots of glue along any areas that feel loose, then reapply the clamps and allow to dry. Trim any stray threads. Your perfectly hemmed flare jeans are ready to wear!
Fabric Glue vs. Traditional Sewing: A Comparison
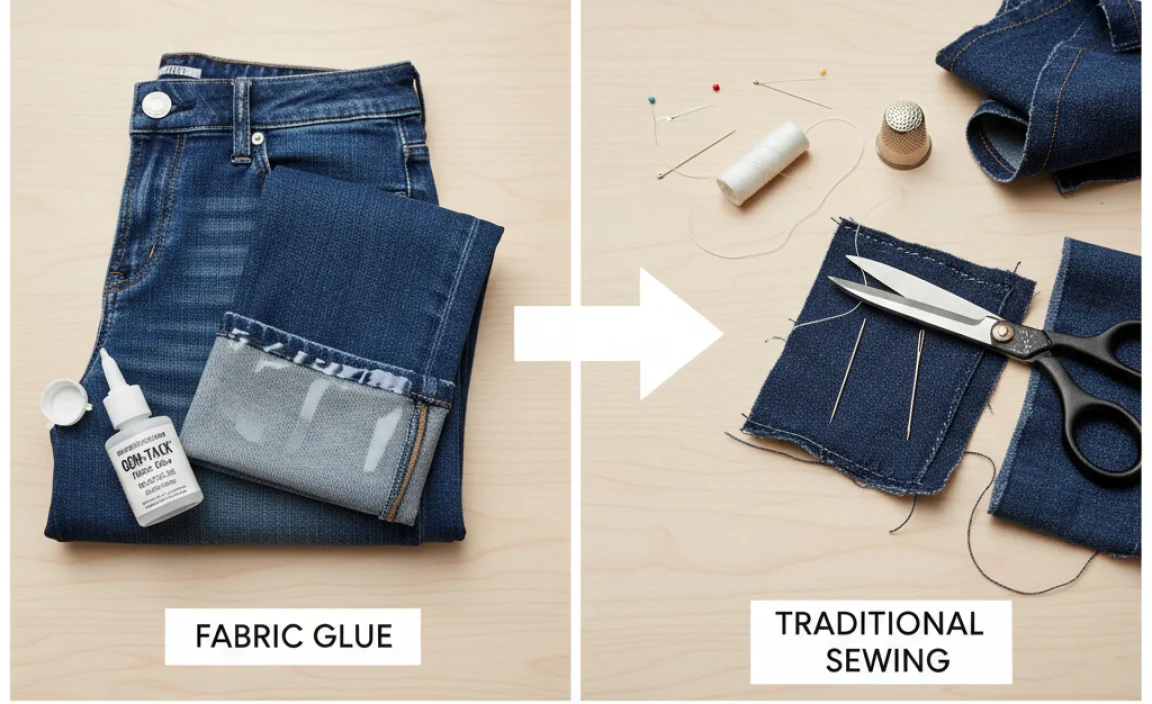
Choosing a hemming method depends on your needs and preferences. Fabric glue offers distinct advantages, especially for beginners and quick fixes.
| Feature | Fabric Glue Hack | Traditional Sewing |
|---|---|---|
| Speed | Very Fast (minutes to apply, hours to cure) | Slower (requires stitching time) |
| Ease of Use | Beginner-friendly, no special skills needed | Requires sewing machine or hand-sewing skills |
| Durability | Permanent and washable when properly applied and cured | Highly durable, can be reinforced with multiple stitch lines |
| Appearance | Can mimic a sewn hem, may appear slightly thicker | Can achieve a very professional, clean finish |
| Flexibility | Good flexibility, moves with fabric | Excellent flexibility |
| Cost | Low (cost of fabric glue) | Low to moderate (depending on machine or thread costs) |
Tips for Success with Fabric Glue
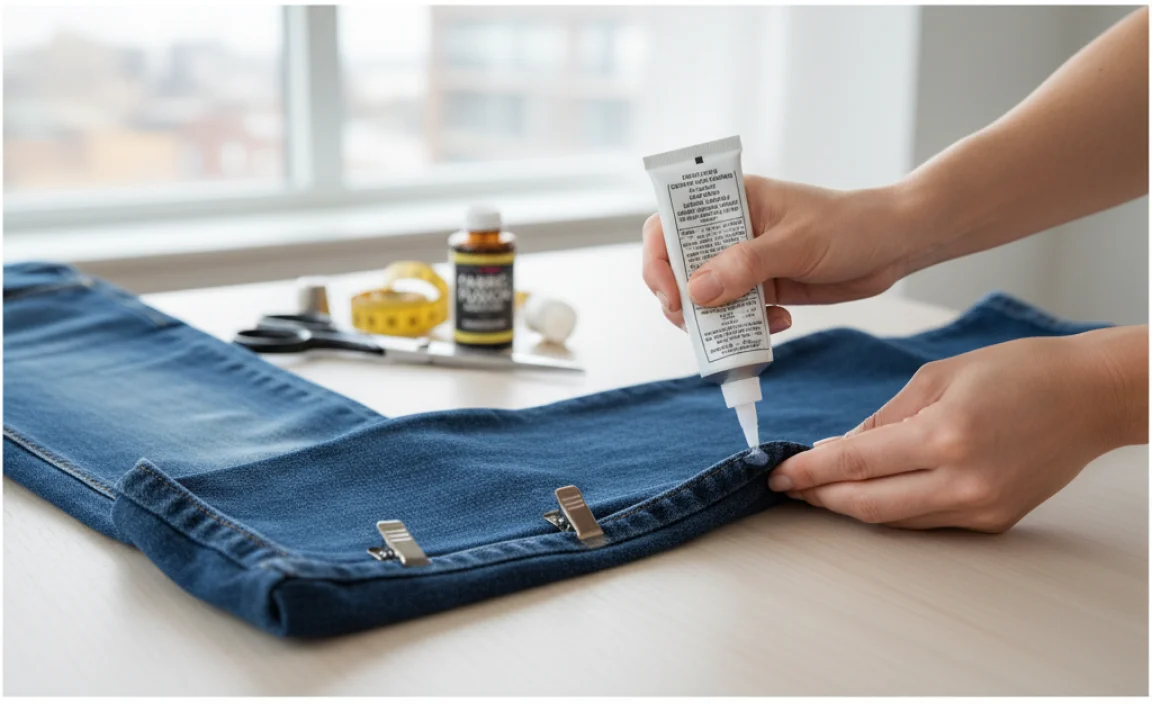
To ensure your hem stands the test of time, here are a few extra tips:
- Read the Glue Instructions: Every fabric glue is a little different. Some require heat activation from an iron, others air dry, and cure times vary. Always follow the manufacturer’s specific directions for best results.
- Work in Good Lighting: Make sure you can see what you’re doing clearly to avoid mistakes and ensure even application.
- Test on Scrap Fabric: If you’re unsure how the glue will behave on your denim, test it on an old piece of fabric first.
- Wash Before Hemming: It’s a good idea to wash and dry your jeans before hemming. This pre-shrinks them and removes any sizing that might interfere with the glue’s adhesion.
- Consider the Weight of Denim: For very thick, heavy denim, you might need to use more glue or ensure extra clamping pressure for a secure bond.
- Ventilation: While most fabric glues are low-VOC, it’s always good practice to work in a well-ventilated area.
Caring for Your Glued Hem
Once your jeans are hemmed, proper care will ensure the longevity of your work. Most permanent fabric glues are designed to be machine washable and dryable.
Always turn your jeans inside out before washing and drying. Use a gentle cycle with cold or warm water, avoiding hot water which can sometimes weaken adhesives over time. Tumble dry on a low heat setting or air dry whenever possible. Repeated exposure to high heat during drying can eventually affect the glue bond.
If you notice any loosening over time, you can always touch it up with a small amount of fabric glue and re-clamp it until dry.
Frequently Asked Questions
Q1: Will fabric glue hold up in the wash?
A1: Yes, permanent fabric glues are designed to be washable and durable. Always follow the specific product’s care instructions to ensure the best longevity for your hem.
Q2: How much fabric should I leave for the hem?
A2: For most jeans, leaving 1 to 1.5 inches is sufficient. This allows for a clean double fold that secures the hem effectively with fabric glue.
Q3: Can I use fabric glue on other pant styles besides flares?
A3: Absolutely! This fabric glue hack works wonderfully for hemming straight-leg jeans, skinnies, capris, and even skirts or dresses where a no-sew hem is desired.
Q4: What if I mess up and apply too much glue?
A4: For wet glue, gently blot excess with a clean cloth. For dried glue, you might need to carefully scrape it off or use a fabric glue remover, although this can be tricky. It’s why precise application is key. If the excess is on the inside and not visible, you might be able to leave it.
Q5: Do I need a sewing machine for this?
A5: No, that’s the beauty of this hack! A sewing machine is not required at all. This method is completely no-sew.
Q6: How long does it take for the glue to dry completely?
A6: Drying times vary by product. Most glues will set in a few hours, but full curing for maximum strength often takes 24-72 hours. Check the packaging for your specific glue’s recommendations.
Q7: Can I hem my jeans to be shorter or do they also work for longer styles?
A7: This method works perfectly for shortening jeans, including flare styles. The technique is adaptable to achieving your ideal length.
Conclusion
You’ve now got the simple, effective method for hemming your favorite flare jeans without ever picking up a needle and thread. Using fabric glue is a modern solution to an age-old problem, empowering you to customize your wardrobe with confidence and ease. Whether your jeans are swallowing your shoes or just need a little tailoring, this hack delivers professional results that are both durable and stylish. So go ahead, give your flare jeans the perfect fit they deserve, and enjoy the satisfaction of a DIY win!
.lwrp.link-whisper-related-posts{
margin-top: 40px;
margin-bottom: 30px;
}
.lwrp .lwrp-title{
}.lwrp .lwrp-description{
}
.lwrp .lwrp-list-container{
}
.lwrp .lwrp-list-multi-container{
display: flex;
}
.lwrp .lwrp-list-double{
width: 48%;
}
.lwrp .lwrp-list-triple{
width: 32%;
}
.lwrp .lwrp-list-row-container{
display: flex;
justify-content: space-between;
}
.lwrp .lwrp-list-row-container .lwrp-list-item{
width: calc(25% – 20px);
}
.lwrp .lwrp-list-item:not(.lwrp-no-posts-message-item){
max-width: 150px;
}
.lwrp .lwrp-list-item img{
max-width: 100%;
height: auto;
object-fit: cover;
aspect-ratio: 1 / 1;
}
.lwrp .lwrp-list-item.lwrp-empty-list-item{
background: initial !important;
}
.lwrp .lwrp-list-item .lwrp-list-link .lwrp-list-link-title-text,
.lwrp .lwrp-list-item .lwrp-list-no-posts-message{
}@media screen and (max-width: 480px) {
.lwrp.link-whisper-related-posts{
}
.lwrp .lwrp-title{
}.lwrp .lwrp-description{
}
.lwrp .lwrp-list-multi-container{
flex-direction: column;
}
.lwrp .lwrp-list-multi-container ul.lwrp-list{
margin-top: 0px;
margin-bottom: 0px;
padding-top: 0px;
padding-bottom: 0px;
}
.lwrp .lwrp-list-double,
.lwrp .lwrp-list-triple{
width: 100%;
}
.lwrp .lwrp-list-row-container{
justify-content: initial;
flex-direction: column;
}
.lwrp .lwrp-list-row-container .lwrp-list-item{
width: 100%;
}
.lwrp .lwrp-list-item:not(.lwrp-no-posts-message-item){
max-width: initial;
}
.lwrp .lwrp-list-item .lwrp-list-link .lwrp-list-link-title-text,
.lwrp .lwrp-list-item .lwrp-list-no-posts-message{
};
}


