Quick Summary: Learning how to hem flare jeans by hand is an achievable DIY skill. This guide provides simple, step-by-step instructions for perfectly shortening your favorite flared denim without a sewing machine, giving you a custom fit quickly and easily.
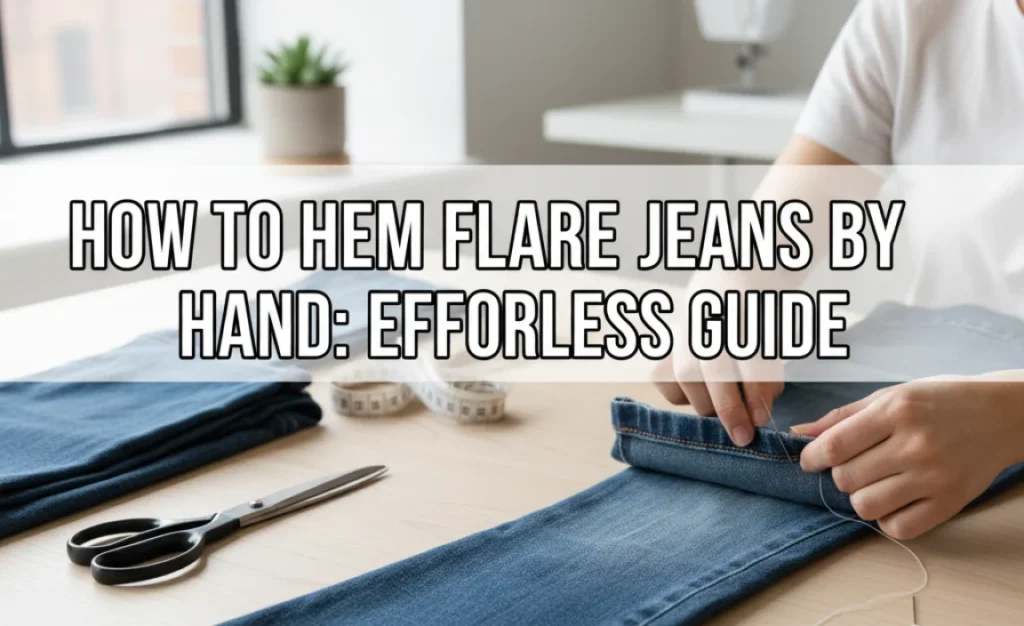
How to Hem Flare Jeans By Hand: An Effortless Guide
Are your favorite flare jeans just a little too long, tripping you up with every step? It’s a common problem, and the good news is you don’t need a sewing machine to fix it. Shortening denim by hand might sound daunting, but with a few simple tools and a little patience, you can achieve a perfect hem right at home. This guide will walk you through every step, making it easy to get that perfect length for your beloved flare jeans.
We’ll cover everything you need to know, from gathering your supplies to the final stitch. Get ready to give your jeans a fresh new fit and wear them with confidence!
Why Hem Flare Jeans By Hand?
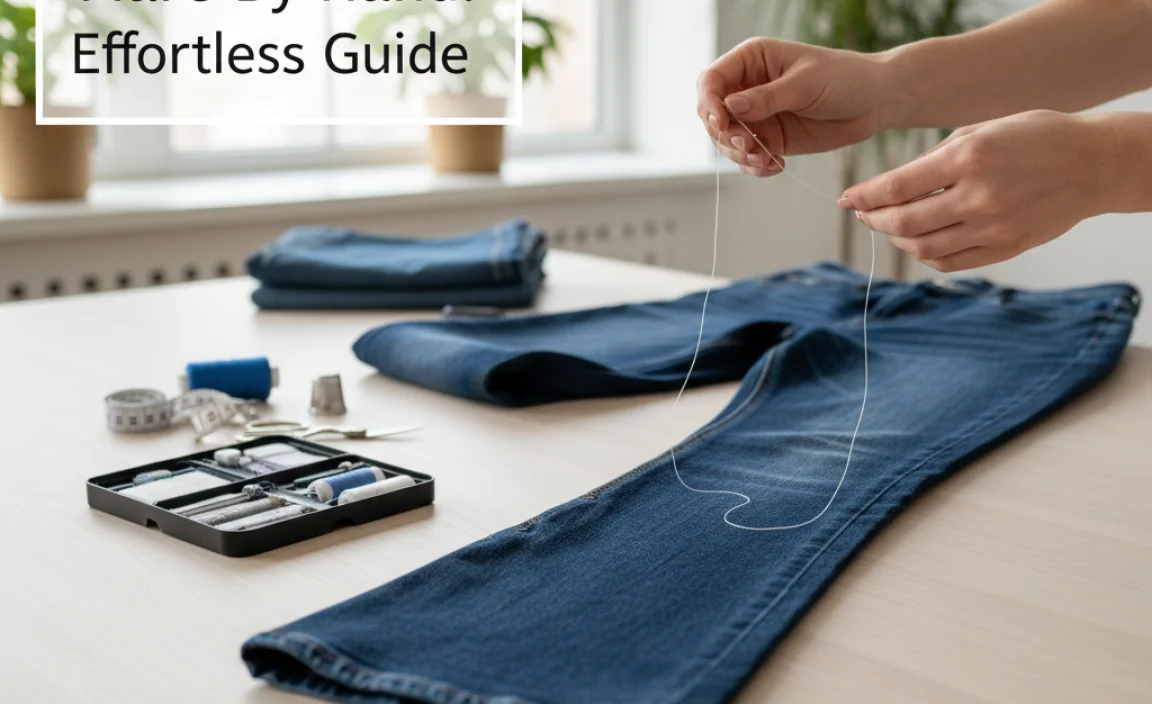
Sometimes, professional alterations aren’t practical or affordable. Hand-hemming your flare jeans offers several advantages:
- Cost-Effective: Saves money compared to professional tailoring services.
- Convenience: No need to schedule appointments or wait for turnarounds. You can do it anytime.
- Custom Fit: Achieve an exact length that looks and feels perfect for your height and footwear.
- Preserves Original Hem (Optional): For a truly authentic look, you can reattach the original hem.
- Skill Development: It’s a valuable sewing skill to have in your toolkit.
What You’ll Need: Your Hemming Toolkit
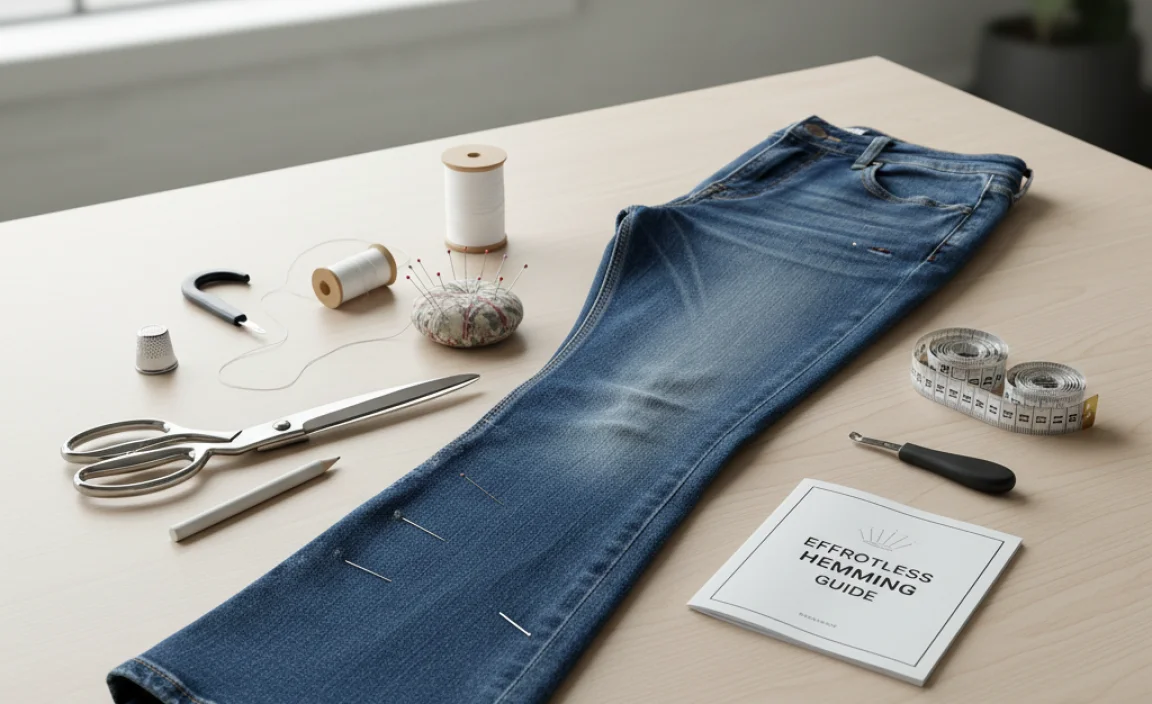
Before you start, gather these essential items. Having everything ready makes the process smooth and stress-free.
| Item | Description |
|---|---|
| Flare Jeans | The pair you want to hem. Ensure they are clean and dry. |
| Fabric Scissors | Sharp scissors dedicated to cutting fabric for clean, precise lines. Regular scissors can fray the denim. |
| Measuring Tape or Ruler | For accurate measurements of the desired length. A flexible tailor’s tape is ideal. |
| Fabric Marker or Chalk | To mark the cutting line clearly on your jeans. |
| Pins | Straight pins to hold the fabric in place while you measure and sew. |
| Sewing Needle | A sturdy needle, suitable for denim. A size 7 or 8 sharps needle often works well. |
| Thread | Strong polyester thread that matches your jeans’ original thread color. Look for “heavy duty” or “denim” thread. For a classic look, consider using a contrasting color if your jeans have visible topstitching. |
| Seam Ripper (Optional, for original hem) | If you plan to re-attach the original hem, a seam ripper is crucial. |
| Iron and Ironing Board (Optional but Recommended) | To press seams and fold lines for crisp results. |
Step-by-Step Guide: Hemming Your Flare Jeans
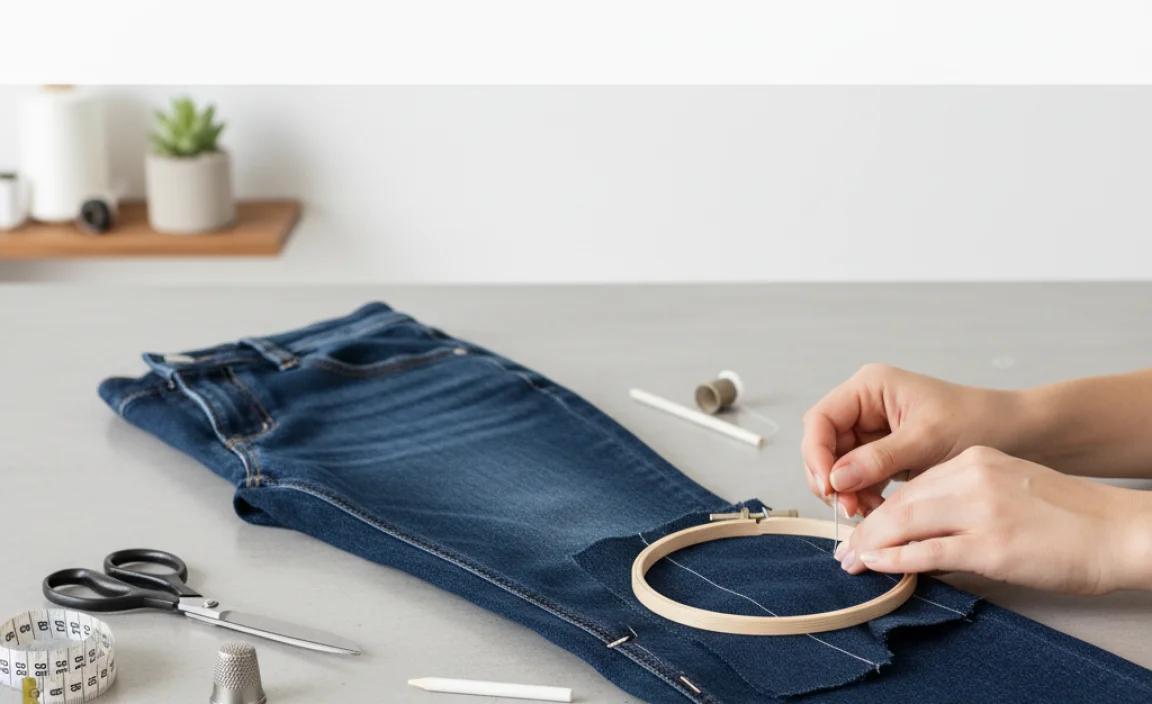
Follow these simple steps to achieve a professional-looking hem. We’ll cover two common methods: the basic hem and the original hem reattachment. Choose the one that best suits your desired look.
Method 1: The Basic Folded Hem
This method creates a clean, simple hemline. It’s straightforward and works well for most styles.
-
Try On Your Jeans: Put on the jeans you wish to hem. Wear the shoes you plan to wear most often with these jeans. This is crucial for getting the correct length.
-
Determine the Desired Length: Stand in front of a mirror. Adjust the jeans so they hang at the length you want. You can let them puddle slightly at the shoe, or have them just graze the top. Consider how much you want the length to change.
Tip: If you’re unsure, start by marking them a bit longer than you think you want. You can always shorten them more, but you can’t add length back!
-
Mark the Hemline: While wearing the jeans, use your fabric marker or chalk to make a small mark on the outer seam of one leg at the desired finished length. Then, clap the other leg and transfer the mark to the same spot on that leg. Repeat this process on the inner seam of both legs for a total of four reference marks.
-
Measure and Add Seam Allowance: Take off the jeans. Lay them flat on a smooth surface. For a basic folded hem, you’ll need to add about 1.5 to 2 inches for the seam allowance. This allows for a double fold. Use your ruler to draw a straight line connecting your marks, extending 1.5 to 2 inches below your desired finished hemline. This is your cutting line.
Example: If you want your jeans to finish at 30 inches, and you’re allowing a 2-inch seam allowance, your cutting line will be at 32 inches from the top of the waistband.
-
Cut the Excess Fabric: Using your sharp fabric scissors, carefully cut along the marked cutting line on both legs. Try to cut as straight as possible. If your jeans have a very thick seam at the existing hem, you might want to trim some of that bulk away after making your cut, being careful not to cut into the main fabric.
-
Prepare the First Fold: Take one leg and press the cut edge upwards by about 0.5 to 1 inch, aligning it with your drawn hemline (the finished length line). Pin this fold in place. This is your first fold.
-
Prepare the Second Fold: Now, fold the fabric up again, so the raw edge is completely enclosed within this second fold. The folded edge of this second fold should align with your original finished hemline mark. The total width of your double fold should be roughly 0.75 to 1 inch. Pin this second fold securely. Ensure the fold is even all the way around the leg.
Important: Aim for both folds to be even in width. This creates a clean, professional finish. An iron can help create crisp folds before pinning.
-
Start Hand Sewing: Thread your needle with a piece of thread about 18-24 inches long. Tie a knot at the end. Begin sewing on the inside of the fold, near a seam to hide your knot. Use a small, straight stitch, often called a “hemming stitch” or “blind stitch.” For a basic hem, a small catch stitch is also effective and durable.
Hemming Stitch: Pick up just one or two threads of the jean fabric from the leg below the fold, then bring the needle through the folded hem. Repeat this, taking small stitches on both the jeans fabric and the folded hem. The goal is to make your stitches on the outside of the jeans almost invisible.
Catch Stitch (for more visible stitching/durability): This stitch can look like short dashes on the outside and creates a strong hem. Make a small stitch on the folded hem, then move slightly to the right and make a small stitch on the jean fabric. Alternate between the hem and the jean fabric. Alternatively, you can create an X-shape stitch where you alternate between the hem and the jean fabric, crossing your threads. This is very secure.
Resource: For visual guidance on hand stitches, reputable sites like Thread & Needles offer clear diagrams of common stitches.
-
Continue Sewing: Work your way around the entire circumference of the leg, ensuring your stitches are even and relatively small. Keep the fabric taut but not stretched. When you reach your starting point, make a knot to secure the thread by looping the needle through the last stitch a couple of times and pulling tight.
-
Repeat on the Other Leg: Turn the jeans inside out and repeat steps 7-9 on the second leg, ensuring the hem is the same length and width as the first. Consistency is key!
-
Finishing Touches: Trim any loose threads. If you used a contrast thread for the original hem look, you can try to mimic that stitching on the outside by making slightly larger, visible stitches. For a discreet hem, ensure your stitches are minimal.
-
Try On Again: Put on your perfectly hemmed jeans with your shoes to admire your work!
Method 2: Reattaching the Original Hem
This method preserves the original, often slightly rolled and faded, hem of your jeans, giving a seamless, factory-finished look.
-
Prepare Your Jeans: Lay your flare jeans flat. Identify the original hem – this is the stitched edge at the bottom.
-
Measure and Mark (for Cutting): Try on the jeans with your desired shoes. Mark the point where you want the finished hem to fall. Now, measure from that mark down to the bottom edge of the original hem. This measurement is how much you need to remove from the bottom of the original hem.
Example: If your desired finished length is 31 inches, and the bottom of your original hem is currently at 33 inches, you have 2 inches of excess fabric at the very bottom. So, your cutting line will be 2 inches above the existing hem seam.
-
Cut the Jeans: Using sharp fabric scissors, carefully cut off the excess fabric at the marked line. Be precise. You are essentially cutting off the part of the hem that is too long.
-
Carefully Deconstruct the Original Hem: This is the most delicate part. Use your seam ripper to gently remove the stitches holding the original hem to the leg of the jeans. Work slowly and carefully, going around the entire circumference of one leg. Try to keep the original hem intact as a separate band of fabric. If your jeans have a selvedge edge (a tightly woven, finished edge often in a contrasting color), try to preserve that!
Tip: If there’s a lot of bulky thread, you might need to snip it carefully with small scissors and then pull it out with the seam ripper.
You should now have the jean leg with a raw edge, and the original hem detached but ready to be reattached.
-
Prepare the Jean Leg for Reattachment: The raw edge of the jean leg needs to be finished. You have a couple of options:
- Fold and Serge (or Zigzag): If you have a serger or sewing machine with a zigzag stitch, finish the raw edge to prevent fraying. This gives a very clean finish.
- Fold and Hand Stitch: Fold the raw edge up by about 1/4 inch and press. Then, fold it up again by another 1/4 inch so the raw edge is enclosed. Pin this double fold and hand-stitch it using a small running stitch or a blind hem stitch. For this method, it’s best to use thread that matches the jean fabric.
-
Reattach the Original Hem: Place the original hem band back onto the bottom of the jean leg. Align the top edge of the original hem band with the new desired finished hemline of your jeans. Pin it securely in place, ensuring it’s even all the way around.
-
Hand Sew the Original Hem Back: This is where you’ll aim to replicate the original stitching. Use your matching thread and a needle. You can use a specific stitch like a backstitch or a strong running stitch for durability, or a blind stitch for a more hidden look.
- To Match Original Stitching (Visible): Look closely at how your original hem was stitched. Often, it’s a thicker, visible stitch that goes through the hem band and the jean fabric directly below it. Try to mimic this with consistent, slightly larger stitches. You might use a backstitch for strength and a consistent look.
- For a Discreet Hem: If you want the hem to be less visible, use a blind hem stitch (as described in Method 1, Step 8) to catch just a few threads of the jean fabric and then pass through the hem band.
Work your way around the entire leg, ensuring the hem is securely attached and lies flat.
-
Repeat on the Other Leg: Ensure both legs are hemmed to the same length and the original hems are reattached symmetrically.
-
Final Press: Use an iron to press the new hem flat. This gives it a crisp, finished look.
-
Admire Your Work: Try on your jeans and enjoy their perfect new length and original look!
Caring for Your Hand-Hemmed Jeans
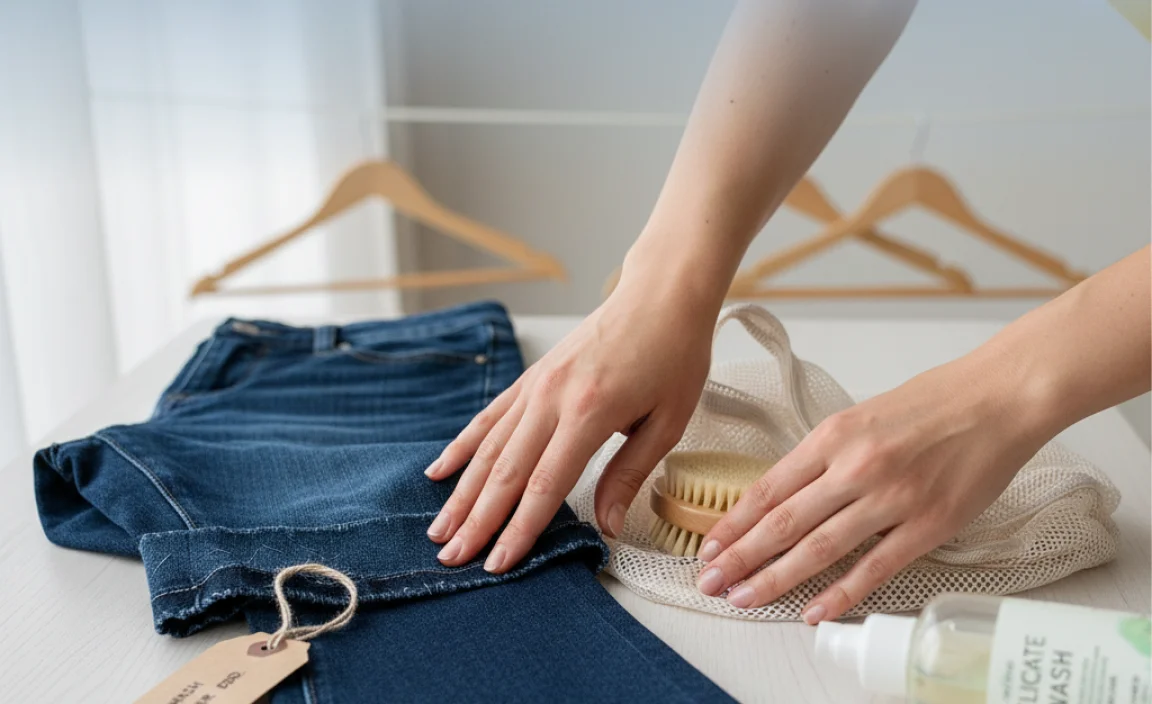
To keep your hand-hemmed jeans looking great:
- Wash Cold, Gentle Cycle: Always wash denim in cold water on a gentle setting to minimize shrinkage and wear.
- Inside Out: Turn your jeans inside out before washing to protect the outer fabric and hems.
- Air Dry: The best way to dry jeans is to hang them or lay them flat to air dry. Avoid high heat in the dryer, as it can damage fibers and hems over time. If you must use a dryer, use a low heat setting.
- Minor Repairs: Periodically check your hems for any loose threads or stitches and make small repairs as needed.
Tips for Success
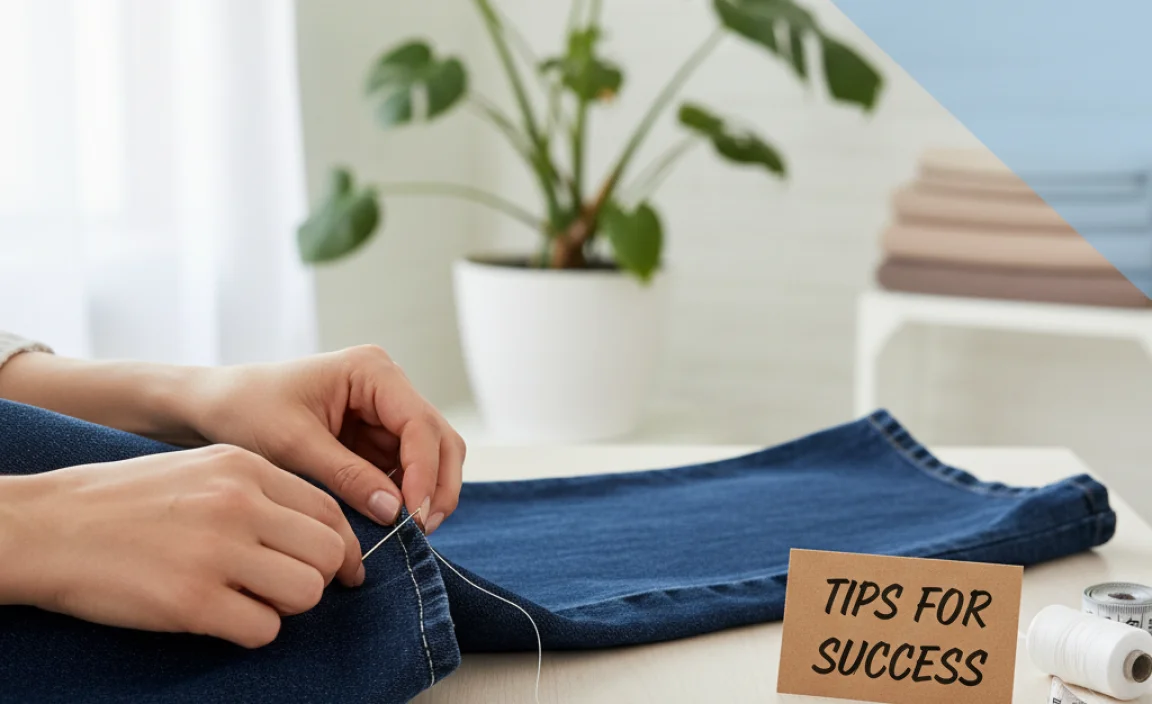
Here are a few extra pointers to make your hemming experience even better:
- Use Good Lighting: Sewing by hand requires good light to see your stitches clearly and avoid mistakes.
- Shorter Thread Lengths: Use shorter pieces of thread (18-24 inches) to prevent tangling and knotting.
- Practice Stitches: If you’re new to hand sewing, practice your chosen stitch on a scrap piece of fabric before working on your jeans.
- Hemming Tape (Temporary): For a quick, no-sew option for a temporary hem or to hold folds in place before sewing, you can use fabric hemming tape and an iron. However, for a durable, permanent hem, sewing is recommended.
- Consider the Shoe Height: Always hem with the intended shoes to avoid the “too short” or “too long” disaster.
- Dealing with Stretch Denim: If your flare jeans are made of very stretchy denim, be careful not to stretch the fabric as you sew. Keep it relaxed to avoid a wavy hem.
Common Questions About Hemming Flare Jeans By Hand
Q1: How much fabric do I need to leave for a hem?
A1: For a standard folded hem, leave about 1.5 to 2 inches of fabric below your desired finished length. This allows for a double fold (about 0.5 to 1 inch per fold) which gives a clean finish and hides the raw edge.
Q2: What kind of needle and thread should I use for denim?
A2: Use a strong needle appropriate for denim, like a size 7 or 8 sharps needle. For thread, opt for a strong polyester thread. “Heavy duty” or “denim” thread is ideal. Matching the original thread color is best for a discreet hem, but a contrasting color can be used for a decorative effect.
Q3: How can I make sure my hand stitches are invisible?
A3: The best stitch for an invisible hem is a blind stitch or a hemming stitch. These stitches involve picking up only a thread or two of the main garment fabric and then passing through the folded hem. Practice makes perfect in making these nearly undetectable.
Q4: My jeans are really thick. How do I sew through them by hand?
A4: Thick denim


