Quick Summary:
Perfectly hemmed flare jeans at home are achievable with simple tools and these easy steps. Avoid costly alterations and achieve a professional look by following this guide to get the right length for your favorite denim, ensuring a flattering fit and style.
Your favorite pair of flare jeans might be a little too long, causing them to drag on the ground or look a bit sloppy. Altering them yourself might seem daunting, especially with the unique shape of flare jeans. But don’t worry! With a few basic tools and a straightforward approach, you can easily achieve a salon-quality hem right in your own home. This guide will walk you through every step, making the process simple and stress-free.
Why Hemming Flare Jeans at Home is a Smart Choice
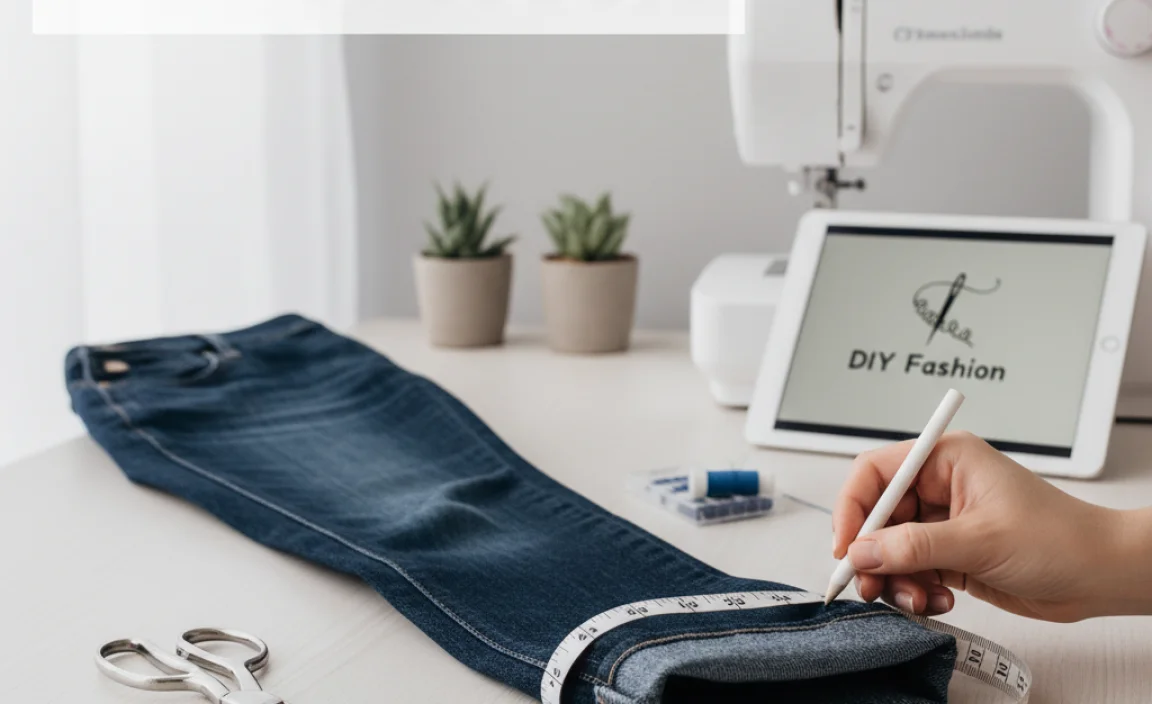
Hemming your own flare jeans is not only a cost-effective solution compared to professional alterations, but it also gives you complete control over the final look. You can ensure the length is exactly as you want it, which is crucial for flare jeans where the hemline can significantly impact the overall silhouette and how they pair with your footwear. Getting the length just right means your jeans will lay perfectly over your boots or shoes, preventing them from looking too short or awkwardly long.
Tools You’ll Need for Hemming
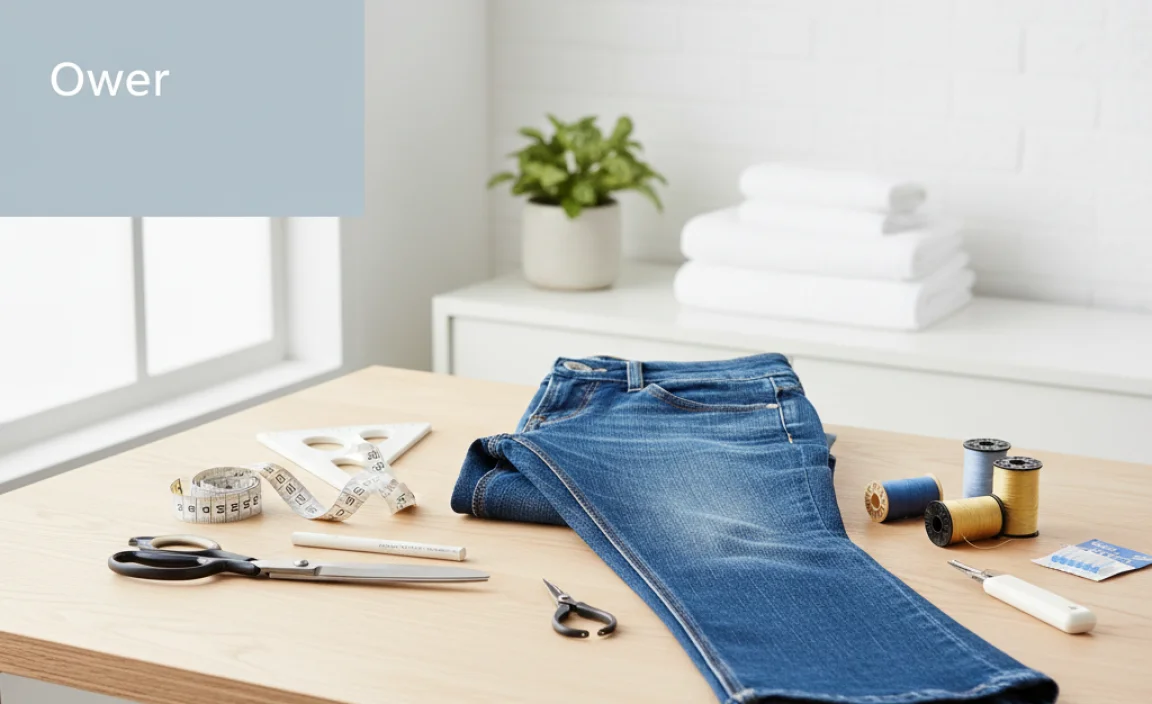
Before you begin, gather these essential items. Having everything ready will make the hemming process smooth and efficient. Think of this as your personal tailor’s kit for denim.
- Sharp Fabric Scissors: Essential for clean, precise cuts. Dull scissors can snag and fray the denim unevenly.
- Measuring Tape or Ruler: For accurate measurements to ensure an even hem.
- Fabric Marker or Chalk: To mark your cutting line. Choose one that’s easily visible on denim but washes out.
- Straight Pins: To secure the fabric while you measure and sew.
- Sewing Machine: While hand-sewing is possible, a sewing machine will create a more durable and professional-looking stitch, especially on sturdy denim.
- Matching Thread: Select a thread color that closely matches your jeans for an invisible finish, or opt for a contrasting color if you want to add a design element.
- Seam Ripper (Optional but Recommended): Useful for undoing any previous hemming or to tidy up the existing hem before starting.
- Iron and Ironing Board: For pressing seams and creases, which helps achieve a crisp, finished look.
- Your Flare Jeans: Make sure they are clean and dry.
Step-by-Step Guide to Hemming Flare Jeans
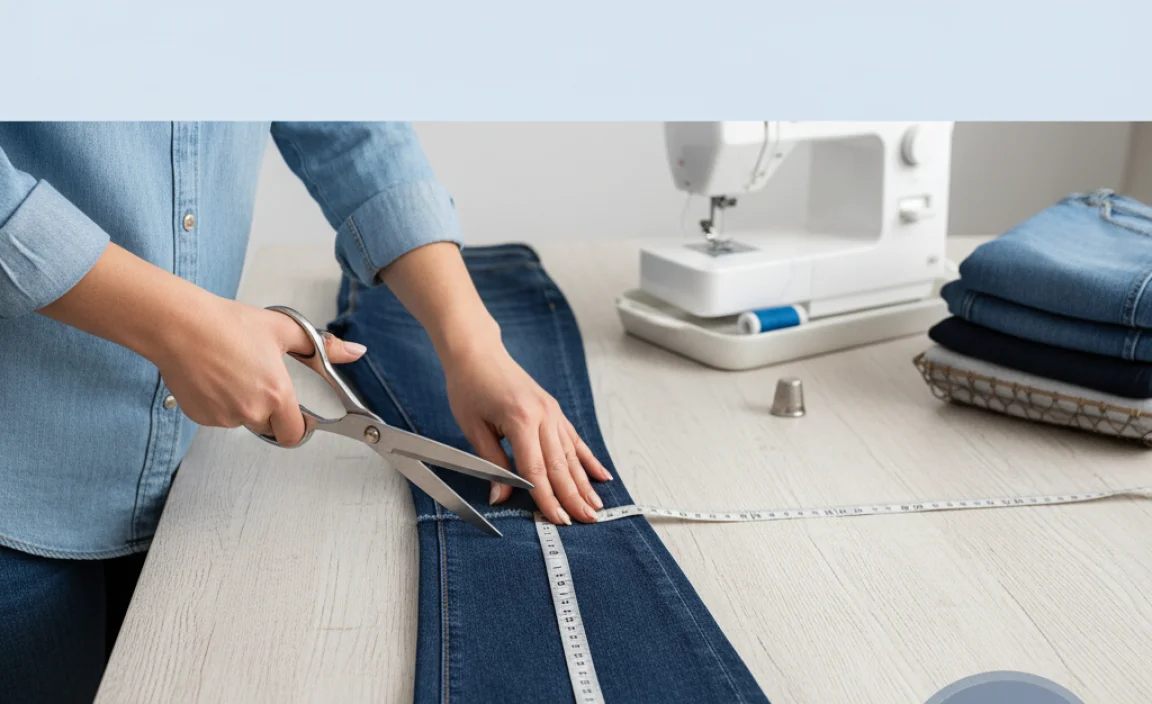
Let’s get started! Follow these steps carefully to achieve a perfect hem.
Step 1: Try On and Determine the Desired Length
This is the most critical step for flare jeans. Wear the shoes you intend to wear most often with these jeans. Stand in front of a mirror. Have a friend help you, or use a full-length mirror. You want the hem to just skim the top of your shoes, creating a clean line without excessive pooling of fabric on the floor. Aim for the bottom of the jean leg to be about 1/2 inch to 1 inch from the ground when wearing your shoes. If your jeans have a significant flare, pay extra attention to ensure the hem doesn’t become too narrow as it’s shortened, which can distort the flare’s shape. A good rule of thumb for flare jeans is to maintain the original width of the leg opening as much as possible.
Step 2: Mark the Cutting Line
Once you’ve determined the ideal length, it’s time to mark. While wearing the jeans (or have someone help you), use your fabric marker or chalk to make small dots on the back of the leg where you want the finished hem to fall. Then, carefully take off the jeans. Lay them flat on a surface. Use your ruler or measuring tape to extend these dots into a straight, continuous line across the width of the jean leg. Ensure this line is perpendicular to the side seam. For flare jeans, it’s important that this line is straight across the entire bottom opening. Double-check the measurement from the waistband down to the marked line on both legs to ensure they are identical. You can place one jean leg over the other, aligning the waistbands and seams, to ensure symmetry before marking.
Step 3: Cut Off the Excess Denim
With your marked line as a guide, use your sharp fabric scissors to carefully cut along the line. Cut one leg at a time, or if you’re confident in your markings, you can cut both. Remember, you can always cut more off, but you can’t add it back. It’s often wise to leave a little extra fabric (about 1 to 1.5 inches) below your marked cutting line if you are unsure about the exact final length or if you wish to create a new, slightly wider hem. However, for a standard, clean hem, cutting directly on your marked line is usually sufficient. If your jeans have a factory hem that you want to preserve, you might need to consider a different method or carefully remove the existing hem first.
Step 4: Prepare the Hem for Sewing
Lay one leg flat, right side facing inward. Fold the raw edge up to meet your marked cutting line (or the line you are using as the finished hem). This creates a single fold. Press this fold firmly with an iron. For a sturdier hem, especially on thicker denim, you might want to create a double fold. Fold the raw edge up by about 1/2 inch, press it, and then fold it up again by the desired hem width (e.g., 1 inch). This encloses the raw edge and provides a cleaner finish. Pin the folded hem securely in place all the way around the leg opening, ensuring the pins are placed perpendicular to the fold to avoid catching them with the sewing machine needle.
Step 5: Sew the Hem
Now it’s time to sew. If you’re using a sewing machine, set it up with a denim needle and matching thread. Use a straight stitch. Start sewing at a seam (like the inseam or outseam) so the beginning and end of your stitches are less noticeable once finished. Sew along the top edge of the folded hem, keeping your stitch line straight and about 1/8 inch from the folded edge. Go slowly, especially as you approach the curved part of the flare. If you’re hand-sewing, use a backstitch for strength. This stitch mimics the look and durability of a machine stitch. Continue sewing around the entire leg opening. When you reach the beginning, backstitch a few stitches to secure the thread. Repeat this entire cutting and sewing process for the other leg, making sure it matches the first leg exactly.
Step 6: Finishing Touches
After sewing, you can trim any excess threads. Press the hem firmly with your iron one last time. This ironing step is crucial for giving your jeans that polished, professional look. Ensure the folded hem lies flat against the leg. If you created a double fold, press both folds. For authenticity, some prefer to reattach the original hem. This is a more advanced technique. You would carefully use a seam ripper to detach the original hem from the cut-off fabric. Then, you’d shorten the leg and reattach the original hem, ensuring the stitch lines match up. Resources like Threads Magazine offer detailed guides on preserving original hems, which can be a valuable reference for this method.
Preserving the Original Hem (Advanced Technique)
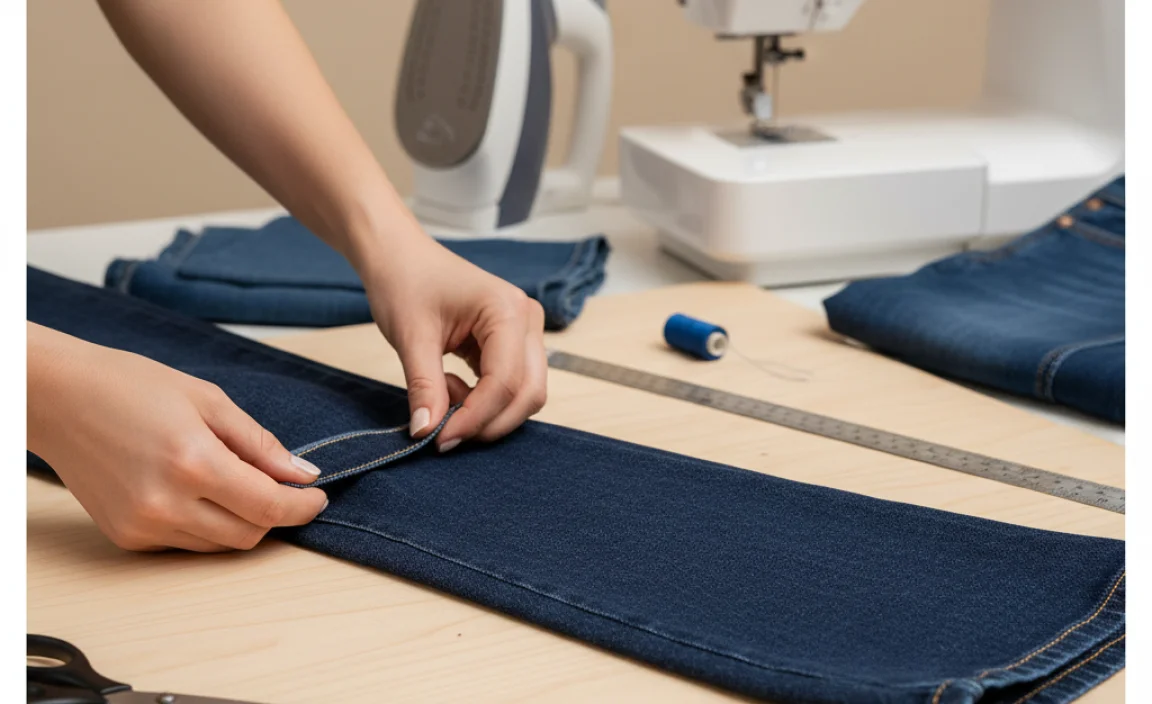
For die-hard denim enthusiasts who want their altered jeans to look factory-fresh, preserving the original hem is the way to go. This method requires a bit more patience and precision but yields the most authentic result.
Tools for Preserving Original Hem
- Sharp fabric scissors
- Seam ripper
- Measuring tape or ruler
- Fabric marker or chalk
- Straight pins
- Sewing machine with a denim needle
- Matching thread
- Iron and ironing board
- Your flare jeans
Steps to Preserve Original Hem
- Try On and Mark: Follow Step 1 from the basic guide to determine the desired length while wearing your chosen shoes. Mark this desired length, but only on the inside of the jean leg for now.
- Carefully Remove Original Hem: Lay the jeans flat. Using your seam ripper, meticulously detach the original hem from the leg of the jeans. Work slowly to ensure you don’t damage the fabric. You are essentially separating the thicker hem band from the main body of the jean leg. You should end up with a detached, thick strip of denim (the original hem) and the shortened jean leg.
- Determine Cut Line: This is where it gets a little tricky. You need to cut the excess fabric from the leg below where the original hem was attached. Measure the width of the original hem you removed. You want to cut the leg so that when you reattach the original hem, the new finished length is correct. A common approach is to cut about 1/2 inch below the line where the original hem was sewn onto the leg. This gives you enough fabric to reattach the hem securely. For example, if the original hem was sewn on 1 inch from the raw edge, then mark your cut line 1.5 inches from the raw edge.
- Cut the Excess Fabric: Cut along the line you marked in the previous step. Again, cut one leg at a time and ensure symmetry.
- Attach the Original Hem: Now, take the detached original hem. You’ll need to reattach it to the raw edge of the newly shortened jean leg. Fold the raw edge of the jean leg inwards by about 1/2 inch and press. Then, align the folded edge of the jean leg with the top edge of the original hem piece. Pin them together securely, ensuring the raw edge of the hem piece is aligned with the folded edge of the leg. You might need to experiment with how much to fold the leg’s raw edge to get it to sit perfectly against the original hem’s top edge.
- Sew the Original Hem: Using your sewing machine, carefully stitch along the top edge of the original hem. Try to follow the original stitch line as closely as possible for an authentic look. This can be challenging due to the thickness of the denim layers. Go slowly and use a jean needle. Backstitch at the beginning and end.
- Press: Press the newly attached hem with your iron to give it a crisp, finished appearance.
- Repeat: Repeat the entire process for the other leg.
Factors to Consider for Flare Jeans
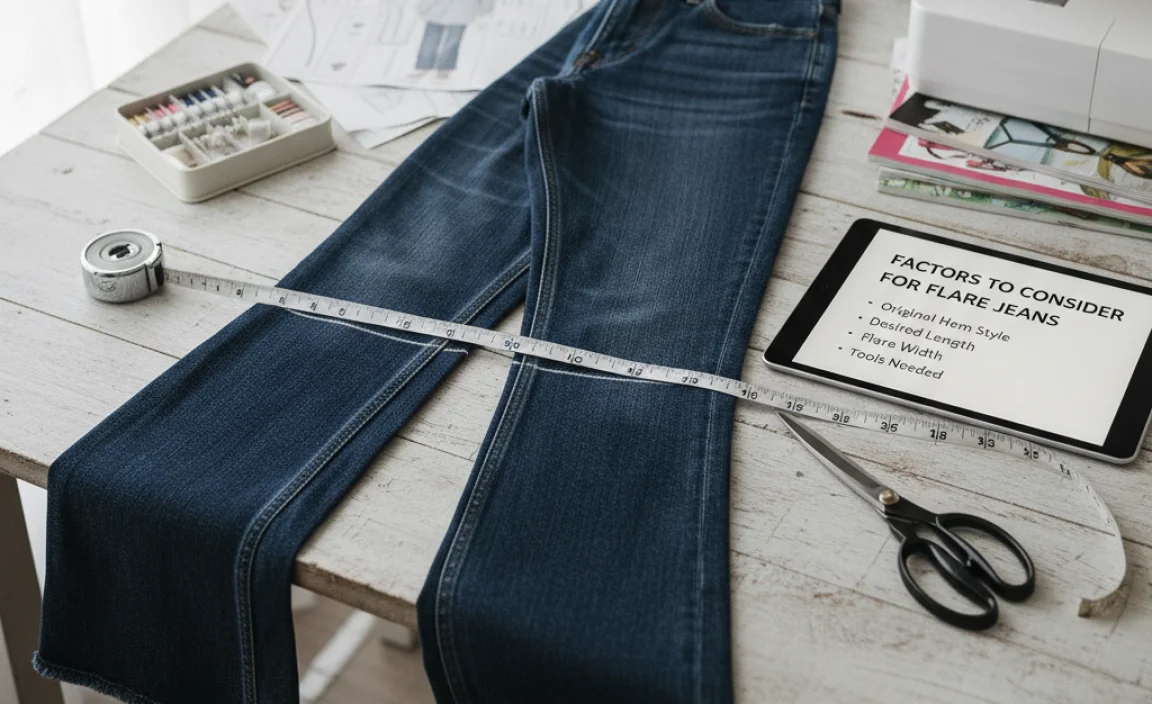
Hemming flare jeans isn’t quite the same as hemming straight-leg or skinny jeans. The unique cut of the flare and the wider leg opening present a few considerations.
Maintaining the Flare’s Shape
When hemming, especially if you’re removing a significant amount of length, be mindful that shortening the leg can sometimes subtly alter the flare. If you cut too much off or fold the hem unevenly, the curve of the flare might look a bit off. Always ensure your hemline is straight across the bottom opening relative to the leg’s natural curve. If you’re preserving the original hem, this is less of an issue as you’re reattaching the very piece that defined the original flare.
Weight of the Denim
Denim varies in weight from lightweight to heavyweight. Heavier denim will require a stronger needle for your sewing machine and will naturally create a bulkier hem. Lighter-weight denim is easier to work with and will produce a softer, less bulky hem. The type of hem you choose (single vs. double fold) can also affect how bulky the bottom appears, particularly with heavier denim.
Original Hem vs. New Hem
The choice between creating a new hem and preserving the original hem often comes down to aesthetics and effort. A new hem is quicker and easier, and you can match the thread color for an almost invisible finish. Preserving the original hem provides that authentic, worn-in look that many denim lovers seek, but it’s more time-consuming and requires greater precision. The original hem also tends to be wider and may have a specific type of stitch that’s hard to replicate perfectly.
Troubleshooting Common Hemming Issues
Even with the best intentions, you might run into a few snags. Here are some common problems and how to fix them.
| Problem | Cause | Solution |
|---|---|---|
| Uneven Hem | Inaccurate marking or cutting; inconsistent folding. | Try to even out the hem by cutting again, or if the hem is too short, you may need to add a band of fabric or start over. For a slight unevenness, press and pin carefully to disguise it. |
| Wavy or Puckered Seam | Sewing too fast, incorrect tension on sewing machine, or fabric shifting. | Slow down your sewing. Check your machine’s tension settings. Ensure fabric is pinned and guided smoothly. For hand-sewing, use consistent stitch length and tension. |
| Thread Breaking | Using the wrong needle (not a denim or sharp needle), dull needle, or thread is too thick. | Always use a new, sharp denim needle. Ensure the thread is appropriate for denim weight. Check machine threading and bobbin winding. |
| Hem Won’t Lay Flat | Fabric is too stiff, or folds are not pressed firmly enough. | Press firmly with an iron, using steam if necessary. Sometimes, a slight fraying intentionally done on the raw edge before folding can help it lay flatter on very stiff denim. |
FAQs about Hemming Flare Jeans
Q1: How much length should I leave for hemming flare jeans?
A1: For most flare jeans, you’ll want the hem to just skim the top of your shoes. This usually means leaving about 1/2 to 1 inch of fabric from the ground when you’re wearing your intended footwear. Always try them on with shoes first!
Q2: Can I hem flare jeans without a sewing machine?
A2: Yes, you can! A strong hand stitch, like a backstitch, can create a durable and neat hem. It will take more time than machine sewing, but it’s definitely possible.
Q3: How do I make sure both legs are the same length?
A3: Lay one leg flat over the other, aligning the waistbands, inseams, and outseams. Mark your cut line on the top leg, then use that as a guide for the bottom leg. Or, measure from the waistband to your desired hemline on both legs. Consistency is key.
Q4: What if my flare jeans have a special decorative hem?
A4: For jeans with decorative stitching or embroidery at the hem, preserving the original hem is highly recommended. This involves carefully detaching the original hem and reattaching it to the shortened leg, as detailed in the advanced technique section.
Q5: Can I wash my jeans after hemming them?
A5: Yes, you can wash your jeans. It’s a good idea to wash them inside out in cold water to help the stitches set and minimize further shrinkage or color fading. Follow standard care instructions for denim.
Q6: How do I prevent the hem from unraveling?
A6: The most effective way is to use a double fold, which encloses the raw edge. If you’re doing a single fold, or if the fabric still seems prone to fraying, you can use a zigzag stitch along the raw edge before folding, or use a product like Fray Check. Preserving the original hem also prevents unraveling as it’s already finished.
Conclusion
Hemming your flare jeans at home is a rewarding DIY project that saves you money and ensures your favorite denim fits perfectly. By following these detailed steps, gathering the right tools, and paying attention to the unique characteristics of flare jeans, you can achieve a professional-looking finish. Whether you opt for a simple new hem or the advanced technique of preserving the original, the result will be a pair of jeans that are perfectly tailored to you. So, don’t let slightly too-long denim gather dust – give them new life with a confident hem!
.lwrp.link-whisper-related-posts{
margin-top: 40px;
margin-bottom: 30px;
}
.lwrp .lwrp-title{
}.lwrp .lwrp-description{
}
.lwrp .lwrp-list-container{
}
.lwrp .lwrp-list-multi-container{
display: flex;
}
.lwrp .lwrp-list-double{
width: 48%;
}
.lwrp .lwrp-list-triple{
width: 32%;
}
.lwrp .lwrp-list-row-container{
display: flex;
justify-content: space-between;
}
.lwrp .lwrp-list-row-container .lwrp-list-item{
width: calc(25% – 20px);
}
.lwrp .lwrp-list-item:not(.lwrp-no-posts-message-item){
max-width: 150px;
}
.lwrp .lwrp-list-item img{
max-width: 100%;
height: auto;
object-fit: cover;
aspect-ratio: 1 / 1;
}
.lwrp .lwrp-list-item.lwrp-empty-list-item{
background: initial !important;
}
.lwrp .lwrp-list-item .lwrp-list-link .lwrp-list-link-title-text,
.lwrp .lwrp-list-item .lwrp-list-no-posts-message{
}@media screen and (max-width: 480px) {
.lwrp.link-whisper-related-posts{
}
.lwrp .lwrp-title{
}.lwrp .lwrp-description{
}
.lwrp .lwrp-list-multi-container{
flex-direction: column;
}
.lwrp .lwrp-list-multi-container ul.lwrp-list{
margin-top: 0px;
margin-bottom: 0px;
padding-top: 0px;
padding-bottom: 0px;
}
.lwrp .lwrp-list-double,
.lwrp .lwrp-list-triple{
width: 100%;
}
.lwrp .lwrp-list-row-container{
justify-content: initial;
flex-direction: column;
}
.lwrp .lwrp-list-row-container .lwrp-list-item{
width: 100%;
}
.lwrp .lwrp-list-item:not(.lwrp-no-posts-message-item){
max-width: initial;
}
.lwrp .lwrp-list-item .lwrp-list-link .lwrp-list-link-title-text,
.lwrp .lwrp-list-item .lwrp-list-no-posts-message{
};
}


