Tired of flare jeans dragging on the floor? Learn how to hem flare jeans easily and achieve a perfect, effortless finish. This guide provides simple, step-by-step instructions, essential tools, and practical tips for a professional look at home, ensuring your favorite denim always fits flawlessly.
How to Hem Flare Jeans: Proven, Effortless Results
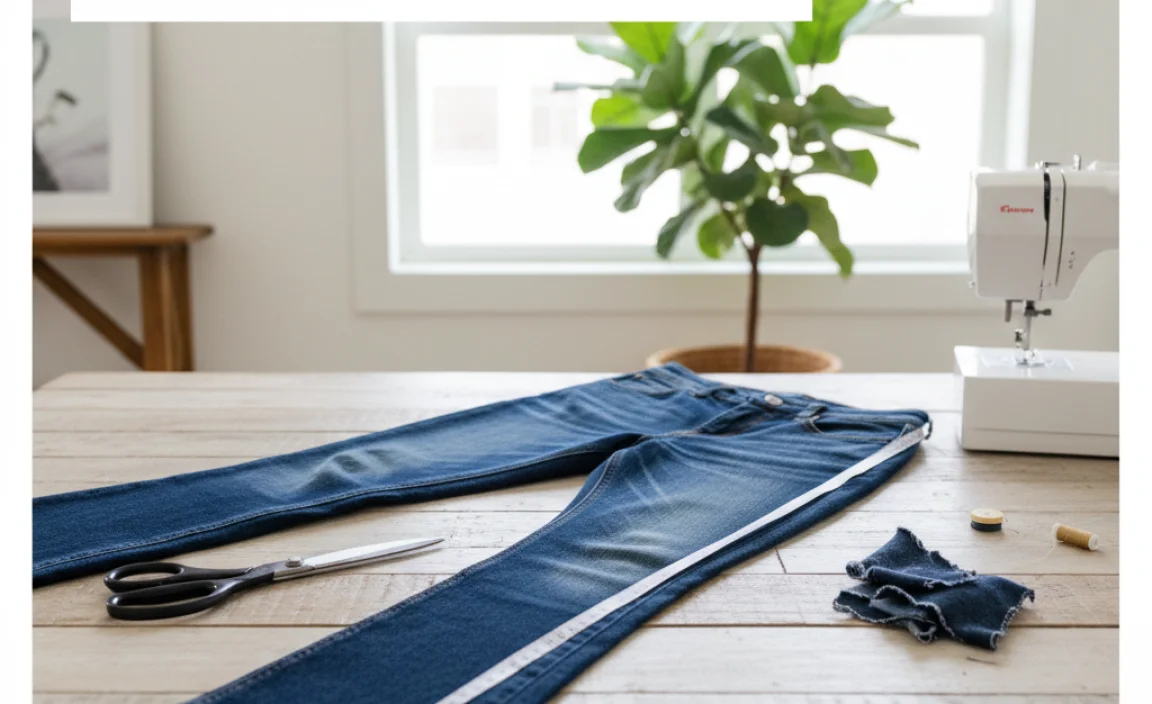
Finding the perfect pair of flare jeans can feel like striking gold. They offer a fantastic silhouette, a touch of retro flair, and can be incredibly flattering. However, the struggle often begins when they’re just a little too long. That tell-tale drag on the floor not only looks untidy but can also damage your denim. Thankfully, hemming flare jeans yourself is a completely achievable task, even for beginners. With a few basic tools and clear instructions, you can achieve a polished, professional finish that makes your jeans look custom-made.
This guide will walk you through the entire process, from measuring to the final stitch. We’ll break down each step into simple, manageable actions, ensuring you feel confident throughout. No more tripping over excess fabric or paying expensive alterations. Get ready to transform your denim and enjoy perfectly fitting flare jeans every time.
Why Your Flare Jeans Might Need Hemming

Several factors can lead to your beloved flare jeans needing a hem. The most common reason is simply that they were purchased slightly too long, a frequent issue when buying jeans online or when you’re shorter than the standard inseam. Different shoe heights also play a crucial role; jeans that fit perfectly with heels might be too long for flats, and vice versa. Over time, denim can also stretch slightly, especially around the hem, causing them to sag and require adjustment. Finally, if you’ve inherited a great pair of flare jeans or found a vintage gem, hemming is often necessary to make them fit your personal style and inseam perfectly.
Tools You’ll Need to Hem Flare Jeans
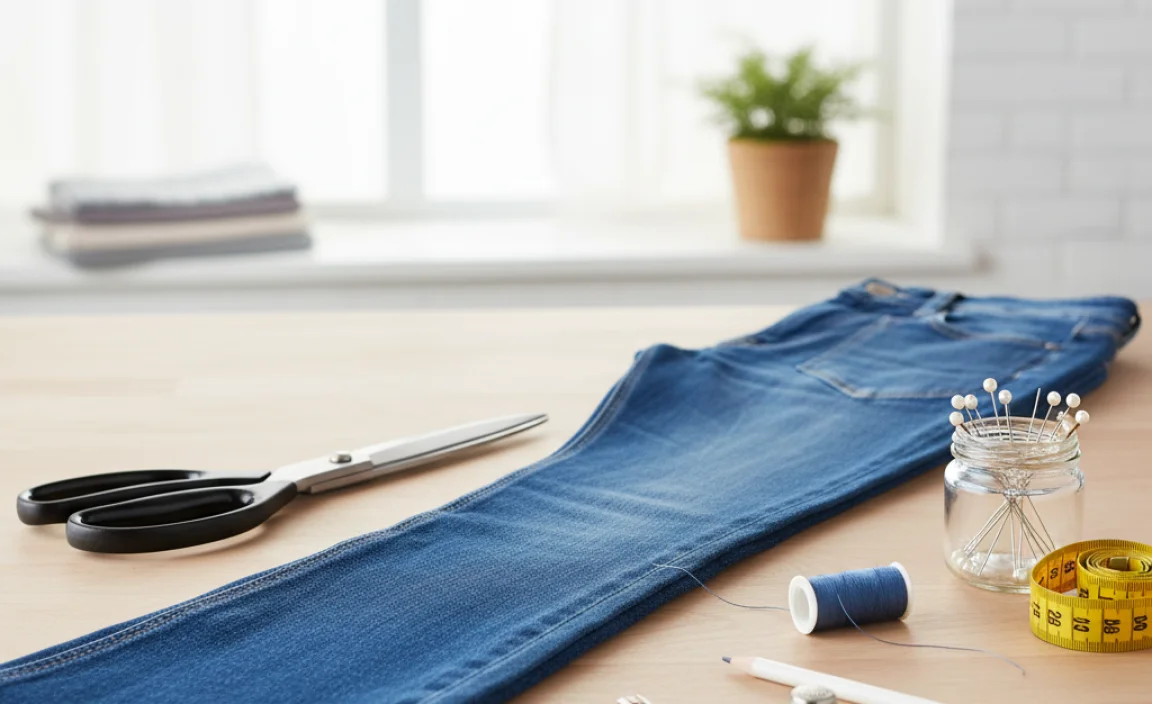
Gathering the right tools is the first step to a successful hemming project. You don’t need a fancy sewing machine for this, though it can speed things up. For a clean, professional look, having these items on hand will make the process smooth and efficient:
- Sharp Fabric Scissors: Essential for a clean cut. Dull scissors can snag and fray the denim.
- Measuring Tape or Ruler: For accurate measurements to ensure an even hem. A long ruler or yardstick is ideal for long pant legs.
- Fabric Chalk or Washable Marker: To mark your cutting line clearly on the denim.
- Straight Pins: To hold the hem in place while you sew.
- Thread: Choose a color that closely matches your jeans’ original stitching. Often, a beige, brown, or dark blue is suitable.
- Sewing Needle: A standard sewing needle will work, or a machine needle if you’re using a sewing machine.
- Iron and Ironing Board:
For creating crisp folds and pressing the hem.
- Seam Ripper (Optional): If you want to preserve the original hem’s look.
- Your Flare Jeans: The star of the show!
Step-by-Step Guide: How to Hem Flare Jeans
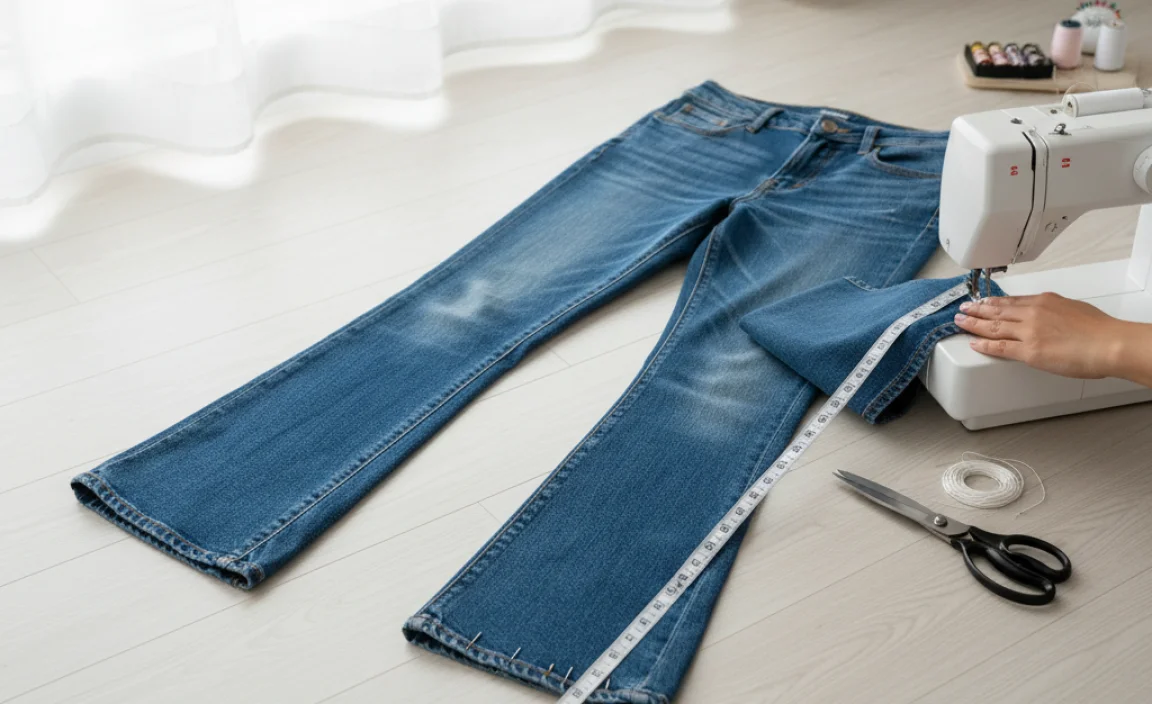
Let’s get hemming! This process is designed to be straightforward, ensuring you get a great result without any fuss. We’ll cover both hand-sewing and machine-sewing options.
Step 1: Try On Your Jeans and Determine the Ideal Length
This is the most crucial step. Put on the shoes you plan to wear most often with your flare jeans. Stand in front of a mirror and let the jeans hang naturally. Observe where the current hem falls. You want the jeans to end just above the floor, or at the very bottom of your shoe’s sole, depending on the look you’re going for. To mark the length, have a friend help hold a pin, or use your fabric chalk. Carefully mark a spot where you want the new hem to fall. A good rule of thumb is to have the jeans skim the floor without pooling excessively.
For a clean look, aim for the hem to just touch the top of your shoes. If you wear a variety of shoes, consider hemming for your most common shoe height, or even consider a slightly shorter hem that works with most shoe styles. Remember, you can always trim more, but you can’t add denim back, so err on the side of leaving them a little long initially.</p
Step 2: Measure and Mark the Cutting Line
Once you’ve determined the desired length, take off your jeans. Lay them flat on a clean, hard surface, like a table or the floor. Smooth out any wrinkles. Measure from the crotch seam down the inseam to the point you marked. Transfer this measurement to the other pant leg. It’s essential that both legs have the exact same inseam measurement for an even hem.
Using your fabric chalk or marker, draw a straight line across each pant leg at the desired finished length. Now, decide how much fabric you want to leave for the hem allowance. A standard hem allowance for denim is usually between 1 to 2 inches (2.5 to 5 cm). This extra fabric will be folded up to create the new hem. Mark a second line parallel to your first line, indicating where you will cut. This second line is your cutting line.
Cutting Line Tip: For a professional finish that mimics the original hem, you might consider using a seam ripper to carefully remove the original hem. This preserves the worn edge of the denim. If you choose this method, you’ll fold up your allowance and then sew the original hem back onto the folded edge. We’ll cover this advanced technique briefly later.
Step 3: Cut Off the Excess Fabric
With your cutting line clearly marked, use your sharp fabric scissors to carefully cut along the second line you drew. Do this slowly and steadily to ensure a straight cut. Be precise. Once you’ve made the cut, you should have two pant legs precisely the same length, with your desired hem allowance remaining.
If you’re preserving the original hem, now is the time to go back with your seam ripper and carefully remove the stitching holding the original hem in place. Gently pull the old hem away. Lay the jeans flat and press out the old hem so it lays flat. You will then fold up your jeans to the desired finished length and reattach this saved hem.
Step 4: Prepare the New Hem
Take one pant leg and fold the raw edge up to your first marked line – this is your finished hem length. Press this fold firmly with your iron to create a crisp crease. This fold creates the new finished edge of your jeans.
Now, you have two options for the final hem, depending on whether you want to retain the original look of the hem or create a simple, clean finish.
Option A: Simple, Clean Hem (Beginner-Friendly)
After pressing the first fold, fold the fabric up again by the same amount (your hem allowance) so that the raw edge is completely enclosed within the folded fabric. Press this second fold firmly. You should now have a double-folded hem that looks clean and tidy.
This method provides a neat, professional finish that’s easy to achieve and maintain. It’s perfect for a modern denim look.
Option B: Preserving the Original Hem Look
If you saved the original hem, unfold the first fold you made. You will now fold the raw edge of the pant leg up to your first marked line (the desired finished length). Now, take the original hem you removed and place it along this folded edge, aligning the top of the original hem with the fold you just made. Pin it securely in place. The goal is to reattach the original hem to the new, shorter length of the pant leg.
This technique requires a bit more precision but gives your jeans an authentic, unaltered look, maintaining the original stitching and wear pattern.
Step 5: Pin the Hem in Place
Once you’ve prepared your hem (either the double-fold or the preserved original hem), use straight pins to secure it. For the simple hem, pin through all layers of fabric, spacing the pins about 1-2 inches apart. Ensure the fabric is smooth and not bunched up.
For the preserved original hem, pin it securely to the folded edge of the pant leg. You’ll be sewing through the new fold and the original hem. Make sure the original hem is positioned correctly before you start pinning.
Step 6: Sew the Hem
Now it’s time to permanently secure the hem. You can do this by hand or with a sewing machine.
Hand Sewing the Hem:
Thread your needle with a matching thread, knotting the end. For a simple hem, use a blind stitch or a whipstitch. A blind stitch is almost invisible from the outside, giving a very clean finish. A whipstitch is stronger and slightly more visible but still neat.
Start at the seam of the pant leg and work your way around. For the preserved original hem, you’ll want to carefully sew along the original stitching line of the saved hem, securing it to the new folded edge. Aim to catch just a tiny bit of the folded fabric with each stitch to create a strong yet subtle seam.
Machine Sewing the Hem:
Set your sewing machine to a straight stitch. Use a needle appropriate for denim. If you’re doing a simple double-folded hem, you’ll be sewing close to the inner folded edge to secure it. A topstitch close to the edge of the folded hem will create a clean, finished look.
If you’re reattaching an original hem, you’ll want to mimic the original stitch. Position the jeans so the needle goes through the new fold and the original hem. Sew slowly and steadily around the entire cuff. Backstitch at the beginning and end to secure the stitching. For jeans with a thicker, more rugged original hem, you might need to use a heavier-duty needle (like a size 100/16 or 110/18) and potentially a walking foot on your machine to help feed the thick layers evenly.
Step 7: Finish and Press
Once you’ve sewn all the way around, remove the pins. Trim any stray threads. For both hand-sewn and machine-sewn hems, a final press with your iron is essential. Press the hem flat from the inside and then from the outside. This sets the stitches, makes the hem lie smoothly, and gives your jeans a professional, polished finish.
Try them on one last time. Check for evenness and ensure they hang beautifully. You’ve successfully hemmed your flare jeans!
Heirloom Jeans: Preserving the Original Hem
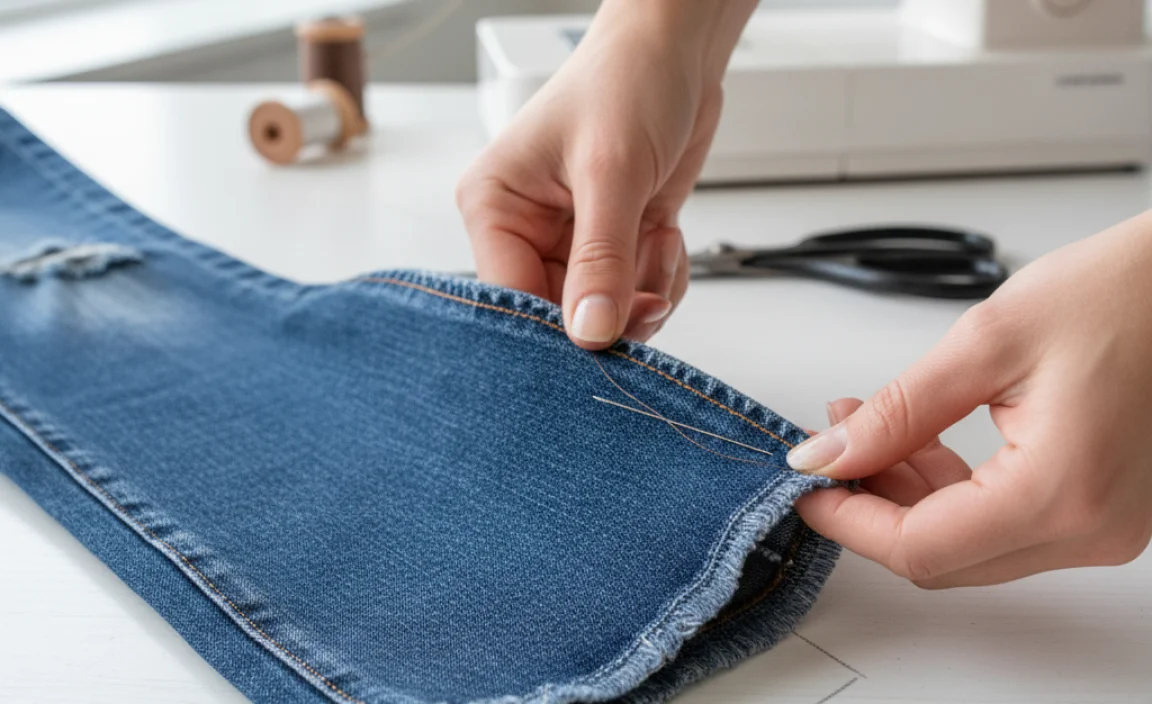
Flare jeans, especially vintage or high-quality denim, often have unique stitching and wear patterns on their original hems. To preserve this authentic look, you can opt for a technique that reattaches the original hem. This is more labor-intensive but highly rewarding for those who love the character of their denim.
Process:
- Remove Original Hem: Carefully use a seam ripper to unpick the stitching holding the original hem. Keep the removed hem intact.
- Determine New Length: Follow Steps 1 and 2 from the main guide to measure and mark your desired finished length. Remember to account for the width of the original hem itself when deciding where to cut.
- Cut Fabric: Cut off the excess fabric below the marked finished length line.
- Prepare Fold: Fold the cut edge of the pant leg up to your marked finished length line. Press firmly.
- Reattach Original Hem: Place the removed original hem along the folded edge. The top of the original hem should align with the folded edge you just pressed. Pin securely.
- Sew: Using a needle and thread (or sewing machine), meticulously stitch through the folded edge and the original hem. Try to follow the original stitch lines as closely as possible for the most authentic look. A sewing machine with a topstitch or a specific embroidery stitch can be very effective here.
- Press: Finish with a good press to set the stitches and ensure the hem lays flat.
This method ensures your flare jeans retain their original character while fitting you perfectly. Many denim enthusiasts consider this the premium way to hem.
Table: Comparing Hemming Methods
Choosing the right hemming method depends on your desired look and skill level. Here’s a quick comparison:
| Method | Difficulty Level | Time Commitment | Appearance | Durability | Best For |
|---|---|---|---|---|---|
| Simple Double Fold Hem | Beginner | Low | Clean, modern, and uniform | Good | Most casual and everyday wear. |
| Preserving Original Hem | Intermediate | Medium-High | Authentic, retains original wear and stitching | Excellent (if sewn well) | Vintage jeans, designer denim, or when original character is desired. |
| Blind Hem Stitch (Hand Sewn) | Beginner-Intermediate | Medium | Almost invisible from the outside | Good | When you want a perfectly clean, no-show hem. |
Can You Hem Flare Jeans Without Cutting?
While cutting is the most permanent and reliable way to hem flare jeans, there are a few methods that allow you to adjust the length temporarily or without scissors, though they may not offer the same level of durability or a perfectly tailored look. These are great for quick fixes or if you’re hesitant to cut your denim.
- Fabric Tape: Iron-on or adhesive fabric tapes can be used to create a temporary hem. Fold the jeans to the desired length and iron or press the tape to secure the fold. This is quick but may not hold up well through washes. Reputable brands like Dritz offer various fabric tapes.
- Fabric Glue: Similar to tape, fabric glue can be used to fold and secure the hem. Apply a thin, even layer, fold the fabric, and press. Ensure you use a flexible fabric glue that won’t make the hem stiff.
- Hem Clips: These are small clips that hold the folded fabric in place. They are purely temporary and not suitable for wearing out, but can be useful for fitting and marking.
- Roll-Up Method: For a very casual, temporary look, you can simply cuff or roll up the excess fabric multiple times until the jeans are the desired length. This is often seen in fashion as a styling choice and can be done with any pair of pants.
These methods are generally less durable and may not provide the sleek finish that a sewn hem does. For a long-lasting, professional result, sewing is best.
Common Mistakes to Avoid When Hemming Flare Jeans
Even with clear instructions, beginners can sometimes run into a few hiccups. Being aware of these common pitfalls can help you avoid them:
- Uneven Measurements: Not taking the time to ensure both pant legs are exactly the same length is the most common mistake. Always measure with the jeans laid flat and parallel.
- Cutting Without Allowance: Forgetting to leave fabric for the hem itself means you won’t have anything to fold and sew. Always mark out your seam allowance.
- Dull Scissors: Using old or dull scissors will result in a ragged, frayed cut that is difficult to hem neatly.
- Not Wearing the Right Shoes: Hemming without the intended footwear can lead to the jeans being too short or too long when you finally wear them.
- Skipping the Press: An un-pressed hem will look messy and unprofessional. The iron is your friend for creating crisp folds and setting stitches.
- Not Backstitching: When machine sewing, forgetting to backstitch at the beginning and end of your seam can cause the hem to unravel over time.
- Stretching the Fabric: When sewing, especially with knits or stretch denim, be careful not to stretch the fabric as you sew. This can lead to wavy or puckered hems.
Frequently Asked Questions About Hemming Flare Jeans
Q1: How much fabric should I leave for the hem allowance on flare jeans?
A: For most denim, a hem allowance of 1 to 2 inches (2.5 to 5 cm) is sufficient. This gives you enough fabric to create a clean double fold or to reattach an original hem without making the hem area too bulky.
Q2: Can I hem my flare jeans if they are made of stretchy denim?
A: Yes, you can. However, be extra careful not to stretch the fabric as you measure, cut, and sew. Using a ballpoint or stretch needle on your sewing machine and a walking foot can help prevent puckering.
Q3: What’s the best way to hem flare jeans for a raw, unfinished look?
A: To achieve a raw hem, cut your jeans to the desired length and then unravel the very edge of the denim about 1/
.lwrp.link-whisper-related-posts{
margin-top: 40px;
margin-bottom: 30px;
}
.lwrp .lwrp-title{
}.lwrp .lwrp-description{
}
.lwrp .lwrp-list-container{
}
.lwrp .lwrp-list-multi-container{
display: flex;
}
.lwrp .lwrp-list-double{
width: 48%;
}
.lwrp .lwrp-list-triple{
width: 32%;
}
.lwrp .lwrp-list-row-container{
display: flex;
justify-content: space-between;
}
.lwrp .lwrp-list-row-container .lwrp-list-item{
width: calc(25% – 20px);
}
.lwrp .lwrp-list-item:not(.lwrp-no-posts-message-item){
max-width: 150px;
}
.lwrp .lwrp-list-item img{
max-width: 100%;
height: auto;
object-fit: cover;
aspect-ratio: 1 / 1;
}
.lwrp .lwrp-list-item.lwrp-empty-list-item{
background: initial !important;
}
.lwrp .lwrp-list-item .lwrp-list-link .lwrp-list-link-title-text,
.lwrp .lwrp-list-item .lwrp-list-no-posts-message{
}@media screen and (max-width: 480px) {
.lwrp.link-whisper-related-posts{
}
.lwrp .lwrp-title{
}.lwrp .lwrp-description{
}
.lwrp .lwrp-list-multi-container{
flex-direction: column;
}
.lwrp .lwrp-list-multi-container ul.lwrp-list{
margin-top: 0px;
margin-bottom: 0px;
padding-top: 0px;
padding-bottom: 0px;
}
.lwrp .lwrp-list-double,
.lwrp .lwrp-list-triple{
width: 100%;
}
.lwrp .lwrp-list-row-container{
justify-content: initial;
flex-direction: column;
}
.lwrp .lwrp-list-row-container .lwrp-list-item{
width: 100%;
}
.lwrp .lwrp-list-item:not(.lwrp-no-posts-message-item){
max-width: initial;
}
.lwrp .lwrp-list-item .lwrp-list-link .lwrp-list-link-title-text,
.lwrp .lwrp-list-item .lwrp-list-no-posts-message{
};
}


