


Quick Summary:
Learn how to hem flare jeans using iron-on patches for a quick, no-sew fix. This proven patch hack is beginner-friendly, offering a clean finish and adjustable length without sewing, perfect for anyone wanting to tailor their favorite denim with ease.
Finding the perfect pair of flare jeans can be a game-changer for your wardrobe. But what happens when they’re just a little too long, dragging on the floor and threatening to fray? Don’t worry, you don’t need a sewing machine or advanced tailoring skills. This article will guide you through a super simple, no-sew method for hemming your flare jeans using convenient iron-on patches. We’ll break down exactly what you need and walk you through each step, ensuring you get a neat, professional-looking finish in no time. Get ready to give your favorite denim a new, perfect length!
Why Hemming Flare Jeans Matters

The silhouette of flare jeans – wider at the ankle than at the knee – is stylish and versatile. However, the length is crucial. Jeans that are too long can look sloppy, cause tripping hazards, and wear out quickly at the hem. Conversely, jeans that are too short can look awkward and lose their intended flared effect. Achieving the right length means your jeans will lay perfectly over your shoes, enhancing your outfit and ensuring they look their best. For many, the thought of hemming conjures up images of sewing machines and complicated techniques, but there’s a wonderfully easy alternative.
The “Patch Hack” Advantage

This “patch hack” utilizes iron-on fabric patches, often found in craft or sewing stores, to create a durable, no-sew hem. Typically, you’d use hemming tape or sew the hem. While hemming tape can sometimes be unreliable and sewing requires specific skills and equipment, iron-on patches offer a unique solution.
- Speed: It’s significantly faster than traditional hemming.
- Simplicity: No sewing skills are required. Just an iron and a few supplies.
- Clean Finish: When done correctly, it looks neat and intentional.
- Adjustability: You can easily adjust the length by repositioning the patch.
- Cost-Effective: It’s an inexpensive way to alter your clothing.
This method essentially creates a new, reinforced hemline by fusing a fabric patch to the inside of your jeans. It’s a clever way to shorten your jeans without altering the original hem, which can be particularly useful for preserved original finishes or complex washes.
What You’ll Need

Gathering the right supplies is the first step to a successful hemming project. Here’s what you’ll need:
| Item | Description | Why It’s Important |
|---|---|---|
| Flare Jeans | The pair you want to hem. | The object of our hemming mission! |
| Iron-On Fabric Patches | Choose a color that matches or complements your jeans (e.g., black, dark blue, grey). Get enough to cover the entire circumference of the hem. Standard patches about 4-6 inches wide often work well. | These fusion strips are the “magic” that will create your new hem. |
| Sharp Fabric Scissors | For cutting the patches and any excess fabric. | Clean cuts ensure a neat finish. |
| Measuring Tape or Ruler | To ensure an even hem. | Crucial for symmetrical results. |
| Fabric Marker or Tailor’s Chalk | To mark your desired hemline. | For precise and visible guidelines. |
| Household Iron | Set to the appropriate fabric setting. Refer to your jean’s care label. | The heat activates the adhesive on the patches. |
| Pressing Cloth or Thin Cotton Fabric | To protect the iron and your jeans. | Prevents scorching and sticking. You can use a thin cotton towel or even a pillowcase. |
| Ironing Board | A stable surface for ironing. | Ensures even heat distribution. |
| Flat Surface | To lay your jeans out on. | Essential for accurate measuring and marking. |
Step-by-Step Guide: How to Hem Flare Jeans with Iron-On Patches

Let’s get your flare jeans sitting perfectly on your feet. Follow these easy steps:
Step 1: Determine Your Desired Length
Put on the jeans and the shoes you plan to wear with them most often. Stand in front of a mirror and observe where the current hem falls. Decide how much you want to shorten them. A common goal is for the hem to just graze the top of your shoe or the sole. Use your fabric marker or tailor’s chalk to make a small dot on the outside of one leg where you want the NEW hem to fall.
Pro Tip: If you’re unsure, it’s always better to cut (or in our case, fold) a little less than you think you need. You can always shorten them further later, but you can’t add length back!
Step 2: Measure for Evenness
Now, take off the jeans and lay them flat on your clean, flat surface. Place your measuring tape or ruler from the waistband down to the mark you made. Note this measurement. Then, measure from the waistband down to the corresponding point on the inseam (inner leg seam) and outseam (outer leg seam), and even towards the center back seam. You’ll want to repeat this measurement all the way around the leg to ensure your desired hemline remains consistent. Use your fabric marker or chalk to create a dashed line all the way around the leg at your target length. This line represents where the bottom edge of your folded fabric will sit.
Consistency is Key: For flare jeans, the circumference of the leg changes. Ensure your marked line is truly where you want the lowest point of the hem to finally rest. You might need to adjust your visual estimation slightly to account for the flare. Generally, you want the hem to fall evenly around the entire leg opening. Some people prefer a slight “sleeve” of fabric that just kisses the ground, while others prefer a clean break above the shoe sole. Consider where the denim naturally falls when you walk.
Step 3: Prepare the Hem Fold
On each leg, you’ll need to create a fold that will hide the raw edge and create the new hemline. For this patch hack, we have two main options:
- Single Fold: Fold the excess fabric upward so the bottom edge of the leg aligns with your marked line. This is a simpler fold but might expose raw edges more readily if not perfectly secured.
- Double Fold (Recommended for Durability): Fold the excess fabric upward by about 1/2 inch to 1 inch, pressing it lightly to create a crease. Then, fold it up again so this new folded edge aligns with your marked line. This creates a clean, double-folded hem that encases the raw edge and provides a more finished look.
Whichever fold you choose, press it firmly with your iron (using a pressing cloth) to set the crease. This will make applying the patch much easier.
Step 4: Cut the Iron-On Patches
Now, we’ll prepare the iron-on patches. Lay the patches flat. You need enough patch material to cover the entire inside circumference of the folded hem. Measure the circumference of the hem once it’s folded. Cut strips of the iron-on patch material to match this length, plus a little extra (about an inch) for overlap. You can also cut one long strip if your patches allow.
Important Note on Patch Type: Ensure you are using iron-on fabric hem tape or fusible bonding web that is designed to be ironed onto fabric. Some craft patches are purely decorative and won’t fuse properly. Look for terms like “fusible web,” “hem tape,” or “no-sew fabric adhesive.” These are often a strip of glue that melts with heat.
For this specific “patch hack” which implies using actual patches as reinforcement (rather than just tape), you might be thinking of wider, more substantial patches. If so, you’ll cut strips of these patches to fit the inside of your folded hem. You are essentially using the patch material as a reinforcement and adhesive layer behind the folded fabric.
Step 5: Apply the Iron-On Patches
This is where the magic happens. With your hem folded and creased, and your patch strips cut, it’s time to fuse them.
- Preparation: Place one leg of your jeans flat on the ironing board, ensuring the folded hem is smooth and accessible.
- Patch Placement: Carefully insert the cut strip(s) of iron-on patch material on the inside of the folded hem, against the fabric. Ensure the patch covers the raw edge of the original denim and extends up onto the folded fabric. Position it so that once ironed, the hemline will be secure.
- Protect Your Heat Source: Lay your pressing cloth over the patch and the folded hem.
- Ironing: Set your iron to the temperature recommended for your jeans (usually cotton or a medium-high setting). Consult your jean’s care label. Press the iron firmly onto the pressing cloth over the patched area. Hold it in place for the recommended time (often 8-15 seconds, but check your patch instructions) without moving it. Then, lift the iron and move it to the next section, overlapping slightly. Continue this process until the entire circumference of the inside of the hem is covered by the fused patch.
- Check for Adhesion: Once cool, gently peel back a section to ensure the patch has adhered well. If not, reapply the pressing cloth and iron again for a bit longer.
- Repeat: Repeat this entire process for the other leg of your jeans.
Important Note on Heat Setting: Different fabrics and patch adhesives require different heat settings and times. Always refer to the manufacturer’s instructions for both your jeans’ fabric and the iron-on patches you are using. If you’re unsure about your iron’s heat, start with a lower setting and test on an inconspicuous area.
Step 6: Final Touches and Testing
Once both hems have been patched and cooled completely, turn your jeans right-side out. Try them on with your shoes again. Check how they hang. Are they the perfect length? Is the hem secure and flat?
If there are any minor adjustments needed, you can carefully unfold and re-fold, or even trim any stray threads that might have appeared. For a cleaner look, you might choose to trim excess fabric from the inside if your double fold created significant bulk. However, with the patch securing the primary fold, this is usually minimal.
Table: Troubleshooting Common Issues
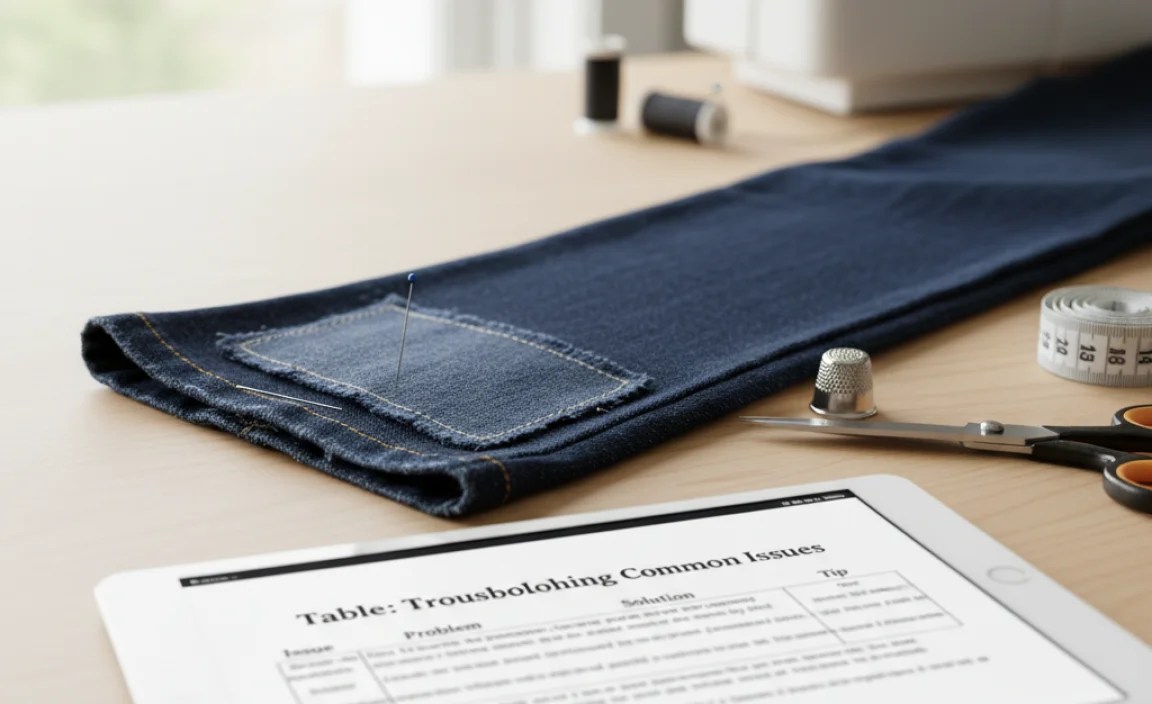
Here’s a quick guide to help you resolve common hiccups:
| Problem | Cause | Solution |
|---|---|---|
| Patch not sticking | Iron not hot enough, not enough pressure, or not ironed long enough. | Increase iron heat (if fabric allows), press harder, and hold iron longer. Ensure pressing cloth isn’t too thick. Re-check patch instructions. |
| Fabric is scorching or shiny | Iron is too hot, or pressing cloth is too thin/not used. | Lower iron heat. Use a thicker pressing cloth (like a tea towel or pillowcase) or double up on thinner ones. Press for shorter intervals to avoid overheating the fabric. |
| Hem looks uneven | Inaccurate measuring or marking, or inconsistent folding. | Re-measure and re-fold carefully. Use your chalk line as a guide. For extreme unevenness, you might need to carefully peel the patch (while still warm), re-fold, and re-apply. |
| Raw edge is still visible | Patch was not placed correctly, or fold was not deep enough. | Carefully peel back the patch. Re-fold the hem more deeply to encase the raw edge, then re-apply the patch. Ensure the patch covers the entire raw edge. |
| Patch is wrinkling the hem | Fabric bunched up during ironing, or insufficient smoothness. | Ensure the fabric is laid perfectly flat on a stable surface before ironing. Smooth out any wrinkles meticulously. Use your fingers to keep the fabric taut as you iron. |
Maintaining Your New Hem
Your no-sew hem should be quite durable. However, like any garment, proper care will extend its life.
- Washing: For best results, turn your jeans inside out before washing. Use a gentle cycle with cold water. Avoid harsh detergents.
- Drying: Air drying is always the best option for preserving garment integrity, especially with no-sew alterations. If you must use a dryer, use a low heat setting and remove them while slightly damp.
- Mending: If you notice any areas where the patch is starting to lift, simply repeat the ironing process on that section (with a pressing cloth).
By following these simple washing and drying guidelines, you can ensure your newly hemmed flare jeans remain in great condition for a long time.
Frequently Asked Questions (FAQ)
Q1: Can I use this method on any type of jeans?
Yes, this method works well on most denim fabrics, including rigid denim, stretch denim, and raw denim. However, always check the care label of your jeans and the instructions for your iron-on patches to ensure compatibility.
Q2: Will the iron-on patch be visible from the outside?
When done correctly, the patch is applied to the inside of the hem. The folded fabric of the jeans covers the patch, so it should not be visible from the outside. You may see a slight texture difference depending on the patch material, but it’s generally undetectable.
Q3: How much length can I realistically shorten my jeans by?
You can shorten your jeans by several inches using this method. The main limiting factor is the amount of excess fabric you have to fold and the size of the iron-on patches you purchase. For very significant alterations, you might need to piece together multiple patches.
Q4: Is this method as durable as sewing?
For most casual wear, this no-sew method is very durable. The heat-activated adhesive creates a strong bond. However, for very heavy use or rigorous washing/drying cycles, a professionally sewn hem will always offer superior longevity. This method is an excellent compromise for speed and ease.
Q5: What if I mess up and don’t like the hem?
Because the patches are heat-activated, you can often carefully peel them off while still warm (handle with caution!) or gently reheat the area to loosen the adhesive. You can then re-fold, adjust, and re-apply the patch. It might take a couple of tries to get it perfect.
Q6: Do I need special iron-on patches?
Yes, you need patches or tape specifically designed for bonding fabric with heat. Look for “fusible web,” “hem tape,” or “no-sew fabric adhesive” at craft or fabric stores. Simple decorative iron-on patches typically do not have the fusing properties needed for hemming.
Q7: What if my jeans are really thick denim?
Thicker denim might require a bit more heat and pressure from your iron. Ensure your iron is set to the highest appropriate setting for the denim and press down quite firmly. You might also need to use multiple layers of pressing cloth to protect the fabric and ensure even heat distribution without scorching.
Conclusion
Hemming your flare jeans doesn’t have to be a daunting task. This “patch hack” using iron-on fabric adhesives offers a practical, accessible, and effective way to achieve a perfect fit without any sewing. By carefully measuring, folding, and applying the patches according to the steps, you can salvage those too-long favorite jeans and give them a crisp, new life. Remember to gather your supplies, take your time with the measurements and ironing, and you’ll be enjoying perfectly hemmed flare jeans in no time. It’s a satisfying DIY project that delivers real, wearable results!
.lwrp.link-whisper-related-posts{
margin-top: 40px;
margin-bottom: 30px;
}
.lwrp .lwrp-title{
}.lwrp .lwrp-description{
}
.lwrp .lwrp-list-container{
}
.lwrp .lwrp-list-multi-container{
display: flex;
}
.lwrp .lwrp-list-double{
width: 48%;
}
.lwrp .lwrp-list-triple{
width: 32%;
}
.lwrp .lwrp-list-row-container{
display: flex;
justify-content: space-between;
}
.lwrp .lwrp-list-row-container .lwrp-list-item{
width: calc(25% – 20px);
}
.lwrp .lwrp-list-item:not(.lwrp-no-posts-message-item){
max-width: 150px;
}
.lwrp .lwrp-list-item img{
max-width: 100%;
height: auto;
object-fit: cover;
aspect-ratio: 1 / 1;
}
.lwrp .lwrp-list-item.lwrp-empty-list-item{
background: initial !important;
}
.lwrp .lwrp-list-item .lwrp-list-link .lwrp-list-link-title-text,
.lwrp .lwrp-list-item .lwrp-list-no-posts-message{
}@media screen and (max-width: 480px) {
.lwrp.link-whisper-related-posts{
}
.lwrp .lwrp-title{
}.lwrp .lwrp-description{
}
.lwrp .lwrp-list-multi-container{
flex-direction: column;
}
.lwrp .lwrp-list-multi-container ul.lwrp-list{
margin-top: 0px;
margin-bottom: 0px;
padding-top: 0px;
padding-bottom: 0px;
}
.lwrp .lwrp-list-double,
.lwrp .lwrp-list-triple{
width: 100%;
}
.lwrp .lwrp-list-row-container{
justify-content: initial;
flex-direction: column;
}
.lwrp .lwrp-list-row-container .lwrp-list-item{
width: 100%;
}
.lwrp .lwrp-list-item:not(.lwrp-no-posts-message-item){
max-width: initial;
}
.lwrp .lwrp-list-item .lwrp-list-link .lwrp-list-link-title-text,
.lwrp .lwrp-list-item .lwrp-list-no-posts-message{
};
}


