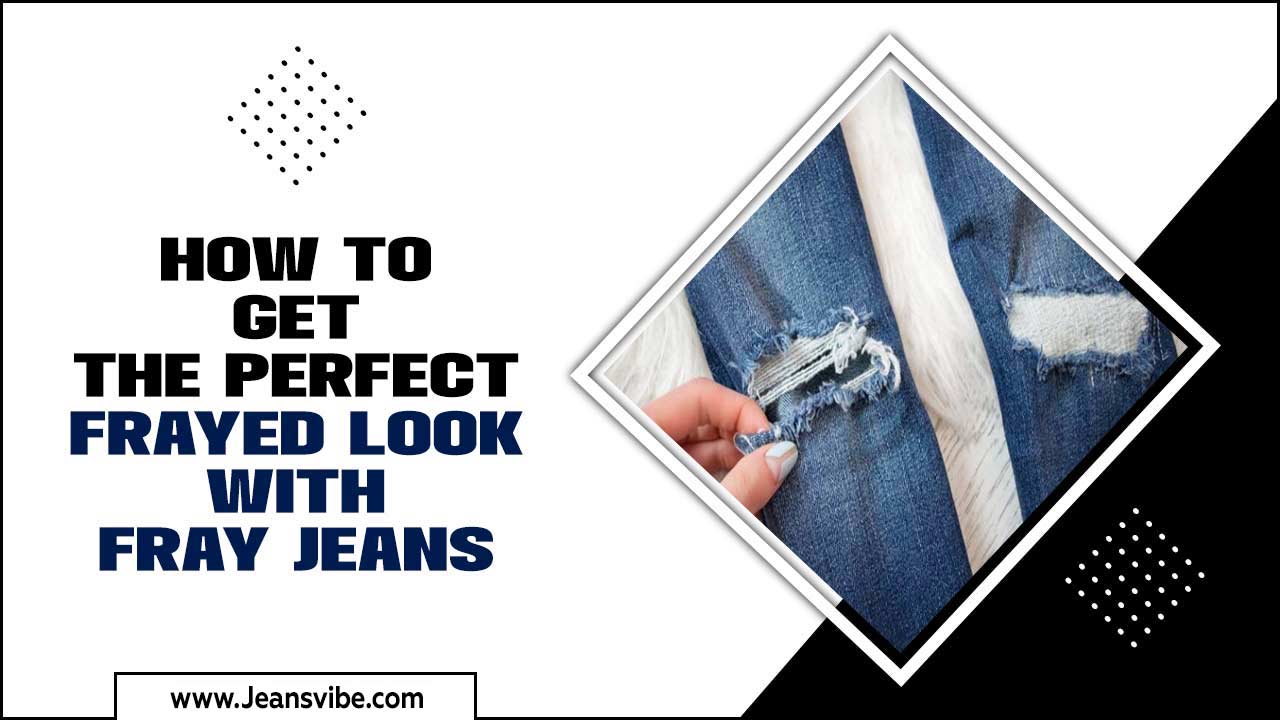
Learn how to hem flare jeans effortlessly for a perfect fit! This guide offers easy, step-by-step instructions, whether you’re a beginner or have some sewing experience, ensuring your beloved jeans look just right.**
Your favorite pair of flare jeans are a wardrobe staple, but what happens when they’re just a little too long? It’s a common problem, and the thought of hemming them can feel daunting. But don’t worry! With a few simple tools and clear instructions, you can master how to hem flare jeans right at home. This guide will walk you through the process, making it surprisingly easy to achieve a polished, professional finish. Get ready to give your jeans a perfect fit without a trip to the tailor!
Why Hemming Flare Jeans Matters

Properly hemmed jeans not only look better but also prevent premature wear and tear. Jeans that are too long can drag on the ground, get caught on things, and fray unevenly. This often leads to a messy appearance and can ruin the original hem. For flare jeans specifically, getting the length right is crucial to achieving the intended silhouette. The flare is designed to visually balance your proportions, and when it’s dragging, that effect is lost. Understanding how to hem them yourself means you can customize the length to match your favorite shoes, ensuring they always fall perfectly.
Gather Your Supplies: Essential Tools for Hemming

Before you start, having the right tools makes the job much smoother. Here’s what you’ll need:
- Fabric Scissors: Sharp scissors specifically for fabric will give you clean cuts. This is essential for a professional finish.
- Measuring Tape or Ruler: For accurate measurements.
- Fabric Marking Tool: This could be a chalk pencil, a fabric pen, or even a piece of tailor’s chalk.
- Straight Pins: Plenty of them, to hold the hem in place.
- Iron and Ironing Board: To press seams and create crisp fold lines.
- Sewing Machine (Recommended) or Needle and Thread: For a durable and neat stitch. If using a needle and thread, opt for a strong thread that matches your jeans.
- Seam Ripper (Optional but helpful): For carefully removing the original hem if you want to preserve it.
- Your Flare Jeans: Of course!
Step-by-Step Guide: How to Hem Flare Jeans

Let’s get started on making your flare jeans fit perfectly. We’ll cover two main methods: hemming with the original cuff and hemming with a new, clean finish.
Method 1: Preserving the Original Jean Hem (The “No-Sew” or Hand-Sewn Saver)
This method is popular because it keeps the original, often slightly distressed, hemline of your jeans. It’s a great way to maintain the authentic look of your favorite denim.
Step 1: Try On Your Jeans
Put on the jeans you want to hem. Wear the shoes you typically plan to wear with these jeans. Stand in front of a mirror.
Step 2: Determine the Desired Length
Look at how the jeans fall. You want the hem to just skim the top of your shoe or slightly cover the heel, depending on your preference and the shoe style. Aim for a length that doesn’t drag on the floor.
Step 3: Mark the Hemline
Using your fabric marking tool, mark the point where you want the new hem to fall. You can try pinning the hem up at this point first to get a visual and then mark.
Step 4: Remove the Original Hem
Lay the jeans flat. Carefully use a seam ripper to remove the stitching that holds the original hem in place. Go slowly to avoid damaging the fabric. Once the stitching is out, you should be able to unfold the original cuff.
Step 5: Re-fold and Pin
Turn the jeans inside out. Now, fold the fabric up from the bottom to meet the fold line you created or the point where the original hem was attached. Pin this fold securely in place. Make sure you’re folding the fabric evenly all the way around.
Step 6: Sew the Hem
For a Machine Sewn Finish: Use a denim needle on your sewing machine. Set it to a straight stitch. Sew as close to the original seam line as possible, following the pinned edge. Go slowly, especially around the flare.
For a Hand-Sewn Finish: Use a strong thread that matches your jeans. Use a strong stitch, like a backstitch, for durability. Sew as close to the edge as you can, ensuring your stitches are even.
Step 7: Trim Excess Fabric (If Necessary)
If there’s a lot of excess fabric from the original hem, you might want to trim it down a bit before sewing to reduce bulk. Leave about 1/2 inch of fabric to fold over for a clean edge, or simply sew the original hem back on.
Step 8: Press and Finish
Once sewn, press the hem with your iron. This gives it a crisp, finished look. For a truly authentic look, you can gently fray the edge of the new hem if the original was slightly worn.
Method 2: Creating a Clean Hem (New Finish)
This method involves cutting off the excess fabric and creating a new, clean hem. It’s ideal if your original hem is damaged or you prefer a crisp, modern look.
Step 1: Try On and Mark
Wear your jeans with the shoes you intend to pair them with. Stand in front of a mirror and decide on the exact length you want. Mark the desired hem length with your fabric marker. Remember to account for the hem allowance – typically 1 to 1.5 inches.
Step 2: Lay Flat and Measure
Lay your jeans flat on a hard surface. Measure from the marked line upwards to create your hem allowance. For flare jeans, it’s often best to have a slightly wider hem allowance (around 1 to 1.5 inches) to help the flare maintain its shape and add a bit of weight.
For example, if you want your jeans to end at 30 inches, mark that line. Then, measure up 1.5 inches from that line and mark again. This second line is where you will cut.
Step 3: Cut the Excess Fabric
Using your sharp fabric scissors, carefully cut along the second marked line (the one that includes your hem allowance). Cut straight around the leg opening.
Step 4: Create the Fold Line
Turn the jeans inside out. Fold the raw edge up to meet the first marked line (your desired finished length). Press this fold firmly with your iron. This creates a crisp crease.
Step 5: Create the Second Fold
Now, fold the fabric up again, this time so the raw edge is enclosed within the fold, and the top edge of the fold aligns with your desired finished length mark. Press this second fold firmly with your iron. You should now have a double-folded hem.
The folded edge should look neat and finished, with no raw edges visible from the outside.
Step 6: Pin the Hem
Pin the folded hem securely in place all the way around, both on the inside and the outside if needed, to keep it from shifting.
Step 7: Sew the Hem with a Sewing Machine
Use a denim needle and a sturdy thread that matches your jeans. You can use a straight stitch or a zigzag stitch for added durability, especially on stretch denim. Sew along the top edge of the folded hem, about 1/8 inch from the edge. Go slowly and carefully, guiding the fabric evenly. For flare jeans, pay attention to maintaining an even width as you sew around the curved leg opening.
Tip: Sew from what feels like the inside of the leg opening to help guide the curve more effectively.
Step 8: Final Press
Once you’ve finished sewing, press the hem with your iron one last time. This will ensure a sharp, clean finish that holds its shape.
Understanding Hem Allowances and Jean Types

The amount of fabric you fold up for the hem – known as the hem allowance – is important. For rigid denim, a 1-inch hem allowance is often sufficient. However, for stretch denim or flare jeans, a slightly wider allowance, like 1.25 to 1.5 inches, can be beneficial. This extra fabric helps the flare maintain its shape and adds weight, preventing it from becoming too flimsy or looking “cheap.”
Different types of jeans might require slight adjustments:
- Stretch Denim: When hemming stretch denim, be careful not to stretch the fabric as you sew. Use a longer stitch length to accommodate the stretch.
- Raw Hem Jeans: If you’re going for a trendy raw hem look, you’ll cut the jeans to length and then simply fray the edge. You may want to secure the very top of the raw edge with a very close zigzag stitch to prevent excessive unraveling beyond your desired point.
- Embellished Hems: If your jeans have decorative stitching or details at the original hem, the “preserving the original hem” method is best. If you must cut, aim to reapply similar embellishments.
Troubleshooting Common Hemming Problems
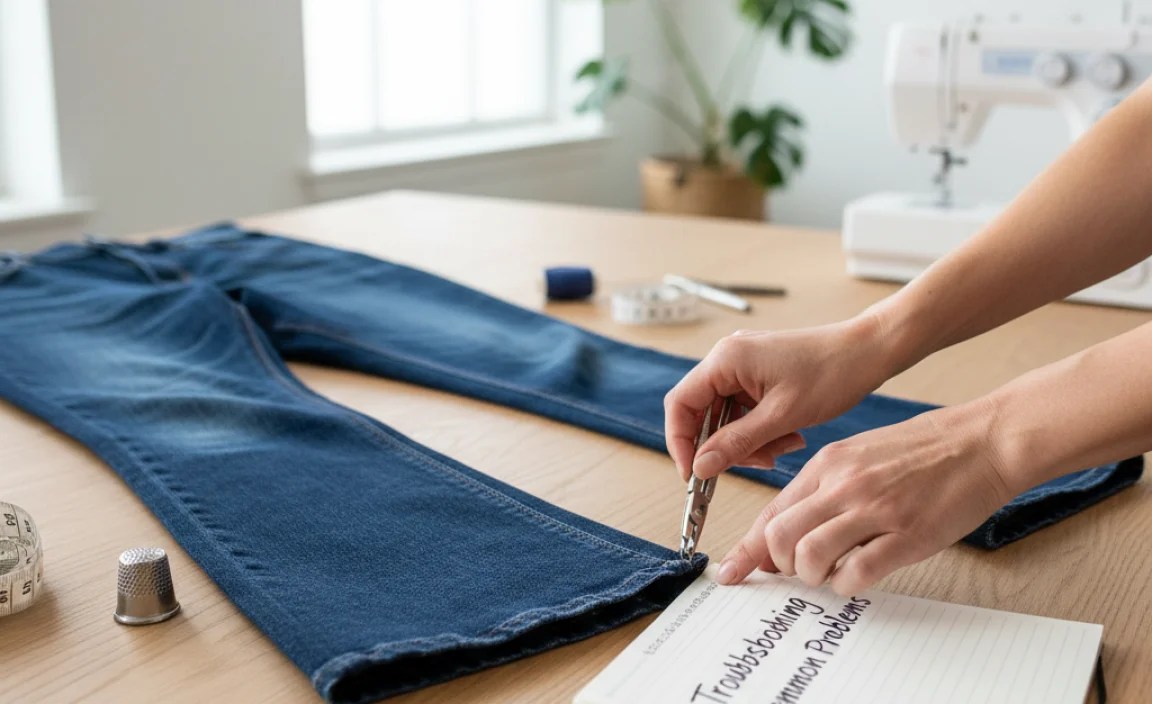
Even with clear instructions, you might run into a few snags. Here’s how to fix them:
- Uneven Hem: This is common, especially with flare jeans. The leg opening is a curve. If your hem looks uneven after sewing, don’t worry too much. A good final pressing can often disguise minor imperfections. For significant unevenness, you might need to unpick and re-sew, ensuring you’re working with the same length measurement all the way up. Using a serger or a zigzag stitch can also help create a cleaner, more forgiving edge.
- Stretched Fabric: If your denim stretched out during sewing, it can make the hem look wavy. This usually happens with stretch denim. To prevent this, use a longer stitch length and avoid pulling the fabric through the machine. If it has already happened, a good press might help, but sometimes it’s hard to completely fix.
- Stitches Puckering: This happens when the thread tension is too high or the needle is too dull. Check your machine’s tension settings and ensure you’re using a sharp denim needle.
- Thread Breaking: Use a good quality, strong thread designed for denim. Make sure your needle is sharp and appropriate for the fabric weight.
Caring for Your Hemmed Jeans
To keep your freshly hemmed jeans looking their best:
- Washing: Wash your jeans inside out in cold water on a gentle cycle. This helps preserve the color and prevents extra wear on the seams.
- Drying: Air drying is best for preserving the fit and fabric of your jeans. If you must use a dryer, tumble dry on low heat and remove them while slightly damp to prevent shrinkage and over-drying.
- Ironing: If you need to iron your jeans, do so on the inside at a medium heat setting.
How to Hem Flare Jeans: A Comparison Table
Choosing the right hemming method depends on your goals. Here’s a quick comparison:
| Feature | Preserving Original Hem | Creating a Clean Hem |
|---|---|---|
| Appearance | Authentic, worn-in look; retains original detailing. | New, crisp, modern finish; no original wear marks. |
| Difficulty | Slightly more delicate due to seam ripping. | Straightforward cutting and folding. |
| Best For | Jeans with unique original hems, distressed styles. | Damaged hems, preference for a clean finish, darker wash denim. |
| Tools Needed | Seam ripper, pins, sewing machine/needle & thread. | Scissors, measuring tape, pins, sewing machine/needle & thread. |
| Time Required | Can be a bit more time-consuming due to seam ripping. | Generally quicker if you’re comfortable with cutting. |
Expert Tips for a Seamless Hem
Here are some insider tips to elevate your hemming game:
- Align Seams: When pinning and sewing, try to align the inseam and outseam. This helps ensure the hem is straight and the leg opening remains balanced.
- Use a Walking Foot: If your sewing machine has one, a walking foot can be incredibly helpful for feeding multiple layers of denim evenly, especially around the thick seams of jeans.
- Test Stitches: Before sewing your actual hem, test your stitch length and tension on a scrap piece of denim.
- Press as You Go: Pressing at each folding stage (Step 4 and Step 5 in Method 2) is crucial for crisp, professional-looking folds.
- Consider Your Shoes: Always hem with the shoes you intend to wear. The heel height can significantly change the perfect hem length.
Frequently Asked Questions about Hemming Flare Jeans
How much longer should flare jeans be than my regular length?
This depends on the shoe. For a clean look, aim for the hem to just skim the top of your shoe or be about 1/4 inch off the floor. For a classic flare look with boots, you might want them to almost touch the floor or cover the heel of your boot halfway.
Can I hem flare jeans without a sewing machine?
Yes, absolutely! You can hand-sew the hem using a strong thread and a backstitch for durability. It will take longer, but the result can be just as neat and secure. Choose a thread color that matches your jeans closely.
What’s the best way to hem to keep the original bottom edge?
The best method is to carefully remove the original hem with a seam ripper, then refold the fabric and reattach the original hem to the leg opening. This preserves the original stitching and any distressing at the bottom edge.
My jeans have stretch. How does this affect hemming?
When working with stretch denim, avoid pulling or stretching the fabric as you measure, mark, and sew. Use a slightly longer stitch length on your sewing machine (around 2.5-3.0 mm) to allow for the fabric’s natural stretch. A ballpoint or stretch needle can also prevent skipped stitches.
How much fabric should I leave for the hem allowance?
For most jeans, 1 to 1.5 inches is a good hem allowance. For flare jeans, particularly if you’re creating a new, clean hem, 1.25 to 1.5 inches is often recommended. This extra width helps maintain the drape and shape of the flare. Test on a scrap piece if unsure.
How do I prevent the hem from looking lumpy or uneven on flare jeans?
The key is careful pressing at each folding stage and pinning securely. Aligning the inseam and outseam before pinning the hem can also help. Sewing slowly and guiding the fabric smoothly around the curve will ensure a more even result. A final, firm press with an iron is crucial.
Where can I find good quality denim needles and thread?
You can find high-quality denim needles and strong polyester or cotton-wrapped polyester threads at most fabric stores, craft stores, or major online retailers. Brands like Schmetz (for needles) and Gütermann or Coats & Clark (for thread) are well-regarded. For more about fabric care, check resources like Penn State Extension’s Textiles and Clothing resources for fabric handling and care.
Conclusion: Perfectly Fitted Flare Jeans Await
Hemming flare jeans doesn’t have to be complicated. Whether you’re looking to revive a cherished pair with their original hem intact or create a sharp, new finish, these step-by-step guides provide the clarity and confidence you need. By gathering your supplies and following these instructions carefully, you’ll achieve a perfect fit that enhances your favorite denim. Don’t let your jeans be too long; take control of your wardrobe and enjoy perfectly hemmed flare jeans that always look and feel just right!