Quick Summary:
Easily hem your flare jeans at home with simple tools and clear steps. This guide shows you how to get the perfect length without unraveling or complicated sewing, making them look like a tailor did the job.
How to Hem Flare Jeans: Genius & Effortless
Do your favorite flare jeans drag on the floor? It’s a common frustration! Them jeans that fit perfectly everywhere else can end up being a tripping hazard or looking sloppy just because they’re too long. You might think you need extensive sewing skills or a trip to the tailor. But what if I told you it’s much simpler than you think? With a few basic items and a little patience, you can achieve a professional-looking hem on your flare jeans right at home. Let’s get those jeans sitting perfectly!
Why Hemming Flare Jeans Can Feel Tricky (And How We’ll Fix It)

Flare jeans have a unique shape. The wider leg opening means a simple straight hem can look a bit “off.” The goal is to maintain that flattering flare while achieving the correct length. Often, store-bought jeans leave you with a hem that’s just a bit too long, especially if you’re shorter or decide to wear heels with them. The existing hem on flare jeans is usually a double-fold, which can be a bit more involved than hemming a straight-leg jean. But don’t worry, this guide breaks it down into manageable steps. We’ll focus on techniques that are beginner-friendly and deliver stylish results, ensuring your jeans look intentionally cropped, not accidentally shortened.
Gathering Your Tools: What You’ll Need
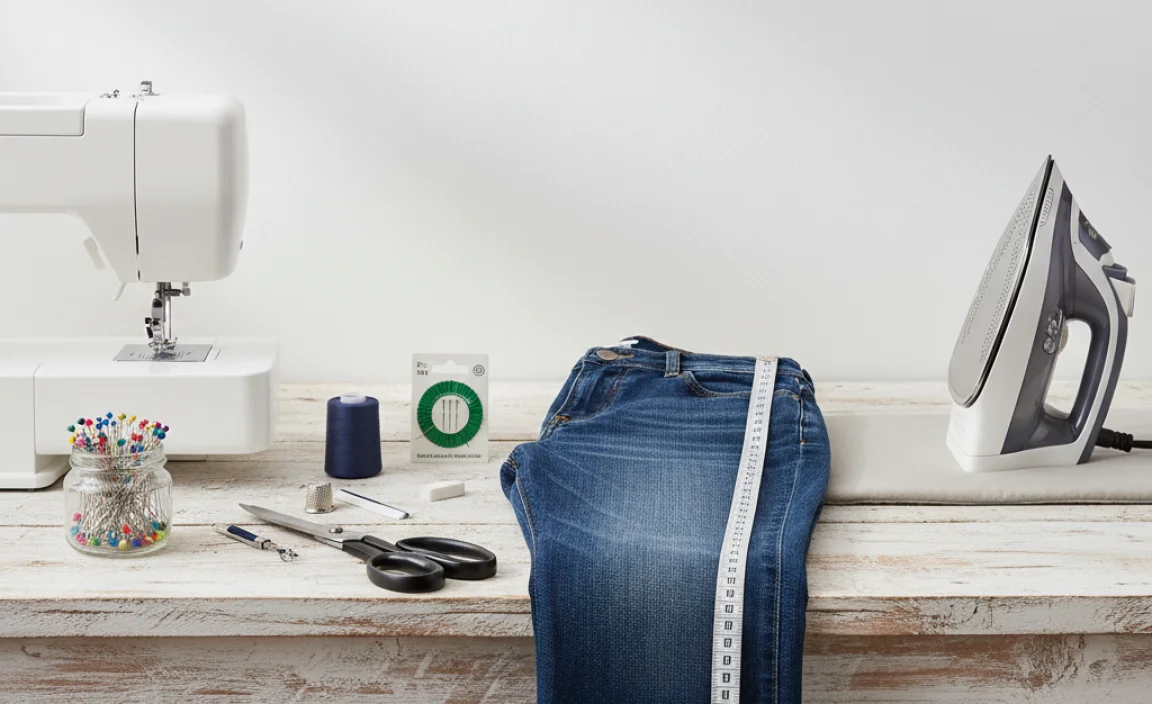
Before you begin, having the right tools makes the process smooth and effective. These are common household items or easy-to-find craft supplies. You don’t need to be a seamstress to use them.
Essential Tools for Hemming
- Your Flare Jeans: Obviously! Make sure they are clean and dry.
- Fabric Scissors: Sharp scissors are crucial for a clean cut. Invest in a decent pair dedicated to fabric if possible.
- Measuring Tape or Ruler: For accurate measurements.
- Fabric Chalk or a Washable Marker/Pen: To mark your cut line.
- Pins: To hold the hem in place while you work.
- Iron and Ironing Board: Essential for pressing seams flat and creating crisp folds.
- Seam Ripper (Optional but Recommended): For carefully removing the original hem if you want a seamless look.
- Thread (Matching Color): If you’re sewing the hem.
- Sewing Machine or Needle: For sewing the hem. A sewing machine is faster, but hand-sewing is perfectly achievable.
- (Optional) Fabric Glue or Hem Tape: For a no-sew option.
Understanding Flare Jeans: The Anatomy of the Hem
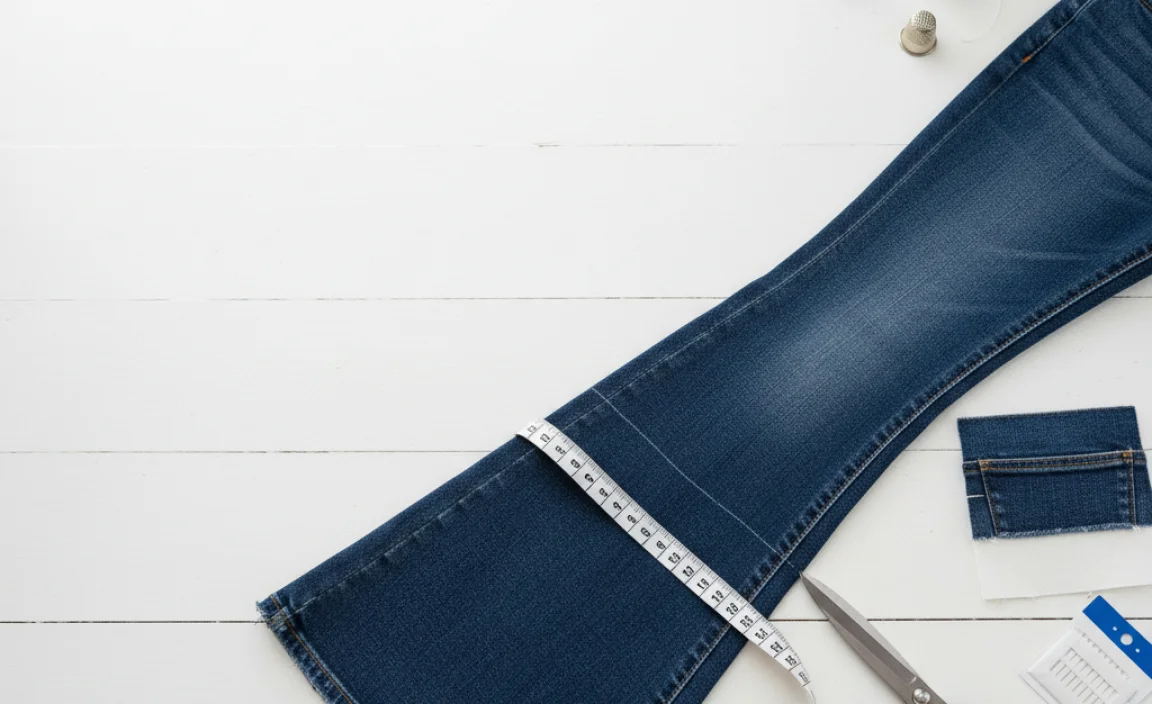
Flare jeans typically have an original hem that is constructed by folding the fabric up twice and then stitching it. This creates a durable and neat finish. When hemming, you have a few options:
- Keep the Original Hem: This is a popular “deconstructed” or “raw” hem look. You simply cut the excess fabric off at your desired length, often letting the edges fray naturally.
- Create a New, Simple Hem: You remove the original hem, measure, and create a new, narrower hem.
- Reattaching the Original Hem: This is the most advanced, but it gives the most factory-finish look. You unpick the original hem, cut the fabric, then reattach the original hem to the new, shorter length.
For this guide, we’ll focus on two primary, beginner-friendly methods: keeping the original hem for that edgy look and creating a clean, new hem without the original. We’ll also touch on the deconstructed method using shampoo, which some people find helps manage fraying.
Method 1: The No-Sew “Raw” Hem Hack
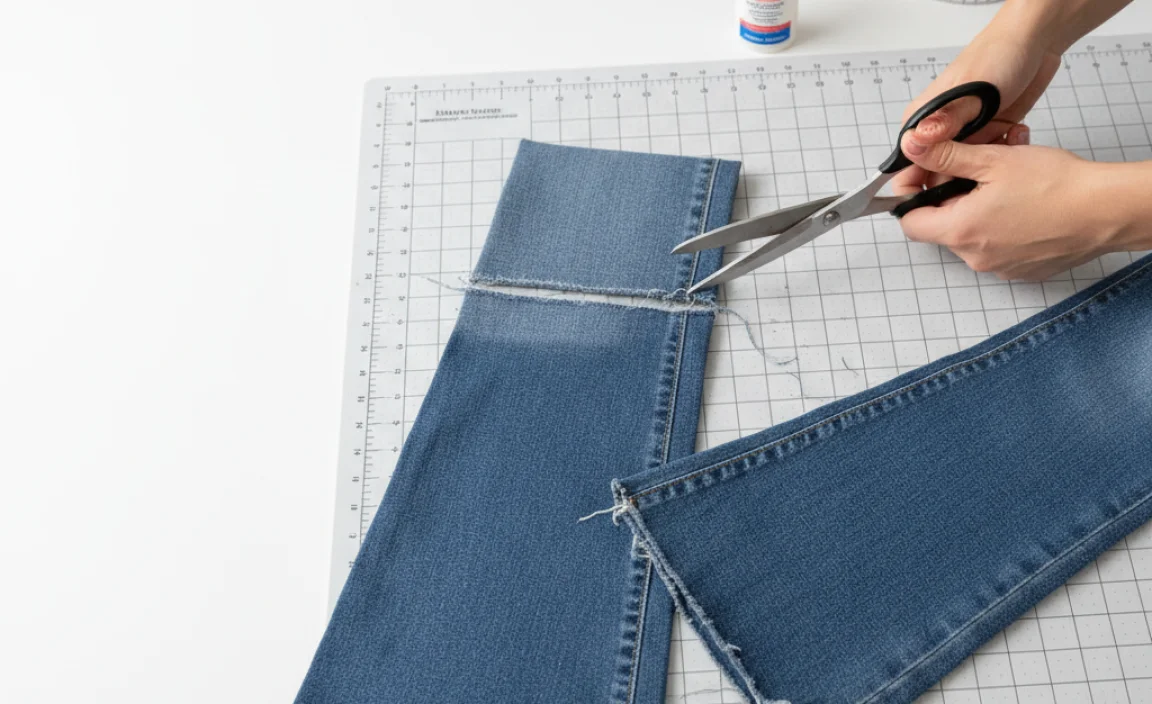
This is the quickest and easiest way to hem your flare jeans, perfect for a casual, lived-in look. It’s ideal for denim that frays nicely. Some people also search for “how to hem flare jeans with shampoo.” While not a traditional method, a little shampoo diluted with water can be sprayed on cut denim to help soften the fibers and manage controlled fraying by preventing over-fraying. It’s more about conditioning the cut edge than a true hemming technique.
Step-by-Step: Creating a Raw Hem
- Try On Your Jeans: Put on the jeans with the shoes you’ll most likely wear them with. Stand in front of a mirror.
- Determine Your Desired Length: Decide where you want the hem to fall. A common length is just to graze the top of your shoes, but it’s your style!
- Mark the Cut Line: Use your fabric chalk or marking pen to mark the point where you want to cut. Aim for a straight line across the leg. You can also use the existing hem as a guide, but be aware that flare jeans can have a slight curve to their hem. It’s often best to mark the shortest point you want the hem to reach. Remember, you can always cut more off, but you can’t add fabric back on!
- Remove the Original Hem (Optional but Recommended for a Cleaner Look): For a truly raw hem, you’ll want to remove the original stitched hem first. Use a seam ripper to carefully unpick the stitches holding the original hem in place. Go slowly to avoid damaging the fabric. Once unpicked, you can either let the original hem unfold completely or trim it off, leaving about an inch or two of fabric.
- Cut the Denim: Using sharp fabric scissors, cut straight across the leg at your marked line. If you kept some of the original hem unfolded, cut just below that.
- (Optional) Induce Fraying: To encourage even fraying and prevent excessive unraveling, you can lightly mist the cut edge with a 50/50 mixture of water and mild shampoo. Gently massage it into the cut edge. The shampoo helps to soften the fibers and can encourage a more uniform fray. Let it air dry completely. You can also wash and dry the jeans to start the fraying process.
- Encourage Fraying (If Desired): Wear your jeans! As you walk, the hem will naturally fray. You can also gently pull on loose threads with tweezers or scissors to control the length and evenness of the fraying.
Pros and Cons of the Raw Hem Method
| Pros | Cons |
|---|---|
| Very fast and easy. No sewing required. Trendy, casual look. Requires minimal tools. |
Can fray excessively over time or with washing. Not suitable for all occasions. May not look “finished” enough for some. Requires ongoing maintenance to control fraying, if desired. |
Method 2: The Clean, New Hem (Sewing Involved)
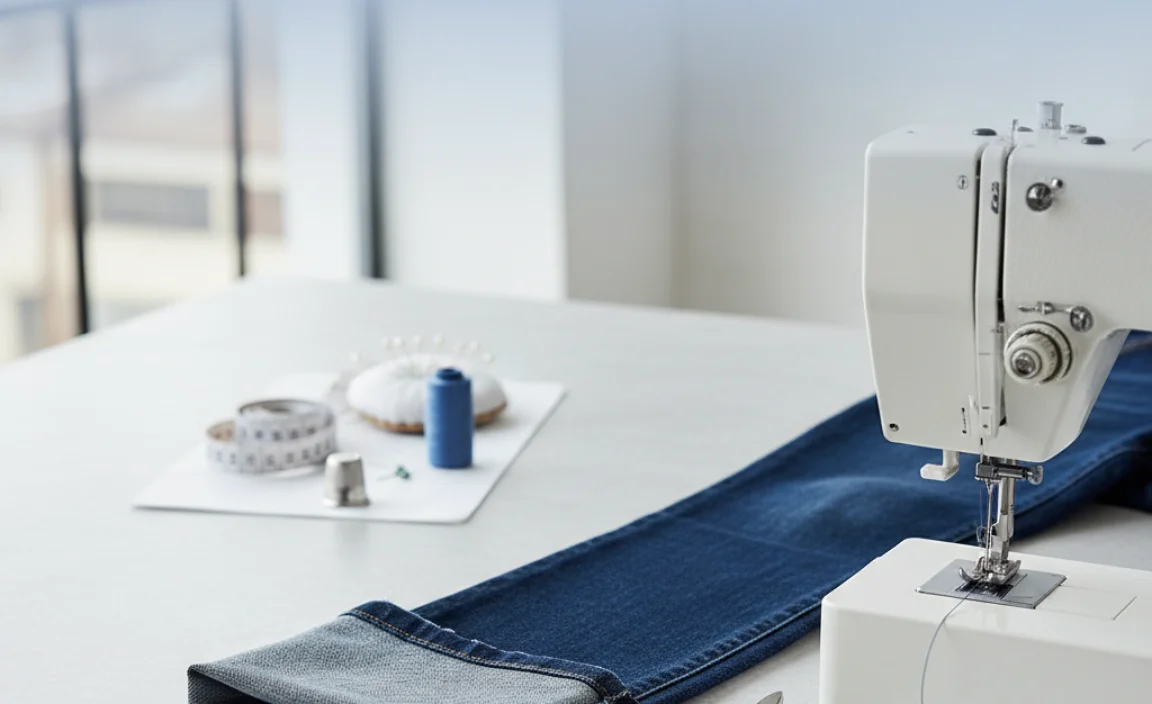
This method gives you a crisp, finished hem that looks like it was done professionally. It requires a bit more effort but the result is a classic, polished look.
Step-by-Step: Creating a New, Clean Hem
- Prepare Your Jeans: Wash and dry your flare jeans. Iron them flat to make measuring and marking easier.
- Try Them On: Wear the jeans with the shoes you typically pair them with. Stand in front of a mirror.
- Mark Your Desired Length: Decide how short you want your jeans to be. Use fabric chalk or a pen to mark the desired hemline. A good starting point is usually about 1/2 inch to 1 inch off the floor, or just above your shoe.
- Remove the Original Hem: Carefully use your seam ripper to unpick the stitches of the original hem. Be patient and work slowly to avoid tearing the fabric. Once unpicked, unfold the original hem completely.
- Trim the Excess Fabric: Measure from your marked hemline down to the bottom edge of the unfolded original hem. Cut off the excess fabric, leaving about 1/2 inch to 1 inch below your marked line. This extra fabric will be used to create your new hem fold. For example, if you want your finished hem to be 10 inches from your marked line, and the original hem unfolded is 2 inches, cut about 1.5 inches below your marked line (for a 1/2 inch hem allowance).
- Create the Hem Fold: Fold the raw edge of the fabric up by about 1/4 inch, wrong sides together, and press firmly with your iron. Then, fold it up again by the desired hem allowance (e.g., 1/2 inch or 1 inch). Press this second fold firmly. You should now have a clean, double-folded hem facing inside the leg.
- Pin the Hem: Secure the folded hem in place with pins. Make sure the hem is even all the way around the leg opening.
- Sew the Hem:
- By Sewing Machine: Thread your sewing machine with matching thread. Stitch along the top folded edge of the hem, removing pins as you go. Aim for a straight, consistent stitch. You can use a longer stitch length (around 3.0-4.0mm) for denim.
- By Hand: Use a needle and matching thread. A running stitch or a backstitch will work. A backstitch is stronger and less visible. Keep your stitches small and as even as possible.
- Finish and Press: Once sewn, trim any excess threads. Give the hem a final press with your iron to make sure it lies flat.
Pros and Cons of the Clean Hem Method
| Pros | Cons |
|---|---|
| Clean, professional, and polished look. Durable and long-lasting. Versatile for different occasions. Prevents fraying. |
Requires sewing skills (machine or hand). Takes more time than the raw hem. Requires tools like a seam ripper and sewing machine/needle. |
Method 3: Reattaching the Original Hem (Advanced but Best Finish)
This method is for those who want the most authentic look and are comfortable with a little more detailed work. You’ll essentially cut the jean leg to a new length and then reattach the original, unfolded hem band.
Step-by-Step: Reattaching the Original Hem
- Prepare Jeans and Mark: Follow steps 1-4 from Method 2 (Prepare, Try On, Mark Length, Remove Original Hem).
- Trim the Fabric to the New Length: Measure from your marked hemline down to the bottom of the unfolded original hem. Cut off all the excess fabric below your marked hemline. You want to be left with your marked hemline and the original hem band (which you’ve unpicked).
- Prep the Original Hem Band: Carefully press the original hem band flat, ensuring the raw edge that was attached to the leg is now fully unfolded.
- Reattach the Hem Band: Pin the raw edge of the original hem band back onto the raw edge of the newly shortened jean leg. Match the seam where the original hem was attached. You are essentially sewing the original hem band back onto the leg at your new, shorter length. Pin securely.
- Sew the Hem: Using your sewing machine (or hand-sewing), carefully stitch along the line where the original hem band meets the jean leg. Try to follow the original stitching line as closely as possible. This can be tricky as you’re sewing through multiple layers of denim.
- Finish and Press: Trim any loose threads. Press the hem firmly. The result should look very similar to the original factory hem.
Pros and Cons of Reattaching Original Hem
| Pros | Cons |
|---|---|
| Most authentic, factory-finished look. Maintains the intentional width and thickness of the original hem. |
Most time-consuming method. Requires precision and patience. Can be challenging with thick denim. Best done with a sewing machine. |
No-Sew Alternatives: Hem Tape and Fabric Glue
If sewing isn’t your strong suit, but you want a clean hem without the fraying, iron-on hem tape or fabric glue are excellent alternatives. For best results with these, especially with thicker denim like flare jeans, the “Clean, New Hem” method is a good base. You would still create the double fold and press it, then use the tape or glue to secure it.
Step-by-Step Using Hem Tape
- Follow steps 1-6 from “Method 2: The Clean, New Hem” to create your double-folded hem and press it firmly.
- Cut strips of iron-on hem tape that are slightly shorter than the total circumference of the hem you’ve created.
- Carefully insert the hem tape into the folded channel of the hem, between the two layers of fabric where you want to adhere them.
- Follow the manufacturer’s instructions for your specific hem tape regarding iron temperature and application time. Generally, you’ll press an iron over the hem for a short period to activate the adhesive and bond the fabric layers.
- Let it cool completely before moving.
Step-by-Step Using Fabric Glue
- Follow steps 1-6 from “Method 2: The Clean, New Hem.”
- Apply a thin, even bead of fabric glue along the inside edge of the first fold you made (the 1/4 inch fold).
- Fold the fabric up again to create the final double hem, pressing firmly to push the glued edges together.
- Pin the hem securely, and allow the glue to dry completely according to the product’s instructions. This can take several hours or overnight.
- Once dry, remove pins and press the hem.
When to Choose Which Method
The best method depends on your desired look, available tools, and comfort level with sewing.
Choosing Your Hemming Strategy
| Desired Look | Skill Level | Time Commitment | Recommended Method |
|---|---|---|---|
| Casual, edgy, frayed | Beginner | Fastest | Raw Hem (Method 1) |
| Clean, polished, classic | Beginner-Intermediate (with sewing) | Moderate | New Clean Hem (Method 2,Sewing) OR No-Sew Alternatives (Hem Tape/Glue) |
| Authentic, factory-made appearance | Intermediate-Advanced | Longest | Reattaching Original Hem (Method 3) |
Tips for Perfect Flare Jean Hemming
Hemming is simple, but a few extra tips can make your results even better:
- Always Measure Twice, Cut Once: Seriously, take your time with measurements. Don’t rush this step.
- Use Sharp Scissors: Dull scissors can snag and create an uneven cut, no matter how careful you are.
- Consider Your Shoes: The height of your shoes dramatically affects how long your jeans should be. Hem with the shoes you’ll wear most often.
- Account for the Fold: When creating a new hem, remember that the fabric is folded twice. Make sure your uncut length accounts for the desired finished hem width.
- Pressing is Key: A good, firm press with your iron at each folding stage makes a huge difference in the final crispness and neatness of your hem.
- Starch for Denim: For extra crisp folds and easier handling, consider using a spray starch on the denim before pressing.
- Test Fraying: If you’re going for a raw hem, it’s a good idea to cut a small scrap of the same denim and test your fraying method on it first.
- Seam Allowance Matters: For sewing methods, a consistent seam allowance (the width of the fabric folded up) leads to a professional look.
- Upcycling Tip: If you trim off a significant amount of fabric, consider using it for other small denim projects, like patches or scrunchies.
Frequently Asked Questions (FAQ)
Q1: Can I really hem flare jeans without sewing?
A: Yes! The raw hem method is completely no


