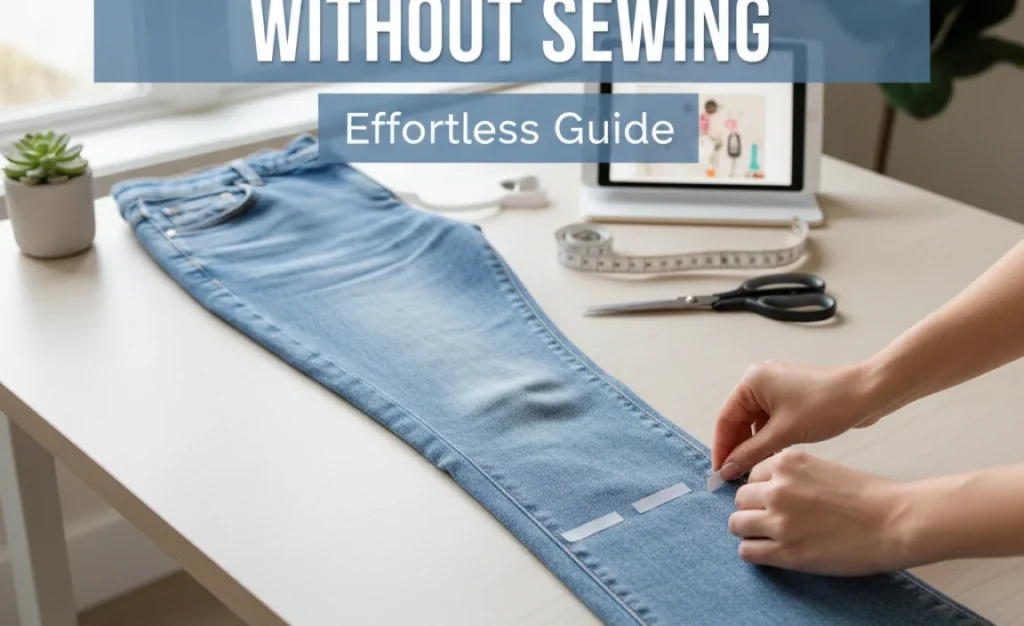
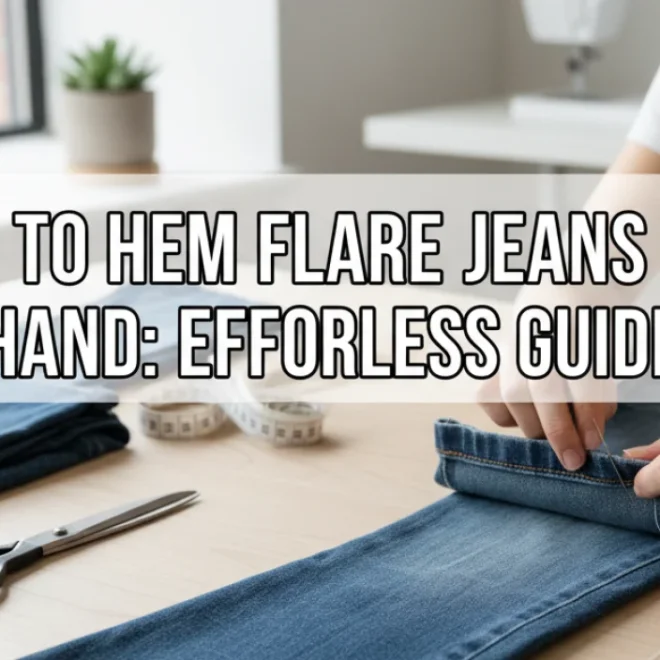
No-sew hemming for flare jeans is achievable! You can easily shorten flare jeans at home using fabric glue or hemming tape for a neat, permanent finish without any sewing skills.
Finding the perfect pair of flare jeans can feel like striking gold. They’re stylish, flattering, and a fantastic wardrobe staple. However, when they’re just a little too long, that perfect fit can quickly become a tripping hazard. Traditional hemming often involves sewing, which can seem daunting if you don’t have the skills or the right tools. But don’t worry; you can absolutely achieve a professional-looking hem on your flare jeans without touching a needle and thread. This guide will walk you through simple, effective methods to get your jeans sitting perfectly, giving you confidence and a flawless finish.
Why No-Sew Hemming is Your Go-To Solution
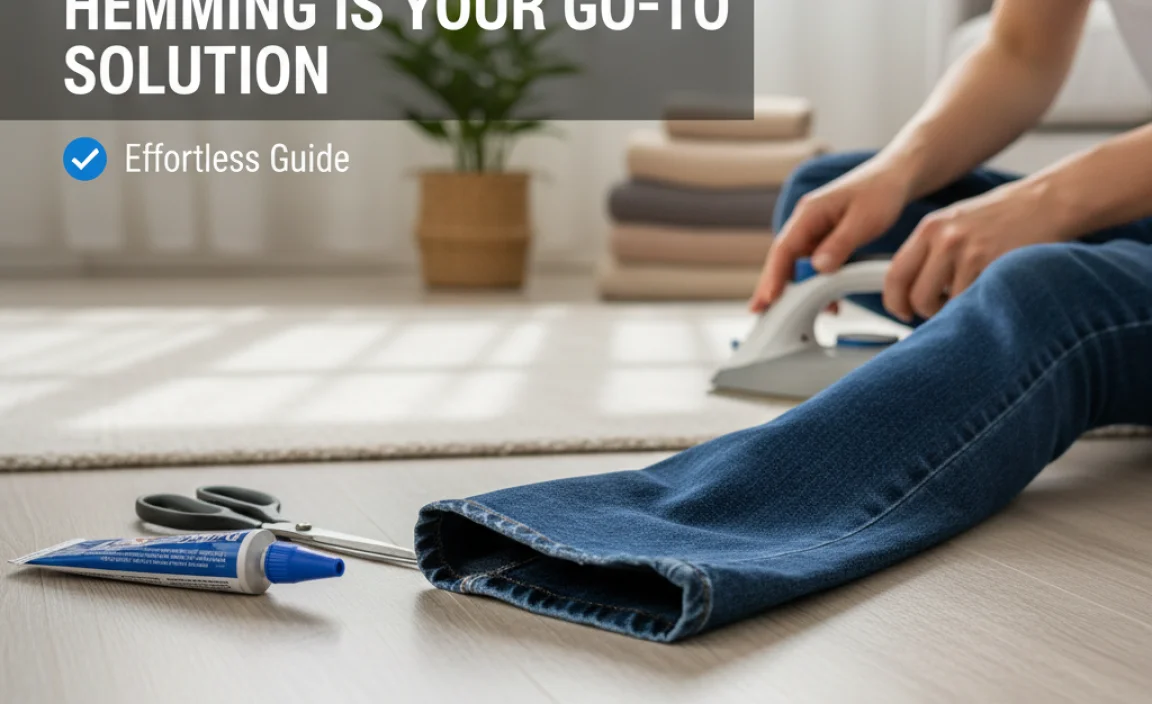
Let’s be honest, hemming can sometimes feel like a chore. The idea of intricate stitching, especially on a sturdy fabric like denim, can put many people off. Luckily, modern crafting and clothing solutions offer fantastic alternatives that are not only easy to use but also surprisingly durable. These no-sew methods are ideal for beginners, busy individuals, or anyone who needs a quick fix without compromising on style. They save time, require minimal equipment, and deliver results you’ll be proud of.
Understanding Your Flare Jeans
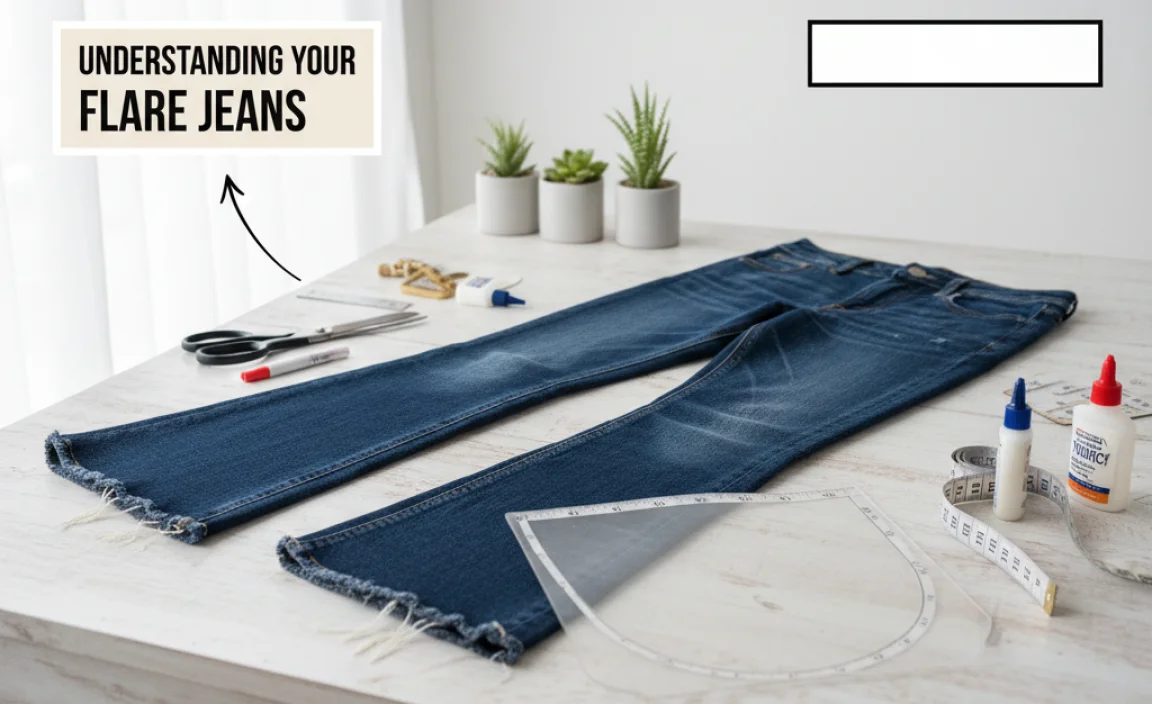
Before we dive into the hemming process, let’s consider your flare jeans. The wider leg opening of flare jeans means you need to be a little more mindful of the hem’s appearance. A perfectly straight hem can sometimes look a bit abrupt on a flared leg. Often, a slightly curved or angled hem can complement the natural flare of the jean. However, for simplicity and the “no-sew” aspect, we’ll focus on creating a clean, straight hem that works beautifully. Remember to think about the desired length: where do you want the hem to sit? Usually, it should be just kissing the top of your shoe or the floor, depending on your preference and the shoes you plan to wear them with.
Essential Tools for No-Sew Hemming
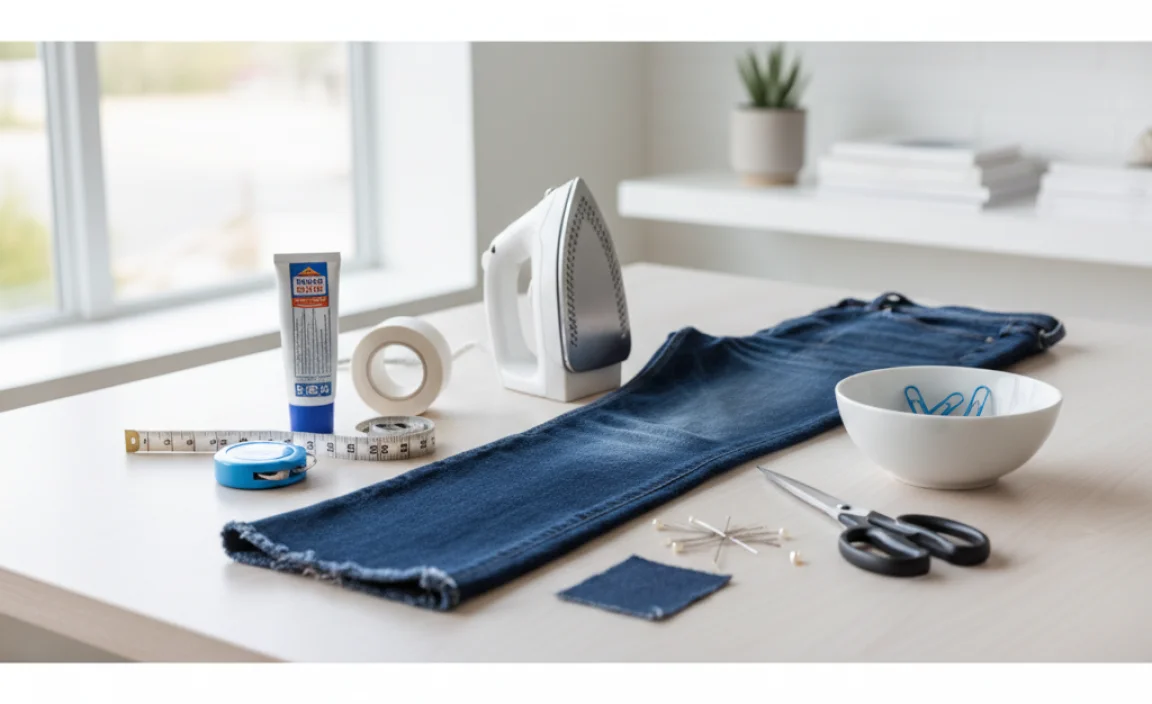
Gathering the right supplies is key to a successful no-sew hem. These items are readily available at most craft stores or even your local supermarket. Ensure you have everything on hand before you start to make the process smooth and efficient.
- Fabric Glue or Fabric Adhesive: Look for formulas specifically designed for fabrics. These are often flexible, washable, and durable once cured. Brands like Aleene’s Fabric Fusion or Dritz are popular choices.
- Hemming Tape or Fusible Webbing: This is a double-sided adhesive tape that you iron (or press) into place. Wonders of the crafting world include Heat’n Bond or Dritz Stitch Witchery.
- Sharp Fabric Scissors: For a clean cut, good quality fabric scissors are essential. Avoid using dull scissors as they can fray the denim.
- Measuring Tape or Ruler: Accuracy is important for an even hem.
- Fabric Marker or Chalk: To mark your cutting line. Make sure it’s a color that will show up on your jeans but can be easily removed or won’t be visible.
- Iron and Ironing Board: Crucial for heat-activated hemming tape. Ensure your iron is clean and set to the appropriate temperature (usually cotton setting, no steam for most hemming tapes).
- Flat Surface: A large table or even a clean floor space to lay out your jeans for measuring and marking.
- Optional: Pins: Straight pins can help hold the fabric in place while you work, especially if you’re using fabric glue.
Method 1: Fabric Glue – The Flexible Fix
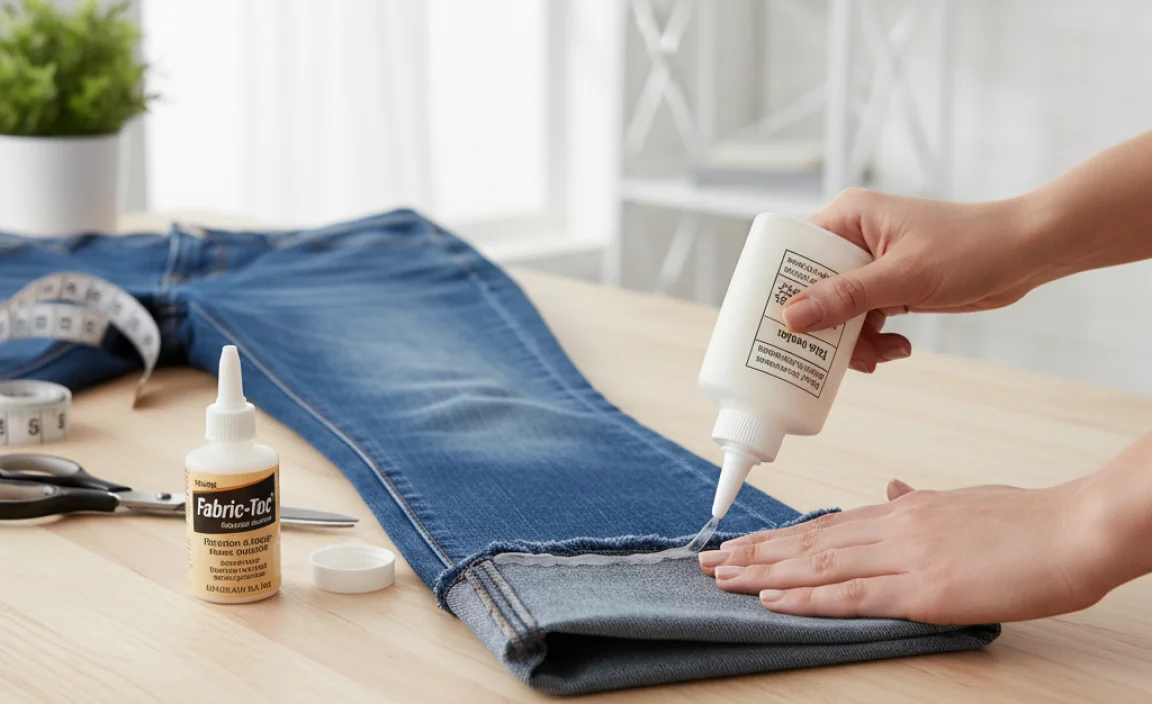
Fabric glue is a fantastic option for a strong, flexible bond that survives washing and wearing. It’s forgiving and allows for some adjustment before it fully sets. This method is ideal if you don’t have an iron or prefer a no-heat solution.
Step-by-Step Guide to Fabric Glue Hemming
- Prepare Your Jeans: Wash and dry your flare jeans. This removes any sizing or finishes that might interfere with the glue’s adhesion and ensures you’re hemming them at their final, true length. Lay them flat on your work surface.
- Determine the Desired Length: Put on the shoes you typically wear with your flare jeans. Stand in front of a mirror and hold one pant leg where you want the hem to fall. Use your fabric marker or chalk to make a small mark on the inside seam of the pant leg at the desired length. Repeat for the other leg, ensuring it matches precisely.
- Mark the Hemline: Take off the jeans. Lay one leg flat, aligning the inner and outer seams. Measure from the bottom of the pant leg up to your mark. Mark this point on the outer seam as well. Draw a straight line across the bottom of the pant leg, about 1 to 1.5 inches (2.5 to 3.8 cm) from the current hem. This extra fabric will become your new hem allowance. If your jeans have a thicker hem or a particular detail you want to preserve, you might adjust this.
- Cut the Excess Fabric: Using your sharp fabric scissors, carefully cut along the marked line. Cut straight across the leg. Remove any existing hem or thick cuff from the original jeans if it interferes with the new hem you’re creating. You want a clean, single layer of fabric to work with.
- Fold and Secure the New Hem: Fold the raw edge of the fabric up by about 0.5 to 0.75 inches (1.3 to 1.9 cm) towards the inside of the pant leg. Press this fold firmly. Apply a bead of fabric glue along the raw edge of the fabric that is now tucked in. Ensure you apply an even line of glue.
- Create the Final Hem: Fold the hem up again, this time to meet the first fold you made. You should now have a double-folded hem. This creates a clean, finished edge that won’t fray. Apply another line of fabric glue to secure the folded edge to the inside of the pant leg.
- Press and Pin: Press the hem firmly to ensure good contact with the glue. Use pins to hold the hem in place while the glue dries. You want the fabric to stay exactly where you’ve folded it.
- Allow to Cure: Check the fabric glue manufacturer’s instructions for drying and curing times. Some glues are dry to the touch in a few hours but need 24-72 hours to fully cure and reach maximum strength. Avoid washing or wearing the jeans until the glue is completely cured.
If your flare jeans have a particularly wide leg opening, you might consider using fabric glue on both the initial fold (to secure the raw edge) and then again on the final fold. This provides extra security. For added strength, some people even apply a second thin layer of glue after the first has slightly set.
Method 2: Hemming Tape (Fusible Webbing) – The Ironed-In Finish
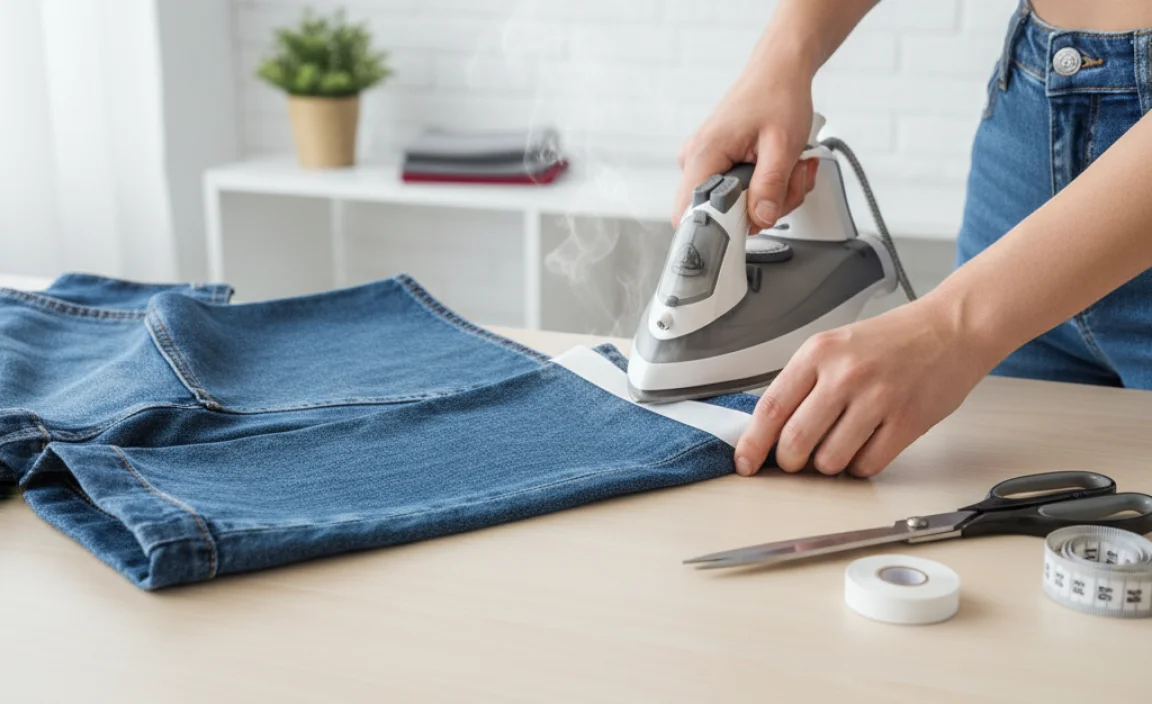
Hemming tape, also known as fusible webbing, uses heat to activate an adhesive, creating a strong, permanent bond. This is often the quickest method and provides a very crisp finish. It closely mimics a sewn hem.
Step-by-Step Guide to Hemming Tape
- Prepare Your Jeans: As with the glue method, wash and dry your jeans first. Lay them flat and choose the shoes you’ll wear.
- Determine and Mark Length: Pin one pant leg to the desired length, ensuring it hangs straight. Mark the hemline on the inside seam with your fabric marker or chalk. Transfer this mark to the outside seam.
- Measure and Mark Hem Allowance: Measure from the bottom of the pant leg up to your mark. Add about 1 to 1.5 inches (2.5 to 3.8 cm) for your hem allowance. Draw a straight line across the pant leg at this new hemline.
- Cut the Excess Fabric: Carefully cut along the marked line using sharp fabric scissors. Remove any existing hem.
- Position the Hemming Tape: Fold the raw edge of the fabric up by about 0.5 to 0.75 inches (1.3 to 1.9 cm) towards the inside of the pant leg. Press this fold with your iron to create a crisp crease.
- Apply the Hemming Tape: Unfold the hem. Cut a piece of hemming tape to the length of the folded edge. Place the hemming tape inside the folded edge, against the raw fabric.
- Iron the Hem: Ensure your iron is set to the appropriate temperature for the hemming tape and your fabric (usually a cotton setting, no steam). Place the folded hem back in place, encasing the hemming tape. Press firmly with your iron for the duration recommended by the hemming tape manufacturer (often 5-10 seconds per section). Move the iron slowly to ensure the heat activates the adhesive across the entire surface.
- Check the Bond: Allow the hem to cool completely. Gently pull at the fabric to ensure the adhesive has bonded securely. If any part feels loose, re-iron that section.
- Hemming Flare Jeans: Specific Considerations
For flare jeans, the wider leg can sometimes make it tricky to get a perfectly straight cut and fold all the way around. Here are a few extra tips:
- Use a Level Surface: Ensure your jeans are laid out perfectly flat on a large, level surface. This prevents any unevenness in the fabric from throwing off your measurements.
- Mark in Sections: If you’re struggling to draw a perfectly straight line on the curved leg, mark several points around the circumference of the pant leg at your desired hem height. Then, connect these dots to create your cutting line.
- Consider the Flare: While we’re hemming straight, be aware of how the overall flare looks. Sometimes, hemming slightly higher on the outer seam and slightly lower on the inner seam can create a subtle angle that complements the flare, but this is advanced and best attempted once you’re comfortable with straight hemming. For beginners, a straight hem across the entire leg is usually the easiest and looks great.
- Trim Evenly: When cutting, take your time to ensure you’re trimming as evenly as possible. A slightly uneven cut can be more noticeable on a wider leg.
Tips for a Professional Finish
Even without sewing, you can make your hem look like it came straight from a tailor.
- Clean Cuts: Always use sharp scissors. Dull scissors create a ragged edge that can fray or look messy.
- Precise Measurements: Double-check your measurements before cutting. It’s always better to measure twice and cut once.
- Smooth Folds: Ensure your folds are crisp and even. Use the iron (for hemming tape) or your fingers to press them firmly into place.
- Even Adhesive Application: Whether using glue or tape, aim for a consistent application. Gaps can lead to fraying, while excess adhesive might seep through.
- Test a Small Area: If you’re unsure about how the fabric glue or hemming tape will behave on your specific denim, test it on an inconspicuous area, like the inside of a pocket or a scrap piece of fabric cut from the hem allowance.
- Read Product Instructions: Always follow the specific instructions provided by the manufacturer of your chosen adhesive product, as drying times, heat settings, and application methods can vary.
Durability and Care
One of the biggest concerns with no-sew hems is their longevity. Thankfully, good quality fabric glues and hemming tapes are designed to be durable and washable.
- Washability: Most products are machine washable and dryable once fully cured. Always check the product packaging for specific care instructions.
- Washing Temperature: It’s generally recommended to wash in cold or warm water and to avoid high heat in the dryer, as this can sometimes weaken the adhesive over time.
- Turning Inside Out: Turning your jeans inside out before washing can help protect the hem from excessive friction and wear.
- Avoid Harsh Chemicals: Some bleaches or strong detergents might affect the adhesive.
For the most robust results, consider using a fabric glue specifically designed for denim or heavy-duty fabrics. These often offer superior bonding. You can learn more about fabric adhesives and their capabilities from reliable craft supply resources, such as tutorials provided by major crafting brands.
Troubleshooting Common Issues
Even with the best intentions, you might run into a snag. Here’s how to deal with them:
- Uneven Hem: If you notice the hem is slightly uneven after securing, you can often carefully cut away any excess fabric. For minor discrepancies, sometimes wearing the jeans for a short period can help settle them. If it’s significantly uneven, you might need to unpick the hem (if using glue) or carefully re-iron (if using tape) and re-do that section.
- Adhesive Showing Through: This can happen if too much glue or tape is used. With fabric glue, you can try to carefully wipe away excess before it dries. For hemming tape, ensure you’re using the correct amount and thickness for your fabric. Sometimes a darker wash denim is more forgiving.
- Fraying Edges: If the edge of the fabric frays before you can fold it, try to trim away the frayed threads as cleanly as possible. Applying a thin layer of fabric glue along the raw edge before folding can help prevent further fraying.
- Poor Adhesion: If the hem isn’t sticking, ensure you followed all steps correctly. The fabric must be clean and dry. With hemming tape, ensure you’re using enough heat and pressing for the recommended time. For glue, ensure it’s fully cured.
Pros and Cons of No-Sew Hemming
Like any method, there are advantages and disadvantages to skipping the needle and thread.
| Pros | Cons |
|---|---|
| Quick and easy | May not be as durable as a sewn hem for very heavy wear |
| Doesn’t require sewing skills or equipment | Can be challenging to get a perfectly smooth finish on very thick denim |
| Affordable | Some adhesives may be visible if applied too heavily |
| Great for beginners and quick fixes | Requires careful application for best results |
| Generally washable and durable | Some adhesives might stiffen the fabric slightly |
Frequently Asked Questions
Q1: Can I hem stretchy flare jeans without sewing?
Yes, absolutely! For stretchy denim, fabric glue is often a better choice than hemming tape. The elasticity of the jeans means a flexible fabric glue will hold better without cracking or becoming stiff. Ensure the glue is designed for stretch fabrics if possible.
Q2: How do I ensure my hem is even all the way around flare jeans?
Lay your jeans flat on a large, even surface. Use a measuring tape or ruler and temporarily pin the hem to your desired length all around the leg. Mark the hemline at several points, then connect them. For maximum accuracy, you can use a laser level or a long ruler held vertically against the leg to ensure it’s parallel to the floor.
Q3: What should I do if the hem looks too stiff after using hemming tape?
If the hem feels a bit stiff, try gently bending and flexing it repeatedly. Sometimes a bit of movement helps to soften the adhesive. You can also wash the jeans in cool water and tumble dry on a low setting, which can sometimes relax stiffened areas. If it remains too stiff, you may need to carefully remove the tape and re-hem with a fabric glue instead.
Q4: Will the hem unravel after washing?
With proper application of a quality fabric glue or hemming tape, and by following care instructions, your hem should not unravel. These products are designed for permanent fabric bonding. However, very aggressive washing or prolonged wear can eventually compromise any adhesive.
Q5: How much fabric should I leave for the hem allowance?
A hem allowance of 1 to 1.5 inches (2.5 to 3.8 cm) is usually sufficient for most jeans. This gives you enough fabric to create a clean, double-folded hem without adding too much bulk. If your jeans have a very thick original hem, you might need a slightly larger allowance.
Q6: Can I use regular craft glue for hemming jeans?
It’s best not to. Regular craft glues are not designed for fabric and may not be flexible, washable, or durable enough. They can also leave visible residue or make the fabric stiff and uncomfortable. Always use a glue specifically labeled for fabric.
Conclusion
Mastering the art of no-sew hemming for your flare jeans opens up a world of possibilities. You no longer need to let slightly too-long pants sit unworn or rely on expensive tailoring. By using fabric glue or hemming tape, you can achieve a neat, functional, and stylish hem right in your own home. Take your time, follow the steps carefully, and don’t be afraid to test the methods on a less-loved pair first. With these simple techniques, your favorite flare jeans will fit impeccably
.lwrp.link-whisper-related-posts{
margin-top: 40px;
margin-bottom: 30px;
}
.lwrp .lwrp-title{
}.lwrp .lwrp-description{
}
.lwrp .lwrp-list-container{
}
.lwrp .lwrp-list-multi-container{
display: flex;
}
.lwrp .lwrp-list-double{
width: 48%;
}
.lwrp .lwrp-list-triple{
width: 32%;
}
.lwrp .lwrp-list-row-container{
display: flex;
justify-content: space-between;
}
.lwrp .lwrp-list-row-container .lwrp-list-item{
width: calc(25% – 20px);
}
.lwrp .lwrp-list-item:not(.lwrp-no-posts-message-item){
max-width: 150px;
}
.lwrp .lwrp-list-item img{
max-width: 100%;
height: auto;
object-fit: cover;
aspect-ratio: 1 / 1;
}
.lwrp .lwrp-list-item.lwrp-empty-list-item{
background: initial !important;
}
.lwrp .lwrp-list-item .lwrp-list-link .lwrp-list-link-title-text,
.lwrp .lwrp-list-item .lwrp-list-no-posts-message{
}@media screen and (max-width: 480px) {
.lwrp.link-whisper-related-posts{
}
.lwrp .lwrp-title{
}.lwrp .lwrp-description{
}
.lwrp .lwrp-list-multi-container{
flex-direction: column;
}
.lwrp .lwrp-list-multi-container ul.lwrp-list{
margin-top: 0px;
margin-bottom: 0px;
padding-top: 0px;
padding-bottom: 0px;
}
.lwrp .lwrp-list-double,
.lwrp .lwrp-list-triple{
width: 100%;
}
.lwrp .lwrp-list-row-container{
justify-content: initial;
flex-direction: column;
}
.lwrp .lwrp-list-row-container .lwrp-list-item{
width: 100%;
}
.lwrp .lwrp-list-item:not(.lwrp-no-posts-message-item){
max-width: initial;
}
.lwrp .lwrp-list-item .lwrp-list-link .lwrp-list-link-title-text,
.lwrp .lwrp-list-item .lwrp-list-no-posts-message{
};
}


