Quick Summary
Effortlessly hem your mom jeans using only air drying for a perfect, no-sew fit. This simple guide shows you how to achieve a clean, customized length without any sewing machines or complex tools, ensuring your favorite jeans look just right.
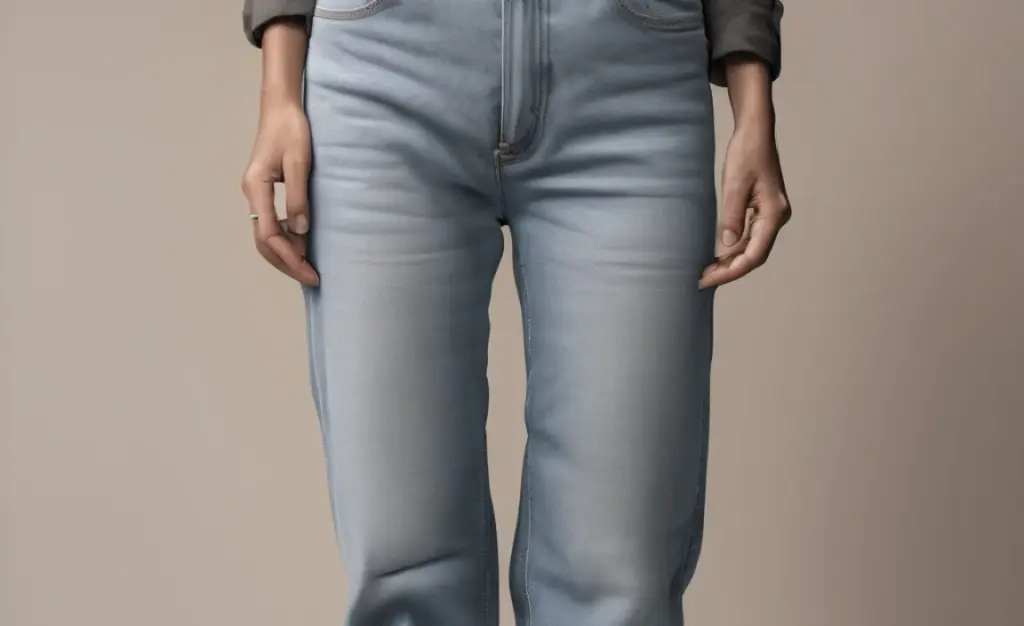
Mom jeans are a wardrobe staple, loved for their relaxed fit and vintage vibe. But what happens when they’re a little too long? You don’t need to break out a sewing machine or visit a tailor. There’s a straightforward way to get that perfect hem, and it all relies on the magic of air drying. This method is especially great for those times when you want a clean finish without the commitment or complexity of sewing. We’ll walk you through each simple step, so you can confidently transform your jeans to fit you exactly how you like them.
The No-Sew Mom Jean Hem: Why Air Dry Works

The beauty of hemming mom jeans with the air-dry method lies in its simplicity and accessibility. It’s a fantastic option for beginners because it requires minimal tools and zero sewing skills. The core principle is to use a fabric adhesive designed for clothing and then rely on gravity and air circulation to set the hem permanently. Unlike traditional hemming, this approach allows for a clean, crisp edge that looks surprisingly professional, without any of the hassle. Plus, it’s a gentler process on your denim, preserving the fabric’s integrity.
This method is perfect for anyone looking to:”
- Quickly adjust the length of their mom jeans.
- Achieve a clean hem without sewing.
- Find a budget-friendly alteration solution.
- Get a custom fit for their favorite denim.
Gather Your Tools: What You’ll Need
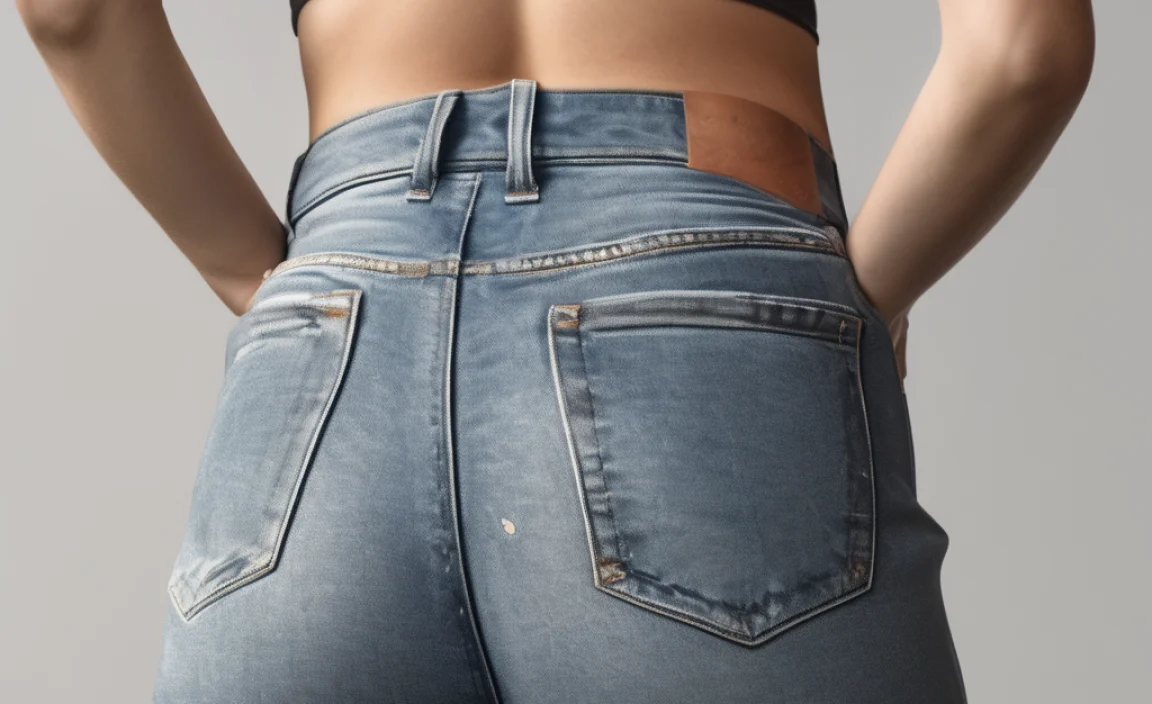
Before you start, make sure you have everything ready. This preparation will make the process smooth and stress-free. You’ll find that most of these items are probably already in your home or are easy to find at a local craft or fabric store.
Here’s a checklist of what you’ll need:
- Your Mom Jeans: Make sure they are clean and dry.
- Fabric Adhesive: Look for a permanent fabric glue or hemming tape specifically designed for applying to clothing. Brands like “Aleene’s Fabric Fusion” or “Dritz” hemming tape are reliable choices. Ensure it’s machine washable and dryable once set, though we’ll be using air dry methods.
- Fabric Scissors: Sharp scissors designed for cutting fabric will give you the cleanest edge.
- Measuring Tape or Ruler: For accuracy in determining your desired hem length.
- Fabric Marker or Chalk: To mark your hemline. A disappearing fabric marker is ideal.
- Iron and Ironing Board (Optional but Recommended): While the “air dry” method emphasizes no-iron setting, an iron can help pre-crease and ensure a sharp fold for a cleaner outcome before the adhesive cures.
- Heavy Books or Weights: To press the hem flat while it dries.
- Surface to Work On: A flat, clean table or floor space.
Step-by-Step Guide: Hemming Your Mom Jeans with Air Dry

This process is designed to be intuitive and forgiving. We’ll break it down into simple, manageable steps. Remember to take your time and focus on accuracy for the best results.
Step 1: Try Them On and Mark Your Desired Length
First, put on the mom jeans. Wear the shoes you typically style them with. This is crucial because shoes can significantly affect how your jeans hang. Stand in front of a mirror and observe the current length. Decide where you want the new hem to fall. Do you want them to hit just above your ankle bone, at the top of your shoe, or somewhere else? Use your fabric marker or chalk to make a small dot or line on the inside of the leg at your chosen hem point. It’s often best to mark one leg first and then use that as a guide for the second.
When marking, consider:”
- Cuff Preference: Do you plan to cuff them occasionally? If so, you might want to hem them slightly longer to accommodate a small cuff.
- Shoe Height: The hem length will look different with flats versus heels or boots.
- Overall Proportion: Think about how the length will complement your torso and other clothing items.
Step 2: Measure and Mark Accurately
Take the jeans off and lay them flat on your work surface. Using your measuring tape or ruler, measure from the marked point up to the original hem. You need to add the amount of fabric you want to fold up for the hem. A typical hem allowance for this method is about 1-1.5 inches (2.5 – 4 cm). Mark this new hemline all the way around the leg. Repeat this process for the other leg, ensuring your marks are at the exact same height. Precision here ensures both legs will be even.
A helpful tip: Lay the jeans flat and smooth out any wrinkles before measuring. For maximum accuracy, you can double-check your measurements by folding the pants exactly in half lengthwise and measuring from a single point on the waistband down to your marked hemline, ensuring it’s consistent.
Step 3: Cut Off the Excess Fabric
Once your hemline is clearly marked on both legs, it’s time to cut. Using your sharp fabric scissors, carefully cut along the marked line. Try to make your cut as straight and even as possible. Remember, you’re cutting off the excess fabric that you don’t want. It’s better to err on the side of leaving a tiny bit more fabric than you might need, as you can always trim more later if necessary, but you can’t add it back.
Pro Tip: If you’re nervous about cutting, you can first cut about half an inch below your desired finished hemline and then adjust later if needed. Some people also find it helpful to trim a little bit at a time.
Step 4: Fold and Prepare for Adhesive
Now, take the cut edge of the fabric and fold it upwards towards the inside of the jeans, aligning it with your original marked hemline (the one that’s now about 1-1.5 inches higher than the cut edge). This creates your folded hem. Press this fold firmly with your fingers. If you’re using a press cloth and iron (optional but recommended for a crisp fold), set your iron to a medium heat for denim (usually around 2-3 dots or cotton setting without steam) and press the folded edge. This will create a sharp crease that guides the adhesive application. Ensure the fold is neat and the raw edge is tucked smoothly inside.
Table: Hem Fold Options
| Hem Style | Fold Allowance | Description | Best For |
|---|---|---|---|
| Standard Clean Hem | 1 to 1.5 inches (2.5-4 cm) | Fold raw edge up once. | A neat, subtle finish. |
| Slightly Wider Hem | 1.5 to 2 inches (4-5 cm) | Fold raw edge up twice for a more substantial look. | Durable finish, can accommodate thicker denim. |
Step 5: Apply the Fabric Adhesive
This is where the magic happens. Refer to your fabric adhesive’s instructions. If you’re using fabric glue, apply a thin, even bead of glue along the raw edge of the fabric that’s now tucked inside the fold. Make sure to get the glue close to the edge of the fabric fold itself, but not so close that it will squeeze out excessively when pressed. If you’re using hemming tape, follow the product’s instructions, which usually involve placing the tape between the two layers of fabric where the fold is.
Important Considerations for Adhesive:
- Even Application: Too much glue can seep through and create stiff or discolored patches. Too little, and the hem might not hold.
- Type of Adhesive: Ensure it’s permanent and washable. Some temporary tapes won’t last.
- Drying Time: Always check the manufacturer’s recommended curing time. This is crucial for durability.
Step 6: Press the Hem Flat
Once the adhesive is applied, press the folded hem down firmly. If you ironed in Step 4, you can re-press to ensure good contact between the fabric layers and the adhesive. If you skipped the iron, press down firmly with your fingers. Then, place heavy books or weights evenly over the folded hem on both the inside and outside of the leg. This is critical for the “air dry” part – it keeps the hem pressed flat and snug while the adhesive cures, mimicking the pressure needed for a permanent bond. Ensure the jeans lie as flat as possible.
How to Ensure Even Pressure:
- Stack books or weights directly on top of the folded seam.
- Distribute the weight so it covers the entire hemline evenly.
- For a curved hem, ensure the weights conform to the shape.
Step 7: Let it Air Dry and Cure
This is the namesake phase! Leave the jeans undisturbed with the weights in place to air dry and cure. The time required will vary depending on the specific fabric adhesive and the humidity in your environment. Check the product packaging for recommended curing times; this can range from a few hours to 24-72 hours for a full cure. Resist the temptation to rush this step. A proper cure is essential for the hem to become permanent and washable. It’s best to let them cure in a well-ventilated area, away from direct heat or sunlight, which could affect the adhesive.
According to the Federal Trade Commission, proper care instructions are vital for garment longevity. Allowing ample curing time ensures your new hem will withstand washing and wear.
Step 8: Check and Repeat (If Necessary)
Once the curing time is complete, remove the weights and iron. Gently unfold the hem and check for any areas where the bond might be weak or where the glue may have seeped through. If you notice any gaps or weak spots, you can carefully reapply a small amount of adhesive and re-press with weights. If the hem looks good and feels secure, you’re almost done! Repeat the entire process for the other leg, ensuring symmetry.
Common Issues and How to Fix Them:
- Gaps in the Hem: Apply a little more adhesive and re-press.
- Glue Seepage: If a small amount has seeped and is noticeable, you can try to gently scrape it off with a blunt object once fully cured, or try to disguise it with an iron-on patch if it’s significant. Prevention is key here by not applying too much.
- Uneven Hem: This usually happens if the initial marking or cutting wasn’t precise. You might need to trim a little more and restart the folding/adhering process for that leg.
Step 9: Final Test Run
After you’ve completed the hemming on both legs and are satisfied with the results, it’s time for a final check. Try the jeans on again with your chosen footwear. Do they hang perfectly? Does the hem look clean and even? If everything looks good, you can now give them a gentle wash (following the detergent and fabric care guidelines) and air dry them as you normally would to see how they hold up. This final test will give you confidence in your new, perfectly hemmed mom jeans.
Caring for Your Hemmed Jeans
Proper care will ensure your no-sew hem lasts as long as possible. Always follow the garment’s care label, but keep these specific points in mind for your altered jeans:
- Wash Inside Out: This protects the hemline from direct abrasion in the washing machine.
- Use Cold Water: Hot water can sometimes weaken adhesives over time.
- Gentle Cycle: A gentler wash cycle reduces stress on the fabric and the hem.
- Air Dry is Best: While the adhesive might be machine washable, air drying is the gentlest method. Lay them flat or hang them to dry. If you must use a dryer, use a low heat setting and remove them while slightly damp. Avoid high heat, which can degrade the adhesive.
- Avoid Harsh Chemicals: Bleach and strong detergents can impact fabric and adhesive integrity.
Pros and Cons of the Air Dry Hem Method
Like any DIY technique, this method has its advantages and disadvantages. Understanding these can help you decide if it’s the right approach for your needs.
Pros:
- Beginner-Friendly: No sewing skills required.
- Cost-Effective: Much cheaper than professional alterations.
- Quick: Can be done in an afternoon, though curing takes longer.
- Customizable: Easy to make adjustments as needed.
- Reversible: In some cases, heat can be used to weaken the adhesive for re-alteration, though this isn’t guaranteed and depends on the adhesive.
Cons:
- Durability: May not be as durable as a sewn hem over many years of heavy wear and washing.
- Appearance: While usually neat, it might not look as perfectly finished as a professional sewn hem to a discerning eye.
- Requires Curing Time: You can’t wear them immediately after hemming.
- Potential for Seepage: If not applied carefully, excess glue can be visible.
For more detailed information on fabric care and textile treatments, reputable sources like the FabricLink Resource Center offer insights into textile properties and testing.
Frequently Asked Questions (FAQ)
Q1: Will the hem really stay put after air drying?
A1: Yes, if you use a permanent fabric adhesive designed for clothing and follow the curing instructions diligently. The pressure from the weights during drying helps set the bond, making it durable for regular wear and washing.
Q2: How long does the air drying and curing process typically take?
A2: Curing times vary by brand and product. It can range from a few hours for some tapes to 24-72 hours for permanent glues to reach their maximum strength. Always check the specific product’s packaging for its recommended curing time.
Q3: Can I use regular craft glue instead of fabric glue?
A3: It’s not recommended. Regular craft glues are often not flexible enough for fabric, may become stiff, crack, or wash out. They can also discolor the denim. Always use an adhesive specifically labeled for fabric and clothing use.
Q4: My jeans are stretchy. Will this method still work?
A4: Yes, this method works well on most denim, including those with a bit of stretch. When folding the hem, be mindful of the fabric’s stretch and try to keep the fold even. Some flexible fabric glues are better suited for stretchy materials.
Q5: What if I want a slightly frayed or distressed hem?
A5: This method aims for a clean hem. For a frayed look, you would typically cut, then wash and dry your jeans to encourage fraying or use other distressing techniques. This guide focuses on a finished edge.
Q6: Can I iron my jeans after hemming them with this method?
A6: Yes, once the adhesive is fully cured, you can iron your jeans. It’s best to iron on the inside of the hem or use a press cloth on the outside and iron on a medium heat setting suitable for denim. Avoid very high heat.
For additional advice on garment care and repairs, resources like the Environmental Protection Agency (EPA) provide information on sustainable textile practices which can indirectly inform garment care.
Conclusion
You’ve now learned how to effectively hem your mom jeans using a simple air-dry method, requiring no sewing skills. By following these straightforward steps—measuring, cutting, folding, applying a quality fabric adhesive, and allowing sufficient drying time under pressure—you can achieve a perfectly tailored fit for your favorite denim. This accessible technique empowers you to customize your wardrobe with confidence, ensuring your mom jeans look exactly how you want them to, every time. Enjoy your perfectly fitted, effortlessly hemmed jeans!


