


Is your favorite pair of mom jeans too long? Learn how to hem mom jeans with Borax for a quick, effortless, and surprisingly effective solution that keeps your denim looking great without a sewing machine. This genius method is perfect for beginners!
Mom jeans are a beloved staple, but their slightly looser fit and classic silhouette can sometimes mean they’re just a little too long. If you’ve ever found yourself with bunched-up fabric at the ankles, you know how frustrating it can be. You want that perfect cropped look, but the thought of hemming can seem daunting. Don’t worry! There’s a surprisingly simple and effective trick you might not have considered: using Borax. This method bypasses traditional sewing, offering a clean finish with minimal effort and no special tools required beyond basic household items. Let’s discover how you can easily give your mom jeans a custom hem.
Why Hem Your Mom Jeans?

Hemming your mom jeans can instantly update their look and improve their fit. A proper hem prevents the denim from dragging on the ground, which can not only look messy but also cause unnecessary wear and tear. For mom jeans, a slightly cropped hem often highlights your footwear and can create a more balanced silhouette, especially if you’re on the shorter side. Achieving the right length is key to making these iconic jeans work perfectly for your style.
Understanding the Borax Hemming Method

The Borax hemming method relies on a simple chemical reaction and a bit of patience. Borax, a naturally occurring mineral also known as sodium tetraborate, acts as a mild alkali. When dissolved in water, it can help set fabric folds and, when combined with heat (like from an iron), can create a surprising degree of permanence for a temporary hem. It’s important to note that this is not as permanent as a sewn hem, but for a quick fix or to test a new length, it’s remarkably effective. This technique leverages basic laundry science to give you a clean, crisp edge.
Think of it like this: you’re using the Borax solution to “glue” the fabric fold in place, and the heat from your iron then helps to set that fold. It’s a clever way to achieve a professional-looking hem at home without needing to be a sewing expert.
Materials You’ll Need
Gathering your supplies is the first step to a successful hem. You’ll be happy to know that most of these are common household items, making this a very accessible DIY project.
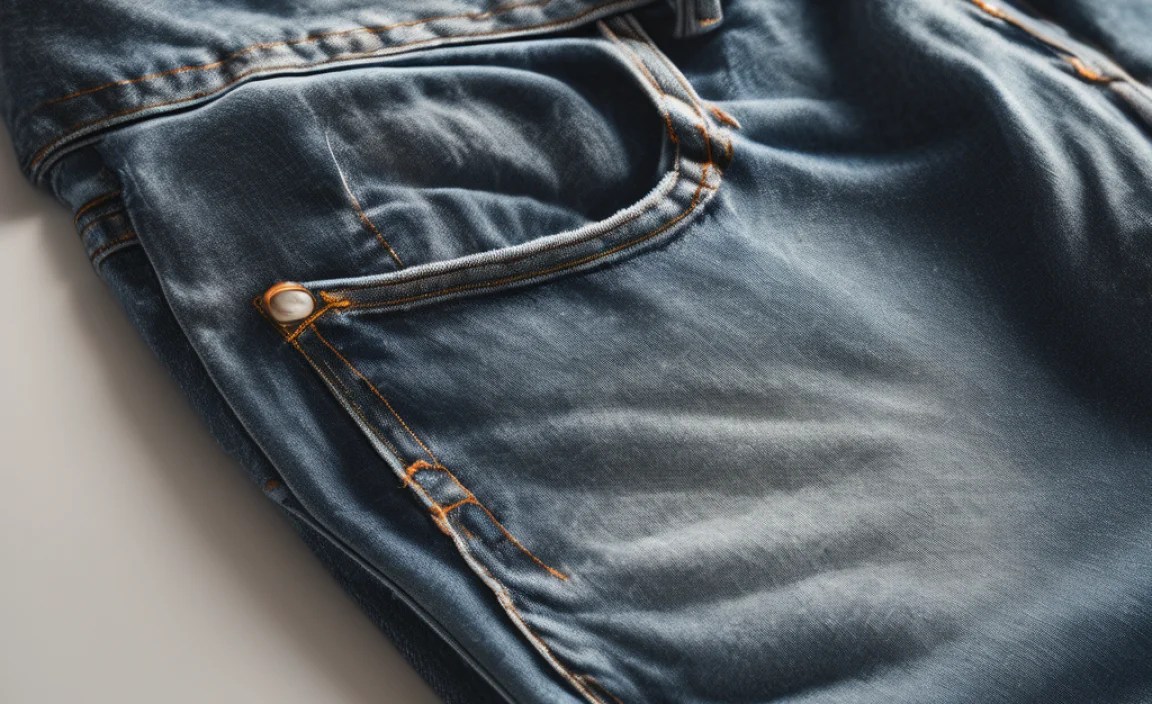
- Mom Jeans: The star of the show!
- Borax: Available in the laundry aisle of most supermarkets and drugstores. You can purchase it online as well, often sold as a laundry booster. A good option to look for is 20 Mule Team Borax.
- Warm Water: To dissolve the Borax.
- Spray Bottle: For even application of the Borax solution.
- Ironing Board and Iron: Essential for setting the hem.
- Measuring Tape or Ruler: To ensure an even and precise hem length.
- Fabric Marker or Chalk: To mark your desired hemline.
- Scissors: Sharp fabric scissors will make cutting easier if you need to trim excess fabric.
- Old Towel or Pressing Cloth: To protect your ironing board and the jeans from excess moisture and heat.
Step-by-Step: How to Hem Mom Jeans with Borax

Follow these simple steps to achieve a neat hem on your mom jeans effortlessly. We’ll break it down into easy-to-manage stages.
Step 1: Prepare Your Workspace and Jeans
First, lay your mom jeans flat on a clean surface. Decide on the desired length for your hem. You can try them on and mark where you want the new hem to fall, or measure from the crotch seam down. Remember to account for the amount you’ll fold up. A good starting point for many mom jeans is to have them hit just above the ankle bone.
Step 2: Mix the Borax Solution
In your spray bottle, mix approximately 1-2 tablespoons of Borax with about 1 cup of warm water. Shake the bottle well until the Borax is completely dissolved. If you don’t have a spray bottle, you can mix this in a bowl and apply with a sponge or cloth, though a spray bottle offers the most even coverage.
Step 3: Mark Your Hemline
Once you’ve determined the desired length, use your fabric marker or chalk to draw a straight line all the way around each leg of your jeans. This line indicates where the bottom edge of your folded hem will sit. If you are removing length, draw the line where you want the new bottom edge to be. If simply folding, mark the desired fold line.
For a cleaner look, it’s often best to have the new hem sit just above the original hem, which you can then fold up. Measure from the bottom of the jeans upwards to your desired finished length marker. For example, if you want to shorten them by 2 inches, mark 2 inches up from the current hem.
Step 4: Fold the Jeans for Hemming
Now, fold the bottom of each jean leg upwards. The fold should align with the mark you just made. If you’re aiming for a simple fold to shorten, fold the raw edge up towards the inside of the leg, so the new bottom edge aligns with your marked line. If you’re trimming length first, you’ll fold the raw edge up to meet the line you drew.
Ensure the fold is crisp and even all the way around. You might want to temporarily secure the fold with a few pins or clips to keep it in place while you work.
Step 5: Apply the Borax Solution
Generously spray the folded area with your Borax and water solution. Make sure to saturate the fold thoroughly. The fabric should feel damp, but not soaking wet. This moisture, combined with the Borax, will help the fold to set.
If you are trimming excess fabric, spray the area where the fold will be made. You want the fabric to accept the crease.
Step 6: Iron and Set the Hem
Place an old towel or pressing cloth over the damp, folded area. This protects your iron and the jeans. Now, using your iron on a medium to high heat setting (check your jeans’ care label for the correct fabric setting), press down firmly on the sprayed area. Iron for about 15-20 seconds per section, moving slowly and deliberately. You are essentially setting the crease.
Work your way around the entire circumference of the leg, reapplying the Borax spray if it dries out too quickly and ironing again. The goal is to press the fold flat and allow the Borax to help it set. You may need to repeat this process multiple times for a stronger hold.
Step 7: Let it Dry and Check
Once you have ironed all around the leg, allow the jeans to cool and dry completely. This is crucial for the hem to set properly. You can hang them up to air dry or let them lie flat. Avoid wearing or washing them until they are fully dry.
After drying, gently unfold the hem to check the results. The Borax should have helped create a clean, defined fold. If the hem seems a bit loose or isn’t holding as firmly as you’d like, you can re-dampen the area with the Borax solution and iron it again.
Step 8: Trim if Necessary (Optional)
If you decided to shorten your jeans and ended up with a raw edge below the fold, you might want to trim this excess fabric for a neater finish. Once you’re happy with how the hem is holding, carefully trim away the excess fabric just below the folded edge. You can leave a small amount (about 1/4 inch) to prevent fraying, or trim it very close to the fold.
Some people prefer to leave a small amount of raw edge exposed for a more deconstructed look, which is very on-trend for mom jeans. Decide what aesthetic you’re going for.
Pros and Cons of the Borax Hemming Method

Like any DIY technique, there are advantages and disadvantages to using Borax for hemming. Understanding these will help you decide if it’s the right method for your needs.
| Pros | Cons |
|---|---|
| Effortless & Fast: Requires no sewing skills or special equipment like a sewing machine. | Not Permanent: The hem may loosen or detach after washing and significant wear. |
| Cost-Effective: Borax is inexpensive and readily available. | Requires Reapplication: May need to be re-ironed or have the solution reapplied after washing to maintain the crisp hem. |
| Beginner-Friendly: Perfect for those new to garment alterations. | Potential for Stains: If not applied evenly or rinsed thoroughly (though this method isn’t typically rinsed), Borax can sometimes leave residue. |
| Customizable Length: Allows for quick adjustments to find your ideal jean length. | Less Durable: The hem is susceptible to stretching and damage compared to a stitched seam. |
| Clean Finish: Can achieve a neat, flat hem visually. | Fabric Specific: Works best on sturdy fabrics like denim; may not be as effective on very delicate materials. |
Tips for Success and Longevity
To get the best results from your Borax hem and make it last as long as possible, keep these tips in mind:
- Pre-wash your jeans: Ensure your jeans are clean before you start. Any dirt or residue can interfere with the process.
- Use warm water: Warm water helps Borax dissolve more effectively, ensuring an even application.
- Soak thoroughly: Don’t be shy with the Borax solution. A good dampening is key to helping the fabric take the crease.
- Iron with pressure: Apply firm, consistent pressure with your iron. This is what helps to “set” the fold.
- Multiple passes: If the hem isn’t holding firmly on the first go, repeat the spraying and ironing process.
- Allow complete drying: Patience is a virtue here. Let the jeans dry entirely before assessing the hem.
- Wash with care: When it’s time to wash, turn your jeans inside out and use a gentle cycle with cold water. Consider using a mesh laundry bag to protect the hem.
- Air dry when possible: Tumble drying can be harsh on temporary hems. Air drying will help preserve the fold.
- Test on an old pair: If you’re unsure about the method, practice on an old pair of jeans first to get a feel for it.
When to Consider Traditional Hemming
While the Borax method is fantastic for quick fixes and experimentation, there are times when traditional hemming is the better choice:
- For maximum durability: If you want a hem that will last for years through countless washes and wears with no worry, sewing is the answer. A simple sewn hem is far more robust. Resources from government textile extensions, like The University of Connecticut’s Extension program, often provide detailed guides on fabric care and basic sewing techniques.
- For high-value or delicate jeans: Very expensive or finely woven jeans might benefit from the precision and security of a professional or carefully executed sewn hem.
- For specific aesthetics: Some styles of jeans, particularly those with intricate original hems or wide cuffs, might look best with a traditional sewn finish.
- If the jeans will be heavily stressed: If you’re planning on doing strenuous activity in these jeans, or if they are already showing signs of wear, a sewn hem will provide better long-term stability.
For an introduction to basic sewing, many public libraries and community centers offer workshops, or you can find excellent tutorials online. A quick search on reputable sewing sites can reveal how to do a basic blind hem or a simple turned hem.
FAQ: Your Borax Hemming Questions Answered
Q1: How long will a hem done with Borax typically last?
A1: The longevity of a Borax hem depends on how often you wear and wash your jeans. It’s usually a temporary solution. Expect it to hold for a few wears and washes, but it might loosen or require re-ironing over time. For permanent results, sewing is recommended.
Q2: Can I use Borax on all types of jeans?
A2: Yes, this method works best on sturdy fabrics like denim. It might not be as effective on very thin or delicate materials. Always test on an inconspicuous area if you’re unsure.
Q3: What is the difference between using Borax and using starch?
A3: Both Borax and fabric starch are used to help set creases. Starch is primarily a stiffener, while Borax, as a mild alkali, can interact with fabric fibers differently to ‘set’ the fold. Many find Borax offers a slightly more durable temporary hold than starch on denim.
Q4: Do I need to wash the Borax out after ironing?
A4: This method relies on the Borax remaining in the fibers to help hold the crease. It’s not typically washed out. However, ensure you don’t use an excessive amount that leaves visible residue. Gentle washing with the jeans inside out should be fine.
Q5: Can I trim the jeans before using Borax?
A5: Absolutely! If your jeans are significantly too long, it’s often best to trim them to your desired length first, leaving about half an inch of raw edge. Then, fold this raw edge up and use the Borax method to secure the fold. This results in a cleaner finish.
Q6: Will the Borax damage my iron?
A6: No, if you use a pressing cloth or towel as recommended, your iron should be protected. The Borax solution is diluted, and the pressing cloth acts as a barrier against any excess moisture or potential residue.
Conclusion: Effortless Style Achieved
You’ve now unlocked a simple, effective secret to getting your mom jeans hemmed just right without a needle and thread. The Borax method is your go-to for a quick, budget-friendly adjustment that can make a world of difference to how your favorite denim fits and looks. Remember to be methodical with your measurements, generous with the Borax solution, and thorough with your ironing. While not a permanent fix like sewing, it’s a genius, effortless solution that empowers you to customize your wardrobe with confidence. So, go ahead, tackle that hem, and enjoy rocking your perfectly-fitting mom jeans!


