Bolded Quick Summary: Learn how to easily hem your mom jeans on a budget with simple steps and common household items. Achieve a perfect fit and save money by avoiding costly alterations, making your favorite denim look and feel brand new again.
How to Hem Mom Jeans On A Budget: Perfect Fit, Brilliant Savings
Are your favorite mom jeans a little too long, pooling around your ankles? That extra fabric can make even the most stylish pair look a bit sloppy. It’s a common issue, especially with vintage-inspired cuts. The good news? You don’t need to spend a fortune at a tailor to fix it. With a few basic tools and a little patience, you can easily hem your mom jeans yourself and get that perfect length. This guide will walk you through simple, budget-friendly methods to make your jeans fit like they were made for you.
We’ll cover everything from gathering your supplies to achieving a professional-looking finish, all without breaking the bank. Get ready to refresh your denim collection and enjoy jeans that fit just right!
Why Hemming Your Mom Jeans is a Smart Move

Mom jeans are beloved for their comfortable, high-waisted fit and relaxed leg. However, their often generous length can be a challenge for those with shorter inseams or who prefer a slightly cropped look. Hemming them not only improves their appearance significantly but also offers several other benefits:
- Customized Fit: Achieve the exact length you desire, whether that’s a classic ankle length, a trendy cropped hem, or just tidying up excess fabric.
- Cost Savings: Professional alterations can add up. Doing it yourself can save you $20 to $50 or more per pair, allowing you to allocate your budget elsewhere.
- Revitalized Wardrobe: Give an older, ill-fitting pair of jeans new life, making them staples in your outfit rotation again.
- Preserving Style: Maintain the authentic look of your mom jeans while ensuring they fit your proportions perfectly.
Choosing Your Hemming Method: Budget-Friendly Options

There are several ways to hem your mom jeans without spending a lot of money. Each method has its own benefits and level of permanence. We’ll explore the most popular budget-friendly approaches.
Method 1: The No-Sew Hem with Fabric Glue
This is arguably the easiest and quickest method, perfect for those who have little to no sewing experience. It’s also semi-permanent, meaning you can potentially unpick it if you change your mind.
What You’ll Need:
- Fabric glue (e.g., Aleene’s Fabric Fusion, Dritz Liquid Stitch)
- Sharp fabric scissors
- Measuring tape or ruler
- Fabric chalk or a disappearing ink pen
- Iron and ironing board
- Heavy books or weights
Step-by-Step Guide:
- Try On Your Jeans: Put on the mom jeans you want to hem. It’s best to wear the shoes you’ll typically pair with them to get the length just right.
- Mark Your Desired Length: Using fabric chalk or a disappearing ink pen, mark where you want the new hem to fall. Start by marking one side, then carefully mirror it on the other leg, ensuring they are even. A good tip is to mark slightly above where you want the final hem to sit, allowing for a small fold.
- Remove Jeans and Lay Flat: Take off the jeans and lay one leg flat on a hard surface.
- Create Your Fold: Fold up the excess fabric along your marked line. For a clean finish, you’ll want to fold it up twice to create a double-folded hem. So, if you want a 1-inch finished hem, first fold up 1/2 inch, press it with your iron, then fold up another 1/2 inch over the first fold. This encases the raw edge.
- Apply Fabric Glue: Carefully open up the second fold. Apply a thin, even line of fabric glue along the raw edge of the first fold. Ensure you don’t use too much, as it can seep through the fabric.
- Re-fold and Press: Fold the fabric back over, pressing the double-folded hem firmly in place. Ensure the glued edge is smooth and even.
- Secure the Hem: Place heavy books or weights on top of the folded hem to keep it pressed down firmly while the glue dries. Follow the glue manufacturer’s instructions for drying time, which can range from 30 minutes to several hours.
- Iron for Extra Hold: Once the glue has had initial drying time, you can often use a warm iron (without steam) over a pressing cloth to further set the fabric glue, reinforcing the bond. Check your glue’s instructions for iron-setting recommendations.
- Trim Excess (Optional): If there’s significant excess fabric you folded up, you can carefully trim it close to the glued edge before applying the glue for a less bulky hem.
Method 2: The Simple Sew Hem
If you have a basic sewing machine or are comfortable with a needle and thread, a simple sewn hem offers a more durable and permanent solution. This method is also very budget-friendly if you already own a needle and thread.
What You’ll Need:
- Sharp fabric scissors
- Measuring tape or ruler
- Fabric chalk or a disappearing ink pen
- Iron and ironing board
- Sewing machine OR needle and matching thread
- Straight pins
Step-by-Step Guide:
- Prepare Your Jeans: Put on your mom jeans with the shoes you’ll wear them with. Mark your desired hem length with fabric chalk or a pen on one leg. Ensure the mark is where you want the bottom edge to finish.
- Measure and Mark Both Legs: Take off the jeans. Lay them flat. Measure from the marked line down to the original hem. This is how much you’ll need to cut off. Use this measurement to mark the same amount on the other leg, ensuring it’s even.
- Cut Off Excess Fabric: Decide if you want a single or double fold. For a durable hem that won’t fray, a double fold is recommended. A good standard is to fold up about 1/2 inch, then fold up another 1/2 inch to create a 1-inch finished hem. This means you’ll cut off approximately 1 inch of excess fabric plus any extra you want to account for if you’re aiming for a cleaner internal edge. For simplicity, let’s say you’ll cut off 1 inch from your marked line. Cut straight across the leg at this new line.
- Create the Double Fold: Turn the jeans inside out. Fold up the raw edge by 1/2 inch and press with an iron. Then, fold it up another 1/2 inch, enclosing the raw edge, and press again. Pin the hem in place all the way around.
- Sew the Hem:
- Using a Sewing Machine: Thread your machine with matching thread. Select a straight stitch. Carefully sew along the top folded edge of the hem, following your pinned line. Go slowly and remove pins as you sew. Backstitch at the beginning and end to secure the stitches.
- Hand Sewing: Use a needle and matching thread. A simple running stitch or a blind stitch (if you want it to be nearly invisible from the outside) will work. Sew along the top folded edge, keeping your stitches small and even. Backstitch at the beginning and end.
- Press the Hem: After sewing, press the hem with your iron for a crisp finish.
Method 3: The Cuffed Hem (No Cutting Required!)
This is the ultimate budget-friendly and no-commitment option. If your mom jeans have a bit of extra length but aren’t drastically too long, a good cuff can create a stylish, intentional look.
What You’ll Need:
- Your mom jeans
- Your favorite shoes
- Patience to get the fold right
Step-by-Step Guide:
- Try On Your Jeans: Put on your mom jeans and the shoes you plan to wear them with.
- Create the First Cuff: Fold the bottom of one jean leg up about 1 to 1.5 inches, depending on the desired look and the current length. Smooth out the fold.
- Create the Second Cuff: Fold the same leg up again, this time folding the first cuff upwards. Aim for a neat, even fold. Repeat on the other leg, ensuring the cuffs are mirror images of each other and the same height.
- Adjust and Perfect: Walk around a bit to see how the cuff sits. You might need to adjust the height or tightness of the fold. Ensure the cuffs are even on both legs and lie flat against your leg.
- Optional: Securing the Cuff: For a more permanent solution, you can use a few small, discreet stitches or fabric glue to tack the cuff in a few places on the inner seam, so it doesn’t unravel easily. However, the beauty of this method is its flexibility, so many prefer to leave it un-tacked.
Quick Reference: Hemming Method Comparison

Choosing the right method depends on your skill level, how permanent you want the hem to be, and the look you’re going for. Here’s a quick comparison:
| Method | Tools Needed | Permanence | Skill Level | Time Commitment | Cost |
|---|---|---|---|---|---|
| Fabric Glue | Fabric glue, scissors, ruler, chalk, iron | Semi-permanent | Beginner | Quick (under 1 hour, plus drying time) | Low ($5-$15 for glue) |
| Simple Sew | Scissors, ruler, chalk, iron, sewing machine or needle/thread, pins | Permanent | Beginner to Intermediate | Moderate (1-2 hours) | Very Low (if you own sewing supplies) |
| Cuffed Hem | Jeans, shoes | Temporary/Adjustable | Absolute Beginner | Very Quick (under 15 minutes) | Free |
Preserving the Original Mom Jean Look
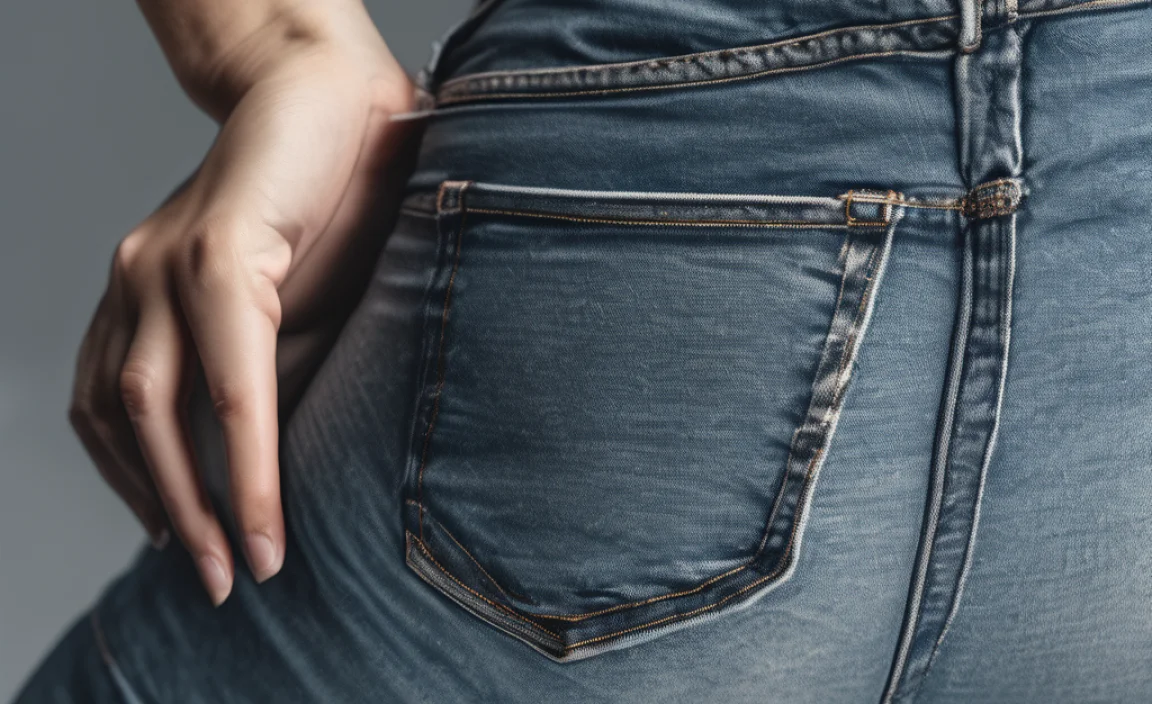
Mom jeans often have a specific aesthetic, including their original hem which might have a slight fray or a thicker seam. If you want to maintain this look while shortening them, you can take a few extra steps:
- Recreate the Original Hem: After cutting the excess fabric, if you choose the sewing method, you can try to re-create the original hem’s appearance. Some mom jeans have a rolled hem with a visible topstitch. You can mimic this by folding up twice and sewing close to the edge of the first fold. If your mom jeans have a raw, frayed hem, you can achieve this by cutting the desired length and then carefully unraveling the bottom 1/2 inch to 1 inch of the fabric. You can secure the unraveling threads with a bit of clear nail polish or by sewing a zig-zag stitch just above the fray line.
- Careful Cutting: When cutting off fabric, ensure you’re cutting as straight as possible. Use a ruler and fabric chalk to guide your cuts.
- Consider the Wash: If your jeans have a distinct wash or distressing, try to keep your hemming efforts consistent with that style. For instance, a heavily distressed pair might benefit from a raw or frayed hem, while a cleaner pair could use a neat double-folded hem.
Tips for Success and Avoiding Common Pitfalls

Even with simple methods, a few extra tips can ensure your hemming project goes smoothly:
- Always Measure Twice, Cut Once: This old adage is crucial. Double-check your measurements and markings before you make any cuts.
- Use Sharp Scissors: Dull scissors can lead to jagged edges and make precise cutting difficult. Invest in a good pair of fabric scissors for clean cuts. For denim, consider specialty fabric shears.
- Consider Fabric Weight: Denim can be thick. If you’re sewing, ensure your machine can handle multiple layers of denim. Hand sewing thicker denim might require a stronger needle.
- Test Glues/Pens First: If using fabric glue or a disappearing ink pen, test it on an inconspicuous inside seam or a fabric scrap first to ensure it doesn’t discolor or damage the denim.
- Uneven Legs? No Problem: Most people have slightly different leg lengths. Don’t strive for perfect mathematical symmetry; aim for what looks visually balanced when you’re wearing the jeans.
- Save Your Scraps: The fabric you cut off can sometimes be useful for small mending projects or as practice material for future hemming.
How to Hem Flooded Jeans Style
Flooded jeans are intentionally shorter, hitting well above the ankle. To achieve this look, you’ll simply adopt one of the hemming methods above but cut your jeans much shorter. Your desired length might be anywhere from 2-4 inches above your ankle bone, depending on the style. The key is to try them on with the shoes you’d typically wear with a flooded style, like chunky sneakers or loafers, to gauge the perfect height.
For a flooded look, a raw or frayed hem often complements the style best. After cutting to your desired length, you can carefully unravel the bottom edge to create a fringe. To prevent excessive fraying over time, you can sew a neat, close-set zig-zag stitch just above the point where you want the fraying to stop. This reinforces the fabric and keeps the unraveling under control. Brands like Levi’s often showcase this style, demonstrating how a shorter hem can dramatically change a jean’s silhouette.
How to Hem Bootcut or Flare Jeans
While this guide focuses on mom jeans, the principles can be adapted for other styles. For bootcut or flare jeans, it’s crucial to consider how the hem will interact with the wider leg opening. If you’re shortening them, you’ll generally want the hem to end just above where the flare begins to significantly widen. This maintains the intended silhouette.
The cuffed hem method is usually not recommended for these styles as the wider leg makes it difficult to create a neat cuff. A simple sewn hem, often with a double fold to add weight and drape, is usually the most effective. When measuring, make sure the jeans lie flat and naturally over your shoe – the hem should just graze the top of your shoe or the floor, depending on your preference. For these styles, it’s often best to let them hang naturally for at least 24 hours after washing if they are very stiff denim, and then re-measure and re-mark your hem line to account for any slight stretching or settling.
FAQ: Your Hemming Questions Answered
Q1: How much fabric should I cut off to hem my jeans?
It depends on the hem style you want. For a double-folded hem (recommended for durability), if you want a 1-inch finished hem, you’ll need to fold up 1/2 inch once, then another 1/2 inch. This means you’ll cut off about 1 inch of excess fabric from your marked line. Always measure twice!
Q2: Can I hem jeans without a sewing machine?
Absolutely! Fabric glue offers a fantastic no-sew option. You can also hand-sew a hem with a needle and thread, which is a very low-cost alternative if you don’t have a machine. The cuffed hem requires no tools at all!
Q3: What kind of fabric glue works best for denim?
Look for flexible fabric glues designed for permanent bonding. Brands like Aleene’s Fabric Fusion or Dritz Liquid Stitch are popular choices. Always follow the manufacturer’s instructions for application and curing time.
Q4: How do I make sure my hems are even on both legs?
The best way is to try the jeans on and mark one leg while wearing them with your chosen shoes. Then, lay the jeans flat and use that marked leg as a guide to measure and mark the second leg. Ensure you are measuring the same distance from the crotch seam on both legs.
Q5: My jeans have the original factory ‘worn’ hem. Can I keep that look with a shorter length?
Yes! If your jeans have a visible topstitch or a slightly frayed edge, you can often replicate it. When sewing a new hem after cutting, try to sew very close to the original seam line, or carefully unravel the bottom edge yourself and secure it with a zig-zag stitch if you want a frayed look.
Q6: What if I don’t like my hem after I do it? Can I fix it?
With fabric glue, you can sometimes carefully unpick it, but it might leave residue. With sewing, you can simply remove the stitches and re-hem. That’s the beauty of DIY – you can often try again! For cuffed hems, you can simply unfold them.
Q7: How do I hem jeans with a flare or bootcut leg?
<p


