Quick Summary
Learn how to hem mom jeans perfectly using fabric glue for a quick, no-sew fix. This guide offers clear, step-by-step instructions and helpful tips to ensure a professional finish, saving you time and money with excellent results.
Mom jeans are a classic wardrobe staple, but their length can sometimes be a little off. Whether they’re just a tad too long or you’re aiming for a specific cropped look, hemming them yourself can seem daunting. Don’t worry! We’re going to walk through a super simple, no-sew method using fabric glue. It’s a fantastic solution for beginners and anyone who wants a quick fix without reaching for a sewing machine. You’ll learn exactly what you need, how to do it, and what to watch out for to get that perfect hem every time.
Why Choose the Fabric Glue Method for Hemming Mom Jeans?
Traditional hemming involves needles, thread, and sometimes even a sewing machine. While effective, it can be intimidating and time-consuming for those who aren’t comfortable with sewing. The fabric glue method bypasses all that. It’s remarkably straightforward and yields professional-looking results with minimal effort. This makes it an ideal choice for anyone looking for a fast, accessible way to tailor their denim. Plus, fabric glues are designed to be flexible and durable, holding up through wear and washes once properly cured. It’s a practical solution for a common clothing problem.
Beyond speed and ease, the fabric glue method offers several advantages:
- Speed: You can often hem your jeans in under an hour.
- Accessibility: Requires no special sewing skills or equipment.
- Cost-Effective: Cheaper than taking jeans to a tailor or buying new ones.
- Reversible (Potentially): With some glues and careful effort, some hems might be partially undone if needed, though permanent adhesion is the goal for a strong hem.
- Clean Finish: When done correctly, the hem looks neat and professional.
What You’ll Need: Your Fabric Glue Hemming Toolkit
Gathering the right supplies is key to a successful project. Here’s what you’ll need:
- Your Mom Jeans: Of course! Make sure they are clean and dry.
- Fabric Glue: Look for a high-quality fabric glue specifically designed for denim or heavy fabrics. Brands like Aleene’s, Gorilla Glue Fabric Glue, or Fabri-Tac are good choices. Ensure it’s permanent and washable.
- Fabric Scissors: Sharp scissors are crucial for a clean cut.
- Tailor’s Chalk or a Washable Fabric Marker: For marking your hem line.
- Measuring Tape or Ruler: To ensure even hemming.
- Iron and Ironing Board: For pressing seams and helping the glue adhere.
- Binder Clips or Fabric Clips: To hold the hem in place while gluing and drying.
- Cardboard or Plastic Sheet: To protect your ironing board from glue.
- Optional: Straight Pins: Can be used for extra hold, but be careful they don’t show on the outside.
Choosing the right fabric glue is important. Not all fabric glues are created equal. For denim, you need something strong enough to bond the thick fibers and withstand movement and washing. Read the product label carefully to ensure it’s suitable for denim and is machine washable and dryable. Some glues require heat activation (ironing) for best results, while others air dry.
Step-by-Step Guide: How to Hem Mom Jeans with Fabric Glue

Let’s get your mom jeans looking just right. Follow these steps carefully for a fantastic no-sew hem.
Step 1: Try On and Mark Your Desired Length
Put on your mom jeans and determine exactly where you want the hem to fall. Stand in front of a mirror. You can cuff them temporarily to visualize the length. Once you’ve decided, use your tailor’s chalk or fabric marker to mark the desired finished length on the inside of one leg. Make sure the marking is straight and level.
Pro Tip: Consider the type of shoe you’ll most often wear with these jeans. The hem length can vary depending on whether you want a cropped look that hits above the ankle or a slightly longer finish that drapes over your shoe.
Step 2: Measure and Transfer the Mark
Take off the jeans. Lay them flat on a table or the floor. Use your measuring tape to measure from the marked spot down to where you want the bottom of the hem to be. Add about 1 to 1.5 inches to this measurement. This extra length will be used to create the folded-over hem. Mark this new, longer line. Transfer this mark to the inside of the other jean leg, ensuring it’s at the exact same height using your measuring tape. It’s crucial that both legs are the same length for a balanced look.
Step 3: Cut Off Excess Denim
Using your sharp fabric scissors, carefully cut along the second line you marked (the longer one). This removes the excess fabric. You should now have a clean edge where the original bottom of the jeans was, with the fabric extending upwards to where you made your first mark.
Double Check: Lay the jeans flat and compare the cut edges of both legs. They should be perfectly aligned. If not, trim gently until they are.
Step 4: Create the Folded Hem
Now, fold the raw edge of the fabric upwards towards the inside of the jean leg, aligning it with the first mark you made (the desired finished length). You’re essentially creating a double-folded hem. First, fold up about ½ inch to ½ inch of the raw edge, pressing it flat with your iron. Then, fold up again so the raw edge is completely enclosed within this second fold, aligning it with your initial desired length mark. This creates a clean finish that won’t fray and hides the cut edge. Press this second fold firmly with the iron.
Tip for Thick Denim: If your denim is very thick and resistant to creasing, you might find it helpful to use binder clips to hold the folds in place as you iron.
Step 5: Secure with Fabric Glue
Lay a piece of cardboard or a plastic sheet inside the jean leg to prevent glue from seeping through to the other side. Apply a thin, even bead of fabric glue along the top folded edge of the hem. Ensure you get good coverage where the fabric is folded over itself. Be careful not to use too much glue, as it can seep through and create stiff or visible marks.
Watch out for Glue Type: Some fabric glues are clear when wet and dry clear, while others might be slightly opaque. Always do a test patch on a scrap of fabric if you’re concerned about appearance.
Step 6: Clamp and Press
Once the glue is applied, carefully press the folded hem down firmly. Use binder clips or fabric clips to hold the hem securely in place all along the folded edge. Ensure the clips are evenly spaced and holding the glued fold tightly against the inside of the jean leg.
To help the glue bond, use your iron to apply heat to the hem. Follow the fabric glue manufacturer’s instructions for ironing time and temperature. Usually, a few seconds of firm pressing with a warm iron is sufficient. Make sure your iron is set to a suitable temperature for denim, typically medium-high heat, and use a pressing cloth or an old pillowcase between the iron and the denim if you’re worried about scorching or shine marks.
Step 7: Let it Cure
This is a critical step for a durable hem. Once you’ve clamped and ironed, leave the jeans undisturbed for the amount of time recommended by the fabric glue manufacturer. This curing period can range from a few hours to 24-72 hours. Do not tug at the hem or try to wear the jeans during this time. Proper curing ensures the glue bonds permanently and can withstand washing and wear. You can leave the clips on during the entire curing process for maximum hold.
Step 8: Final Check and Wear!
After the curing time has passed, remove the clips. Examine the hem. It should be firmly attached, lie flat, and look neat. Gently tug on the hem to ensure it’s secure. If any spots seem loose, you can carefully re-apply a small amount of glue and re-clip/re-iron for a short period, then allow to cure again. Your freshly hemmed mom jeans are now ready to wear!
Fabric Glue Brands: A Quick Comparison
Choosing the right fabric glue can make a difference. Here’s a look at some popular options and what they offer for hemming denim:
| Brand Name | Key Features for Denim Hemming | Curing Time (Typical) | Washability |
|---|---|---|---|
| Aleene’s Fabric Fusion | Strong, permanent bond; great for heavy duty fabrics like denim. Dries clear. | 24-72 hours for full cure. | Machine washable and dryable after cure. |
| Gorilla Glue Fabric Glue | Industrial-strength adhesive; creates a flexible, permanent bond. Water and temperature resistant. | 24 hours for set, 72 hours for full cure. | Machine washable and dryable after full cure. |
| Fabri-Tac Permanent Fabric Adhesive | Dries clear and flexible; remains sticky until set by heat. Good for thick materials. | A few minutes with heat, 24-48 hours for full cure. | Machine washable and dryable after cure. |
| Dritz Stitch Witchery (Fusible Bonding Web) | While not a glue, this is an iron-on fusible web that creates a strong hem. Requires ironing on both sides. | Immediate bond with iron. | Machine washable and dryable after application. |
When selecting a glue, always check the packaging for specific instructions regarding fabric types and curing times. For instance, some glues are designed to be heat-activated by ironing, ensuring a strong bond that’s ready for wear sooner.
Pros and Cons of the Fabric Glue Hemming Method
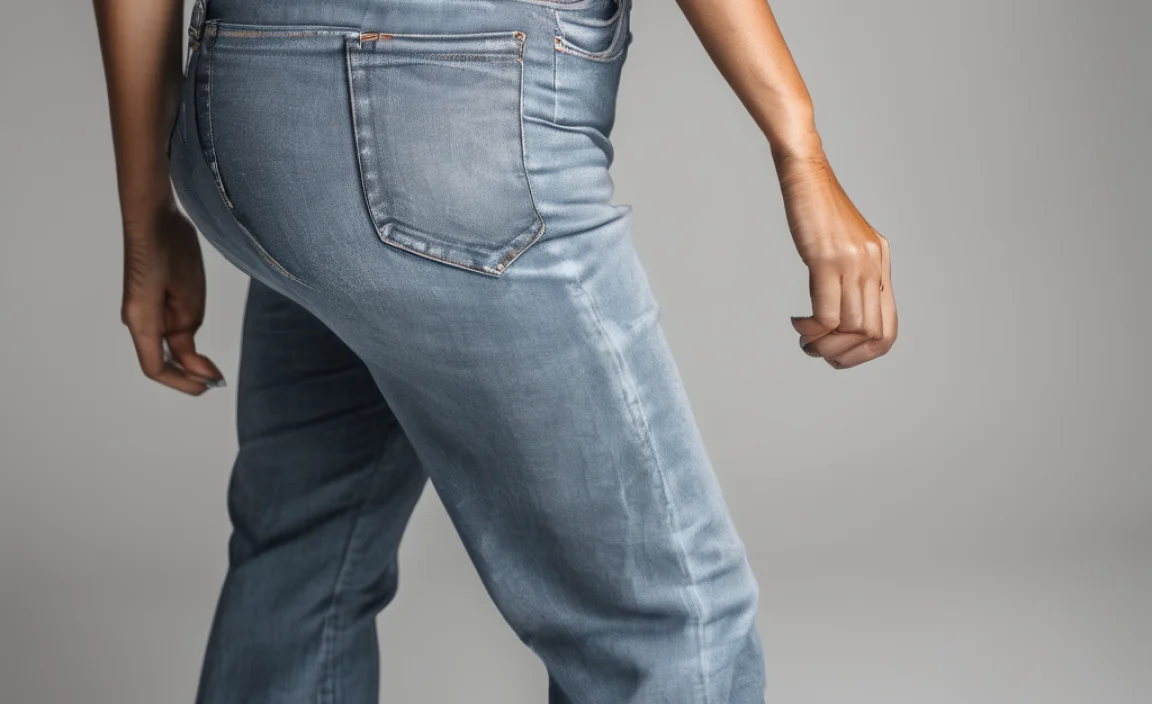
Like any DIY method, the fabric glue approach has its advantages and disadvantages. Knowing these can help you decide if it’s the right fit for your project.
Pros:
- Speed and Simplicity: This is the fastest and easiest way to hem jeans without sewing.
- No Special Skills Required: Anyone can learn to do this with minimal practice.
- Cost-Effective: Far cheaper than paying for professional alterations.
- Readily Available Supplies: Fabric glue, scissors, and an iron are common household items.
- Clean Finish: When applied correctly, the hem looks neat and professional.
Cons:
- Durability Concerns: While good quality fabric glues are strong, they may not be as durable as traditional stitching over time, especially with frequent washing and heavy wear.
- Potential for Stiffness or Show-Through: Applying too much glue or using the wrong type can result in a stiff hem or visible marks on the fabric.
- Curing Time: The glue needs adequate time to cure fully, which can take a day or more.
- Less Professional Look for Some: For very high-fashion or delicate garments, a sewn hem might be preferred. However, for casual denim like mom jeans, it’s generally acceptable.
- Potential for Error: Mistakes can be harder to fix cleanly with glue than with stitches.
Maintaining Your Hemmed Jeans
To ensure your fabric-glued hem lasts as long as possible, proper care is essential. Always follow these guidelines:
- Washing: Wash your jeans inside out in cold water on a delicate cycle. This helps to protect the hem and reduce stress on the glued seam.
- Drying: It’s best to air dry your jeans whenever possible. If you must use a dryer, use a low heat setting and remove them while still slightly damp to prevent excessive shrinkage or heat damage to the glue.
- Pre-Treat Stains: Address any stains promptly. Use a gentle stain remover suitable for denim and avoid rubbing directly on the glued area.
- Avoid Harsh Chemicals: Steer clear of bleach or harsh detergents, as they can degrade the adhesive over time.
- Ironing: If you need to iron your jeans, do so on the inside and at a moderate temperature. Avoid direct, prolonged heat on the hem area.
Following these care tips will significantly extend the life and appearance of your fabric-glued hem. For more information on denim care, consulting resources like the Denimcare Guide can offer further insights into preserving your favorite jeans.
Frequently Asked Questions About Hemming with Fabric Glue
Q1: Can I really hem jeans effectively with fabric glue?
Yes, absolutely! High-quality fabric glues are designed to create a strong, flexible, and permanent bond on most fabrics, including denim. It’s a popular and reliable no-sew method for quick alterations.
Q2: How much fabric should I leave for the hem?
For a standard folded hem, plan to leave about 1 to 1.5 inches of extra fabric after you’ve marked your desired finished length based on your cut line. This allows for a clean, double fold.
Q3: Will the fabric glue show on my jeans?
If you use the correct amount (a thin, even bead) and a clear-drying glue, it typically won’t be visible. Using too much glue or a glue that dries opaque might cause a slight stiffness or discoloration, but this is usually minimal and on the inside of the hem.
Q4: How long does the hem need to dry or cure?
Curing times vary by product, but most fabric glues require at least 24 to 72 hours for a full, permanent cure. Always check the manufacturer’s instructions for specific drying and curing times. Avoid washing or wearing the jeans until fully cured.
Q5: What if I make a mistake? Can I un-glue denim?
It can be challenging to remove fabric glue cleanly once it’s fully cured. Some glues can be softened with heat or certain solvents, but it often damages the fabric or leaves residue. It’s best to measure carefully to avoid mistakes. If a small section comes undone before it’s fully cured, you might be able to carefully re-glue it.
Q6: Is this method suitable for all types of jeans?
This method works very well for most denim, especially the thicker, sturdier fabrics common in mom jeans. For very thin or stretchy denims, you might want to test the glue on a scrap first, as extreme stretch could potentially stress the glued seam over time. However, for typical mom jeans, it’s an excellent choice.
Conclusion
Hemming your mom jeans with fabric glue is a smart, accessible, and highly effective DIY solution. It empowers you to achieve a personalized fit without needing sewing expertise or expensive tools. By following these detailed steps, using quality materials, and allowing adequate curing time, you can confidently alter your denim for a perfect look. This no-sew method not only saves you time and money but also gives you the satisfaction of a well-crafted alteration. So, don’t let a slightly off hem keep you from loving your favorite mom jeans—give the fabric glue method a try and enjoy your perfectly fitting denim!


