Quick Summary: Effortlessly hem your mom jeans to the perfect length without using bleach. This guide provides simple, step-by-step instructions and essential tips for that custom fit, preserving the denim’s original look and feel. Achieve a stylish, tailored finish easily at home.
How to Hem Mom Jeans Without Bleach: Your Genius, Essential Guide
Mom jeans. They’re back, they’re comfy, and they’re a wardrobe staple. But what happens when that perfect pair is just a tad too long? You want to shorten them, but the thought of bleaching them to get that frayed, lived-in look might seem daunting, or simply not your style. You don’t need harsh chemicals to achieve a great hem. This guide is here to show you exactly how to achieve a polished, custom fit for your favorite mom jeans, keeping their original character intact. Let’s get those jeans sitting just right!
Why Hem Your Mom Jeans?

The appeal of mom jeans lies in their relaxed fit and vintage-inspired silhouette. However, their unique cut can sometimes mean they’re a bit too long, pooling around your ankles or obscuring your shoes. This is where hemming comes in. Properly hemming your jeans ensures they look intentionally styled, not just a bit too big. It elongates your legs and makes your footwear the star. Plus, a well-done hem adds to the overall polished look of an outfit, transforming a casual pair of jeans into a well-put-together ensemble.
Understanding Your Mom Jeans
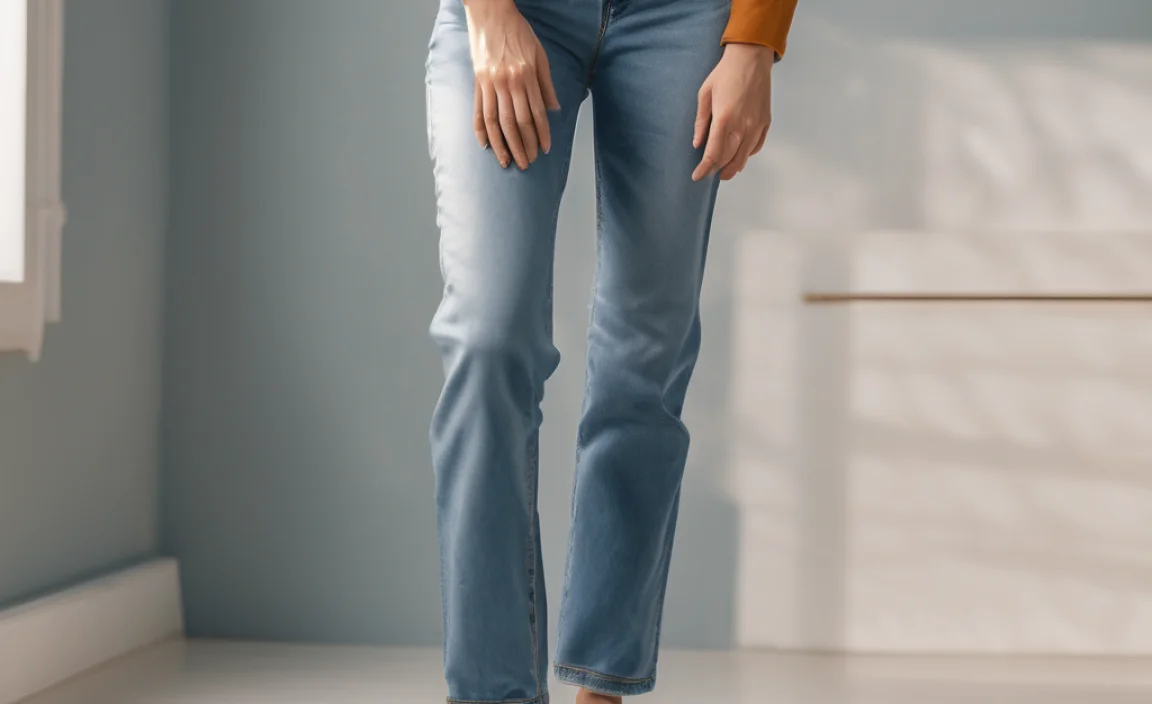
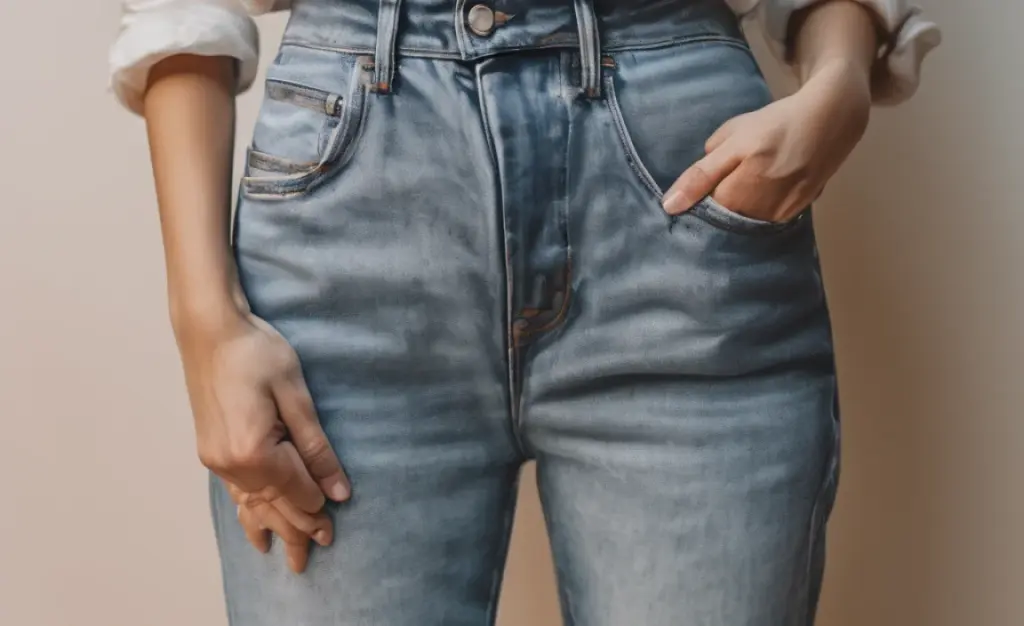
Before you grab your scissors, take a moment to appreciate your mom jeans. What makes them special? Often, it’s their high waist, relaxed through the hip and thigh, and tapering towards the ankle. They typically have a button-fly closure and are made from non-stretch or low-stretch denim. This fabric composition is key when considering how to hem them. Unlike stretch denim that can sometimes be forgiving, rigid or low-stretch denim requires precise cutting and sewing to look its best. Keeping the original hem or carefully replicating its look can be part of the charm, but for a cleaner, modernized look, a simple folded hem is often preferred. We’ll focus on achieving a clean, professional-looking hem that complements the natural drape of mom jeans. For more on denim types and care, you can check out resources from the Utah State University Extension on identifying fabric types, which includes denim.
Essential Tools for Hemming

Gathering the right tools makes the job much smoother and the results much better. You don’t need a fancy sewing machine for a beautiful hem, but having these items will set you up for success.
- Fabric Scissors or Rotary Cutter and Mat: Sharp scissors are crucial for a clean cut. A rotary cutter and self-healing mat offer precision, especially for straight lines.
- Fabric Measuring Tape: A flexible tape measure is essential for accurate measurements.
- Fabric Chalk, Disappearing Ink Pen, or Tailor’s Pencil: For marking your cut and fold lines directly on the fabric.
- Straight Pins: To hold fabric in place while you sew.
- Iron and Ironing Board: To press seams and creases.
- Sewing Machine (Optional but Recommended): For a durable and professional-looking stitch. A basic straight stitch is all you need.
- Needle and Thread (if sewing by hand): Choose a strong thread that matches your jeans.
- Seam Ripper (Optional): If you need to detach the original hem to preserve it for a specific look.
- Seam Gauge: A small, retractable ruler for ensuring consistent seam allowances.
Step-by-Step Guide: Hemming Your Mom Jeans
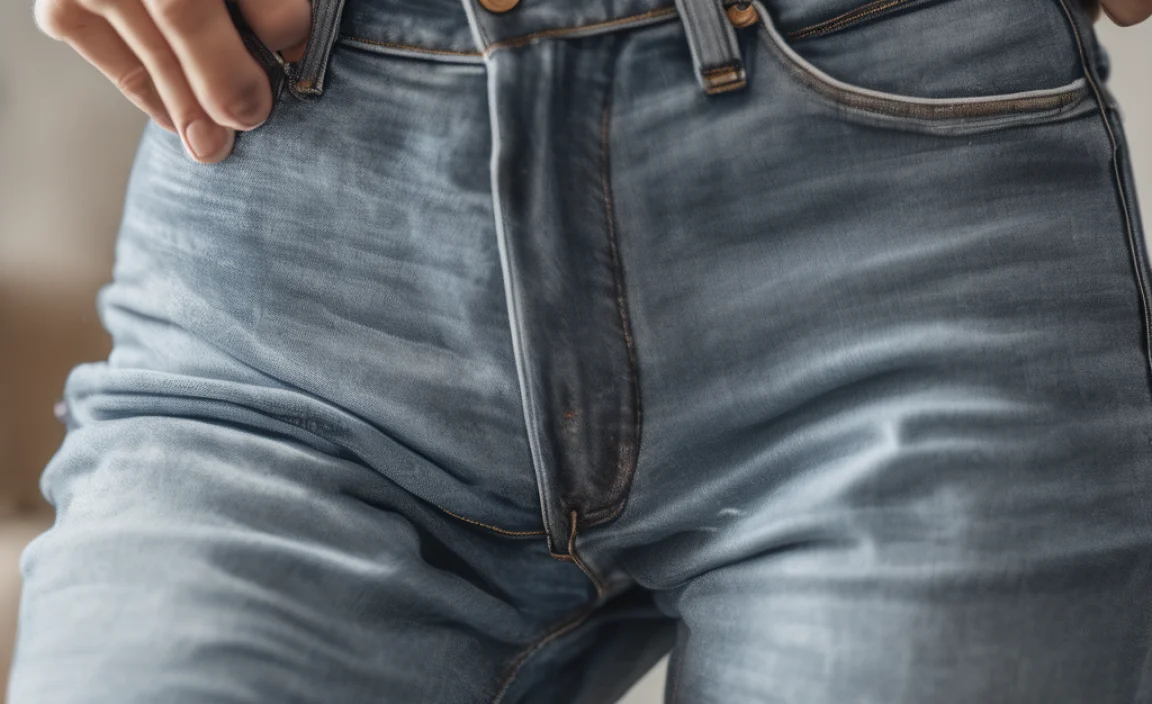
Let’s get down to business. This method focuses on creating a clean, folded hem that looks intentional and professional, without altering the original wash or distressing of your jeans.
Step 1: Try On and Mark Your Desired Length
This is the most critical step for success. Wear the shoes you typically wear with your mom jeans. Stand in front of a mirror and assess the current length. Where do you want the new hem to fall? Often, mom jeans look best hitting at the ankle bone or slightly above. Use a fabric marker or chalk to make a small dot on the outside seam and the inside seam of one leg where you want the finished hem to be. For extra accuracy, you can mark the center front and center back as well.
Step 2: Measure and Transfer the Mark
Take off the jeans. Lay them flat on a clean, hard surface. Using your fabric measuring tape, measure from the point you marked to the current bottom edge of the jean leg. This measurement tells you how much length you need to remove. Now, you’ll transfer this measurement consistently. For a standard folded hem, you’ll need to account for the hem allowance. A 1-inch hem allowance is common for jeans (this accounts for a 0.5-inch fold, then another 0.5-inch fold). So, if you want to remove 2 inches of length, you’ll actually cut off 3 inches from the total length of the leg (2 inches to shorten + 1 inch for the hem allowance).
Measure down from your original marked point (where you want the finished hem to be) by your chosen hem allowance (e.g., 1 inch) and create a new line or series of dots all the way around the leg. Use your fabric marker or chalk for this. Double-check this line using your fabric gauge or measuring tape to ensure it’s perfectly even all the way around.
Step 3: Cut the Excess Fabric
Once you’re confident in your marked line, it’s time to cut. Use your sharp fabric scissors or rotary cutter. Cut precisely along the marked line. It’s better to cut a little less than you think you need to, as you can always trim more if necessary, but you can’t add fabric back. Ensure you cut both legs to the same length. For consistency, measure from the inseam (the inner leg seam) to your cut line on both legs, or use a ruler to ensure the cut is parallel to the original hem line.
Step 4: Prepare the Hem Fold
Now for the folding. On one leg, take the bottom edge of the cut fabric and fold it upwards towards the inside of the jean leg, aligning it with your marked hemline (where you want the new bottom edge to sit). Press this fold firmly with your iron. For a cleaner finish, you can create a double-fold hem. After the first fold, fold the raw edge inwards again by about 0.5 inches, and press again. This encloses the raw edge, preventing fraying for a neat finish.
Step 5: Secure the Hem
With your double-folded hem pressed in place, use straight pins to secure it. Start at one side seam and place pins about every 1-2 inches, ensuring they go through all layers of fabric and are perpendicular to the folded edge. This keeps the hem in place while you sew.
Step 6: Sew the Hem
This is where your sewing machine or needle and thread come into play.
- Using a Sewing Machine: Thread your machine with a needle and thread that closely matches your jeans. Sew along the pressed hemline, just above the folded edge. Stitch slowly and carefully, removing pins as you go. Backstitch at the beginning and end of your seam to secure it. Many sewing machines allow you to adjust the stitch length and width; a slightly longer stitch or a reinforced stitch can be beneficial for denim.
- Sewing by Hand: Use a strong thread and a needle. A backstitch is recommended for durability. Start at one side seam and sew a consistent stitch length all the way around. Aim for small, even stitches for the neatest result. Again, backstitch at the start and end.
Step 7: Final Press and Inspect
Once sewn, give your hem a final press with the iron. This sets the stitches and ensures a crisp finish. Inspect your work. Are the stitches even? Is the hem straight? Trim any loose threads. Try on your newly hemmed mom jeans to admire your handiwork!
Alternative: The “No-Sew” Hem

If you’re short on time or don’t have sewing equipment, a no-sew option is possible, though it might not be as durable or look as professional in the long run. Fabric glue or iron-on hem tape can be used. Follow the product instructions carefully, ensuring you press firmly and allow adequate drying or cooling time. For jeans, especially those made of rigid denim, this method is best for temporary fixes or for very casual wear, as it may not hold up to frequent washing and wear.
Table: Deciding on Hem Allowance
The amount of fabric you leave for the hem allowance affects the final look and strength of the hem. Here’s a quick guide:
| Hem Allowance | Fold Type | Resulting Hem | Best For |
|---|---|---|---|
| 0.5 inches | Single fold | Narrow, clean finish | Lightweight fabrics, delicate garments |
| 1 inch | Double fold (0.5 inch + 0.5 inch) | Standard, durable, neat finish | Jeans, trousers, most casual wear |
| 1.5 inches | Double fold (0.75 inch + 0.75 inch) | Slightly more substantial hem | Heavier denims, workwear |
| 2 inches | Double fold (1 inch + 1 inch) | Very robust hem | Heavy-duty fabrics, very casual items where a more pronounced hem is desired |
Pros and Cons of Hemming Mom Jeans
Like any alteration, hemming has its advantages and potential drawbacks. Understanding these can help you decide if it’s the right step for your jeans.
Pros:
- Perfect Fit: Achieves a custom length that flatters your height and shoe choice.
- Polished Appearance: Eliminates bunching and pooling for a cleaner, more intentional look.
- Preserves Original Wash: Unlike bleaching, this method doesn’t alter the denim’s color or distressing.
- Enhances Style: Allows your shoes to be showcased and can make legs appear longer.
- Cost-Effective: Saves money compared to buying new jeans or paying for professional alterations.
- Improves Comfort: Prevents tripping hazards or the annoyance of fabric dragging.
Cons:
- Permanent Alteration: Once cut and sewn, the original length cannot be easily restored.
- Risk of Error: Incorrect measurements or uneven cuts can lead to a noticeable mistake.
- Time Investment: Requires time and patience, especially for beginners.
- Original Distressing Lost: If your jeans had a specific distressed hem you liked, this process will create a new, clean hem.
- Potential for Unevenness: If not careful, the hem can end up slightly lopsided on the leg.
Maintaining Your Hemmed Mom Jeans
Once your mom jeans are perfectly hemmed, proper care will ensure they last. Always wash them inside out in cold water on a gentle cycle. This protects the denim’s color and the integrity of your new hem. Avoid using harsh detergents or fabric softeners, which can degrade fibers over time. When drying, consider air-drying by hanging them or laying them flat, as high heat from a machine dryer can shrink denim and weaken seams. If you must use a dryer, opt for a low-heat setting.
For any minor fraying that might occur at the very edge of your hem (though a double-fold aims to prevent this), a tiny stitch or a dab of fabric glue can reinforce it. Regular inspections of seams and hems will help catch any issues before they become significant problems. For more in-depth denim care, resources that discuss fabric longevity and care from organizations like the Connecticut Agricultural Experiment Station (which provides general consumer guidance) can offer broader insights into textile care.
FAQ: Your Hemming Questions Answered
Q1: Do I need to remove the original hem of my mom jeans if I want a clean finish?
No, for a clean, folded hem, you typically cut off the original hem. If you wanted to replicate a frayed, original hem look, you might carefully detach it with a seam ripper and reattach it higher up, but for a crisp hem, you cut the old one off.
Q2: What’s the best way to ensure both legs are hemmed to the exact same length?
The key is consistent marking and measuring. Try them on together if possible, or measure meticulously from a consistent point (like the crotch seam) to your desired hem line on both legs. Using a ruler or a fabric gauge to check the distance from the bottom to your marked line all the way around each leg is crucial.
Q3: Can I hem my mom jeans myself if I don’t have a sewing machine?
Absolutely! Hand-sewing with a strong thread and a secure stitch like a backstitch can create a very durable and neat hem. It just takes a bit more time and patience.
Q4: How much fabric should I leave for the hem allowance?
For most jeans, especially sturdy denim like that in mom jeans, a 1-inch hem allowance is standard. This allows for a double fold (0.5 inch then another 0.5 inch), which fully encloses the raw edge for a clean and durable finish. You can go up to 1.5 inches for very thick denim.
Q5: Will hemming my mom jeans change their overall fit or appearance beyond the length?
Beyond shortening them, a properly executed hem should not significantly change the fit of your mom jeans. It’s an alteration solely to the length at the bottom of the leg. If you cut and sew carefully, the leg shape and overall silhouette remain the same.
Q6: How do I prevent my new hem from fraying?
The best way to prevent fraying is to create a double-folded hem. This involves folding the raw edge inwards by about half an inch, then folding it inwards again by another half an inch before sewing. This encloses the raw edge completely. If you opt for a single fold (less common for jeans) or a no-sew method, you might need to use pinking shears on the raw edge or a liquid seam sealant.
Conclusion
Mastering how to hem your mom jeans without bleach is a fantastic skill that empowers you to get the perfect fit every time. You don’t need to be a professional tailor to achieve a clean, stylish, and durable hem. By following these straightforward steps, gathering the right tools, and paying attention to detail, you can easily customize your favorite denim. This DIY approach not only saves you money but also ensures your mom jeans look exactly how you want them to, enhancing your style and confidence. So go ahead, grab your jeans, and give them the custom length they deserve!


