Mastering the art of hemming relaxed jeans is simple and essential for a perfect fit. This guide provides clear, step-by-step instructions, essential tools, and practical tips to achieve professional-looking results at home, ensuring your favorite relaxed-fit denim always looks its best.
Tired of relaxed-fit jeans that are just a little too long, dragging on the ground and looking messy? You’re not alone. That perfect relaxed silhouette can quickly turn into a sloppy mess if the hemline isn’t quite right. It’s a common frustration, especially when you love a particular pair but wish they fit a bit better. The good news is, you don’t need to be a sewing expert to fix this. With a few basic tools and this straightforward guide, you can easily master how to hem relaxed jeans yourself. Get ready to give your favorite denim a refined look that instantly elevates your casual style!
Why Hemming Your Relaxed Jeans is Essential
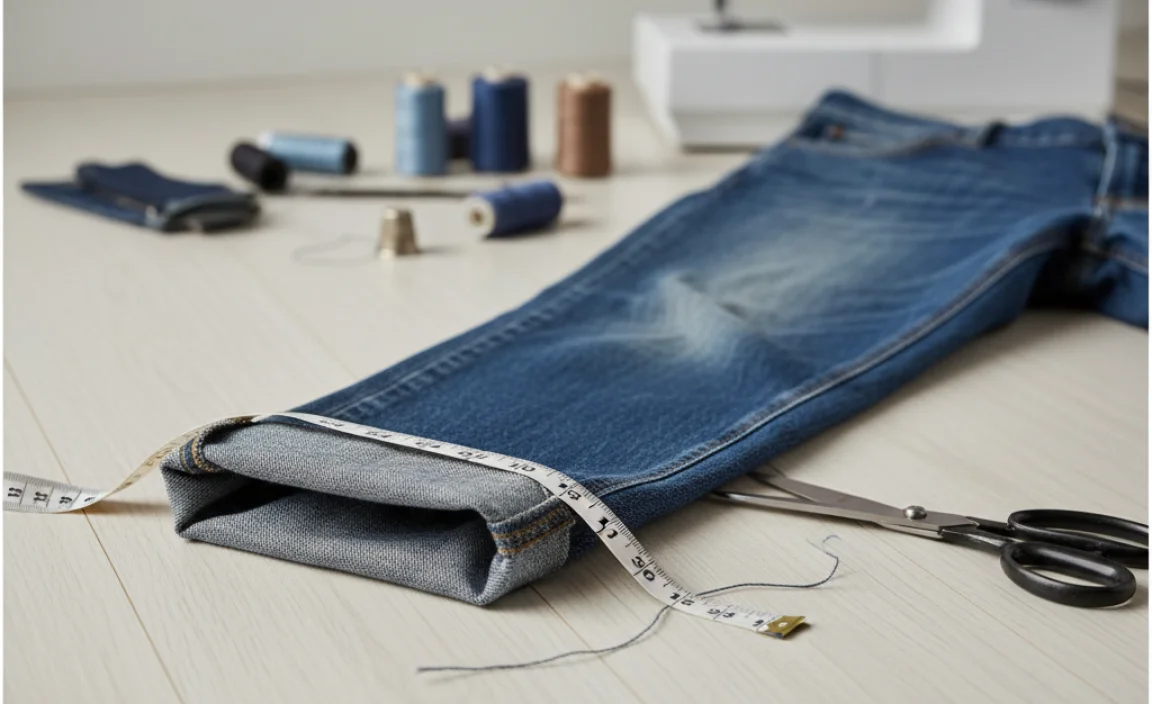
Relaxed fit jeans are designed for comfort and a laid-back style. However, their looser cut can sometimes lead to pooling at the hem, which can make your legs look shorter and your overall appearance less polished. A proper hemline ensures your jeans fall elegantly over your footwear, whether you prefer sneakers, boots, or sandals. It’s about achieving that effortless, put-together look without sacrificing comfort.
Beyond aesthetics, a well-hemmed pair of jeans is also more practical:
- Prevents Fraying and Wear: Jeans that are too long can get caught on things, leading to premature fraying and damage. Hemming protects the fabric and extends the life of your jeans.
- Enhances Silhouette: The right length creates a cleaner line, making your outfit look more intentional and stylish.
- Versatility: Properly hemmed jeans can be worn with a wider range of shoes, making them more versatile in your wardrobe.
- Personalization: It allows you to tailor your clothing to your exact preferences, a key aspect of personal style.
Tools You’ll Need for Hemming Relaxed Jeans
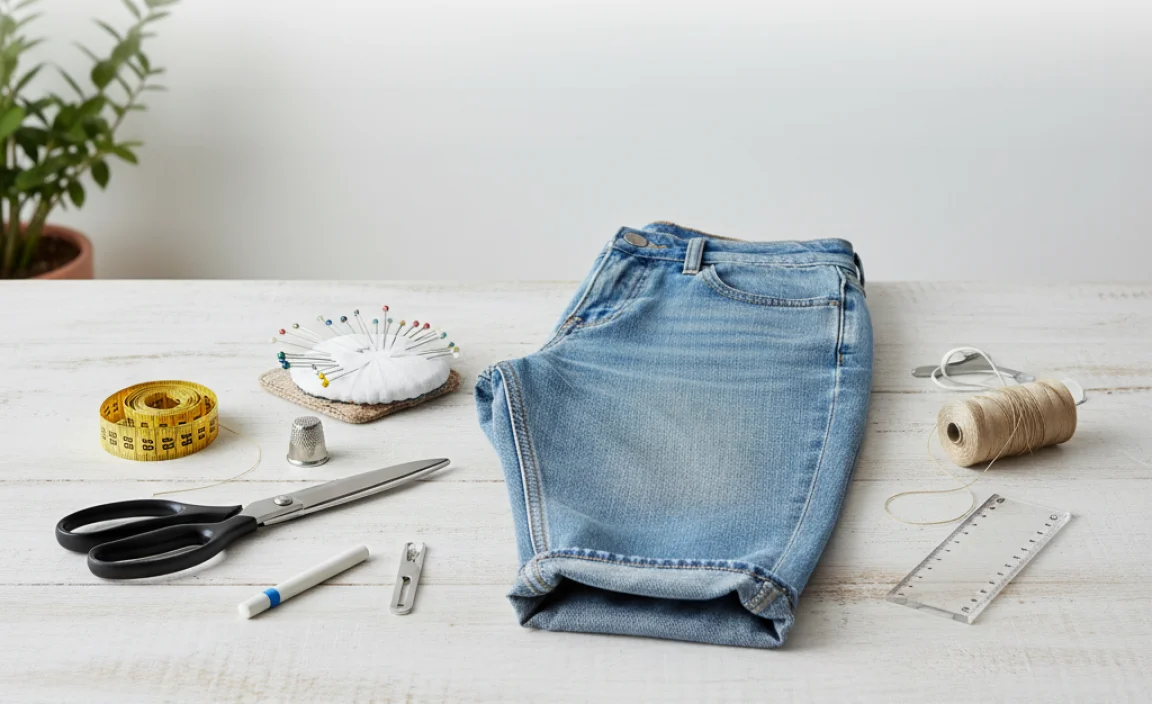
Before you begin, gather these essential tools. Having everything ready will make the hemming process smooth and efficient. For most home hemming projects, you won’t need a complex setup.
- Sharp Fabric Scissors: Essential for a clean, crisp cut. Don’t use dull scissors, as they can snag and fray the denim.
- Fabric Measuring Tape or Ruler: For accurate measurements. A flexible fabric tape measure is ideal, but a sturdy ruler works too.
- Fabric Marking Tool: This could be chalk, a washable fabric marker, or even a sharpened pencil or the edge of a bar of soap. The goal is to mark your hemline clearly.
- Straight Pins: To secure the hem in place before sewing.
- Sewing Machine (Recommended): While you can hand-sew, a sewing machine will create a stronger, neater stitch, especially for durable denim.
- Thread: Choose a thread color that matches your jeans or a contrasting color for a subtle design detail. Denim thread is a good, strong option.
- Iron and Ironing Board: Crucial for pressing creases and making your hem look professional.
- Seam Ripper (Optional but helpful): If you need to remove an existing hem and start fresh.
- Safety Pins (Optional): Can be useful for holding fabric in place while you measure or adjust.
Preparation: Measuring and Marking Your Hem
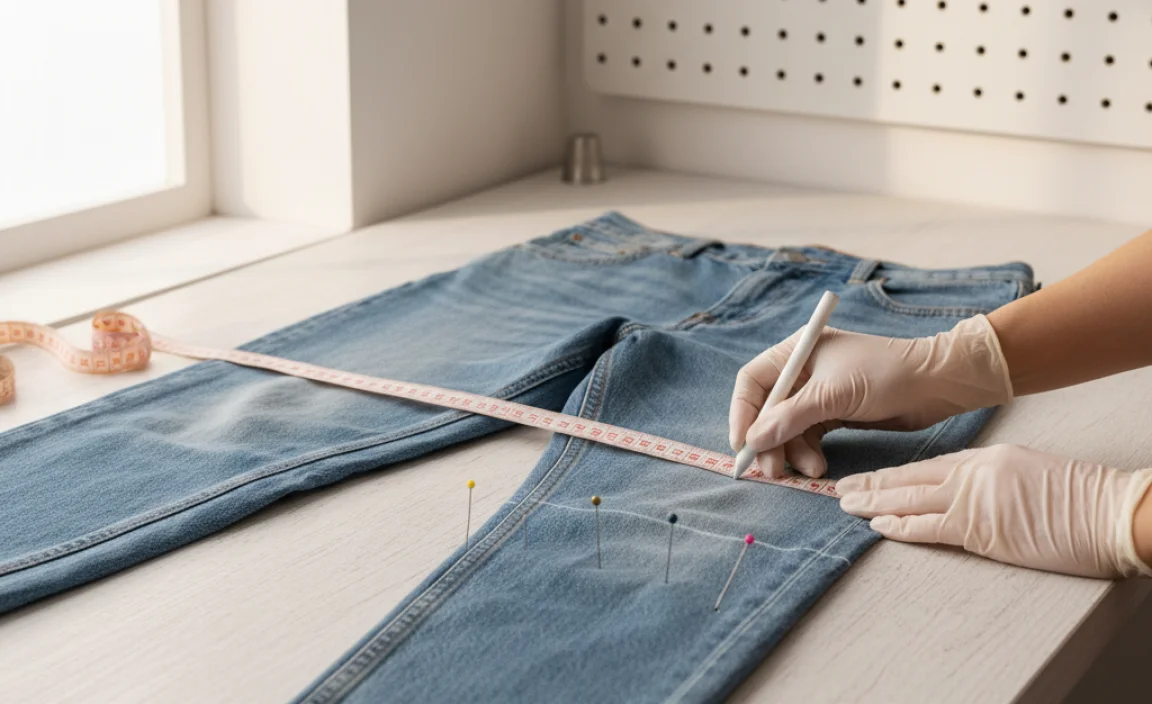
This is arguably the most important step. Precision here ensures you’ll love the final result. We’ll be focusing on creating a standard, clean hem finish.
1. Try Your Jeans On
Put on the relaxed jeans you want to hem. If you plan to wear them with specific shoes, wear those shoes now. If you usually wear them with different types of shoes, consider the average heel height or overall look you’re going for.
2. Determine the Desired Length
Stand in front of a mirror. Gently pull the excess denim fabric at the bottom of one leg upwards towards your ankle until the jeans reach the desired length. You should aim for the hem to just graze the top of your shoe or sit slightly above it, depending on your preference and the style of jean. For relaxed fits, a slight break on top of the shoe often looks good, but avoid excessive bunching.
Pro Tip: Have a friend help you by taking a picture of you from the side while you hold the hem. This gives you a clearer perspective than just looking in the mirror.
3. Mark the Cutting Line
Once you’ve decided on the length, use your fabric marking tool to create a small mark on the inside of the jean leg, just above where you want the final hem to fall. You’ll need to account for the hem allowance – the amount of fabric you’ll fold up. A standard hem allowance for denim is about 1 to 1.5 inches (2.5 to 3.8 cm). This additional fabric will be folded over and sewn.
Example: If you want your jeans to end at 30 inches (76 cm), and you’re using a 1.5-inch hem allowance, you’ll mark your cutting line at 31.5 inches (80 cm) from the waistband down.
4. Measure and Mark Evenly
Repeat this marking process for the other leg, ensuring it matches the first. It’s best to measure from the waistband down for consistency. You can also use the marked leg as a guide for the second leg, laying them flat and aligning the waistbands to transfer the mark.
5. Cut Excess Fabric
Lay one leg of the jeans flat on a protected surface. Using your sharp fabric scissors, carefully cut along your marked line. Remember, you’re cutting above your desired final hem, keeping the extra fabric for the fold. If you want to preserve the original “worn” hem, you’ll need to be more strategic. However, this guide focuses on a clean, new hem for simplicity and a more polished finish.
Important Note: If the original hem is very wide or has a specific stitch you want to mimic, you might consider a ‘faux hem’ or altering the original hem. For a beginner-friendly approach, cutting and re-hemming is typically easier.
The No-Sew “Baking Soda” Method (for a Distressed Look)**
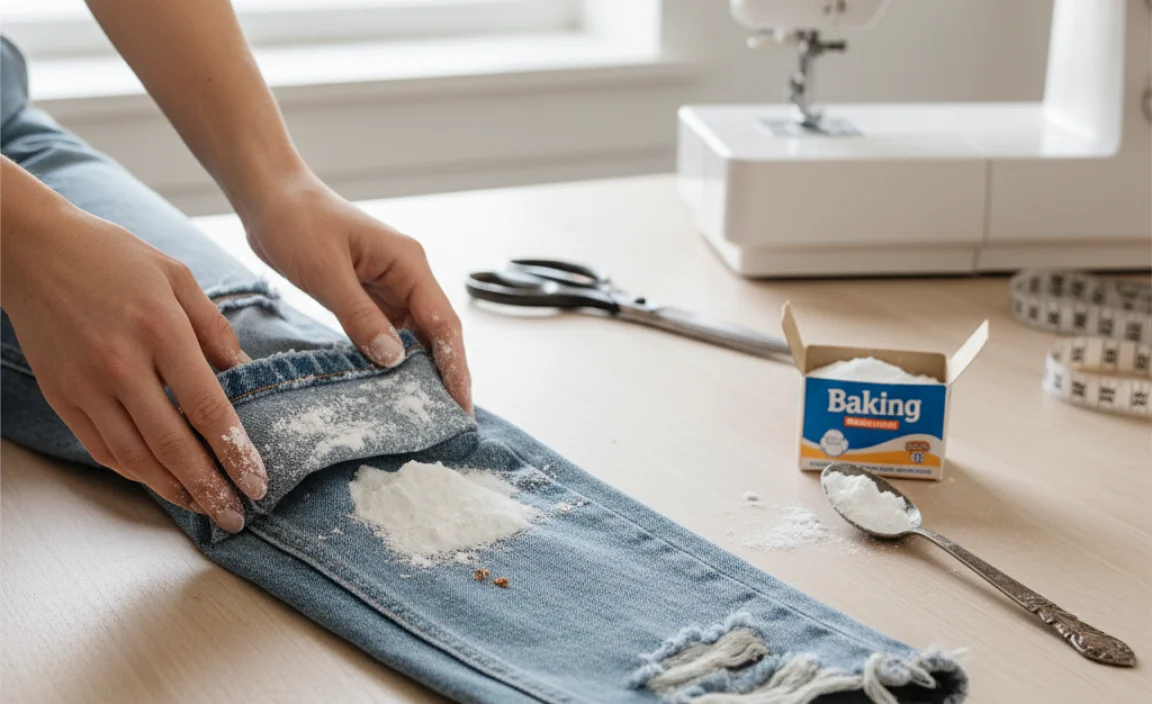
While the prompt specifically mentions “how to hem relaxed jeans with baking soda,” it’s important to clarify that baking soda itself doesn’t hem fabric in the traditional sense. It’s commonly used as a mild abrasive or odor absorber, not a fabric adhesive or sealant. The keyword “how to hem relaxed jeans with baking soda” might stem from confusion with other DIY clothing treatments or a misunderstanding of its application. However, we can adapt this to create a faux hem or distressed hem effect that many people associate with DIY methods, sometimes involving household items. This method focuses on creating a frayed edge rather than a folded, stitched hem.
This method is best for achieving a slightly frayed, casual look. It’s less about a precise “hem” and more about a controlled fray. Baking soda isn’t directly involved in the hemming or fraying process itself; it’s more likely a misremembered or misunderstood part of a different DIY clothing technique.
Steps for a Frayed Hem (Without Actual Baking Soda Hemming):
- Measure and Cut: Follow steps 1-5 from the preparation section above. Cut your jeans to the desired length, leaving no extra fabric for folding a traditional hem. You’ll be working with the raw edge.
- Create Initial Fray: Use a seam ripper, tweezers, or a small stiff brush to gently pull and loosen the threads along the cut edge. Wear gloves if you want to protect your hands from pricking. Work in small sections.
- Loosen Threads: Continue pulling threads to create a visible fringe. The key is to be patient and work gradually. You want to loosen the horizontal threads that will form the fringe and encourage the vertical threads to dangle.
- Wash and Dry: For a more natural and pronounced fray, wash the jeans. The washing machine action will further loosen the threads and create a softer, more worn-in fringe. You can also tumble dry them.
- Trim if Necessary: After washing, check the length and the fringe. If it’s become too long or uneven, you can trim it carefully to your desired look.
Note: To incorporate something vaguely related to baking soda for a different type of distressed look (like tie-dye or lightening), you might use that in a separate process before or after hemming, but it won’t contribute to the hem itself. For example, a baking soda paste can be used with bleach to create unique patterns. However, this is outside the scope of simply hemming your jeans.
The Traditional Hem: Folding and Pressing
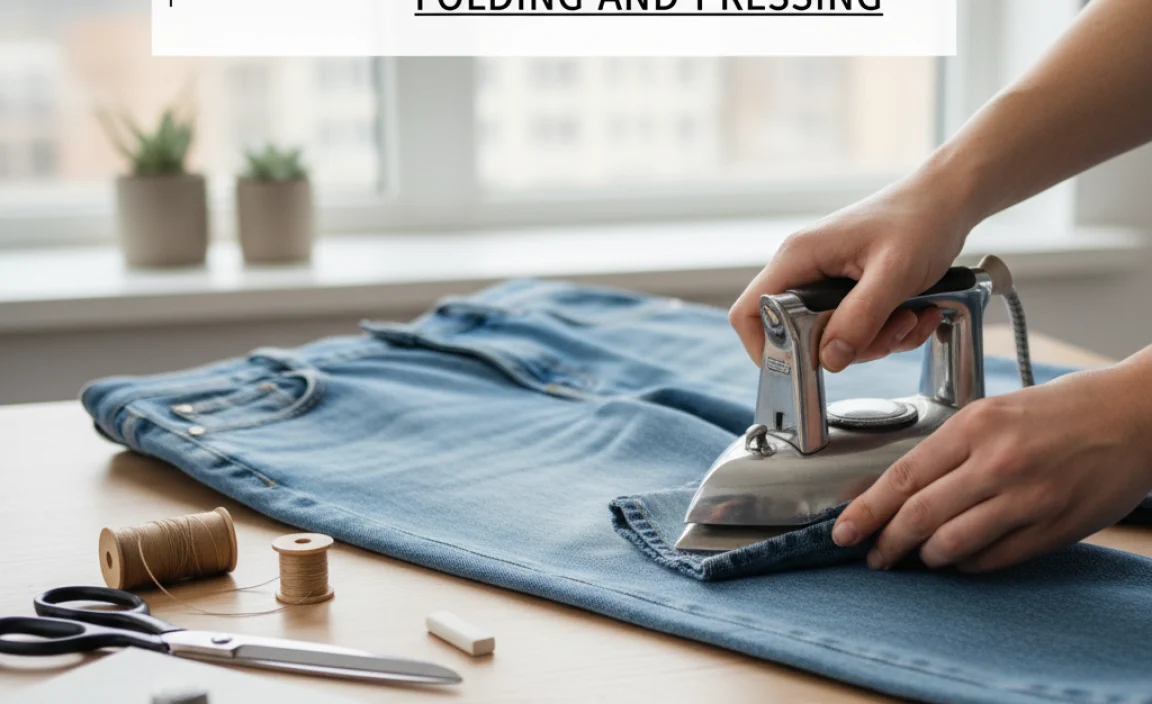
This is the standard method for a clean, durable hem. It involves folding the fabric twice for a neat finish.
1. Prepare the Cut Edge
Lay your jeans leg flat. Ensure the edge you cut is as straight as possible. If you had any significant fraying from cutting, you can trim it neatly now.
2. Fold for the First Hem Tuck
Take the cut edge and fold it upwards towards the inside of the leg, by about 0.5 to 0.75 inches (1.3 to 1.9 cm). This is your first fold. Press this fold firmly with a hot iron. This creates a crisp line and hides the raw edge of the fabric.
3. Fold for the Second Hem Tuck
Now, take that folded edge and fold it up again. This second fold should be almost as wide as your first fold, or slightly wider, typically around 1 to 1.5 inches (2.5 to 3.8 cm). You are essentially creating a double-fold hem to conceal the raw edge completely and give a clean finish. Press this second fold very firmly. Your marked cutting line should now be the top edge of this second fold.
Visual Aid: You can imagine it like this: Cut Edge -> Fold 1 (small) -> Fold 2 (larger, enclosing Fold 1). The final hem will be the folded-over part, and the original fabric of the leg will be visible on the outside.
4. Pin the Hem
Once pressed, the double-folded hem should lie flat. Secure it in place all the way around the leg using straight pins. Insert the pins perpendicular to the folded edge, about every 2-3 inches. This keeps everything perfectly aligned for sewing.
Tip: Ensure you are pinning through all layers of the folded hem, including the fabric layers and not just the top layer.
Sewing Your Hem
This is where your jeans really start to look professionally altered. You have two main options: sewing machine or hand sewing.
Option A: Using a Sewing Machine (Recommended)
This is the quickest and most durable method.
- Thread Your Machine: Use a strong thread that matches your jeans or a contrasting color. Ensure your machine is set to a straight stitch. A stitch length of 2.5-3.0 mm is usually suitable for denim. If you have a “denim” needle, use it – it’s designed to pierce thick fabric easily.
- Position the Jeans: Place the pinned leg under the sewing machine’s presser foot. Align the needle so it will sew along the top edge of your folded hem, usually about 1/8 inch (3mm) down from the top folded edge. Most denim legs will require you to sew near the original seam, which can be thick.
- Start Sewing: Lower the presser foot and begin sewing. Sew slowly and carefully, especially when approaching the thick side seams of the jeans. You may need to manually turn the handwheel for a few stitches over very thick parts.
- Backstitch: At the beginning and end of your stitching, backstitch for about half an inch (1.3 cm) to secure the thread and prevent it from unraveling.
- Continue Around: Sew all the way around the leg. When you reach your starting point, backstitch again to complete the seam.
- Trim Threads: Trim any excess threads.
Option B: Hand Sewing the Hem
If you don’t have a sewing machine, this is perfectly doable, though it will take more time.
- Thread a Needle: Use a strong, doubled-up thread and tie a secure knot at the end.
- Start Sewing: Insert the needle from the inside of the hem fold so the knot is hidden. Start about half an inch (1.3 cm) along your stitch line.
- Use a Hemming Stitch: A blind hem stitch (also called a slip stitch) is ideal for making the stitches nearly invisible from the outside. You’ll catch just a few threads of the jean fabric on each stitch. Alternatively, a small, consistent whipstitch will also work for durability, though it might be slightly more visible.
- Maintain Even Stitches: Aim for small, consistent stitches that are about 1/4 to 1/2 inch (0.6 to 1.3 cm) long. Try to keep them evenly spaced.
- Work in Sections: Take your time, and work in sections. Re-pin as you go if needed.
- Finish Securely: When you get back to your starting point, make a few extra stitches and a secure knot on the inside of the hem to finish. Trim excess thread.
Finishing Touches and Final Press
Once you’ve sewn the hem, give it one last press for that professional polish.
- Remove Pins: Carefully remove all the pins from the hem.
- Press the Hem: Lay the jeans leg flat on your ironing board. Press the folded hem firmly with your iron, ensuring it lays perfectly flat. This step makes the hem crisp and professional-looking.
- Press the Inside: If possible, press the inside of the hem as well to ensure it’s sitting correctly and to set the stitches.
- Repeat for the Other Leg: If you haven’t already, repeat the entire folding, pinning, sewing, and pressing process for the second leg of your jeans.
Maintaining Your Hem
To keep your newly hemmed jeans looking their best:
- Wash Properly: Always wash jeans inside out in cold water to preserve color and minimize wear.
- Air Dry When Possible: Tumble drying can shrink and damage fabric over time. Air drying is gentler.
- Inspect Regularly: Check your hem every few washes to ensure stitches are holding and there’s no unexpected wear.
Hemming with Original Washed Hem (Advanced Technique)
For those who want to keep the original distressed or “stack” look of their jeans, you can hem them by preserving the original bottom edge. This is more complex and requires careful attention.
Steps:
- Measure and Cut Above Original Hem: Determine your desired length and mark a line above the original hem. Cut off ONLY the excess fabric that is above your desired final length, leaving the original hem intact.
- Carefully Unpick Original Hem: Using a seam ripper, very carefully unpick the stitching that holds the original hem to the leg of the jean. You want to detach the hem band from the leg fabric, but keep the hem band itself together.
- Separate and Clean: You will end up with the jean leg fabric (now shorter) and the detached original hem band. Clean up any loose threads on both.
- Reattach the Original Hem: Position the original hem band back onto the bottom of the now-shorter jean leg, right sides together. You’ll be sewing the raw edge of the shorter leg to the inside edge of the detached hem band.
- Sew and Press: Sew this seam – ideally with a sewing machine for strength. Then, fold the original hem band down to its original position on the outside of the jean leg. Press firmly, and then you can topstitch it invisibly or visibly from the outside for a secure finish.
This technique preserves the look of the original hem, which can be desirable for brands that have unique denim washes or details at the cuff. See resources like this YouTube tutorial for a visual guide on this more advanced method.
Table: Common Jeans Hemming Issues and Solutions
Here’s a quick reference for troubleshooting:
| Issue | Problem | Solution |
|---|---|---|
| Uneven Hemline | Jeans are different lengths on each leg or uneven around the ankle. | Ensure precise measurement from the waistband on both legs. Lay jeans flat and align carefully when marking and cutting. Use a hemming guide on your |


