Quick Summary: Learn how to hem your relaxed jeans yourself for a perfect fit without spending a fortune. This guide provides simple, step-by-step instructions using basic tools, making the “budget genius” approach to denim alterations achievable for everyone.
How to Hem Relaxed Jeans: Budget Genius
Ever bought a pair of fantastic relaxed-fit jeans, only to find them a little too long? It’s a common frustration, especially when you want that perfect break on your footwear without a trip to the tailor. Thankfully, achieving a custom hem is easier and more affordable than you might think. With just a few basic tools and this straightforward guide, you can transform those baggy cuffs into a sharp, polished look. Get ready to become your own denim surgeon and save some money in the process!
Why Hemming Your Own Relaxed Jeans is a Smart Move
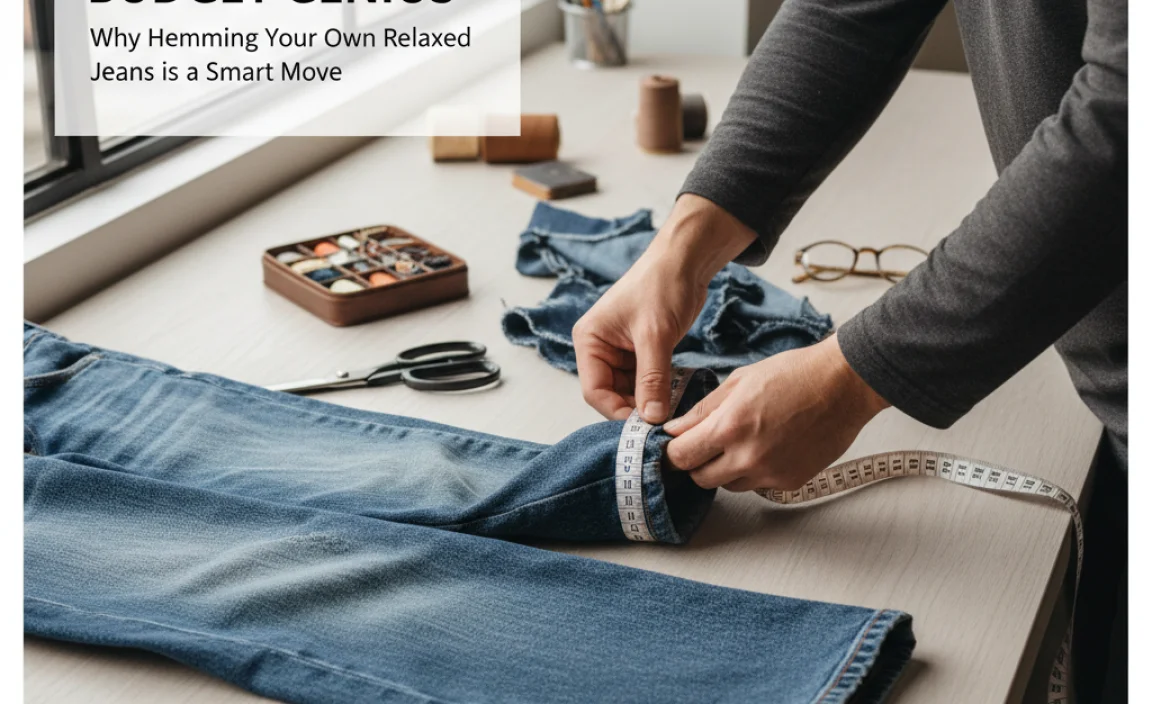
Relaxed fit jeans are all about comfort and style, but an excessive length can kill the vibe, making them look sloppy instead of chic. Professional hemming can add to the cost of your favorite denim, sometimes turning a great deal into a more expensive purchase. By learning to hem them yourself, you gain control over the fit, extend the life of your jeans by fixing wear at the original hem, and, most importantly, keep more money in your pocket. This “budget genius” approach is all about practicality and making your wardrobe work for you.
Gathering Your Hemming Arsenal: Tools and Materials

Don’t be intimidated! You likely have most of these items already. If not, they are inexpensive and readily available at craft stores or online. Having the right tools makes the process smooth and the results professional-looking.
Essential Tools You’ll Need:
- Fabric Scissors: Sharp scissors specifically for fabric will ensure clean cuts. Dull scissors can create a jagged edge.
- Measuring Tape or Ruler: For accurate measurements to get the right length.
- Fabric Marker or Chalk: To mark your cutting line. Test on an inconspicuous area first to ensure it washes out.
- Fabric Glue (optional): A strong, flexible fabric glue can be a no-sew alternative for a quick hem.
- Sewing Machine (optional): If you have one, it speeds up the sewing process significantly.
- Needle and Thread: For hand-sewing. Match the thread color to your jeans for a seamless look.
- Straight Pins: To hold the hem in place before cutting or sewing.
- Iron and Ironing Board: Crucial for creating a crisp fold and setting seams.
- A Seam Ripper (optional): If you want to reattach the original hem for an authentic look.
Choosing the Right Thread for Your Jeans
The thread you choose makes a big difference in the final appearance. For a visible, classic denim look, a thicker, contrasting thread like a gold or tan cotton-poly blend often works best. For a more subtle hem that blends in, use a thread color that closely matches your jeans. Most denim threads are designed to be durable and withstand wear.
Let’s Get Started: Step-by-Step Hemming Guide

This guide focuses on two popular methods: the no-sew fabric glue hem and the traditional sewn hem. Both will give you fantastic results!
Step 1: Try On and Mark Your Desired Length
Put on the jeans you wish to hem. Wear the shoes you normally would with these jeans. Stand in front of a mirror and decide exactly how long you want them to be. You can eyeball it, or you can mark the desired length at the inner seam or outer seam. Using a small piece of tape (painter’s tape works well as it’s less likely to damage fabric) or a fabric marker, lightly mark where you want the new hem to sit. Do this on both legs, ensuring they are even.
Step 2: Understand the Hem Allowance
You need extra fabric for the hem itself. For a standard hem, plan for about 1 to 1.5 inches of fabric below your marked line. This will be the “hem allowance” or “turn-up.” If you’re aiming for that authentic, worn-in look by reattaching the original hem, you’ll need a bit more allowance (typically 2-3 inches) to accommodate the original folded edge.
Step 3: Prepare for Cutting
Lay your jeans flat on a clean, hard surface. Smooth out the fabric to remove any wrinkles. Double-check your markings. If you’re cutting off a significant amount, it’s a good idea to measure from the waistband down to your desired final length on both the inner and outer seams to confirm consistency. Once you’re confident, use your fabric marker or chalk to draw a straight cutting line, 1 to 1.5 inches below your initial length mark.
Step 4: Cut the Excess Fabric
Using your sharp fabric scissors, carefully cut along the marked line on both legs. Take your time to ensure a straight cut. Once cut, discard the excess fabric. It’s always better to cut off less than you think you need; you can always trim more later if necessary, but you can’t add fabric back.
Method 1: The Quick & Easy No-Sew Fabric Glue Hem
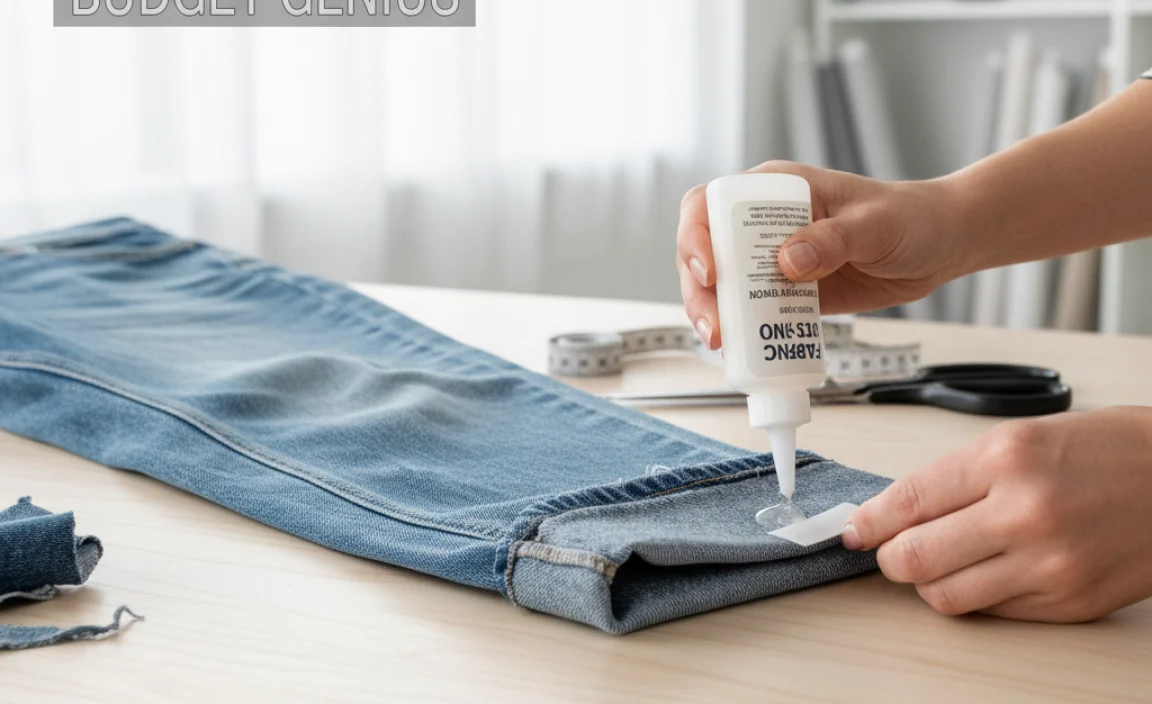
This method is perfect for beginners or for when you need a quick fix. It’s durable enough for most fabrics and doesn’t require any sewing skills.
Step 5a: Prepare the New Hem
For each leg, fold the cut edge up towards the inside of the jeans by about 0.5 inches. Press this fold firmly with an iron. This creates a clean edge that won’t fray excessively.
Step 6a: Apply Fabric Glue
Fold that same edge up again, this time by 0.5 to 1 inch, so the raw edge is now fully enclosed within the fold. This creates your new hem. Ensure the fold is even and smooth. Apply a generous, even line of fabric glue along the top edge of this second fold, directly onto the inside of the jeans fabric. Some fabric glues recommend applying to both surfaces that will be joined.
Step 7a: Press and Secure the Glue
Carefully press the folded hem down, smoothing out any excess glue. Use your iron to apply heat and pressure to the glued area as per the glue manufacturer’s instructions. This helps the adhesive set properly. Hold it in place for the recommended drying time (check the glue packaging). Using straight pins to hold the hem in place while the glue dries can be very helpful.
Step 8a: Final Touches
Once the glue is completely dry (this can take several hours or even overnight depending on the product), remove any pins. Turn the jeans right-side out. Give the hem a final press with the iron to ensure it lies flat. Your no-sew hem is complete and ready to wear!
Method 2: The Classic Sewn Hem
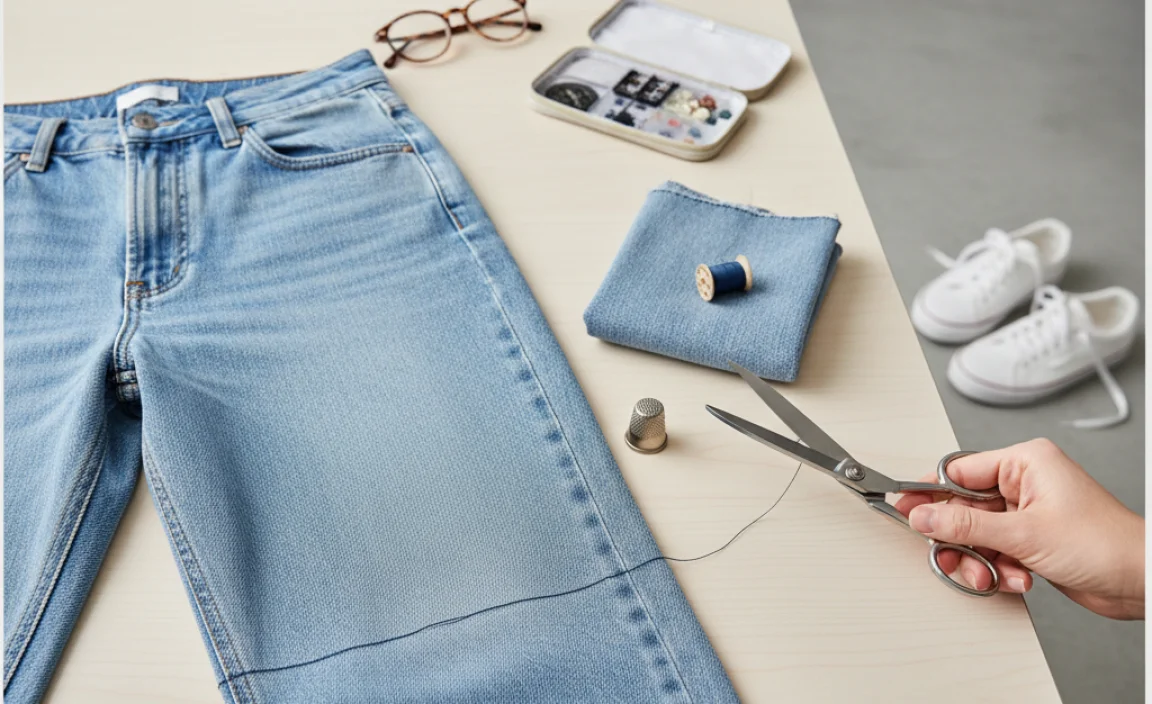
This method provides a more durable and traditional finish, particularly if you have a sewing machine.
Step 5b: Prepare the New Hem
For each leg, fold the cut edge up towards the inside of the jeans by about 0.5 inches. Press this fold firmly with an iron to create a neat edge.
Step 6b: Fold and Pin the Hem
Fold that same edge up again, this time by 0.5 to 1 inch, encasing the raw edge. This creates your new hem. Ensure the fold is even all the way around. Use straight pins to secure the hem in place. Place pins perpendicular to the raw edge, about every 2-3 inches.
Step 7b: Stitch the Hem
Using a Sewing Machine:
Set your sewing machine to a straight stitch. If your jeans have a double-stitch seam on the original hem, you can try to match that stitch with a contrasting thread and a slightly longer stitch length (around 3mm) for an authentic look. If not, a standard straight stitch will work. Sew along the top edge of the folded hem, removing pins as you go. Keep your stitching as straight and even as possible. For extra durability, you can sew a second line of stitching just below the first, mimicking the original hem.
By Hand:
When hand-sewing, a backstitch is recommended for strength. Thread your needle and knot the end. Start at an inconspicuous point (like an inseam). For a backstitch, make a small stitch forward, then bring the needle back to the beginning of that first stitch and go forward again, creating a solid, continuous line of stitching. Continue around the entire hem, removing pins as you work. Aim for small, even stitches.
Step 8b: Finish and Press
Once stitched, trim any loose threads. Carefully press the hem with an iron to set the seam and give it a crisp finish. Turn the jeans right-side out. Your sewn hem is ready!
Advanced Technique: The “Original Hem” Look
Want to keep that perfectly faded, worn-in look of the original hem while getting the right length? This method requires a bit more patience but is incredibly rewarding.
Step 1: Measure and Mark Generously
Try on your jeans with shoes, and determine your final desired length. Mark this point. Now, consider the original hem. The original hem is typically about 1 inch wide. You’ll need to cut above this hem. Measure from your desired final length line upwards by about 2.5 to 3 inches. This extra fabric will allow you to reattach the original hem. Mark this new cutting line on both legs.
Step 2: Carefully Remove the Original Hem
Lay the jeans flat. Using a seam ripper, meticulously unpick the stitching of the original hem on the inside of the leg. Be patient, especially if the stitching is dense. Once the stitches are removed, gently separate the original hem band from the main body of the jean. You now have two separate pieces of fabric: the main jean leg shortened to your desired length, and the original hem strip.
Step 3: Prepare the Jean Leg
On the shortened jean leg, you’ll have a raw edge. Fold this raw edge up towards the inside by about 0.5 inches and press. Then, fold it up again by about 0.5 inches, encasing the raw edge. This creates a clean, folded bottom edge that your original hem will attach to. Pin in place.
Step 4: Reattach the Original Hem
Take your removed original hem strip. Align it with the bottom edge of the prepared jean leg, with the “right” sides of the fabric facing each other. The raw edge of the hem strip should align with the folded edge of the jean leg you just created. Pin securely all the way around, ensuring the original crease lines up neatly.
Step 5: Sew the Hem
Using a sewing machine with a durable thread (matching your original thread if possible) and a straight stitch, carefully sew the original hem strip to the jean leg. Sew as close to the original seam line as possible. If you are hand-sewing, use a strong stitch like a backstitch. For an even more authentic look, you can sew a second line of stitching just above your first, mimicking a double-stitched hem.
Step 6: Flip and Finish
Once sewn, carefully flip the original hem band down. You should now have the original hem perfectly reattached to your shortened jean leg. Press the entire hem area with an iron to make it lie flat and look as factory-made as possible. For a truly authentic finish, some people will even go back and re-stitch the outer edge of the original hem to the leg with a contrasting thread, matching the factory stitch.
Table: Hemming Method Comparison
Choosing the right method depends on your skill level and desired outcome.
| Method | Pros | Cons | Best For |
|---|---|---|---|
| No-Sew Fabric Glue | Quick, easy, no special tools required, beginner-friendly. | May not be as durable as sewing, potential for glue to stiffen fabric, might not withstand frequent washing. | Quick fixes, beginners, temporary hems, non-denim fabrics. |
| Sewn Hem (Machine or Hand) | Durable, professional finish, classic look, holds up well to washing and wear. | Requires sewing skills/machine, takes more time. | Long-lasting hems, everyday wear jeans, achieving a clean, tailored look. |
| Original Hem Reattachment | Preserves the authentic, worn-in look of the original hem, looks very professional. | Most time-consuming, requires careful seam ripping and reattachment, potential to damage fabric if not careful. | Fashion-conscious individuals, achieving a high-end, undetectable alteration. |
Tips for Relaxed Fit Jeans Specifically
Relaxed fit jeans, by their nature, have more fabric. This means you need to be extra mindful of how you manage that extra material when hemming.
- Consider Your Shoes: Relaxed jeans look best with a certain length that works with your intended footwear. Too short and they can look awkward; too long and they bunch up. Generally, aim for the hem to just kiss the top of your shoe or have a slight break.
- Maintain the Drape: When folding for your hem, try to keep the fabric as smooth and even as possible. Avoid creating a stiff, thick hem that detracts from the relaxed silhouette.
- Double-Check Symmetry: Because relaxed jeans can be more forgiving visually, it’s crucial to ensure both legs are hemmed to the exact same length. Measure carefully at multiple points.
- Embrace a Slightly Longer Look: Sometimes, a relaxed jean just needs a little extra length to carry its shape properly. Don’t be afraid to hem them a touch longer than you might a skinny or straight-leg jean.
Maintaining Your Newly Hemmed Jeans
Proper care will ensure your hemming efforts last.
- Washing: Wash your jeans inside out in cold water on a gentle cycle. This protects the fabric and the stitching.
- Drying: Air drying is always best for denim. If you must use a dryer, use a low heat setting. Overdrying can cause shrinking and weaken fibers.
- Ironing: Iron your jeans inside out if they become wrinkled, especially around the hem area.
FAQs: Your Hemming Questions Answered
Q1: How much fabric should I leave for the hem?
A1: For most jeans, leaving 1 to 1.5 inches of fabric below your desired final length is sufficient for a standard hem. If you plan to reattach the original hem, allow 2.5 to 3 inches.
Q2: Will fabric glue hold up as well as sewing?
A2: Modern fabric glues are very strong and can be quite durable. However, sewing is generally more robust and will likely withstand more washing and wearing over time.
Q3: Can I hem my jeans without cutting them?
A3: Yes! You can fold the jeans up and secure them temporarily with fashion tape or permanently with fabric glue or thread without cutting. However, cutting offers a cleaner, more permanent finish.
Q4: My jeans are stretchy. Does that change how I hem them?
A4: Yes, especially with stretchy jeans. Be extra careful not to stretch the fabric as you measure, mark, and sew, as this can lead to an uneven hem. Pinning generously and using a walking foot on a sewing machine can help manage stretch fabric.
Q5: What if my jeans have a bulky, thick hem?
A5: If your jeans have a very thick original hem that you’re trying to recreate, consider sewing two lines of stitching: one close to the edge of the original hem (to secure it to the leg) and another slightly above that for a double-stitch effect, similar to many jeans.
Q6: How do I ensure both legs are the same length?
A6: Always measure from the waistband down to your desired final length on both legs, ideally at the inseam and outer seam. It’s also helpful to lay the two legs flat against each other after marking or cutting to visually confirm they match.
Conclusion: Your New Hemming Confidence
You’ve now seen how approachable and rewarding it is to hem your own relaxed jeans. Whether you opted for the quick fabric glue method, the classic sewn approach, or the advanced original hem reattachment, you’ve gained a valuable skill that saves money and perfects your fit. Don’t hesitate to practice on an old pair if you’re feeling unsure. With these steps, you’re not just altering your jeans; you’re mastering a practical aspect of your wardrobe and becoming a true “budget genius.” Enjoy the confidence that comes with perfectly fitting denim!


