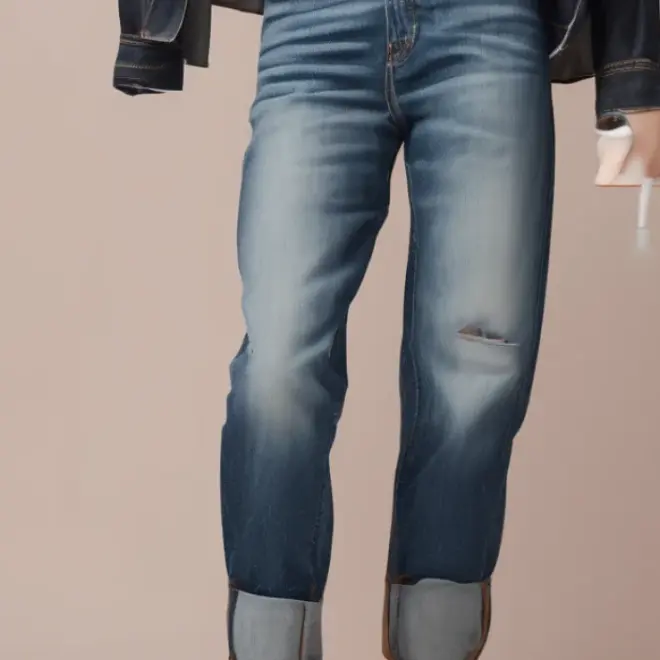
Quick Summary: Effortlessly hem relaxed jeans to the perfect length using a simple, no-sew method. This easy technique preserves your jeans’ natural drape and is ideal for beginners seeking a quick fix. Discover the ingenious trick that simplifies hemming for a flawless fit every time.
How To Hem Relaxed Jeans: The Genius, Effortless Secret
Do your favorite relaxed-fit jeans pool around your ankles? It’s a common frustration. Finding the perfect pair of jeans is exciting, but when they’re a little too long, it can make them look sloppy. Thankfully, you don’t need to be a sewing expert to fix this. We’ll walk you through a surprisingly simple, no-sew method that works like magic for relaxed jeans. You’ll get a clean hem without any fuss, keeping that perfect relaxed drape. Let’s transform your jeans into a perfect fit with this genius secret.
Why This Method Works for Relaxed Jeans
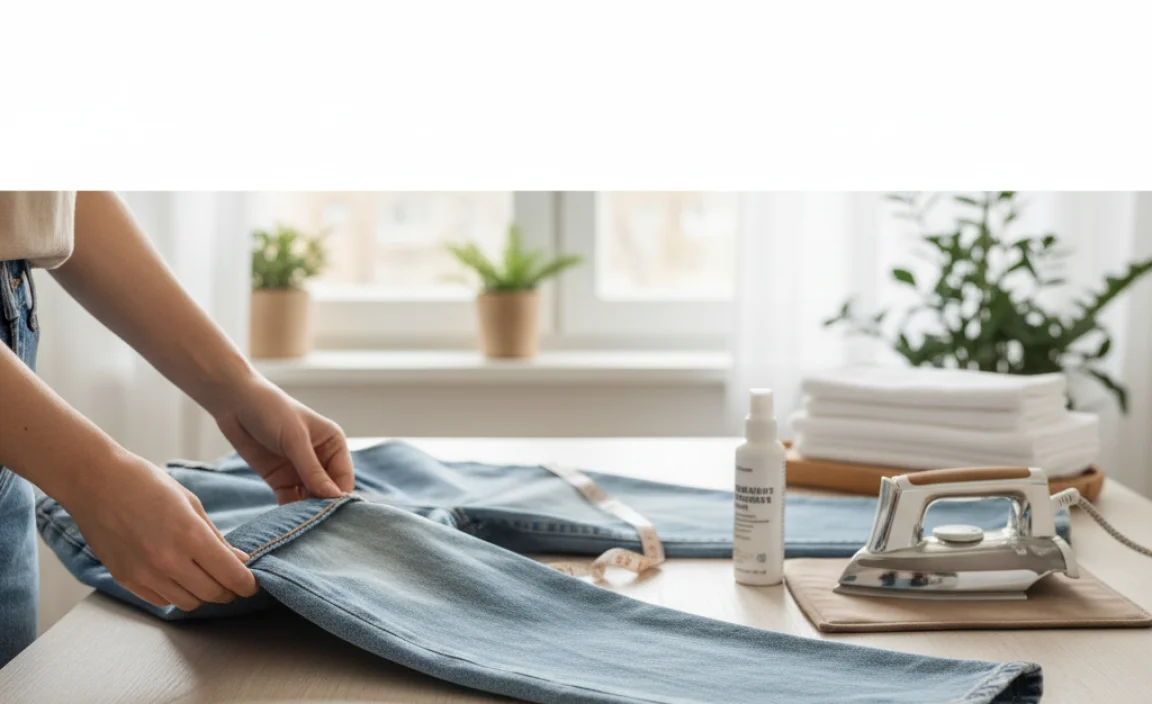
Relaxed fit jeans are all about comfort and a laid-back look. They have more room through the hip, seat, and thigh, often with a straight or slightly tapered leg. This looser cut means a traditional, crisp hem can sometimes look a little too structured and even stiffen the natural flow of the fabric. This “genius, effortless secret” is designed to work with the relaxed nature of your jeans, not against it.
Instead of creating a rigid fold, this no-sew method allows the fabric to fall more naturally. It’s about achieving that “just right” length without sacrificing the casual vibe. Think of it as a temporary, yet remarkably effective, adjustment that makes your go-to denim look tailor-made for you. It’s also incredibly forgiving, making it perfect for anyone new to clothing alterations or who needs a quick fix before heading out.
The Genius Secret: What You’ll Need
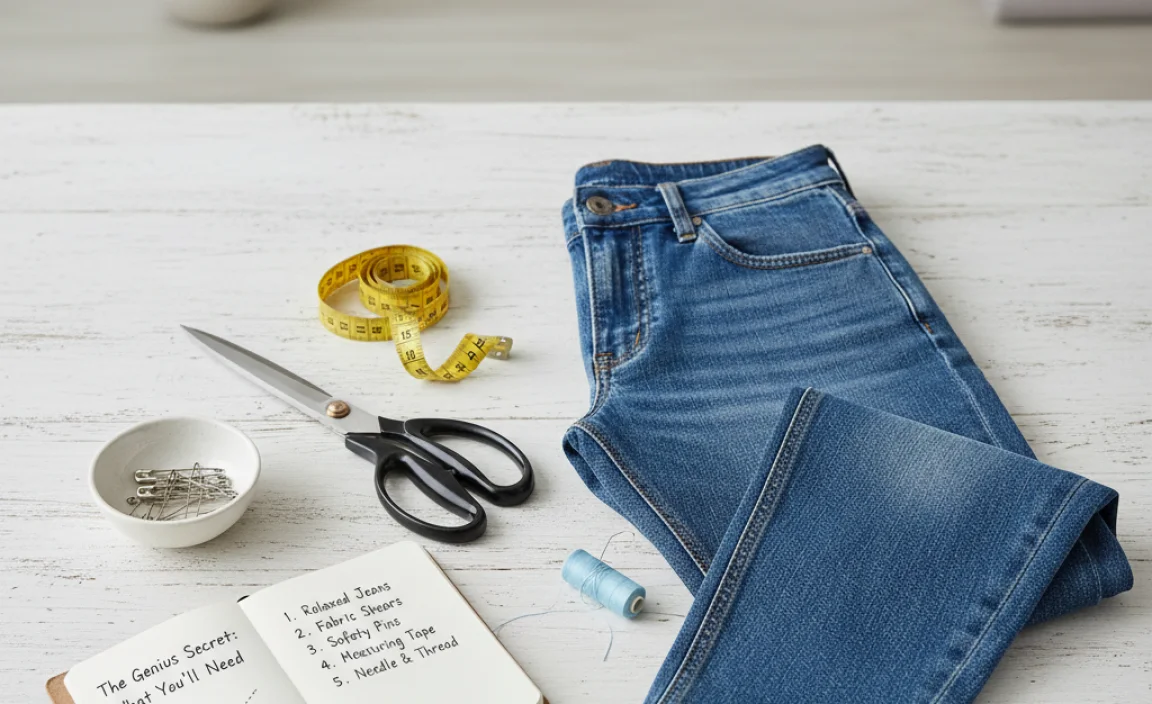
The beauty of this technique lies in its simplicity and the surprising household item that plays a key role. Forget complicated tools; you likely have most of what you need right now.
Essential Tools:
- Your Relaxed Jeans: The stars of the show!
- Fabric Scissors: Sharp scissors make a clean cut. If you don’t have dedicated fabric scissors, use the sharpest pair you own.
- Measuring Tape or Ruler: For accuracy.
- Fabric Marker or Chalk: To mark your cut line. A disappearing ink pen or even a pencil can work in a pinch, but be cautious.
- A Flat Surface: For precise measuring and marking.
- The “Genius” Ingredient: Dish Soap: Yes, regular liquid dish soap! We’ll explain why later.
- Optional: Iron and Ironing Board: To help set the new hem, though not strictly necessary for this method.
Understanding the “Dish Soap Secret”
So, why dish soap? It might sound odd, but liquid dish soap acts as a mild, temporary fabric stiffener and marker. When applied to the denim where you want to create the hemline, it slightly stiffens the fibers. This makes it easier to mark a clean line. More importantly, when you cut and fold the fabric, the slight stiffness helps the new hem hold its shape better temporarily as it dries, giving you a visual of the finished look and preventing excessive fraying immediately after cutting. Importantly, it washes out completely with no residue or damage to your jeans. It’s a simple, effective trick for a cleaner cut and a more controlled hemming process without stitches.
Step-by-Step: How to Hem Your Relaxed Jeans
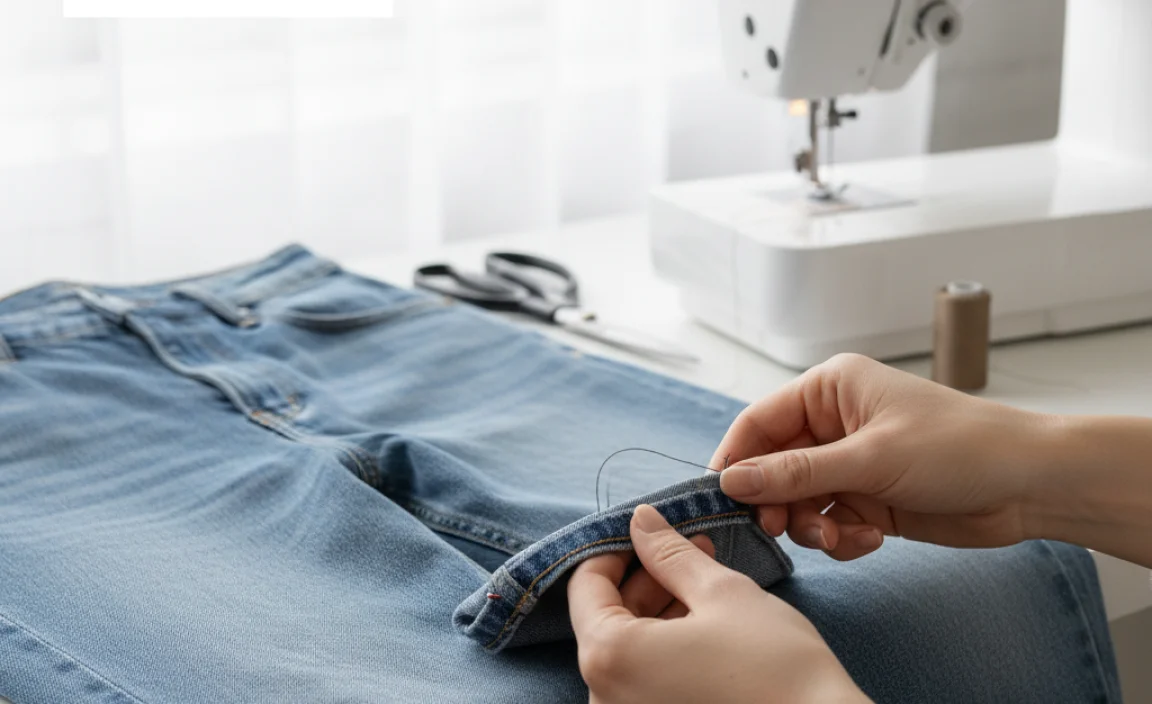
Let’s get your jeans fitting perfectly. This method is designed to be straightforward, with clear steps to ensure you achieve a great result.
-
Wear Them First: Put on the relaxed jeans you want to hem. Stand in front of a mirror and wear the shoes you’ll typically pair with these jeans. This is crucial for getting the length exactly right. Let the jeans settle into their natural drape.
-
Determine Your Desired Length: Look at where the hem of your jeans is currently hitting. Decide how much you want to remove. For relaxed jeans, you generally want them to hit just at the top of your shoe or slightly above the sole, so they don’t drag. Use your fingers to pinch the excess fabric at the hem and fold it upwards until you reach the length you desire. Make sure both sides are even.
-
Mark the New Hemline: Once you’ve found the desired length, keep one leg folded up. Use your fabric marker or chalk to draw a line where the new bottom of the jeans will be. This is the line you will cut on. For a cleaner look, you might want to mark about 1-1.5 inches above this line as your cutting guide. This added length from your cut line to the final hemline will be folded up.
Tip: You can also measure from your waist down to the desired hem on both sides to ensure evenness, but wearing them is the most reliable method.
-
Apply the “Genius Ingredient”: Take a small amount of liquid dish soap on your fingertip. Carefully run it along the marked cutting line you just made. You don’t need a lot – just enough to dampen the fabric slightly. This will help create a slightly firmer edge for cutting and marking.
-
Dry-Fit for Precision: Carefully remove the jeans. Lay them flat on your chosen surface. Ensure the marked lines are smooth and visible. If you marked where to cut, apply the dish soap along that line. This step is about ensuring your measurements are perfect before you cut.
-
Cut the Excess: Using your sharp fabric scissors, carefully cut along the marked cutting line. Cut through both layers of the denim for each leg. Try to make your cut as straight and even as possible. Remember, you can always cut more off, but you can’t add it back!
Pro Tip: For a perfect cut, you can press the fabric flat with your hand right before cutting, using the slight stiffness from the dish soap to guide you.
-
Create the Fold: Now, fold the raw edge you just created upwards. The amount you fold should be roughly the amount you initially pinched and measured. For most relaxed jeans, a fold of about 1 to 1.5 inches looks natural. Fold it up once, so the raw edge is tucked inside the fold. This creates a clean, albeit temporary, hem.
-
Optional: Iron for a Cleaner Look: If you want a slightly more polished temporary look, you can iron the folded hem. This will help the fold stay in place. However, this method’s charm is its speed and ease, so ironing is entirely optional.
-
Test the Fit: Try the jeans on again. Check the length and how they drape. Make any minor adjustments needed by unfolding and re-folding if necessary. The dish soap effect will have dried, leaving you with a clear idea of the finished look.
Variations and Advanced Tips
While the dish soap method is fantastic for a quick, no-sew hem, you might want slight variations or to understand how this can extend to other situations. For relaxed jeans, the goal is usually to keep the hemline looking natural and not too stiff.
Fraying vs. Clean Hem
The method described above creates a clean, folded hem. However, some people prefer a slightly frayed look for relaxed denim. If you want this, you would cut off the excess fabric and then follow steps to encourage fraying.
Encouraging Fray:
- Cut off the excess fabric as described.
- Fold the raw edge up about half an inch and iron it.
- Wash and dry the jeans. The washing machine and dryer will naturally fray the cut edge.
- You can then pull on the fraying threads with your fingers or tweezers to make it more pronounced.
- This method naturally loosens the fibers, which is why the dish soap trick is so helpful for a controlled cut initially, even if you plan to fray.
Distress and Texture
Achieving a worn-in look is part of the relaxed denim aesthetic. If your jeans are brand new and you’ve cut them, the raw edge might look too clean. To address this:
- Controlled Fraying: As mentioned above, washing is key.
- Sandpaper or Emery Board: Gently rub the cut edge with sandpaper or an emery board to create a softer, more worn texture. Do this after cutting and before folding or fraying.
- Saltwater Soak: A short soak in saltwater before washing can also help soften the fibers around the cut edge.
What About Different Denim Washes?
This method is generally safe for most denim washes. However, be cautious with very dark or raw denim:
- Dark Wash: The dish soap is unlikely to leave a mark, but it’s always good practice to test on an inconspicuous area first if you’re concerned.
- Raw Denim: Raw denim is designed to fade and develop unique wear patterns. While this method is temporary, the cut will be a sharp line. If you plan on a permanent alteration, consider professional hemming for raw denim to maintain its integrity.
When to Seek Professional Help
This no-sew dish soap method is fantastic for quick fixes, temporary adjustments, or when you want a casual, slightly imperfect hem. However, for a perfectly tailored look, especially on expensive jeans, or if you’re unsure about cutting your denim, consider these options:
| Scenario | Recommendation | Benefit |
|---|---|---|
| Want a permanent, precise hem | Professional Tailor | Expert finish, clean stitch, preservation of original hem appearance. |
| Unsure about cutting, or high-value jeans | Professional Tailor | Minimizes risk of error, maintains garment value. |
| Want to preserve the original hem look | Professional Tailor (re-attaching original hem) | Authentic denim look, no visible cut edge. |
| Need a quick, temporary fix or a casual frayed look | DIY No-Sew Method (like this one) | Fast, inexpensive, accessible. |
A good tailor can even reattach the original hem of your jeans, which is the most sought-after method for preserving the original look. Reputable denim repair services often offer this specialized service.
Frequently Asked Questions (FAQ)
Q1: Will the dish soap stain my jeans?
A1: No, liquid dish soap is designed to be easily washed out. It acts as a temporary stiffener and marker. After cutting and folding, once the soap dries or you wash the jeans, any trace of it will be gone.
Q2: Is this method permanent?
A2: This specific “dish soap secret” method is for creating a temporary hem. The fold is held by the fabric’s crease and slight stiffness from the soap, but it is not sewn. For a permanent hem, you would need to sew it or use fabric glue. Washing can also cause the fold to loosen.
Q3: What if I cut too much off?
A3: If you cut too much, and it’s a significant amount, you cannot add denim back. This is why measuring accurately and even making a slightly longer cut and folding it up more is often recommended before committing to the final fold. For minor mismeasurements on relaxed jeans, you might get away with slightly re-folding, but significant mistakes require a new pair of jeans or professional alterations.
Q4: Can I use this method on skinny jeans?
A4: While this method can work on any jeans, it’s particularly suited for relaxed and looser fits. Skinny jeans often require a more precise, tight hem. If you attempt this on skinny jeans, you may find the folded hem too bulky or noticeable. For skinny jeans, a sewn hem is generally recommended for a cleaner look.
Q5: How do I make the hem look naturally worn if I just cut it?
A5: After cutting, you can encourage a natural look by washing and drying the jeans. You can also gently rub the cut edge with sandpaper or an emery board to soften the fibers and create a slightly frayed or worn appearance. For a true “original hem” look, professional services can reattach the original hem.
Q6: Is this method suitable for all types of fabric?
A6: This method is best for denim and other sturdy cotton twills. For delicate fabrics like silk or thin synthetics, the cutting and folding might cause excessive unraveling or look unprofessional. Stick to denim and similar robust materials for this technique.
Maintaining Your Hemmed Jeans
Once you’ve achieved the perfect length for your relaxed jeans, a little care will keep them looking great. The primary maintenance for jeans hemmed with this no-sew method is understanding their temporary nature.
- Gentle Washing: When it’s time to wash your jeans, turn them inside out. Use a gentle cycle with cold water. This helps preserve the denim’s color and integrity, and also helps the folded hem stay in place longer.
- Air Dry When Possible: While the dish soap is safe for the dryer, air drying is always gentler on denim. Hang them to dry or lay them flat. If you must use a dryer, use a low heat setting.
- Check the Fold: Periodically check the folded hem. If it starts to loosen, you can refold it and press it with an iron. For a more permanent solution, consider sewing it down at this point.
- For Frayed Hems: If you opted for a frayed hem, washing will encourage more fraying. You can trim any excessively long threads or use tweezers to manage the fringe if it becomes too unruly.
Beyond the Hem: Other Denim Hacks
Mastering the hem is just one step in denim care and customization. Here are a couple of other simple hacks for your favorite jeans:
Quick Stain Removal: For small spills on denim, act fast. Blot the stain with a clean cloth and cold water. For grease stains, a bit of cornstarch or baking soda can absorb the oil before gentle washing. Check out resources from the EPA for greener cleaning tips that can extend to laundry.
Pocket Repair: If a pocket is starting to tear, a few quick stitches can save it from worsening. Use a needle and strong thread (matching your denim color if possible) to reinforce the pocket seams. You can find tutorials on basic sewing repairs online; many resources from vocational schools or extension offices offer free guides.
Conclusion
You’ve now learned the genius, effortless secret to hemming your relaxed jeans using just a little bit of dish soap. This simple, no-sew technique is a game-changer for anyone who wants their denim to fit just right without a trip to the tailor or a sewing machine. By following these clear, step-by-step instructions, you can quickly and confidently adjust the length of your favorite jeans, ensuring they always look their best. Whether you prefer a clean folded look or are aiming for a subtly frayed edge, this method provides a fantastic starting point. So go ahead, give your relaxed jeans the perfect length they deserve and enjoy the confidence that comes with a perfect fit. Your wardrobe, and your feet, will thank you!


